Finishing of direct restorations
Machine translation
Original article is written in RU language (link to read it) .
Finishing of dental restorations is one of the most important stages in the treatment protocol for defects in hard dental tissues, necessary to achieve high quality and aesthetics of the restoration. Modern trends dictate their requirements for this stage: obtaining maximum shine and smoothness of the restoration surface in a minimum time and with a minimum number of tools.
Requirements for finishing tools
Abrasiveness that meets generally accepted standards; if used correctly, there is no risk of tooth injury.
Safety, provided that the operating mode recommended by the manufacturer is followed, there is no risk of tissue overheating.
Ease of use.
An acceptable range for finishing any surfaces and groups of teeth.
Cost-effective, able to withstand repeated sterilization, suitable for reusable use.
Acceptable speed of work, does not require a large number of stages and tool changes at each.
The smoothness of the surface and the shine of the filling are maintained for a long period of time.
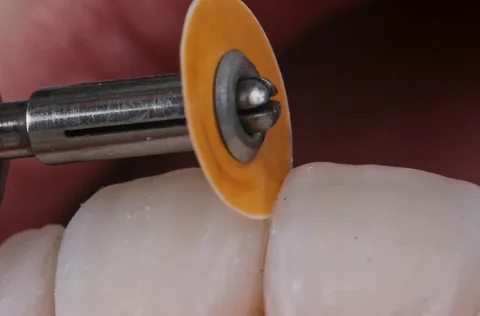
Rice. 1. Finishing the restoration.
Principles of classification of processing methods
By due date
instantaneous, in one visit, immediately after the creation of the restoration,
delayed, performed over several visits.
By method of execution
dry,
wet,
combined.
Depending on the type of surface being treated
for smooth surfaces,
for contacts,
for relief,
universal.
Principles of classification of materials and tools
By purpose
to form a filling,
for contouring,
for polishing,
for super polishing,
to identify occlusal contacts,
universal.
Also, all finishing tools are classified by marking and degree of abrasiveness.
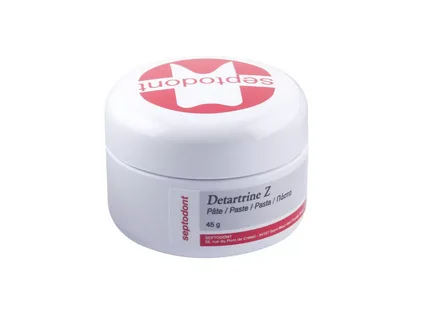
Rice. 2. Paste for finishing the restoration.
Problems that need to be solved at the finishing stage
To prevent staining of the restoration, it is important to remove from its surface the dispersed (oxygen-inhibited) layer that forms during the polymerization of composites.
Smooth the relief to reduce plaque retention on the surface of the restoration.
Achieving a smooth transition at the interface between the restoration and the tooth will ensure a good marginal fit, which guarantees the durability of the filling.
Achieve a level of surface smoothness and gloss that would imitate the optical qualities of enamel.
It is very important to understand that choosing a high-quality filling material that meets all modern requirements and stocking up on a wide range of high-quality tools for processing restorations is not a guarantee of success. It is important to have skills and know the working conditions with various tools and materials:
recommended ambient humidity,
speed parameters for working with various types of tools,
phasing of work,
selection of tool shape depending on the surface being processed,
tactics for choosing the abrasiveness of tools.
Finishing steps
Contouring the filling is the first step, a rough finishing, which is done with highly abrasive tools fixed into tips.
The formation of the anatomical shape, at this stage it is necessary to achieve the final shape of the restoration by correcting the proximal and occlusal surfaces, is performed with medium abrasive instruments fixed in tips. The assessment of occlusion is carried out using foil, the most accurate correction, or articulating paper.
Polishing the restoration, at this stage it is necessary to achieve smoothness and shine, it is recommended to give preference to tools and pastes with low abrasiveness, both manual and machine (for the contra-angle handpiece).
Superpolishing involves obtaining the ideal shine and smoothness of the restoration. Preference is given to pastes and tools with very low abrasiveness.
Quality control. The dentist should perform this stage on a previously cleaned, dried tooth surface, in good lighting. It is permissible to carry out immediately after the end of treatment or within several days. The doctor evaluates the quality of the surface, the anatomy of the restoration, relief and gloss visually, performs probing, and checks the marginal fit.
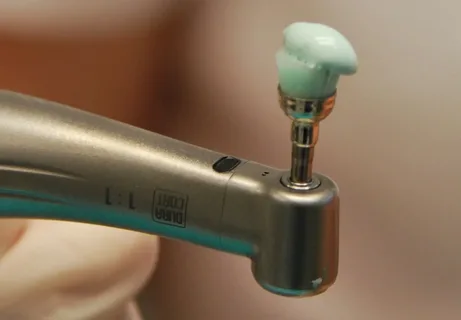
Rice. 3. Brush and paste for polishing the restoration.
In clinical practice, it is not always necessary to fully implement the finishing sequence presented above. Everything is determined by the type of restoration, the chosen material to restore the defect, as well as the equipment of the cabinet with finishing tools. In some situations, the accuracy of modeling and the accuracy of the restoration, the specific localization of the filling and the defect do not require the application of special efforts to achieve ideal shine and a smooth surface. Finishing is often limited to several stages, in which several types of tools are replaced.
Selection of tools depending on the surface
The shape of the selected tool for finishing the restoration is determined primarily by the group affiliation of the tooth. In the teeth of the frontal group, the surfaces are predominantly smooth; chewing teeth are characterized by complex anatomy and relief. It is also important to take into account the dimensions and nuances of the area undergoing finishing: occlusal surfaces, neck of the tooth, contact point.
Conventionally, all tools can be divided into specialized and universal.
The former are most effective for use in a specific area. Thus, strips are best suited for contact surfaces, small cups for the neck of a tooth, flame-shaped polishers for the chewing surface, disc-shaped polishers for vestibular surfaces.
Representatives of the second group can be used for finishing several surfaces at once; they are quite effective on both smooth and embossed areas. This group includes the following representatives: polishers and stones in the shape of a large flame, brushes, cups.
Selection of finishing tools by degree of abrasiveness
You should select tools of varying degrees of abrasiveness, and then successively apply them from more abrasive to less abrasive.
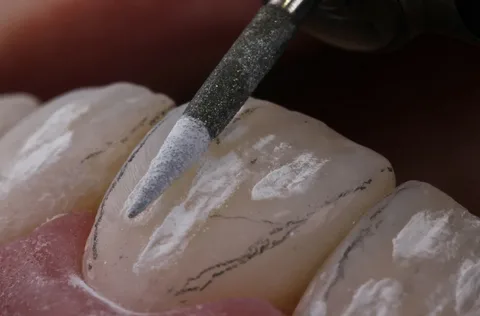
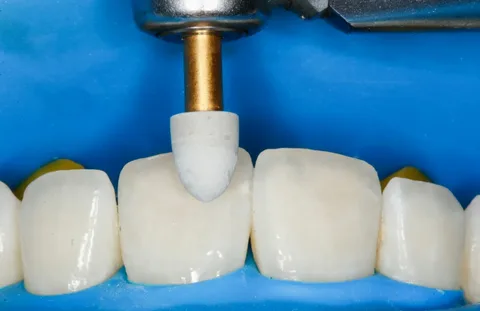
Fig.4. One of the stages of finishing the filling.
It is also important to follow some additional recommendations.
Careful and thorough modeling of the composite material at the stage of creating the restoration significantly reduces the duration of finishing processing and its volume, eliminating the need to use tools of high and standard abrasiveness. Often, after careful modeling, a composite restoration does not require significant correction and polishing.
The use of representatives of the latest generations of composites (nanocomposites, giomers, hybrids) with small filler particle sizes (less than 1 micron) and optimal distribution of filler grains in the matrix guarantees simple and quick production of a smooth and shiny restoration surface for many years.
In various sources you can find different techniques for finishing restorations, numerous options for selecting tools, but there is no consensus on this issue. None of the methods could prove their indisputable advantages.
Some experts recommend a technique combining the use of carbide burs with discs as the gold standard for finishing restorations. Other authors believe that a combination of diamond burs and silicone polishers of different abrasiveness is optimal.
Each specialist, as he accumulates experience and knowledge in the field of finishing processing of fillings, analyzing data on the main types of tools used for final processing of restorations, selects for himself convenient and necessary means and tools for finishing processing.
Rice. 5. Polishing the composite restoration.
Compliance with the “correct” conditions and sequence of stages guarantees a good result of the final restoration. A large assortment of tools and finishing products provides both ample opportunities for the doctor and difficulties at the same time. Some manufacturers, in order to facilitate the selection of tools, produce special ready-made kits for finishing, which offer a wide coverage of various filling materials and clinical situations.
If you are interested in this topic, pay attention to our online lesson Single composite veneer: corrections of shape and color.