
Whitening and removal of discoloration of teeth
Machine translation
Original article is written in RU language (link to read it) .
Teeth whitening and removal of dental discoloration are common reasons for patients to visit the dentist. Additionally, the whitening procedure should not be considered in isolation, but as part of a larger treatment plan.
You will find more detailed information on this topic at Webinar No. 6. Direct composite veneers .
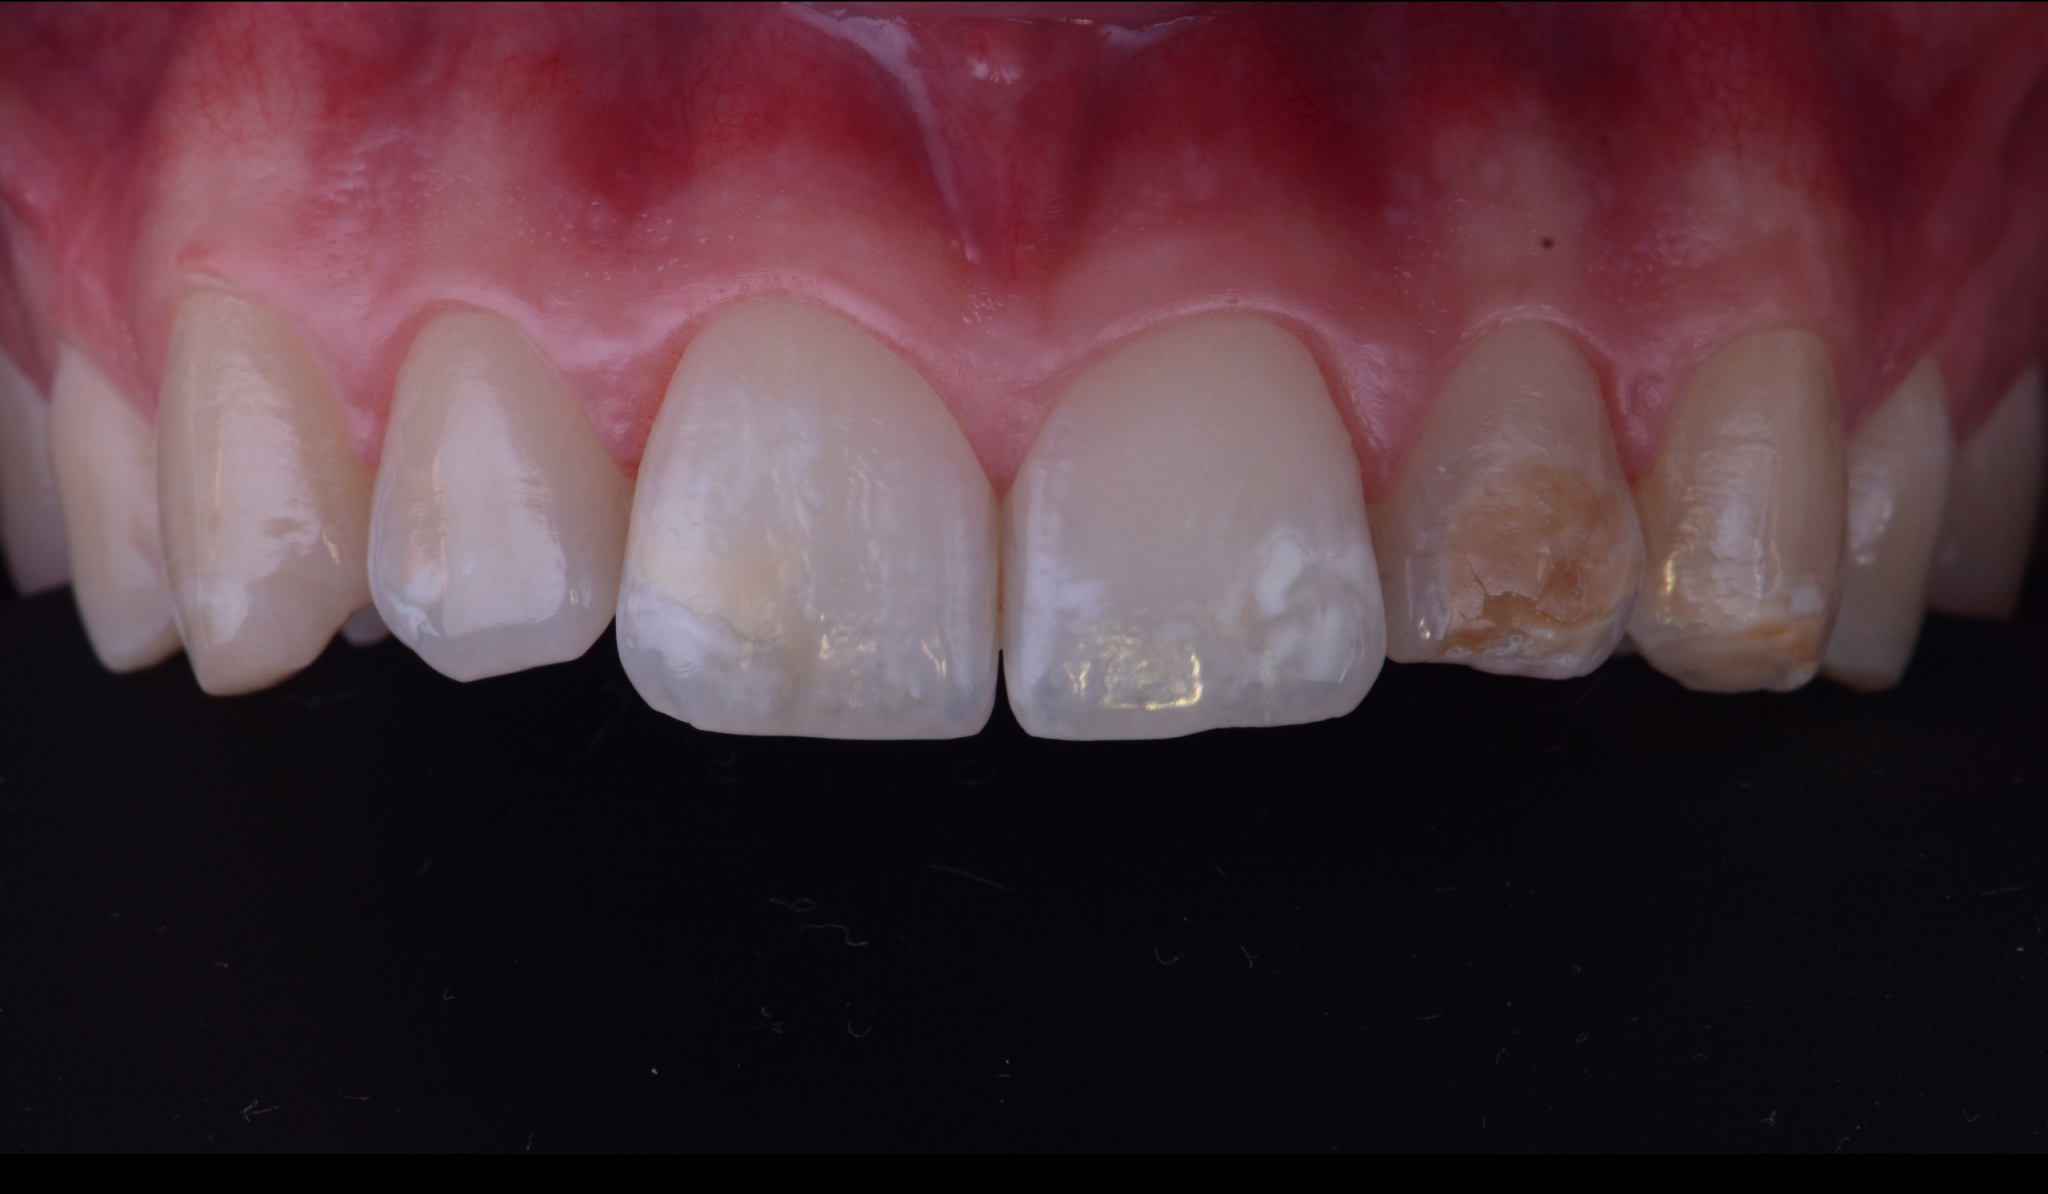
Photo 1
This 27-year-old patient came in to improve his smile. In particular, he wanted the teeth to become whiter and more harmoniously positioned.
We start with the upper jaw.
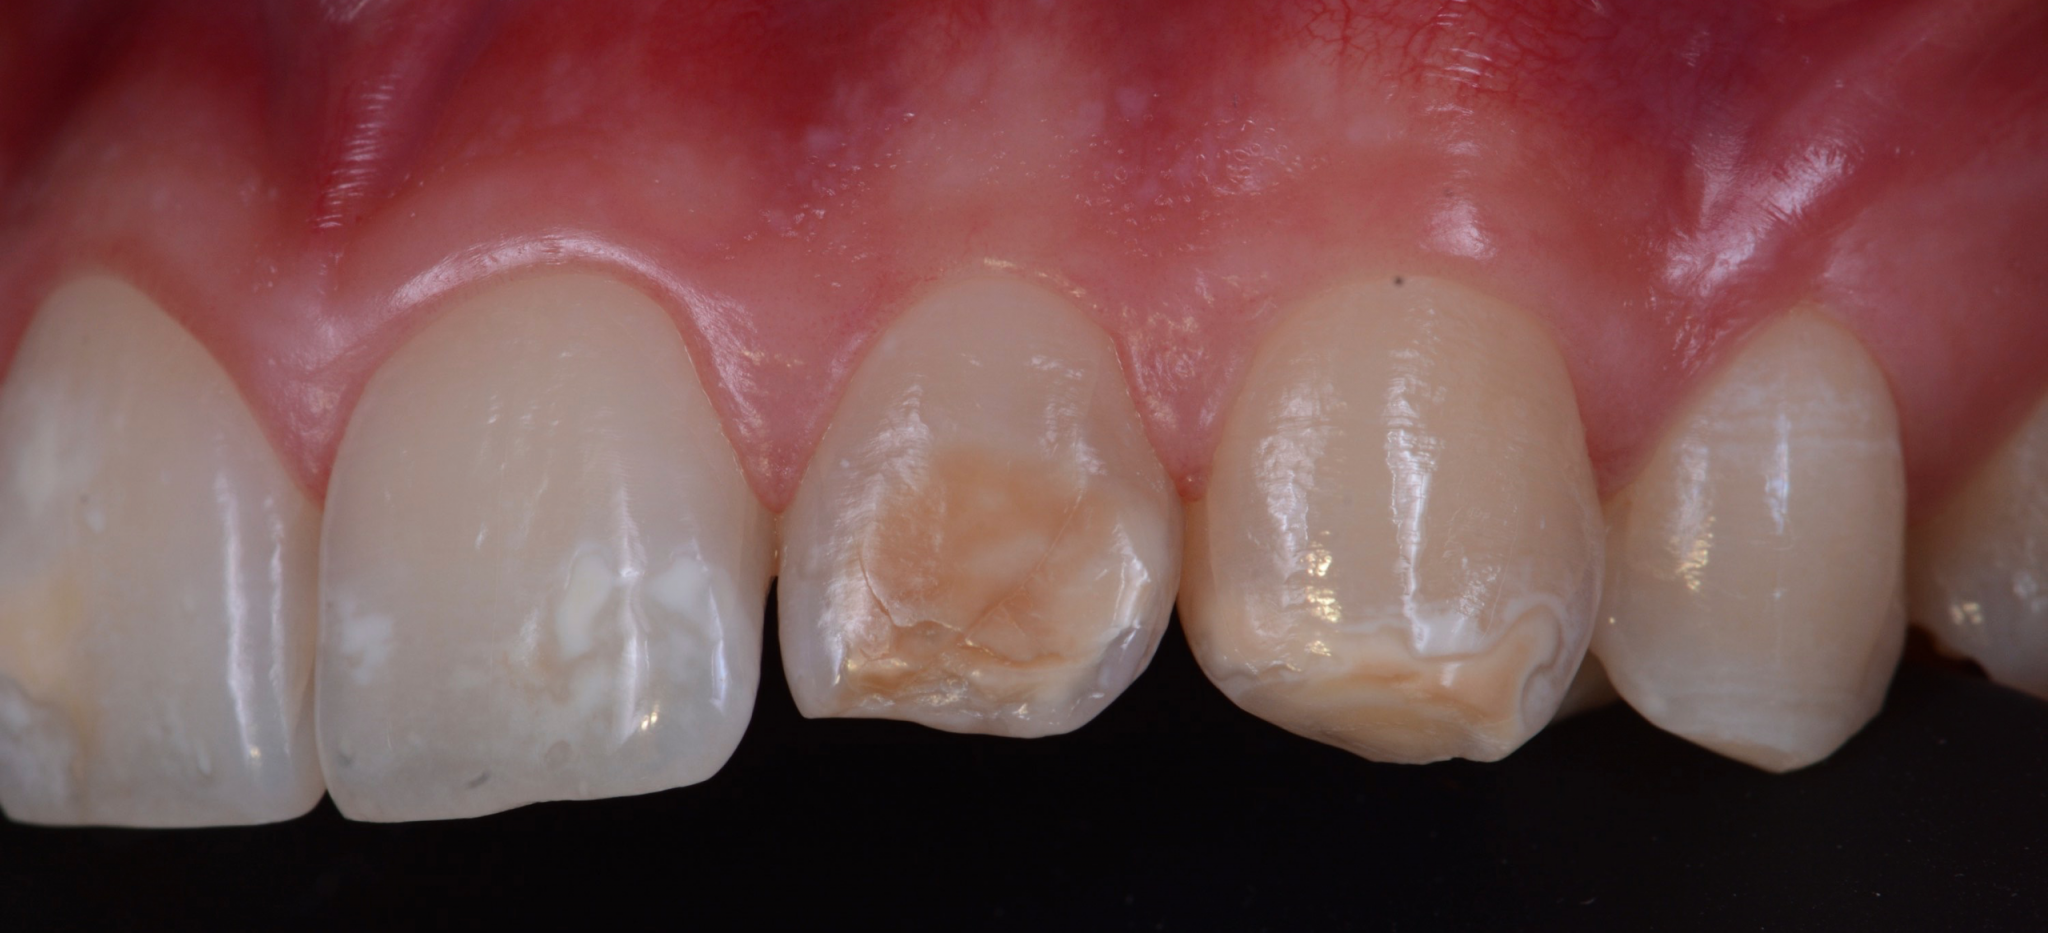
Photo 2
We started by temporarily filling the brown spots on teeth 22 and 23 and restoring the canines.
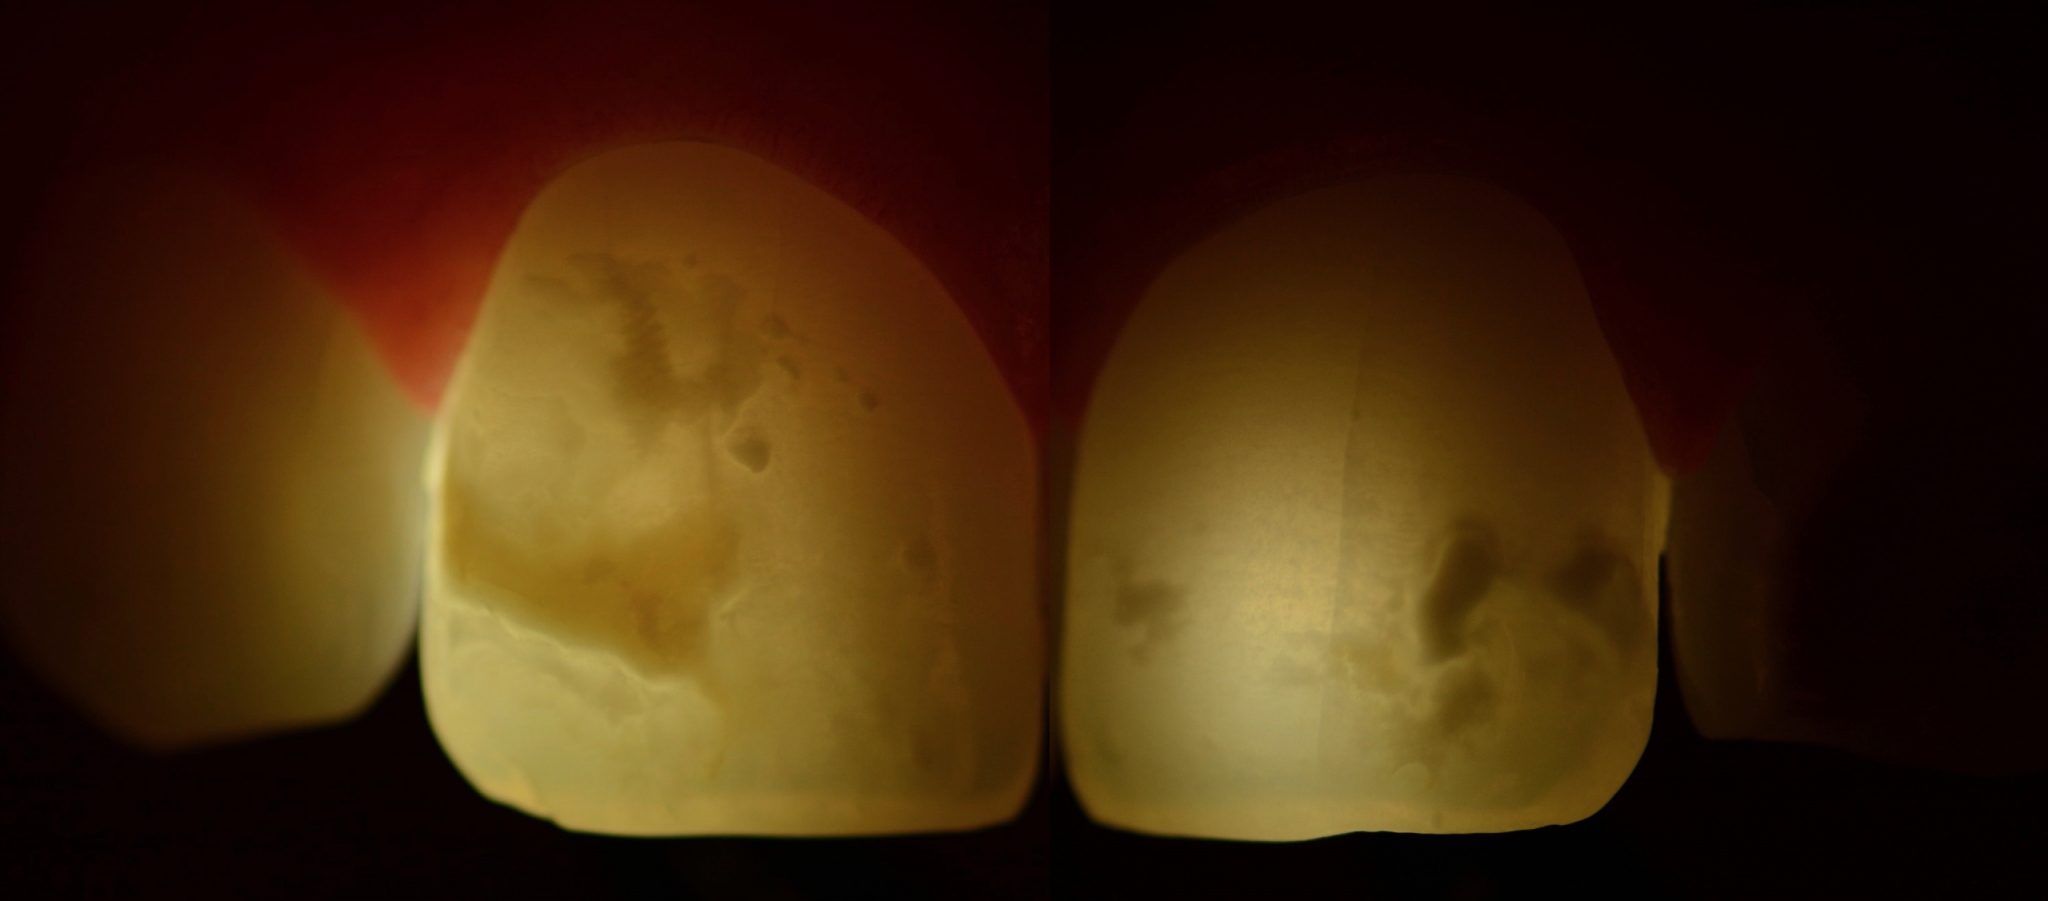
Photo 3
The patient wanted to eliminate these white spots on the central incisors and correct worn canines, which he described as “short.”
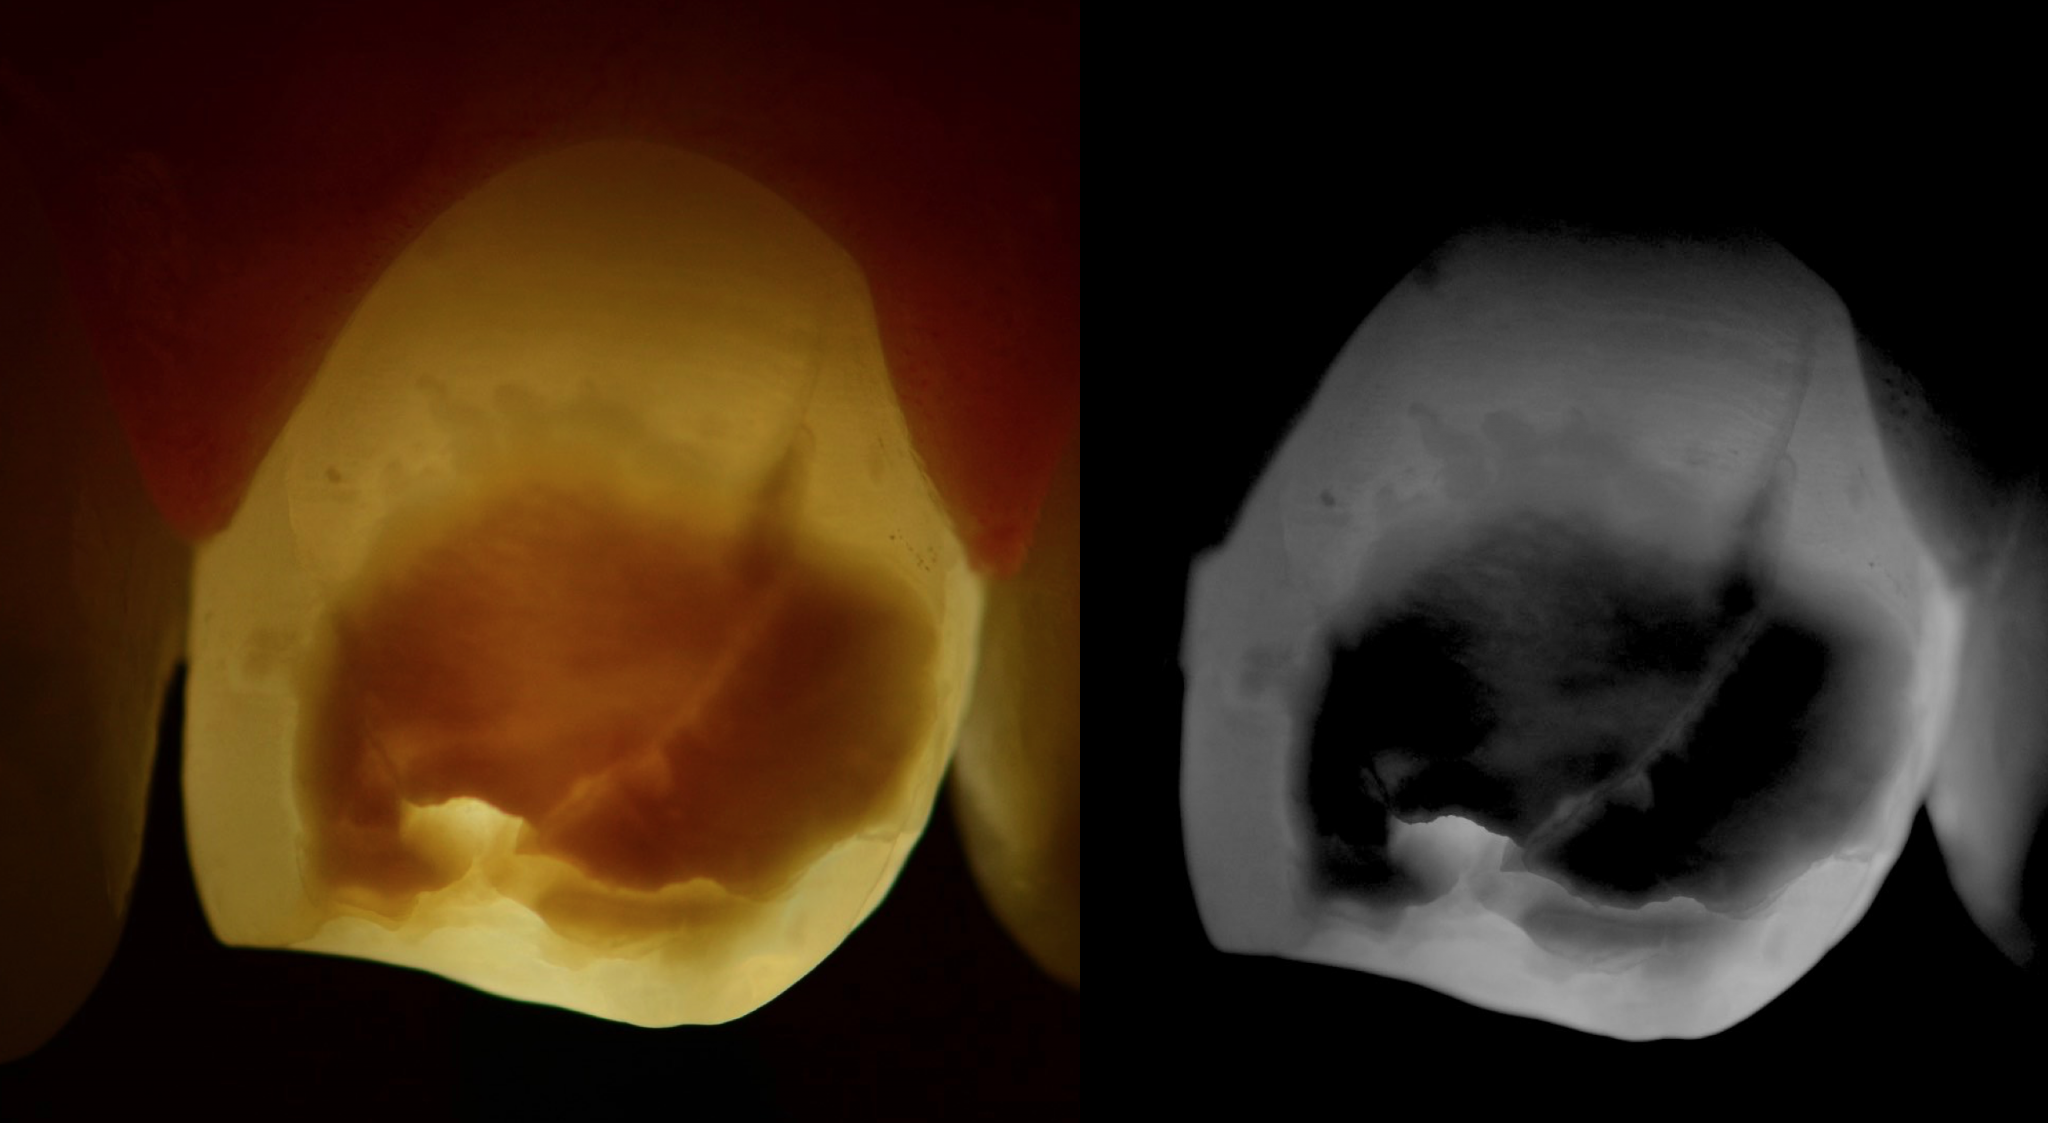
Photo 4
Dark spots tend to be more superficial than white spots.
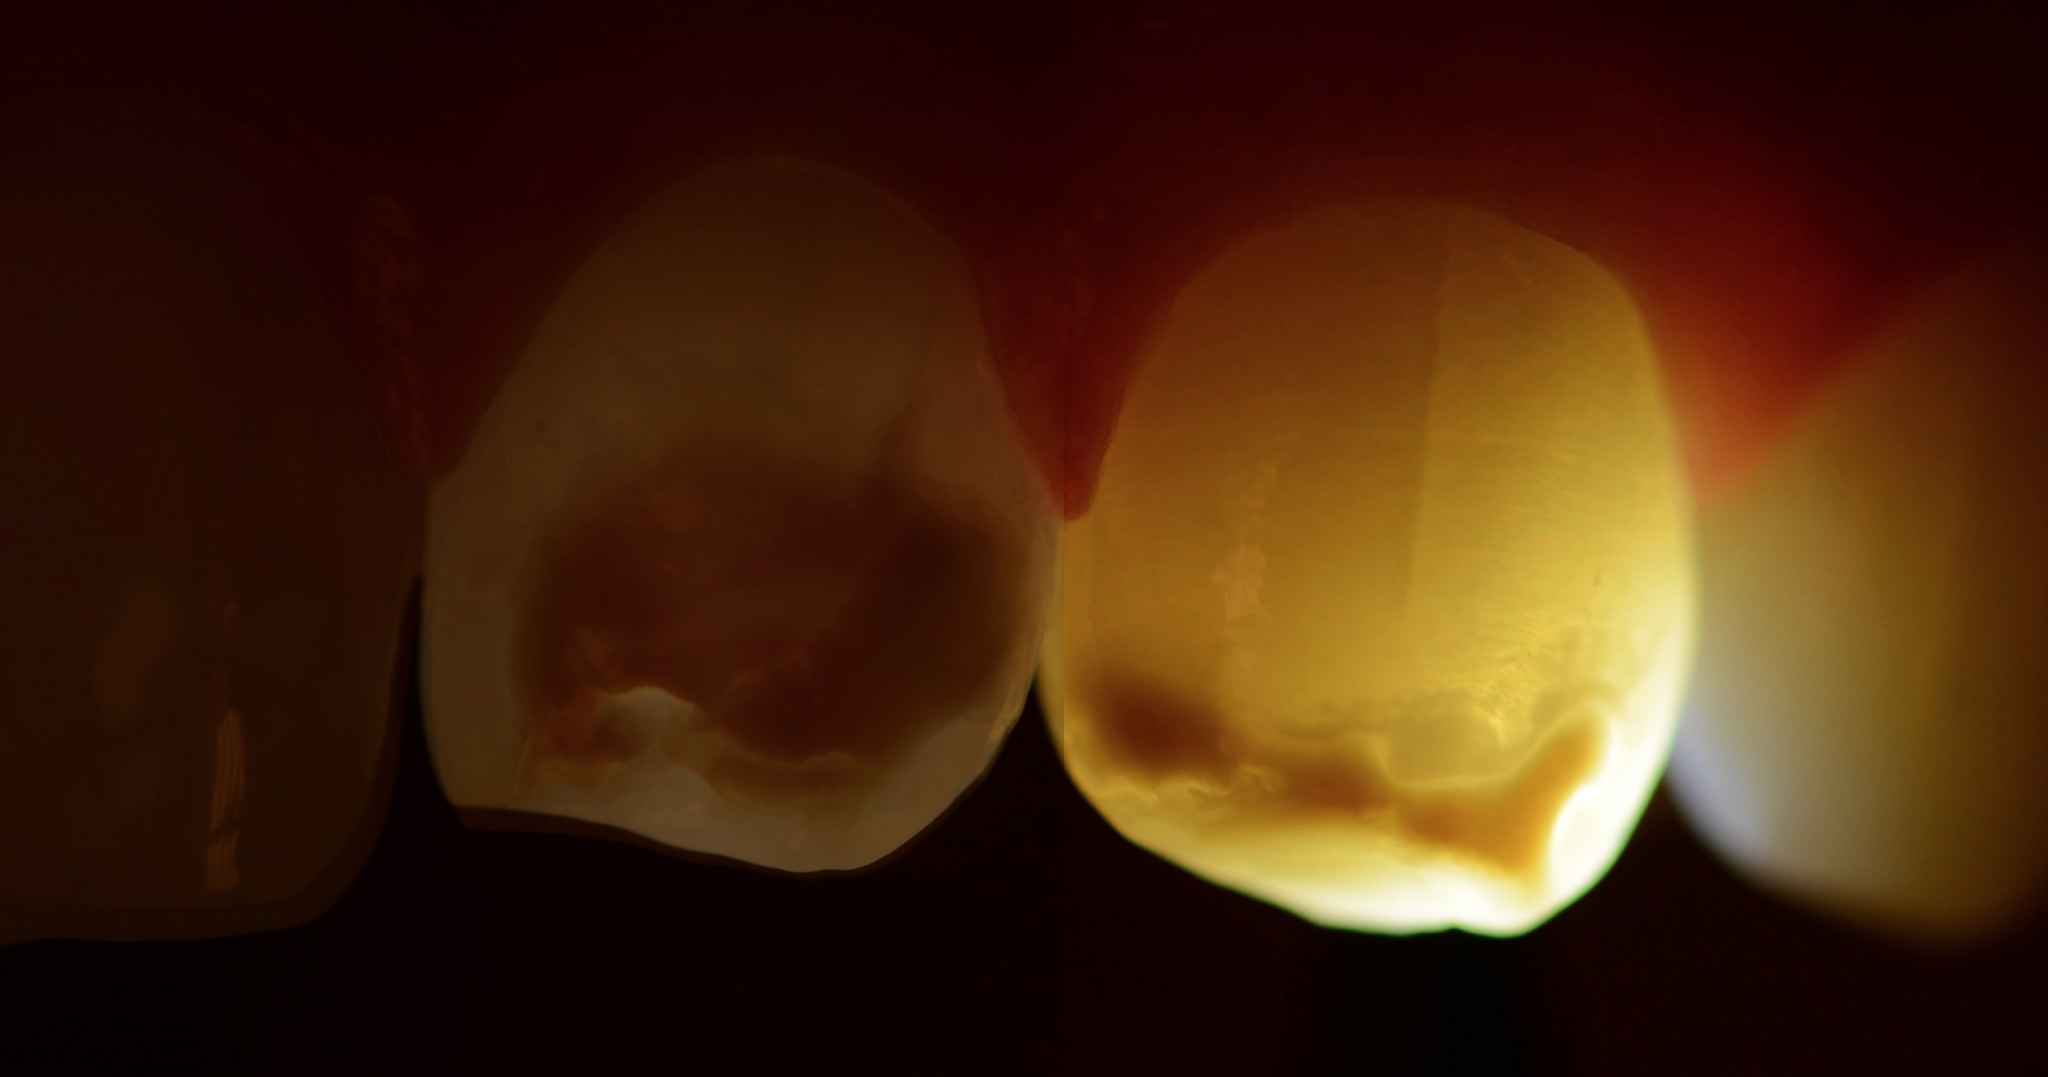
Photo 5
Initial composite restorations on teeth 13, 22, 23, made before bleaching, will help us visualize the difference in tooth color.
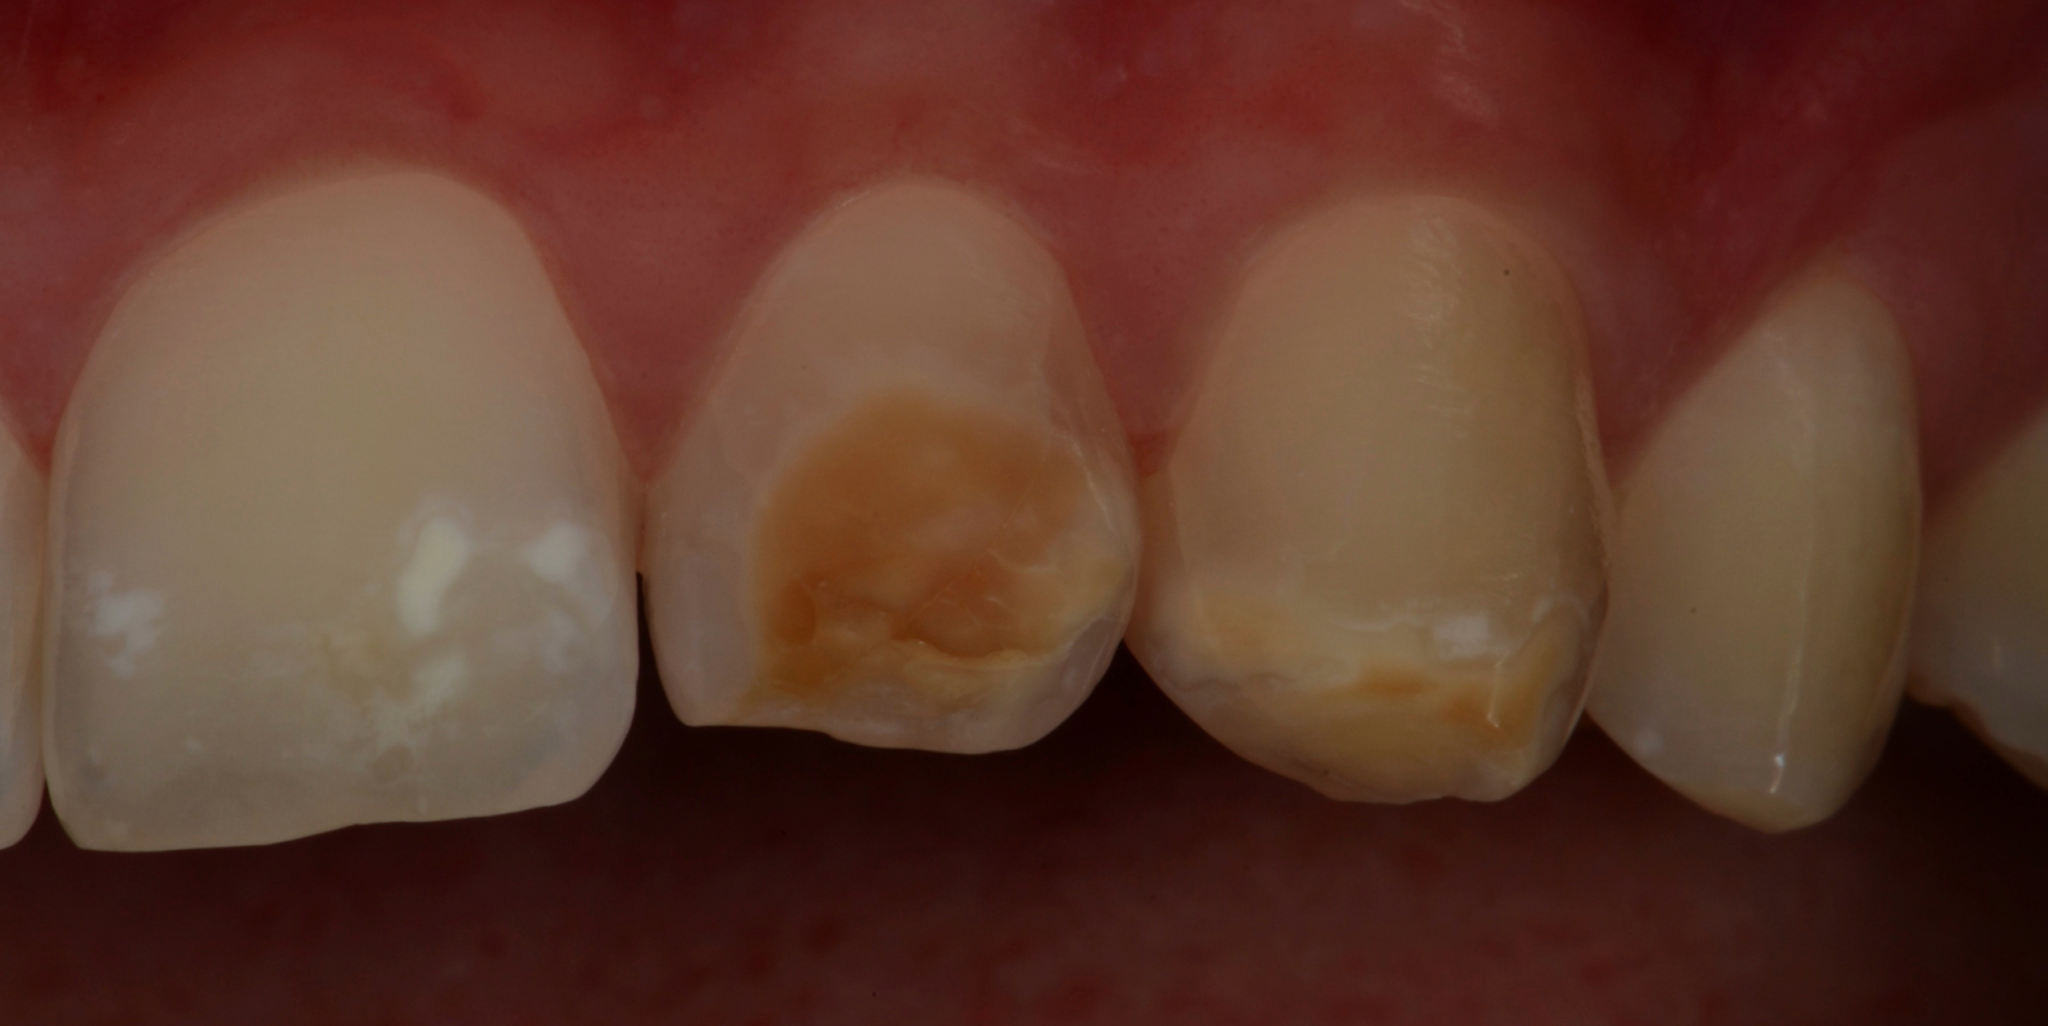
Photo 6
Photo of teeth 22 and 23 in polarized light, discoloration in the form of brown spots.
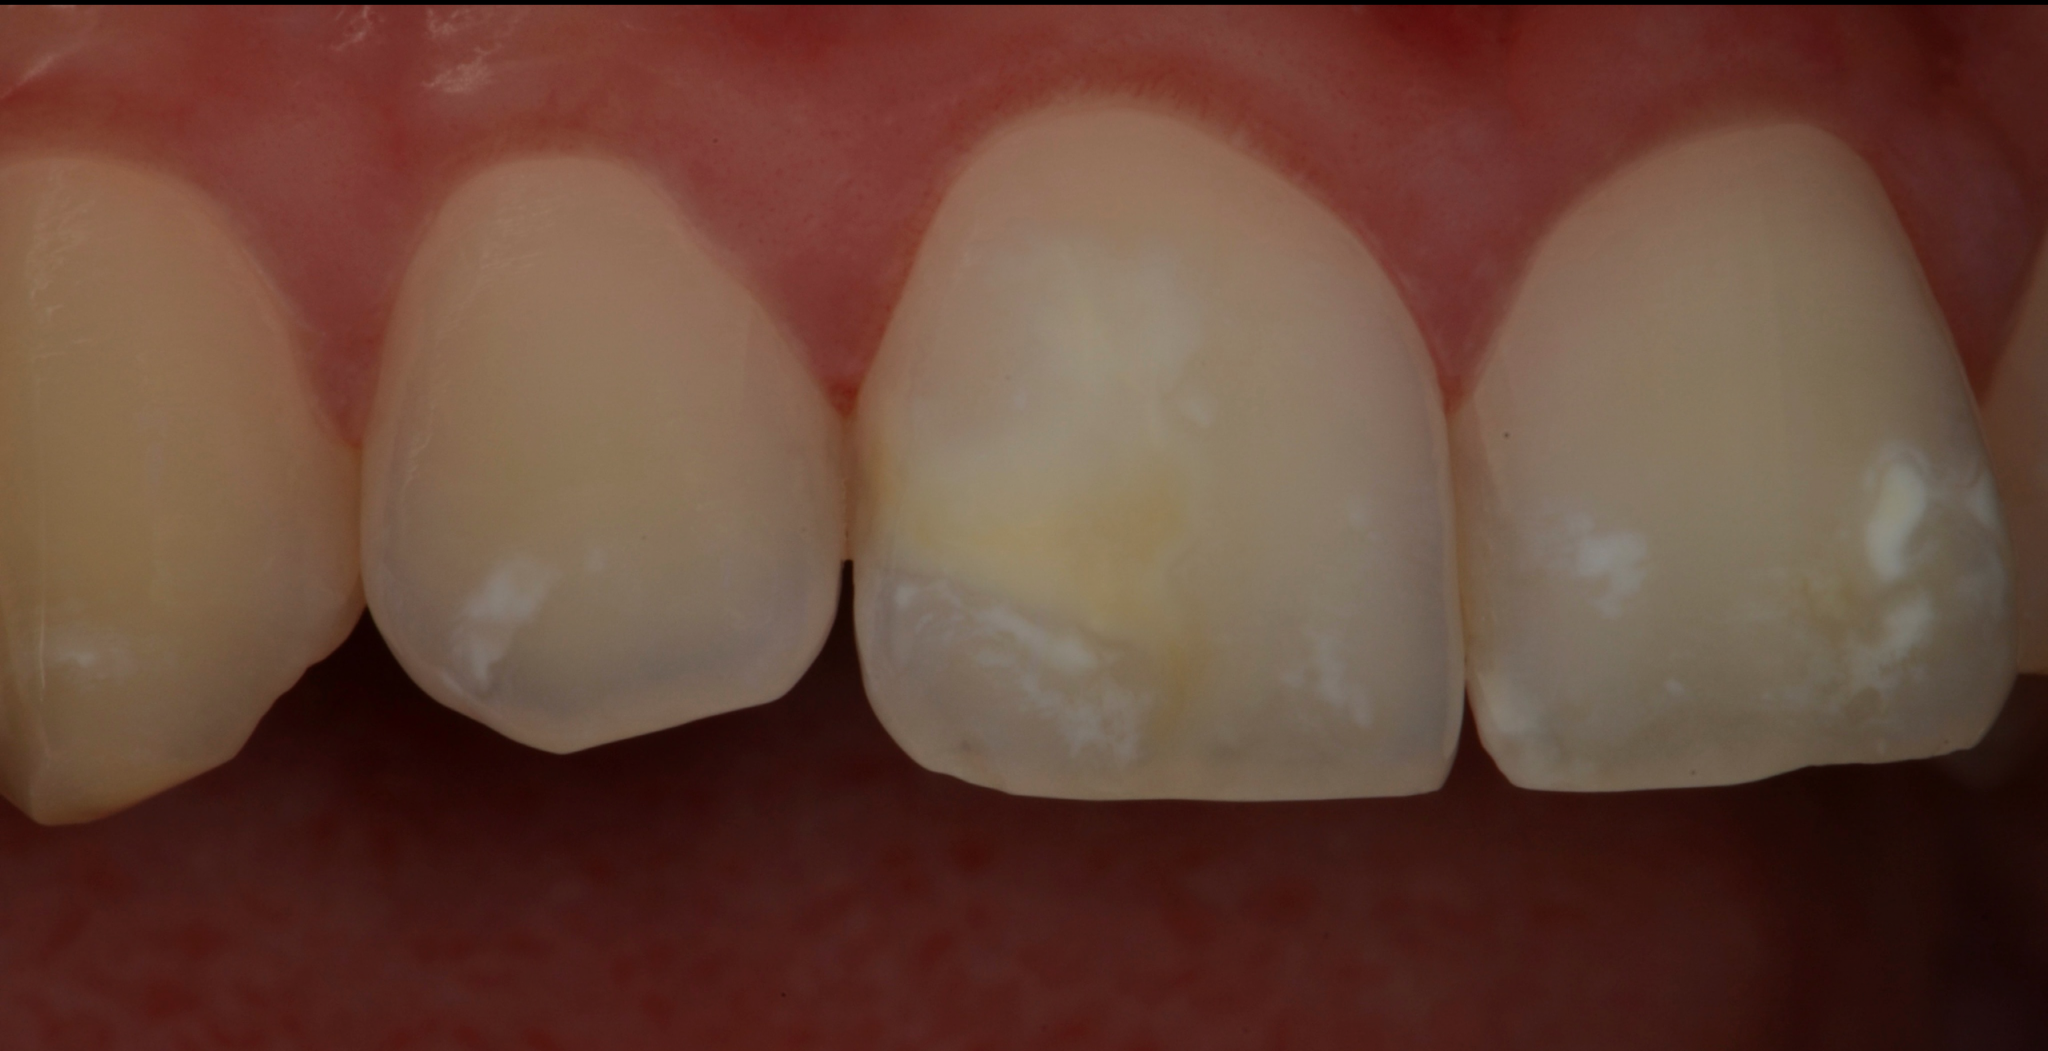
Photo 7
Photo of teeth 11 and 12 in polarized light.
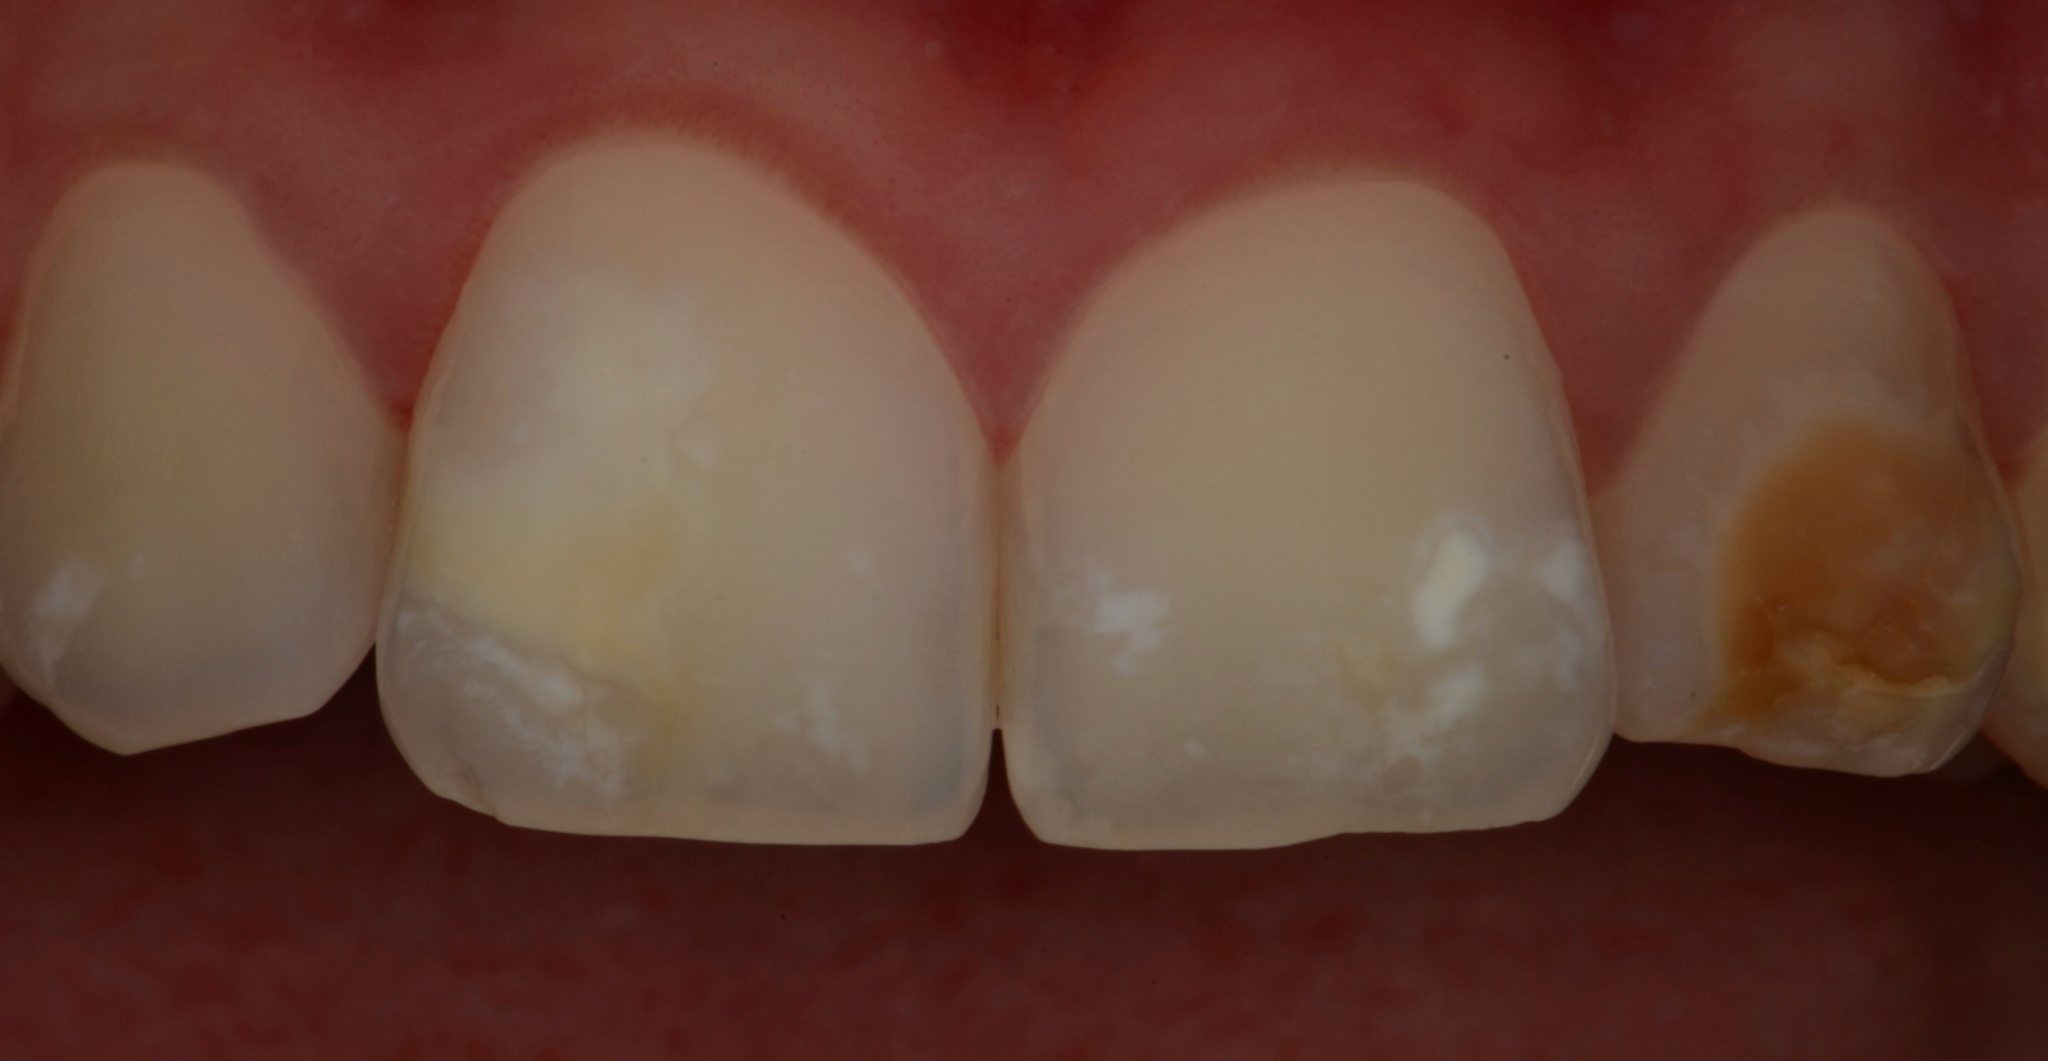
Photo 8
Central incisors in polarized light.
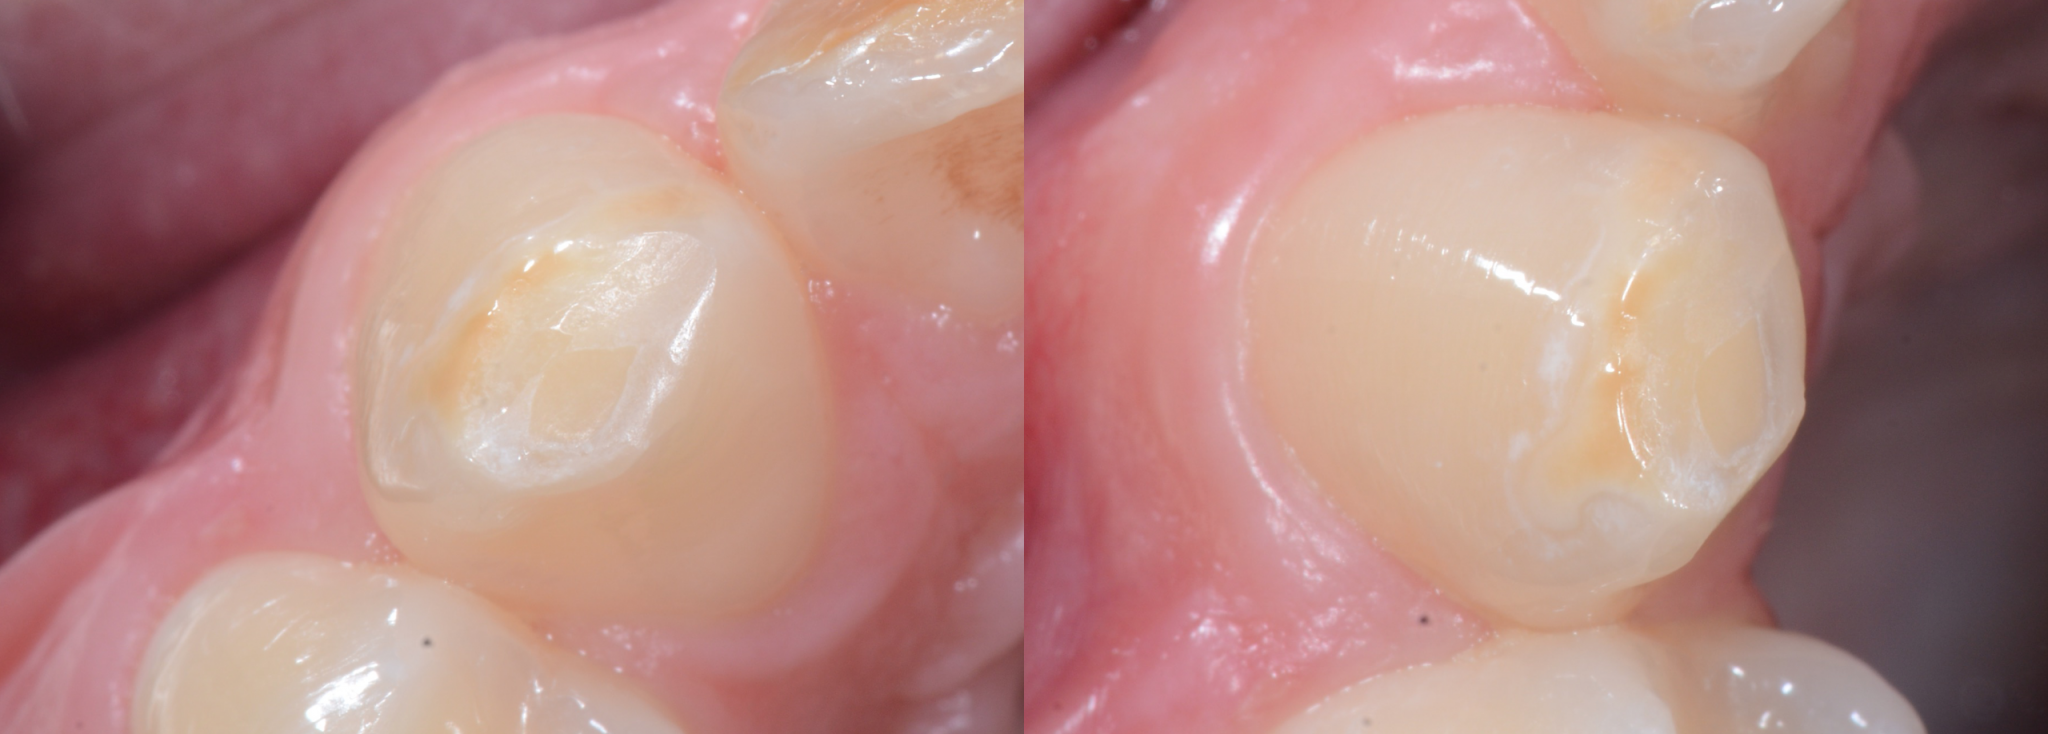
Photo 9
Wear facets on tooth 23.
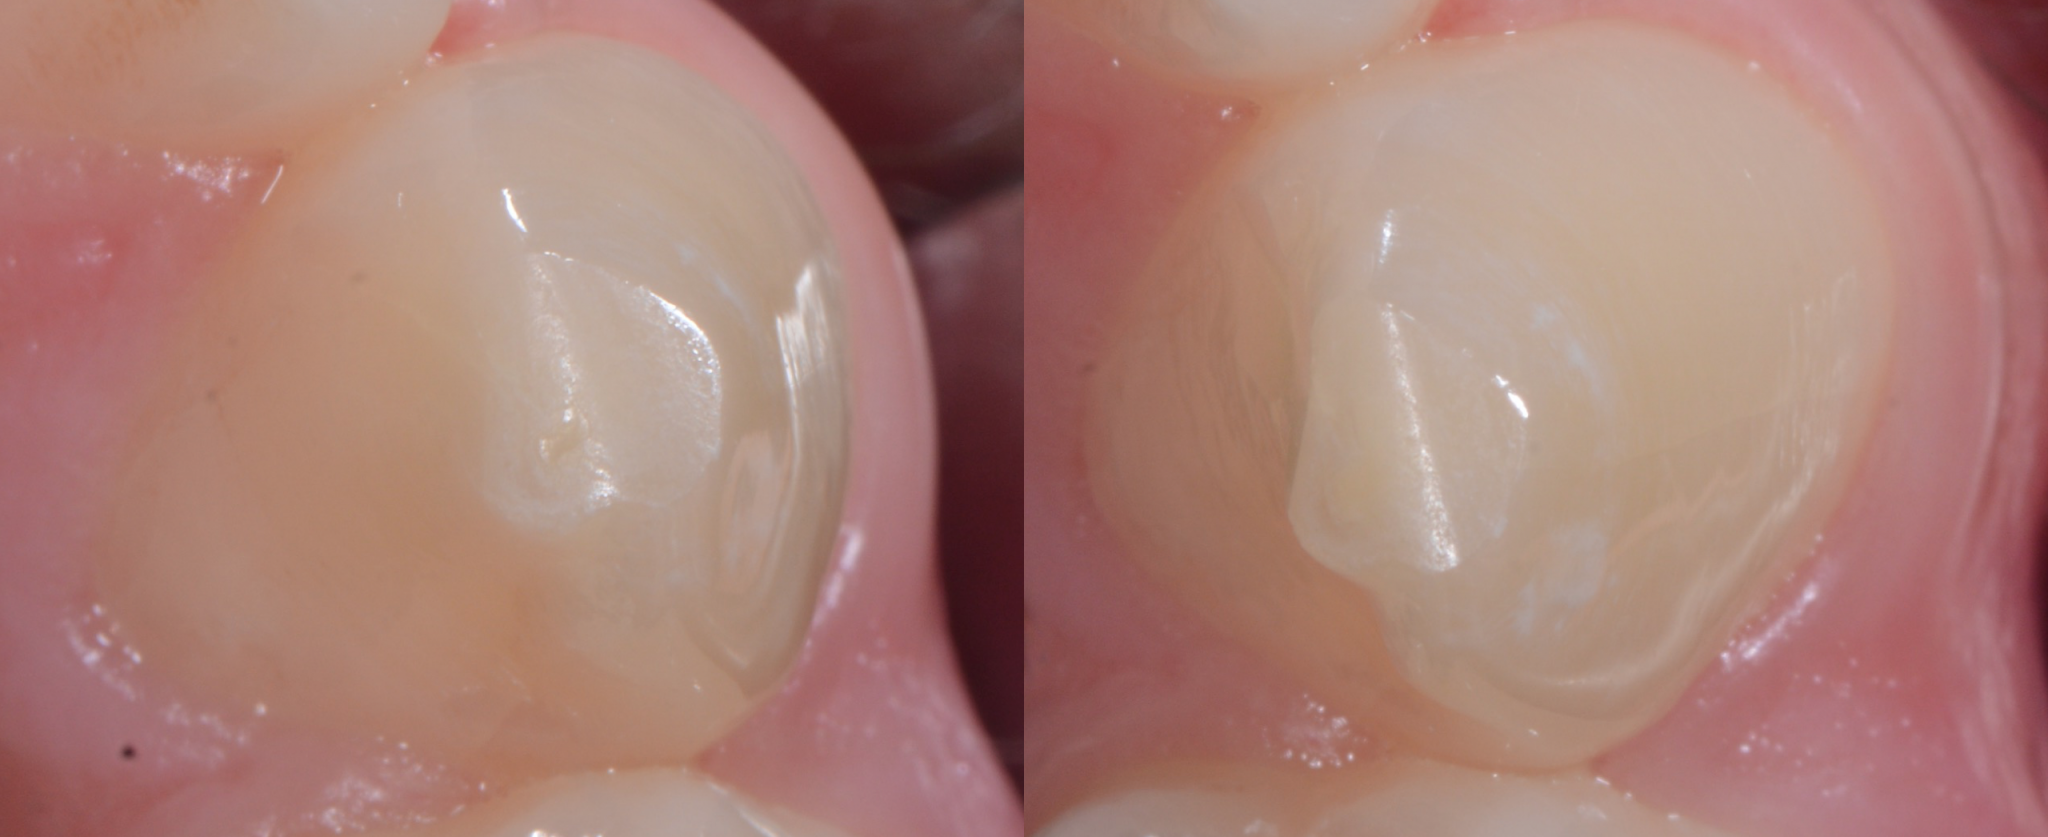
Photo 10
Wear facets on tooth 13.
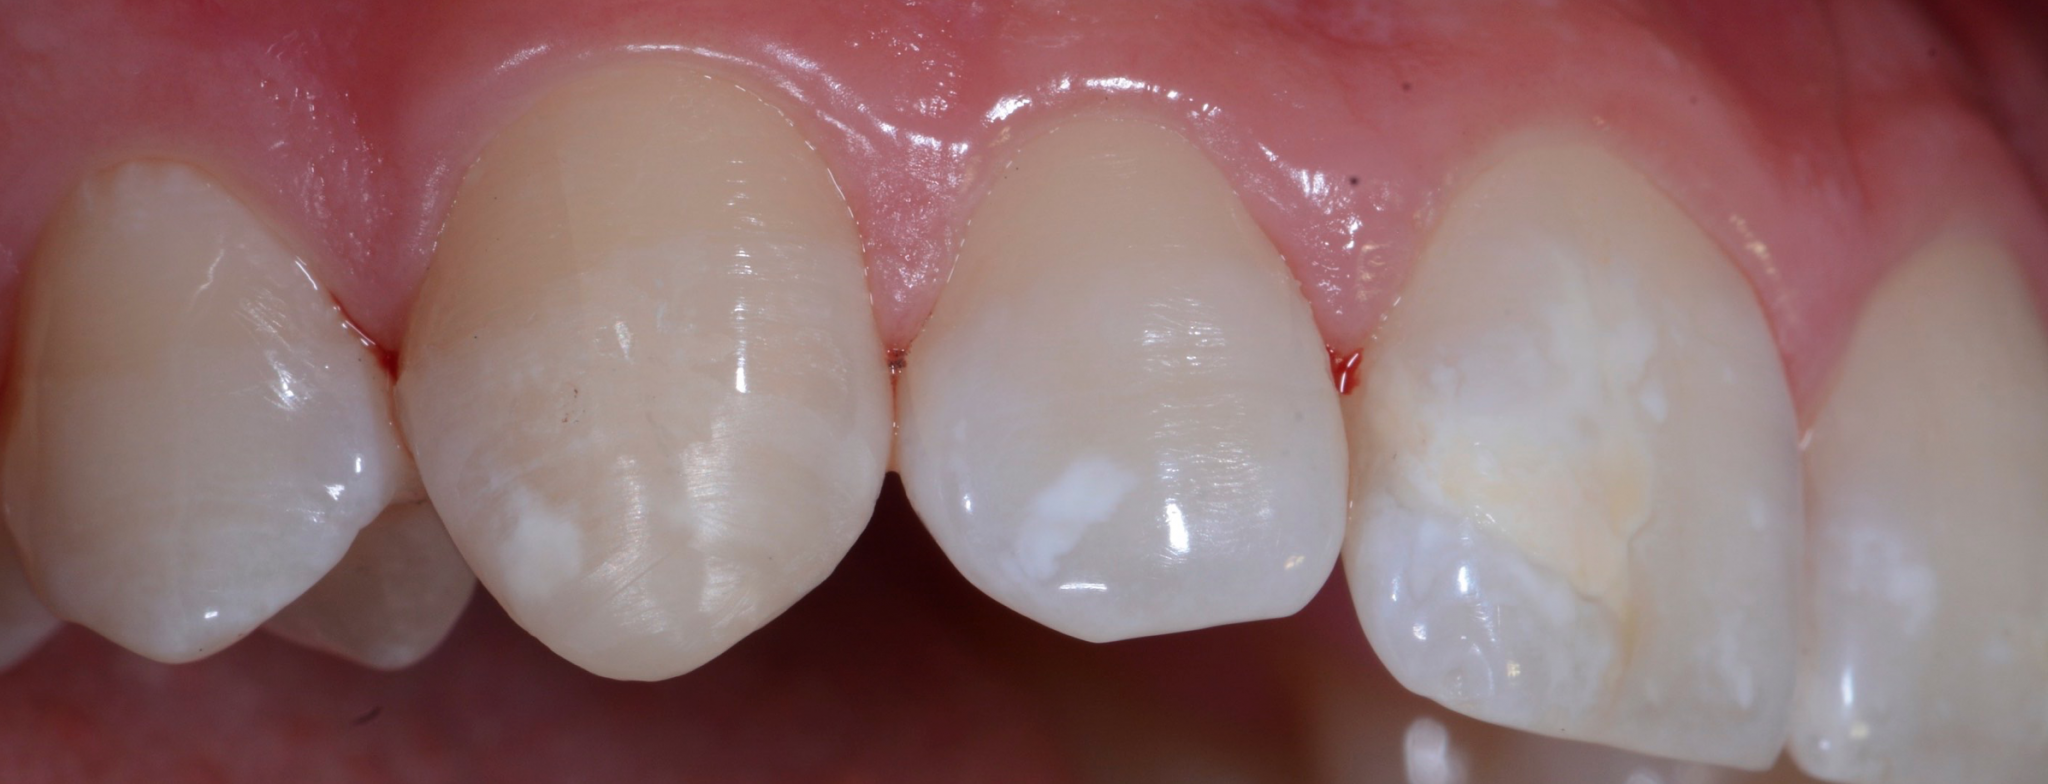
Photo 11
Restoration of tooth 13.
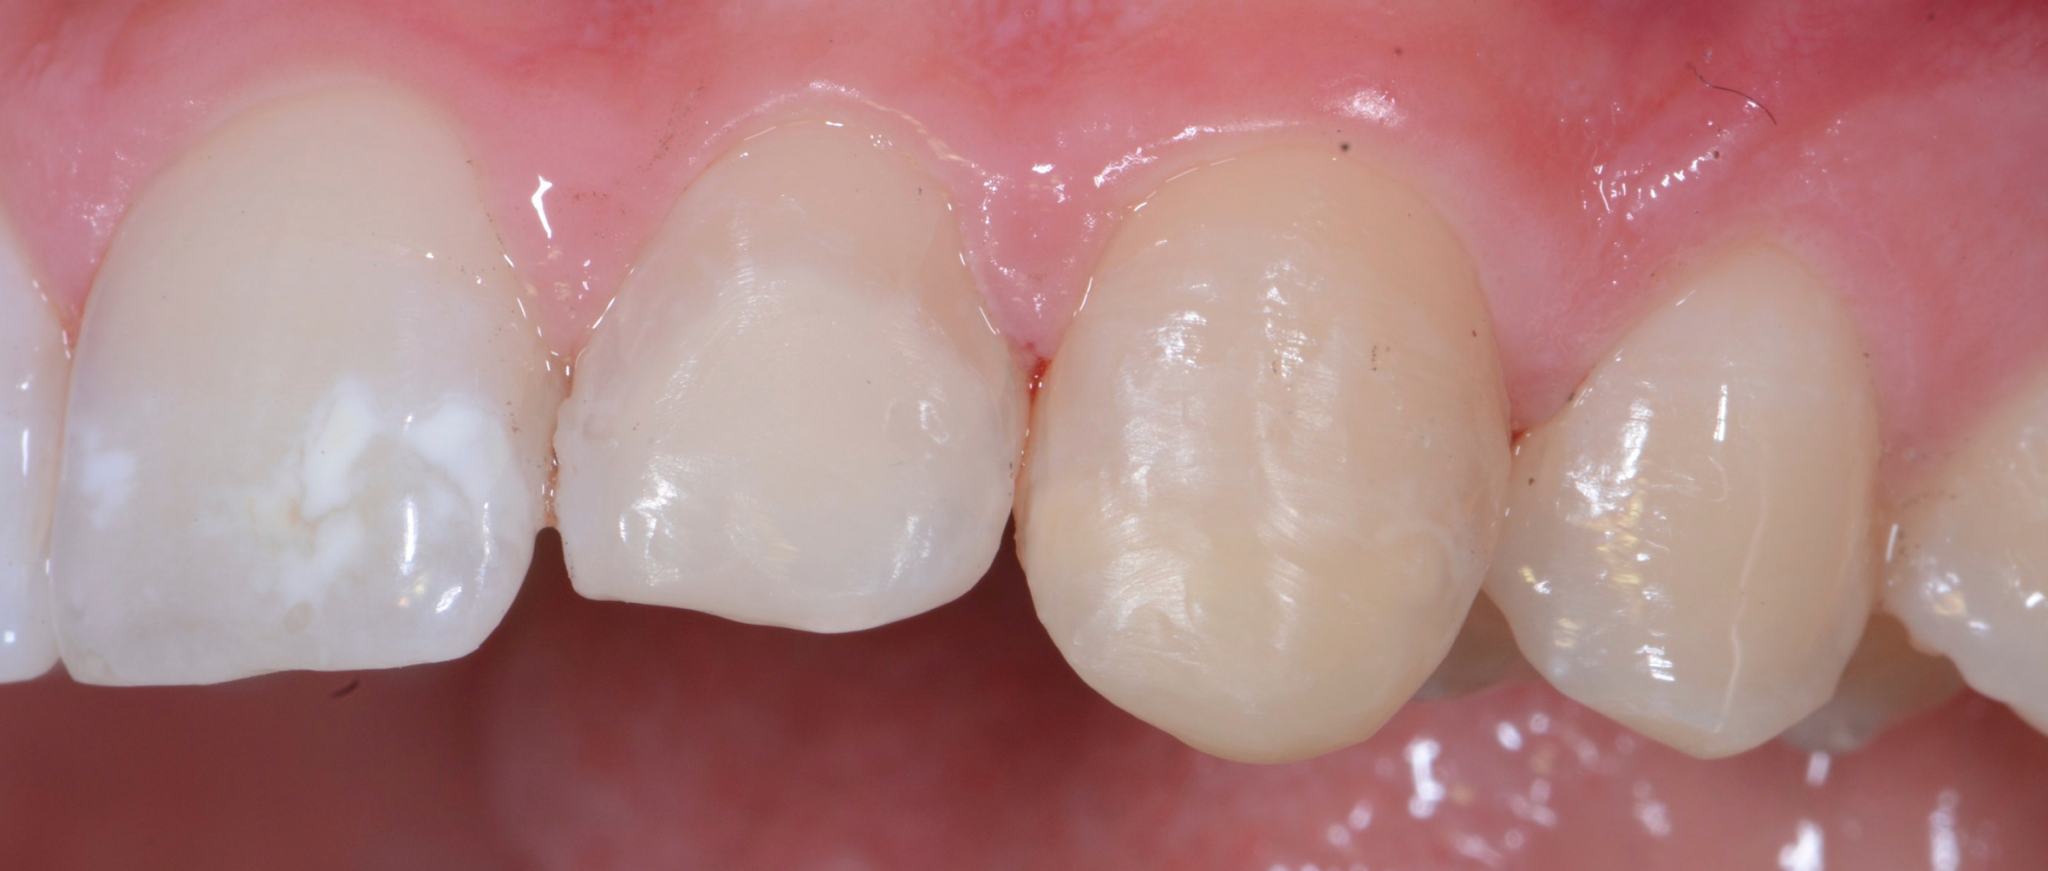
Photo 12
Restoration of teeth 22 and 23.
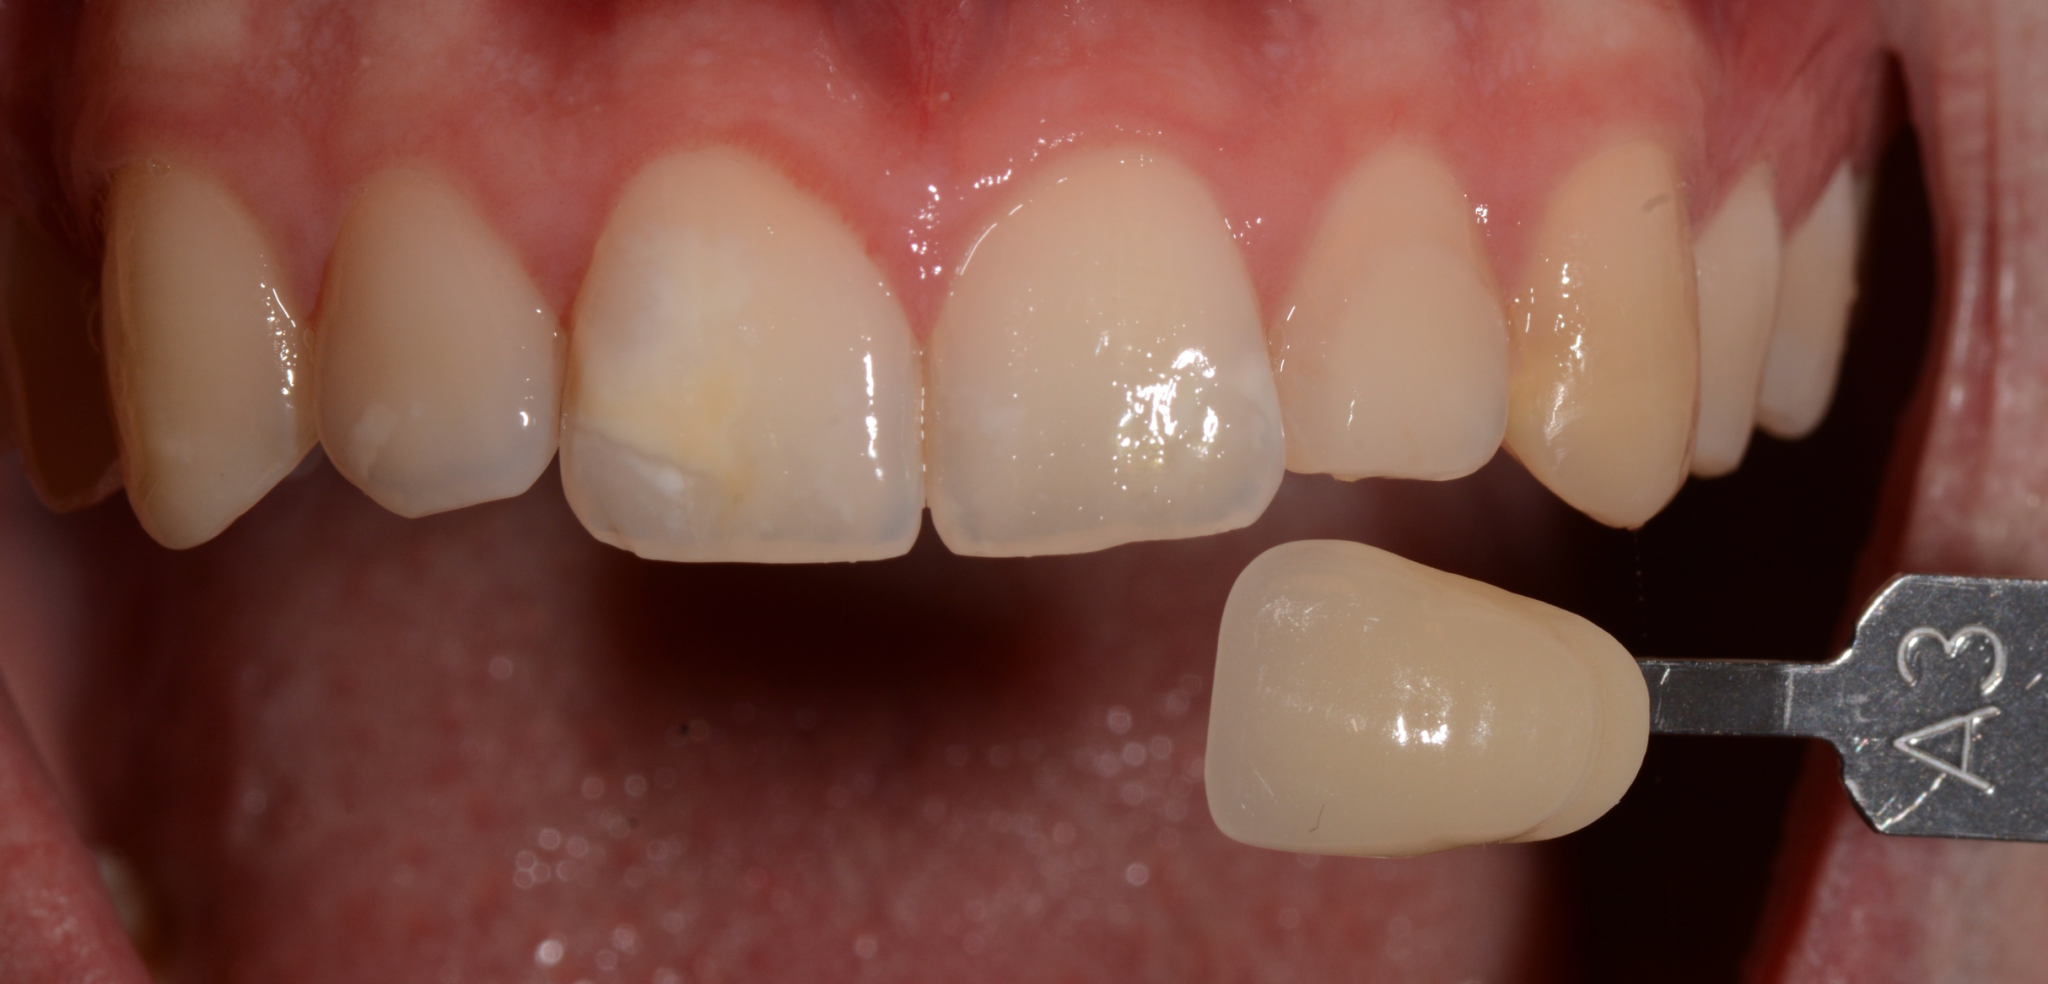
Photo 13
The color of the patient's teeth before the whitening procedure.
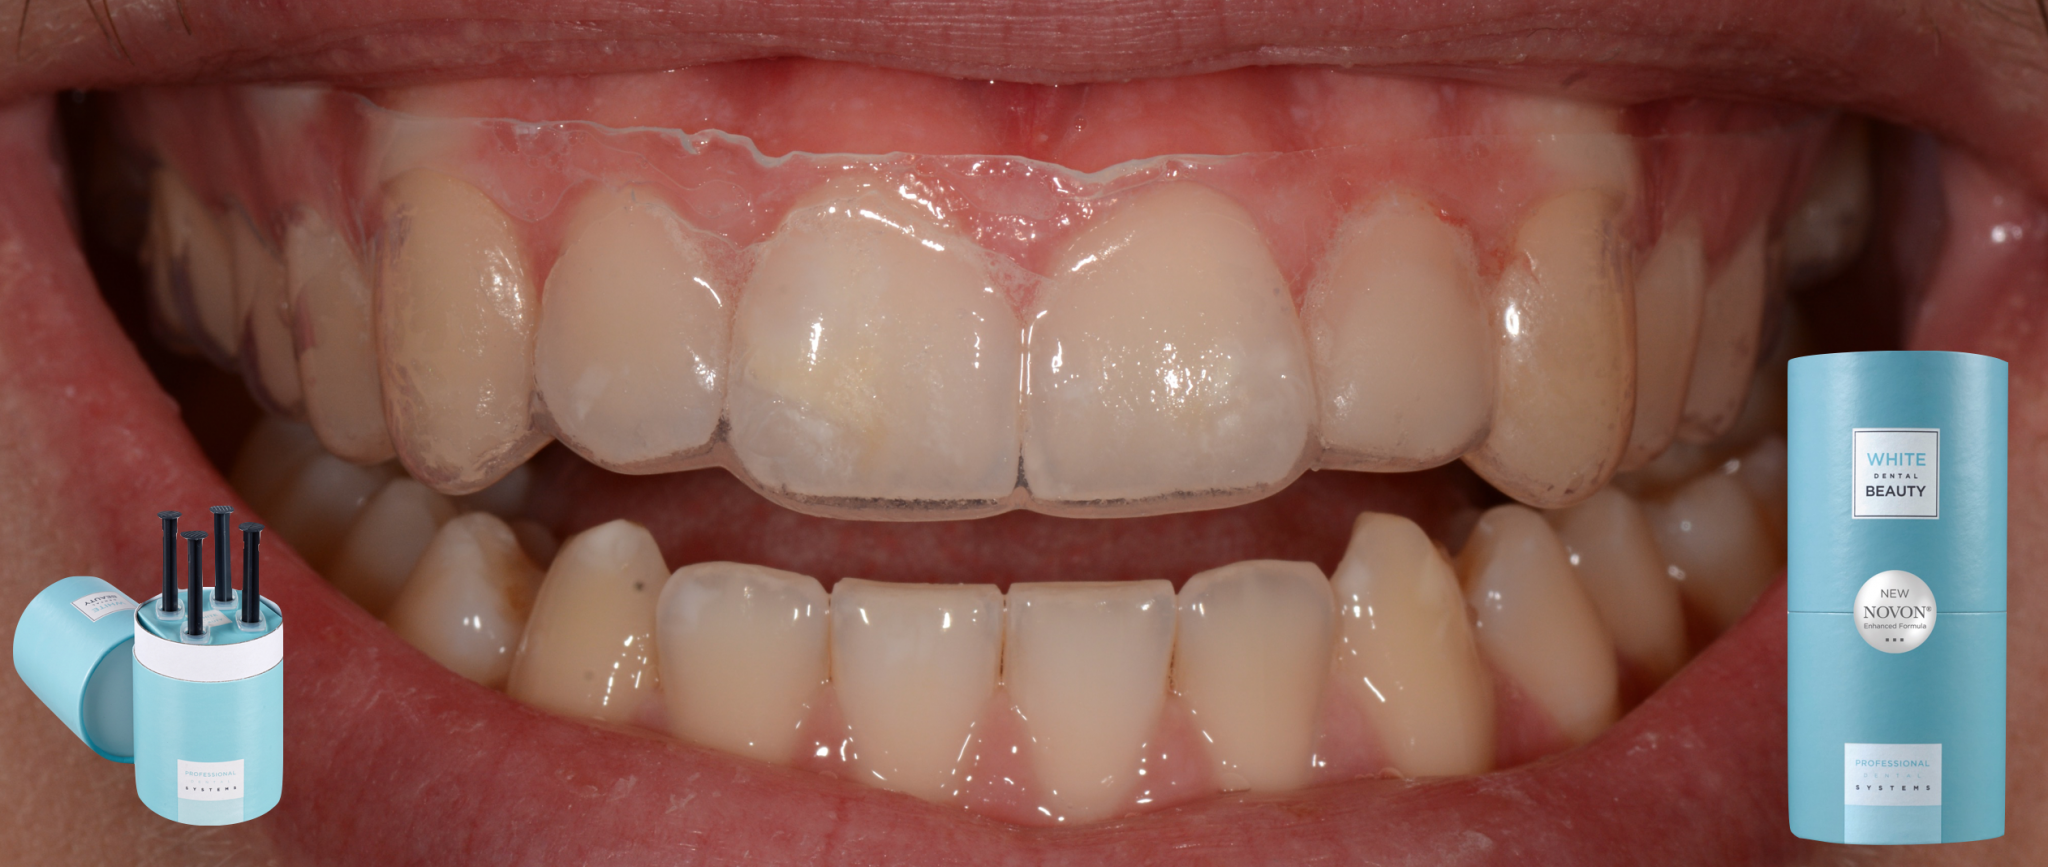
Photo 14
A 16% solution of carbamide peroxide (White Dental Beauty) was added to the mouthguard.
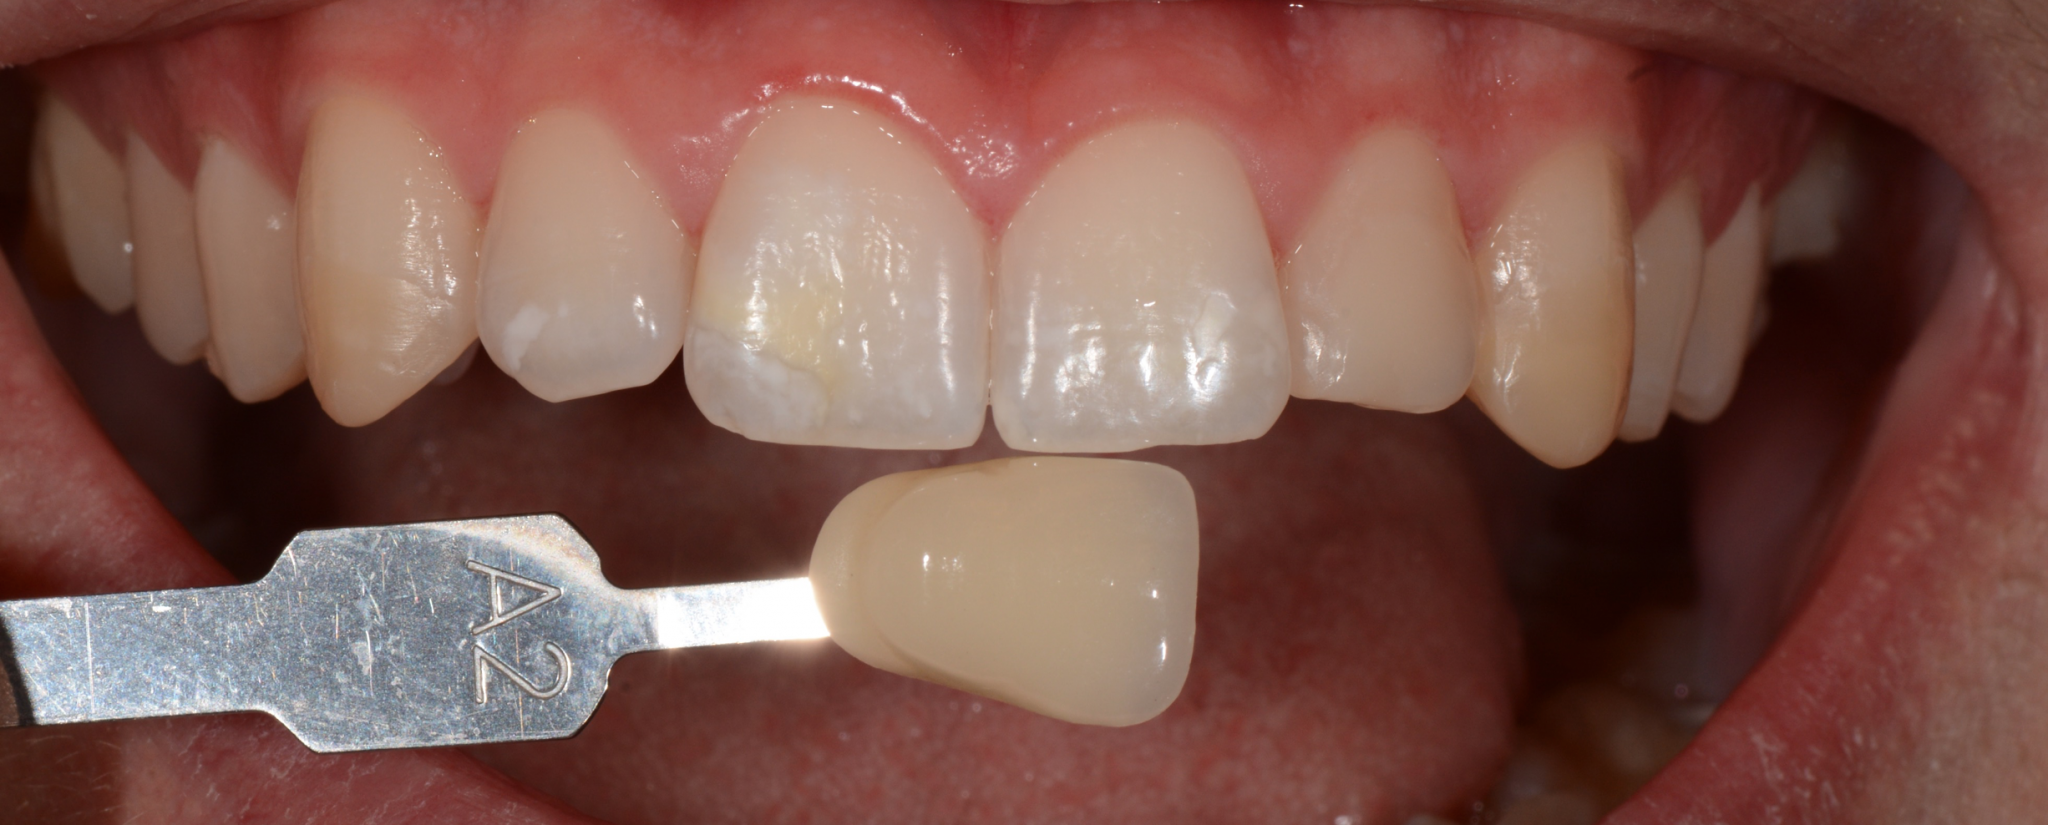
Photo 15
Control in a week.
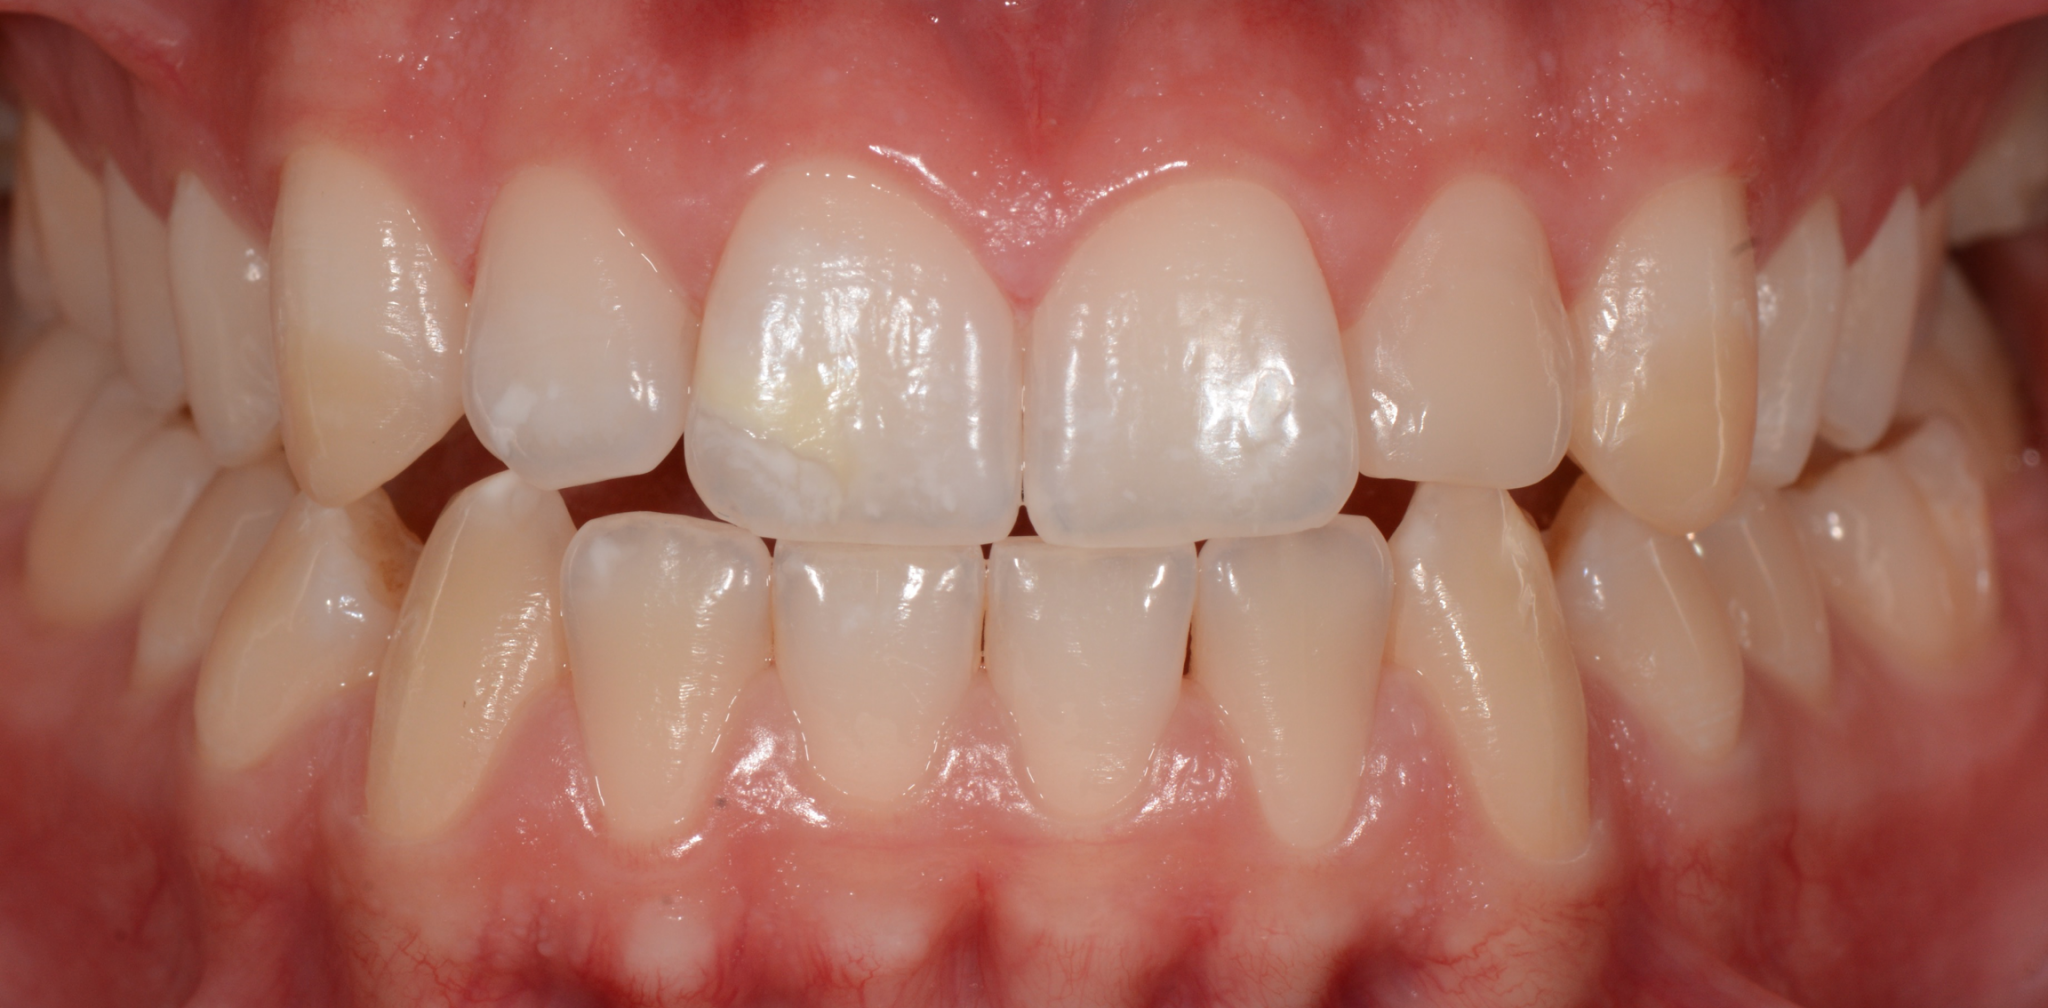
Photo 16
The difference is visible between the bleached teeth of the upper jaw, restorations and teeth of the lower jaw, where no bleaching was performed.

Photo 17
Control after 2 weeks.
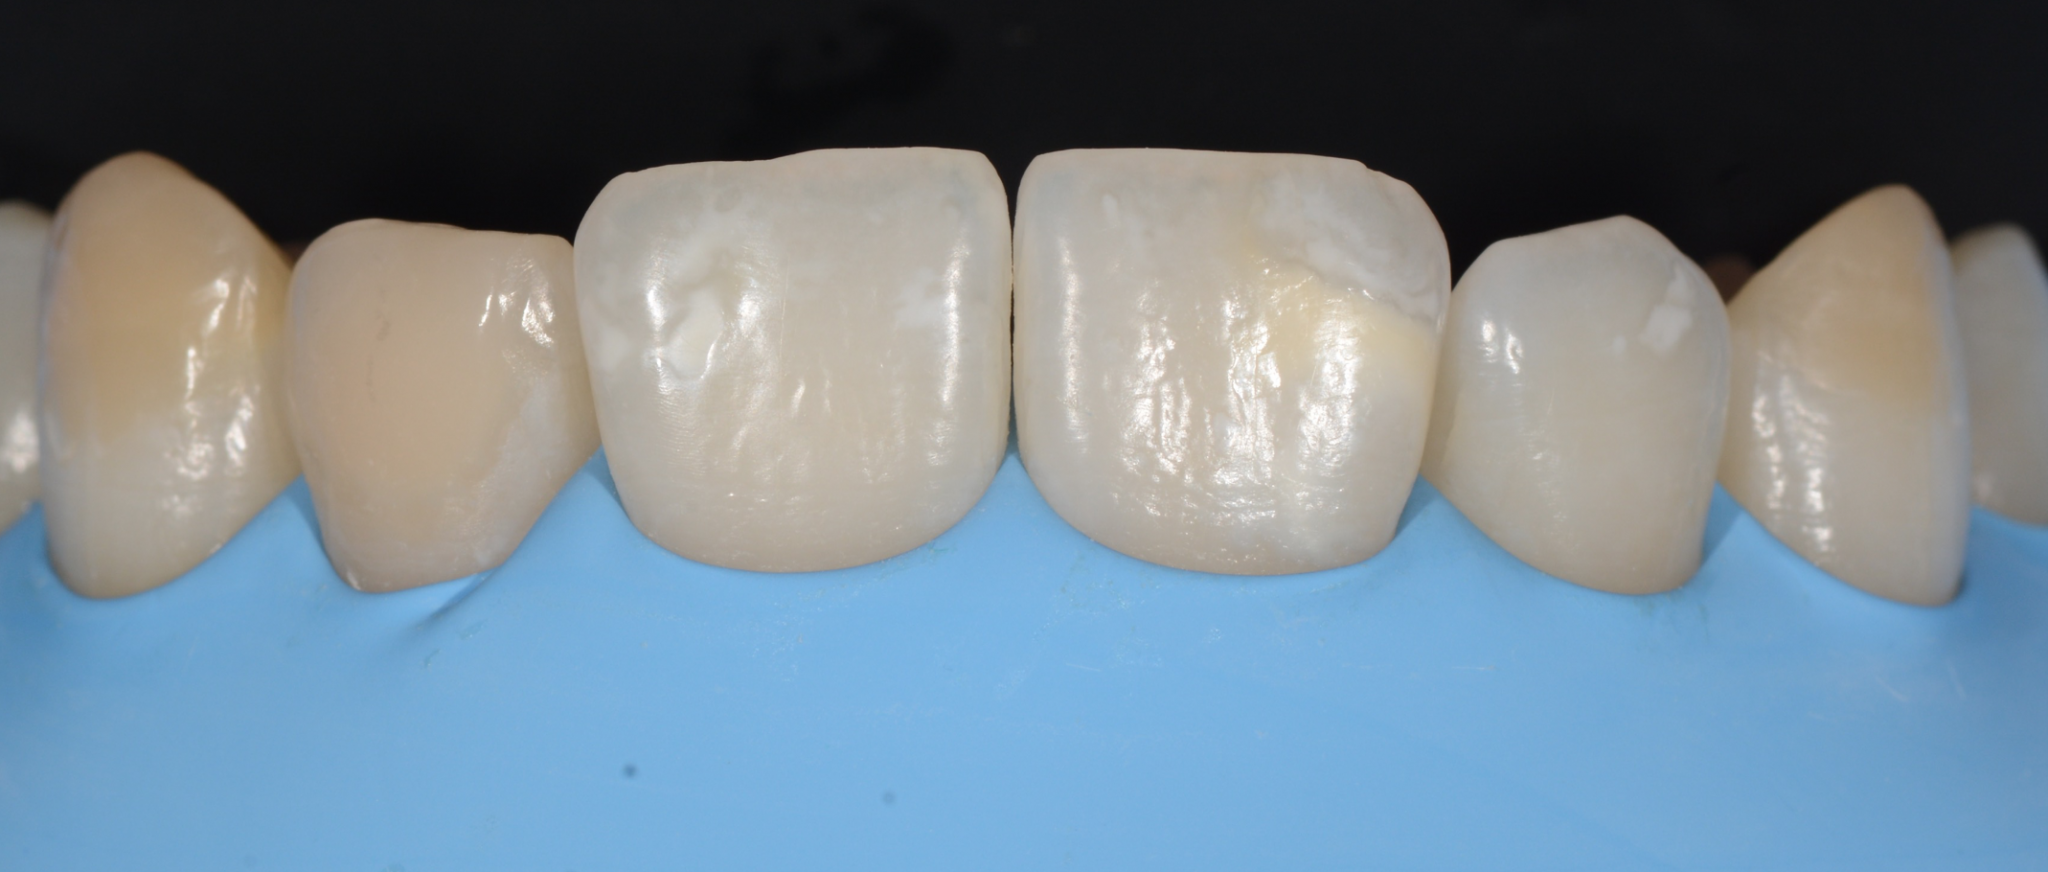
Photo 18
20 days after bleaching and fabrication of restorations.
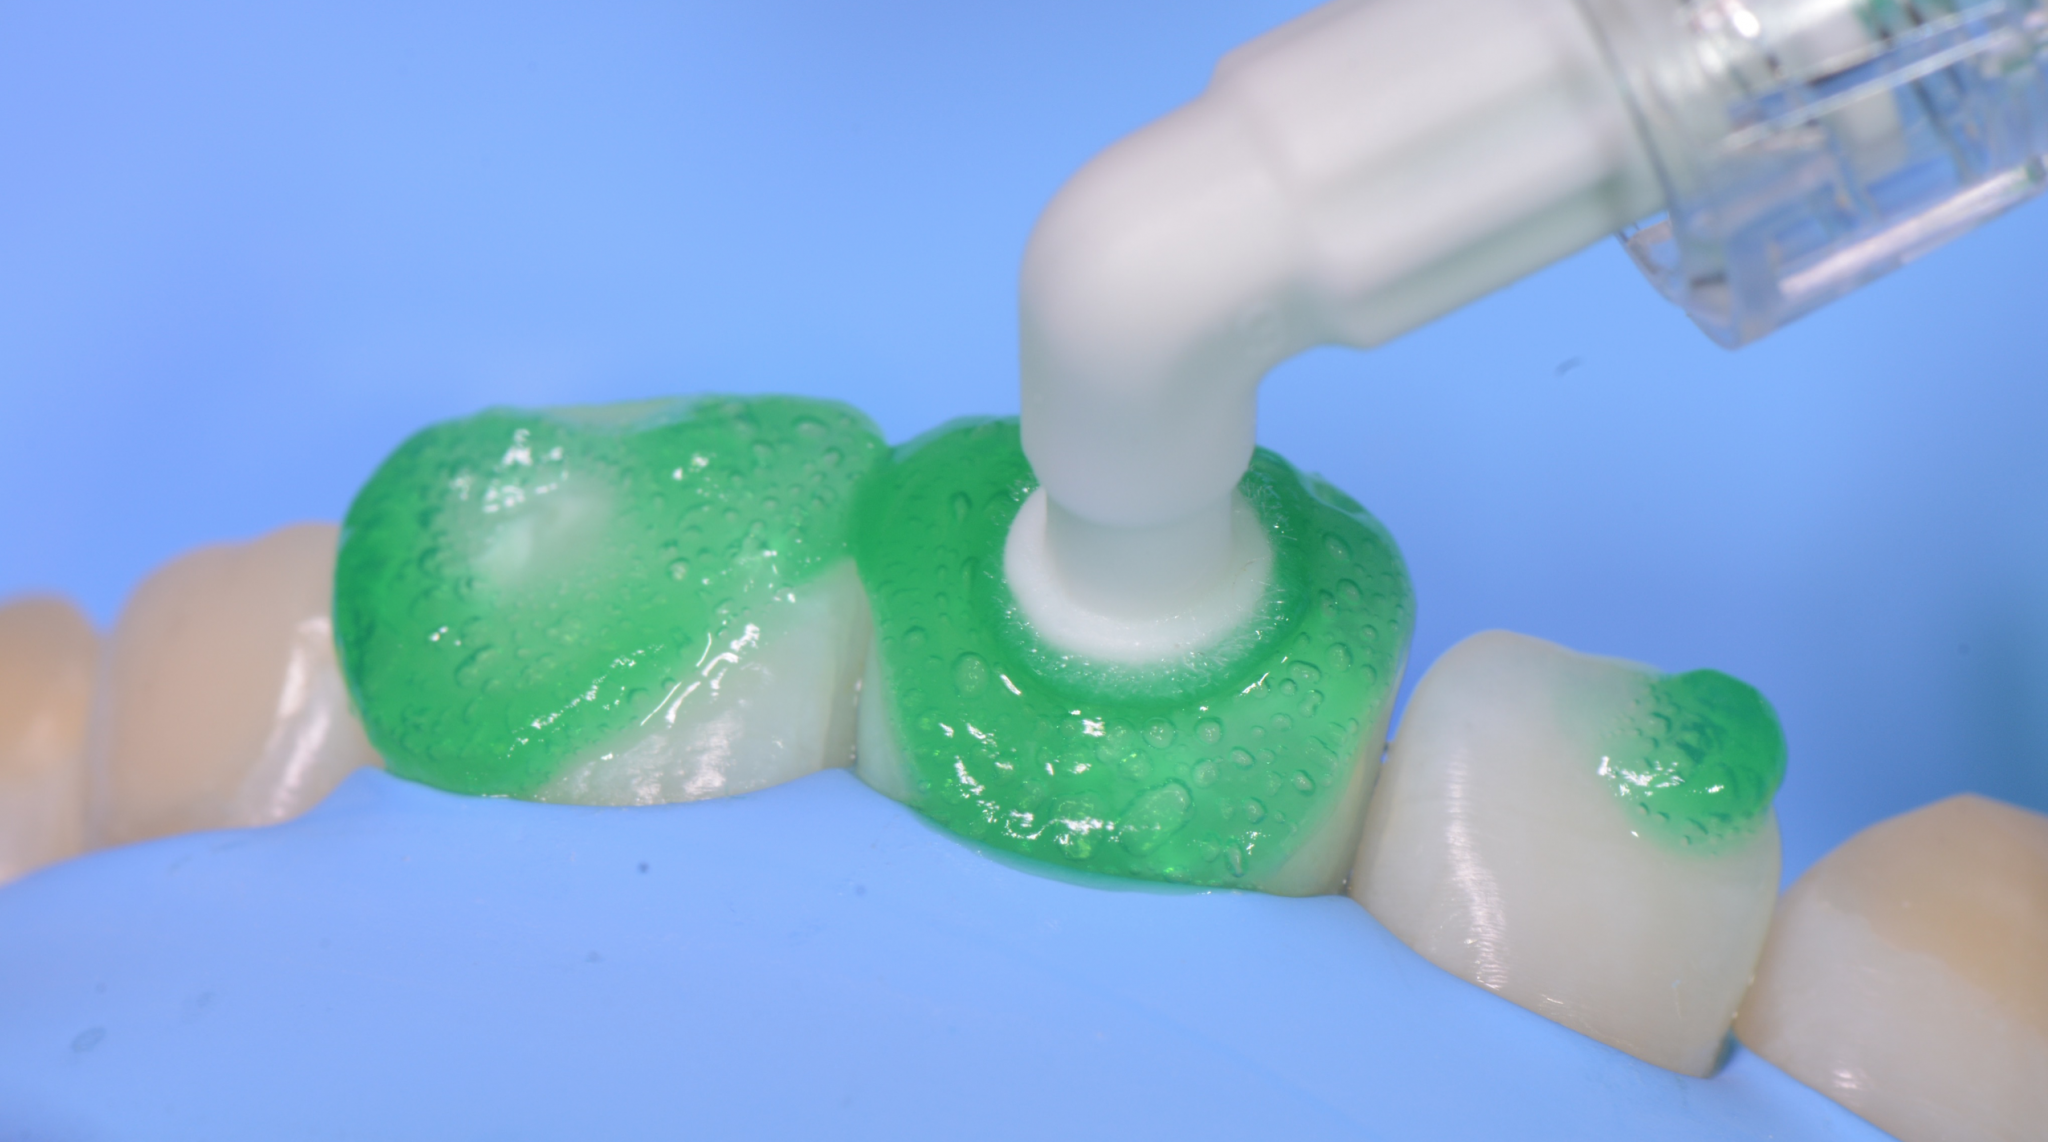
Photo 19
Application of the Icon system etching gel.
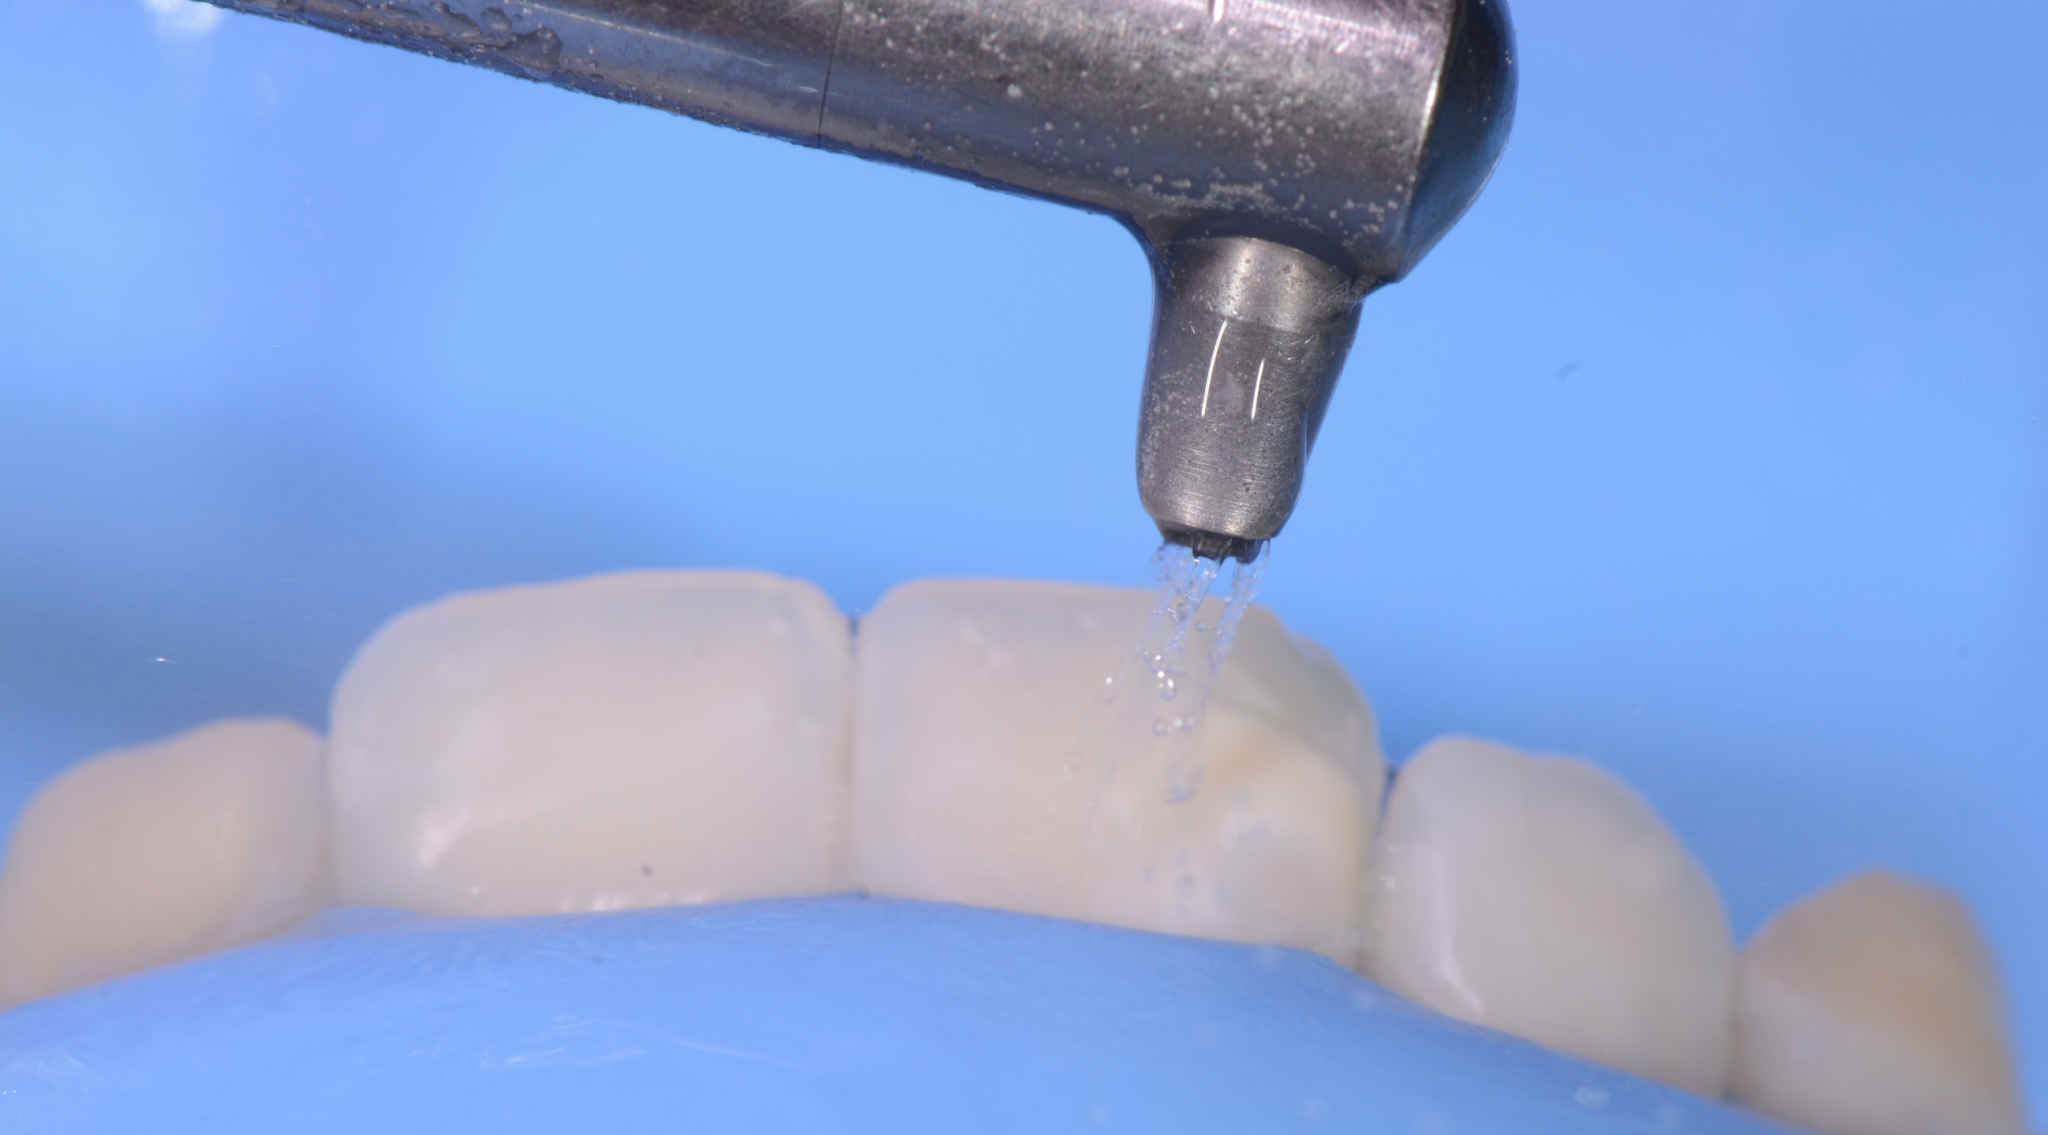
Photo 20
Sandblasting. The white spots on the central incisor turned out to be so deep that even after various etching options they did not achieve the desired result. Therefore, it was decided to sandblast with aluminum dioxide particles (size 27 microns).
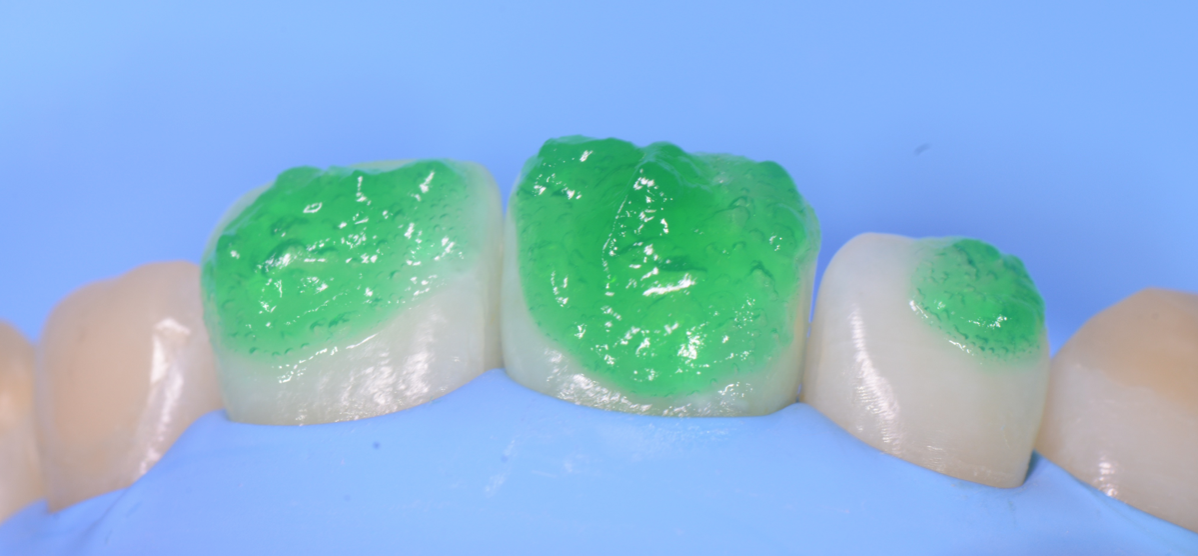
Photo 21
Etching after sandblasting.
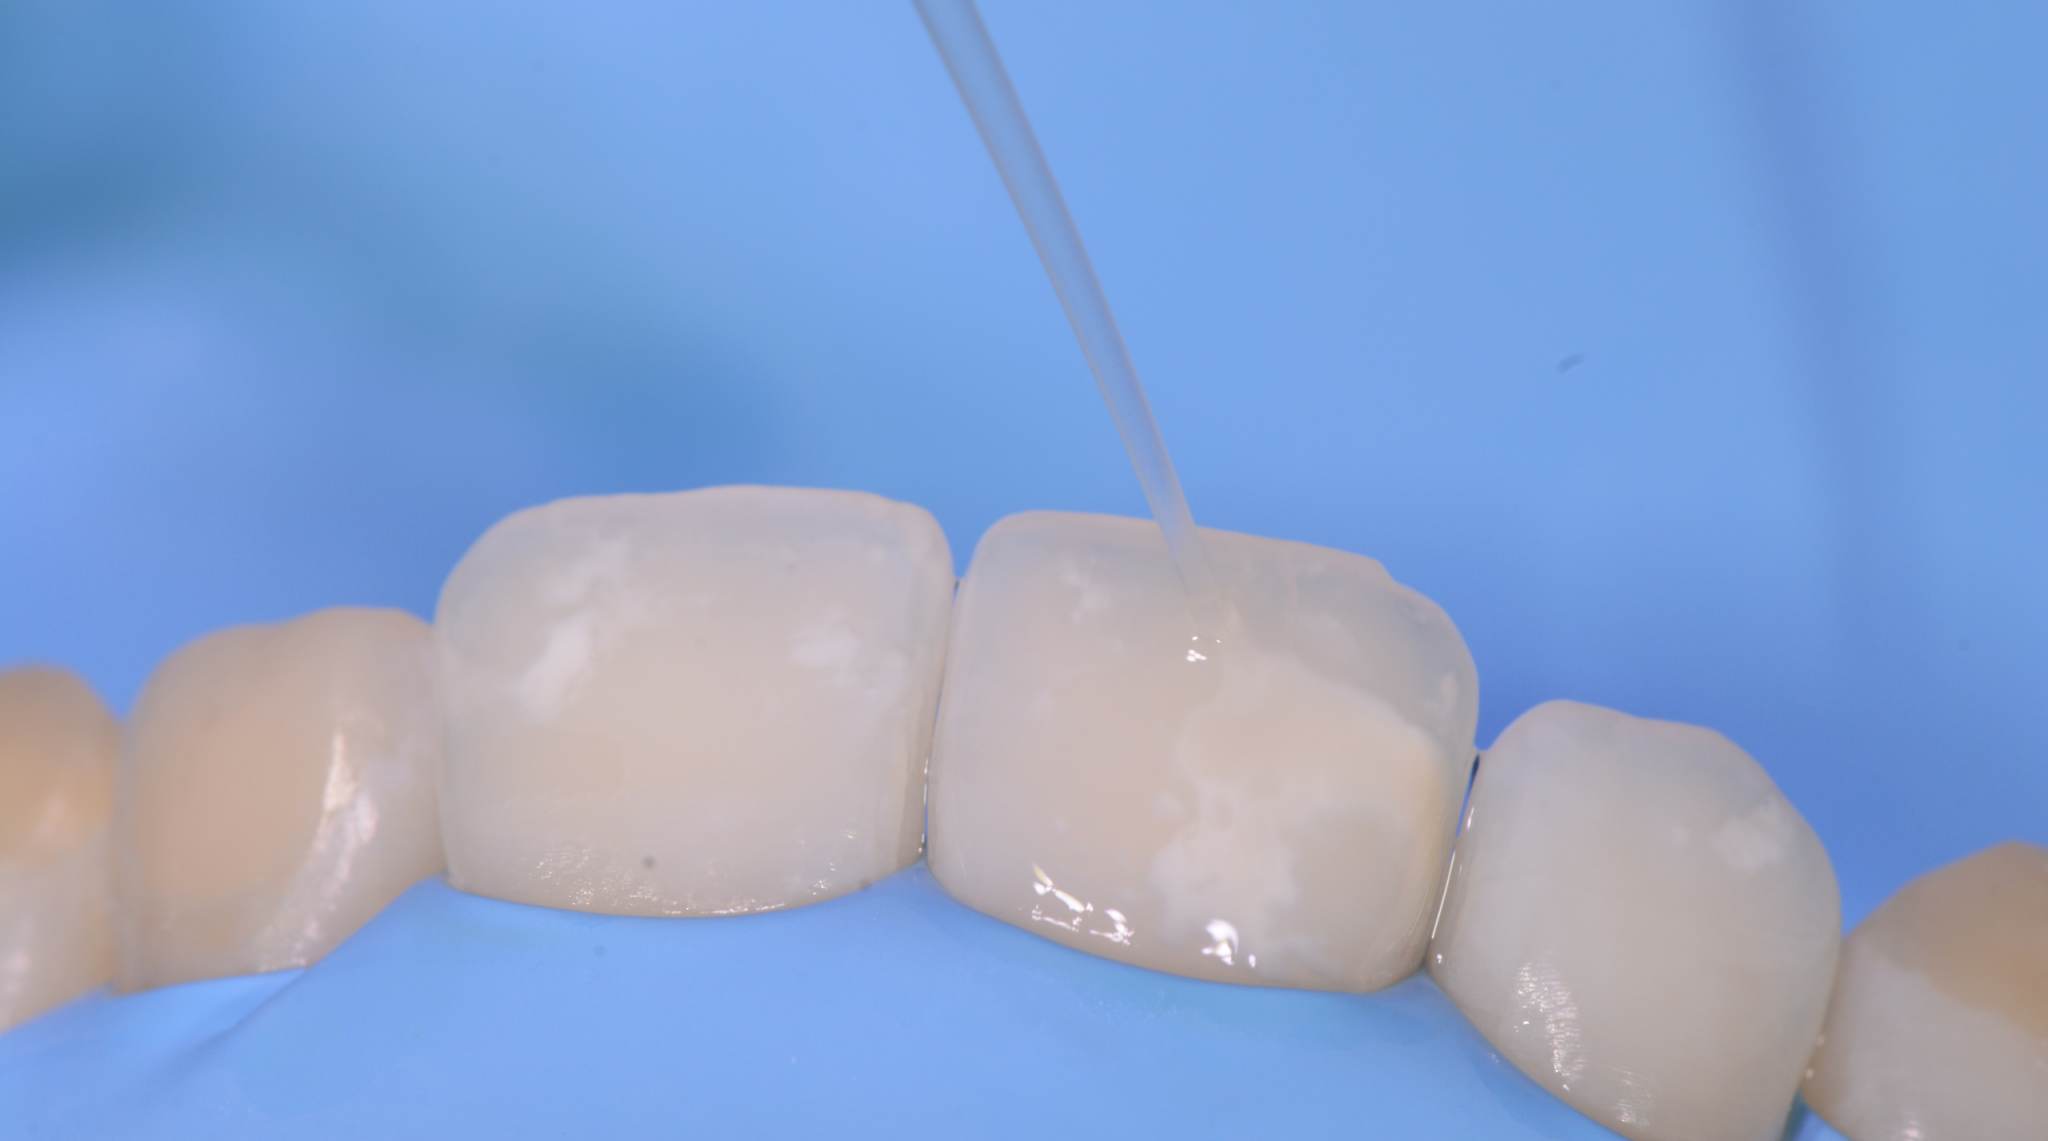
Photo 22
Treatment with an alcohol solution for the purpose of preliminary visualization of the result.
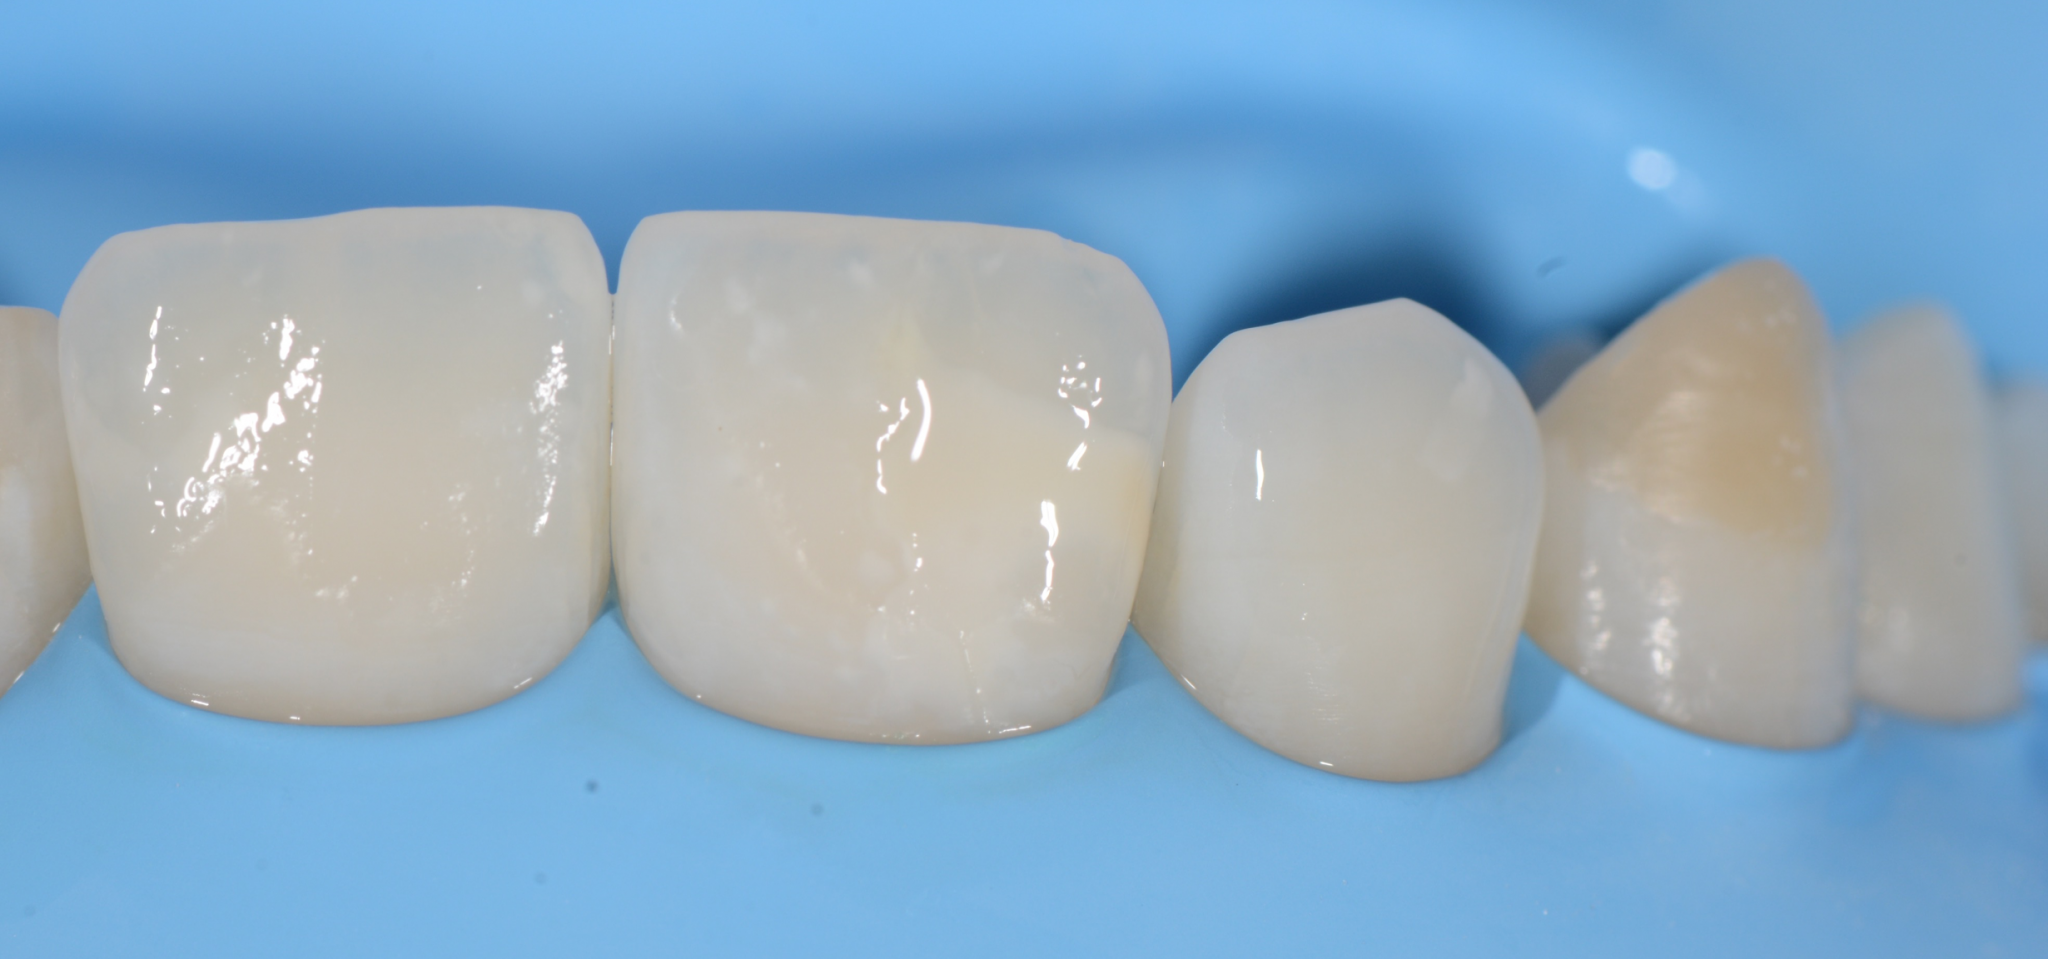
Photo 23
The teeth are covered with an alcohol solution.
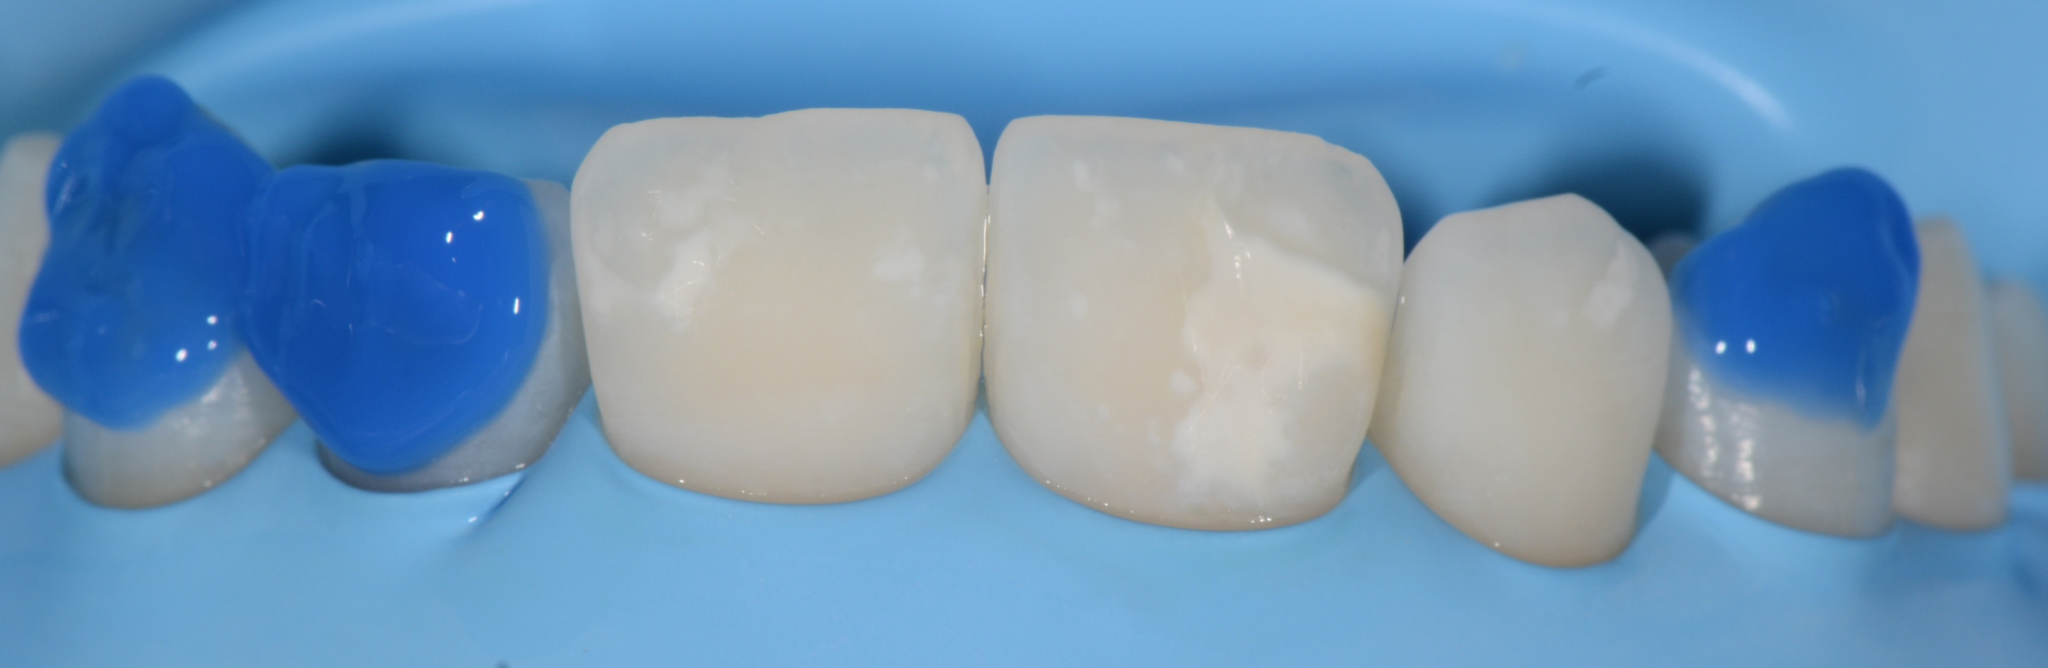
Photo 24
The surface layers of the restorations were removed to replace them.
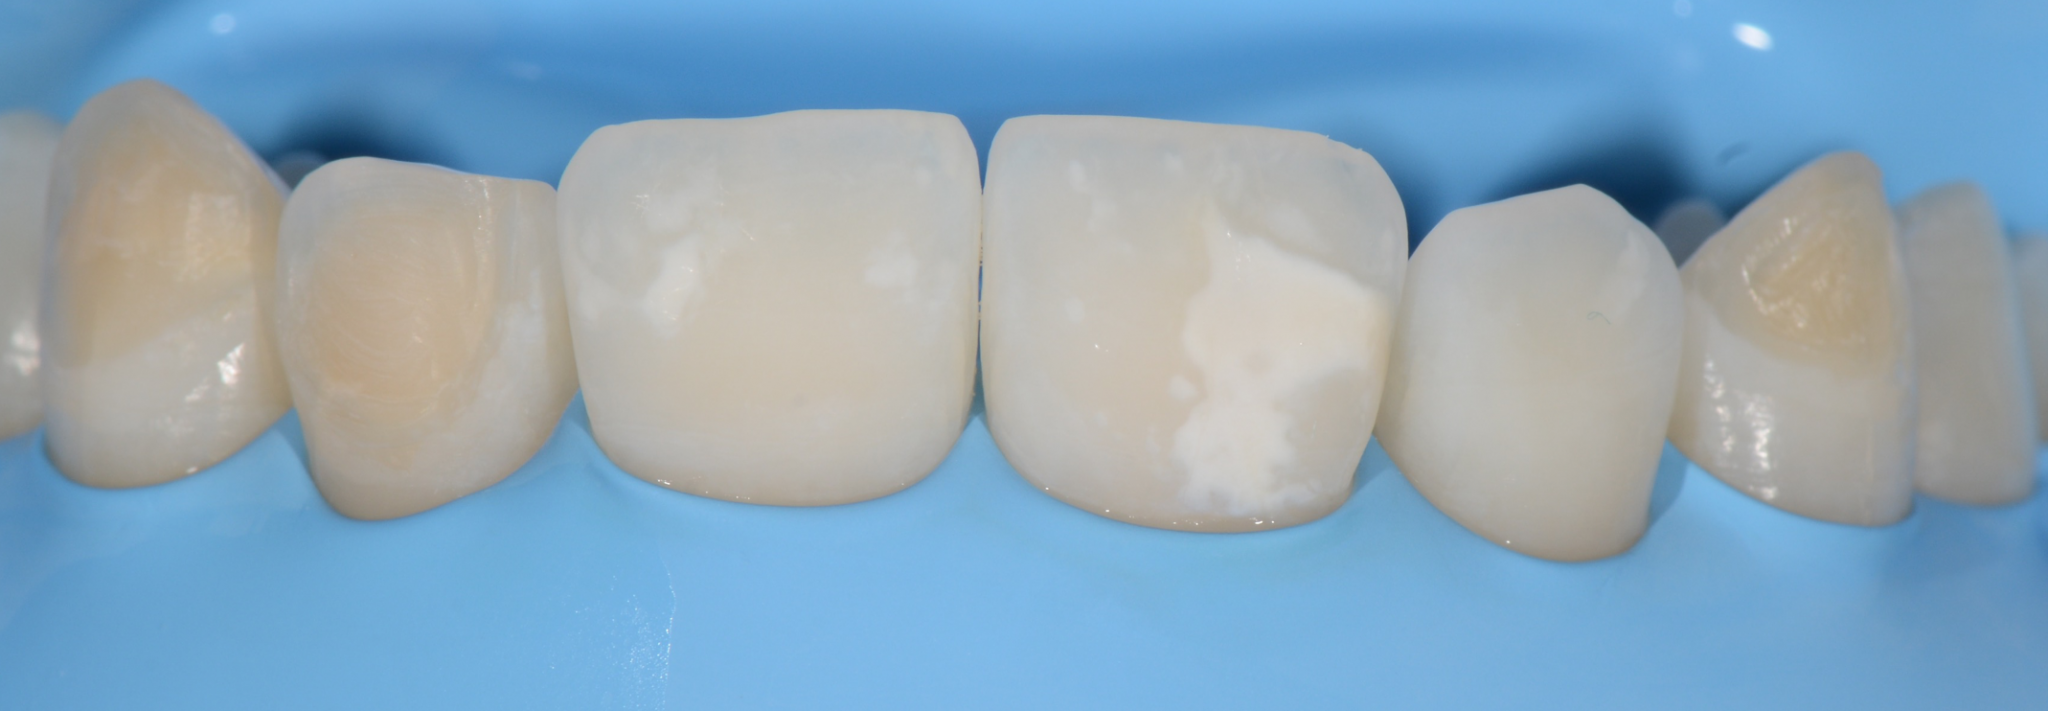
Photo 25
View after etching.
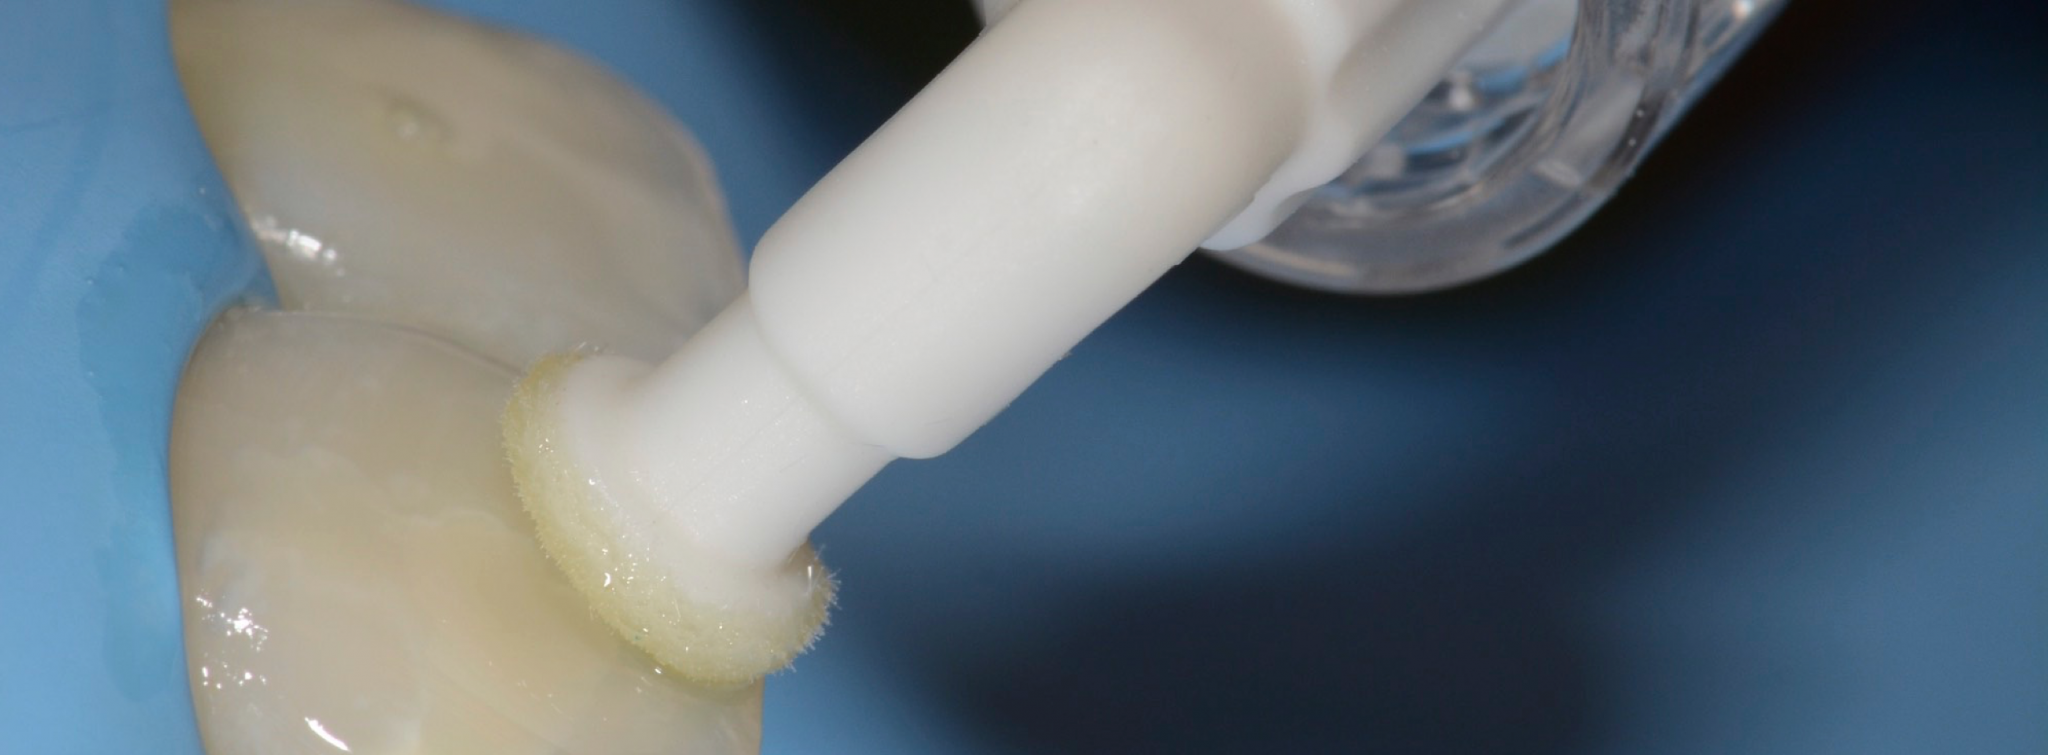
Photo 26
Infiltration Icon.
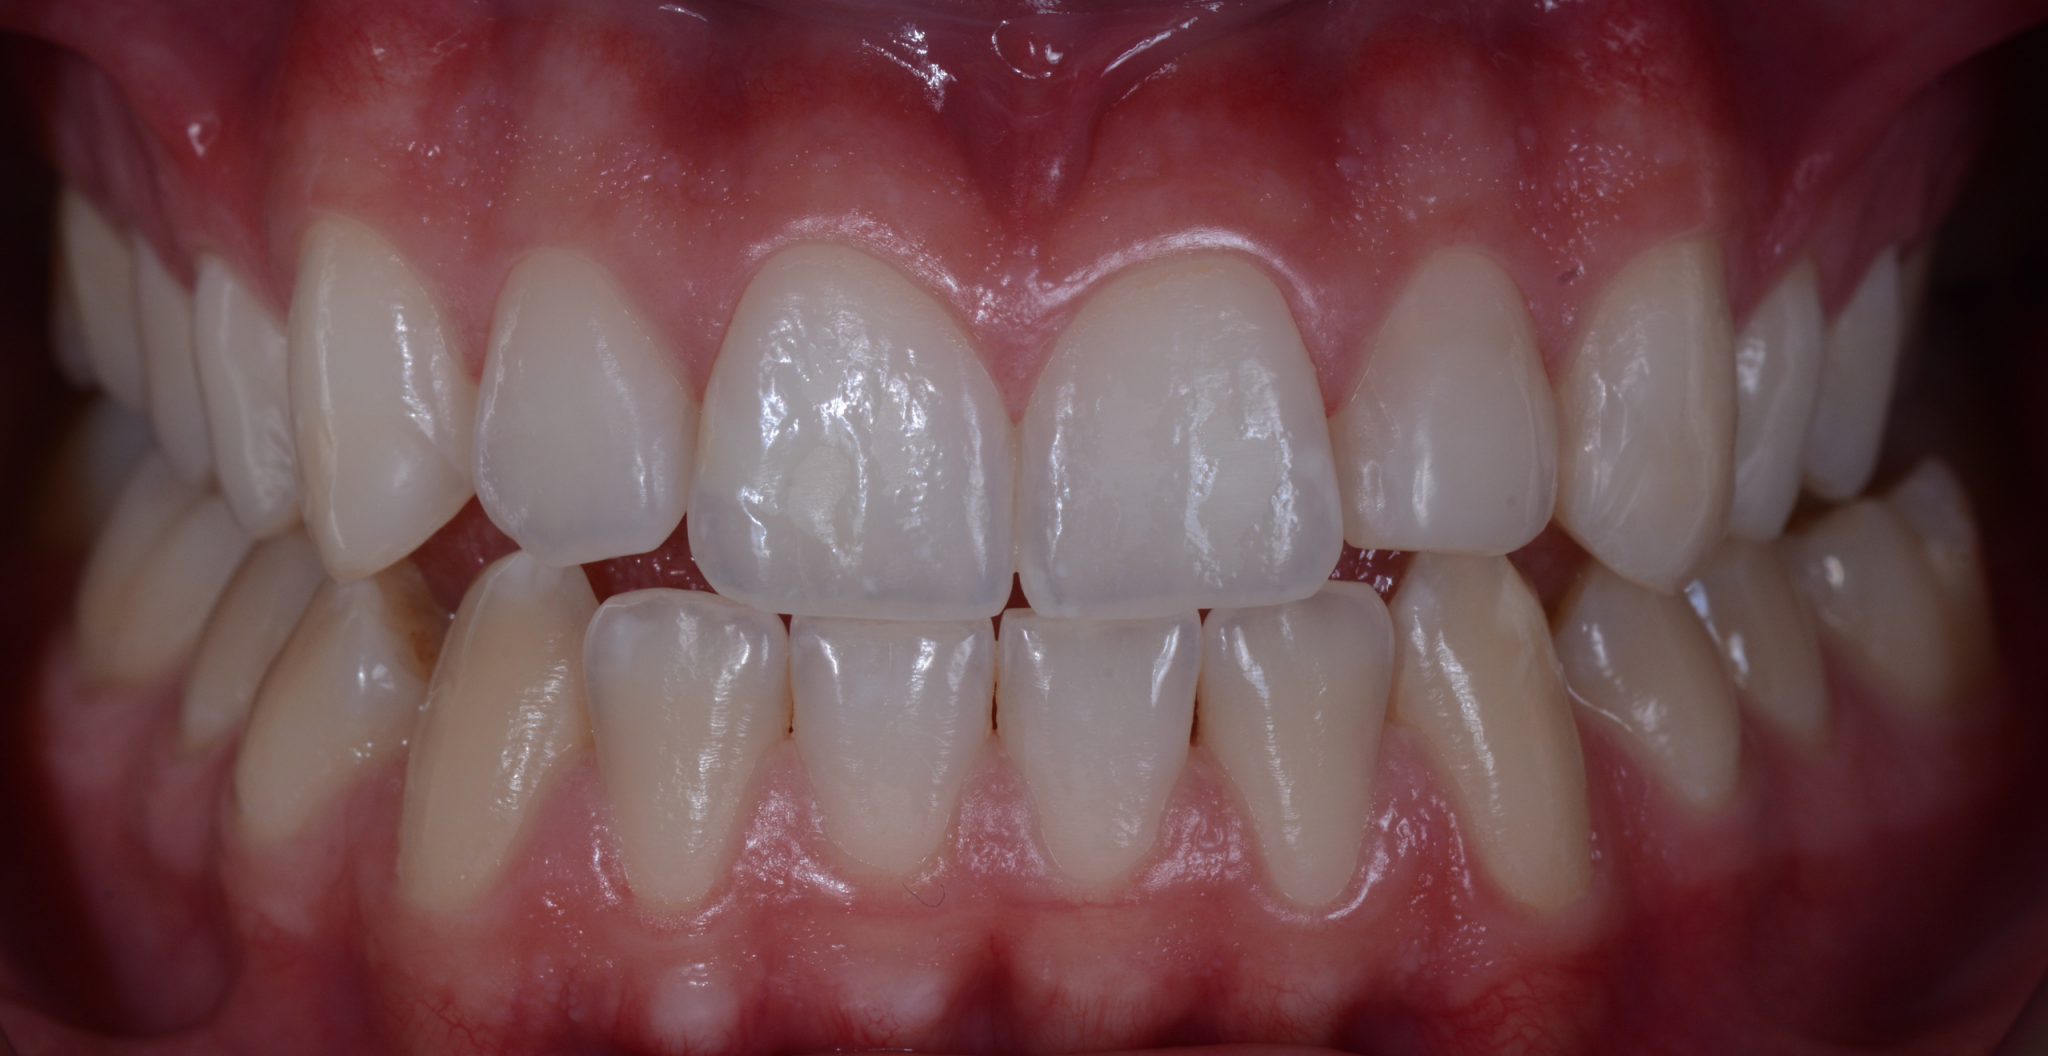
Photo 27
Photo immediately after completion of treatment.
An error occurred at this stage. Having performed microabrasion, it was necessary to fill the defect with some kind of composite in addition to Icon, but this was not done.
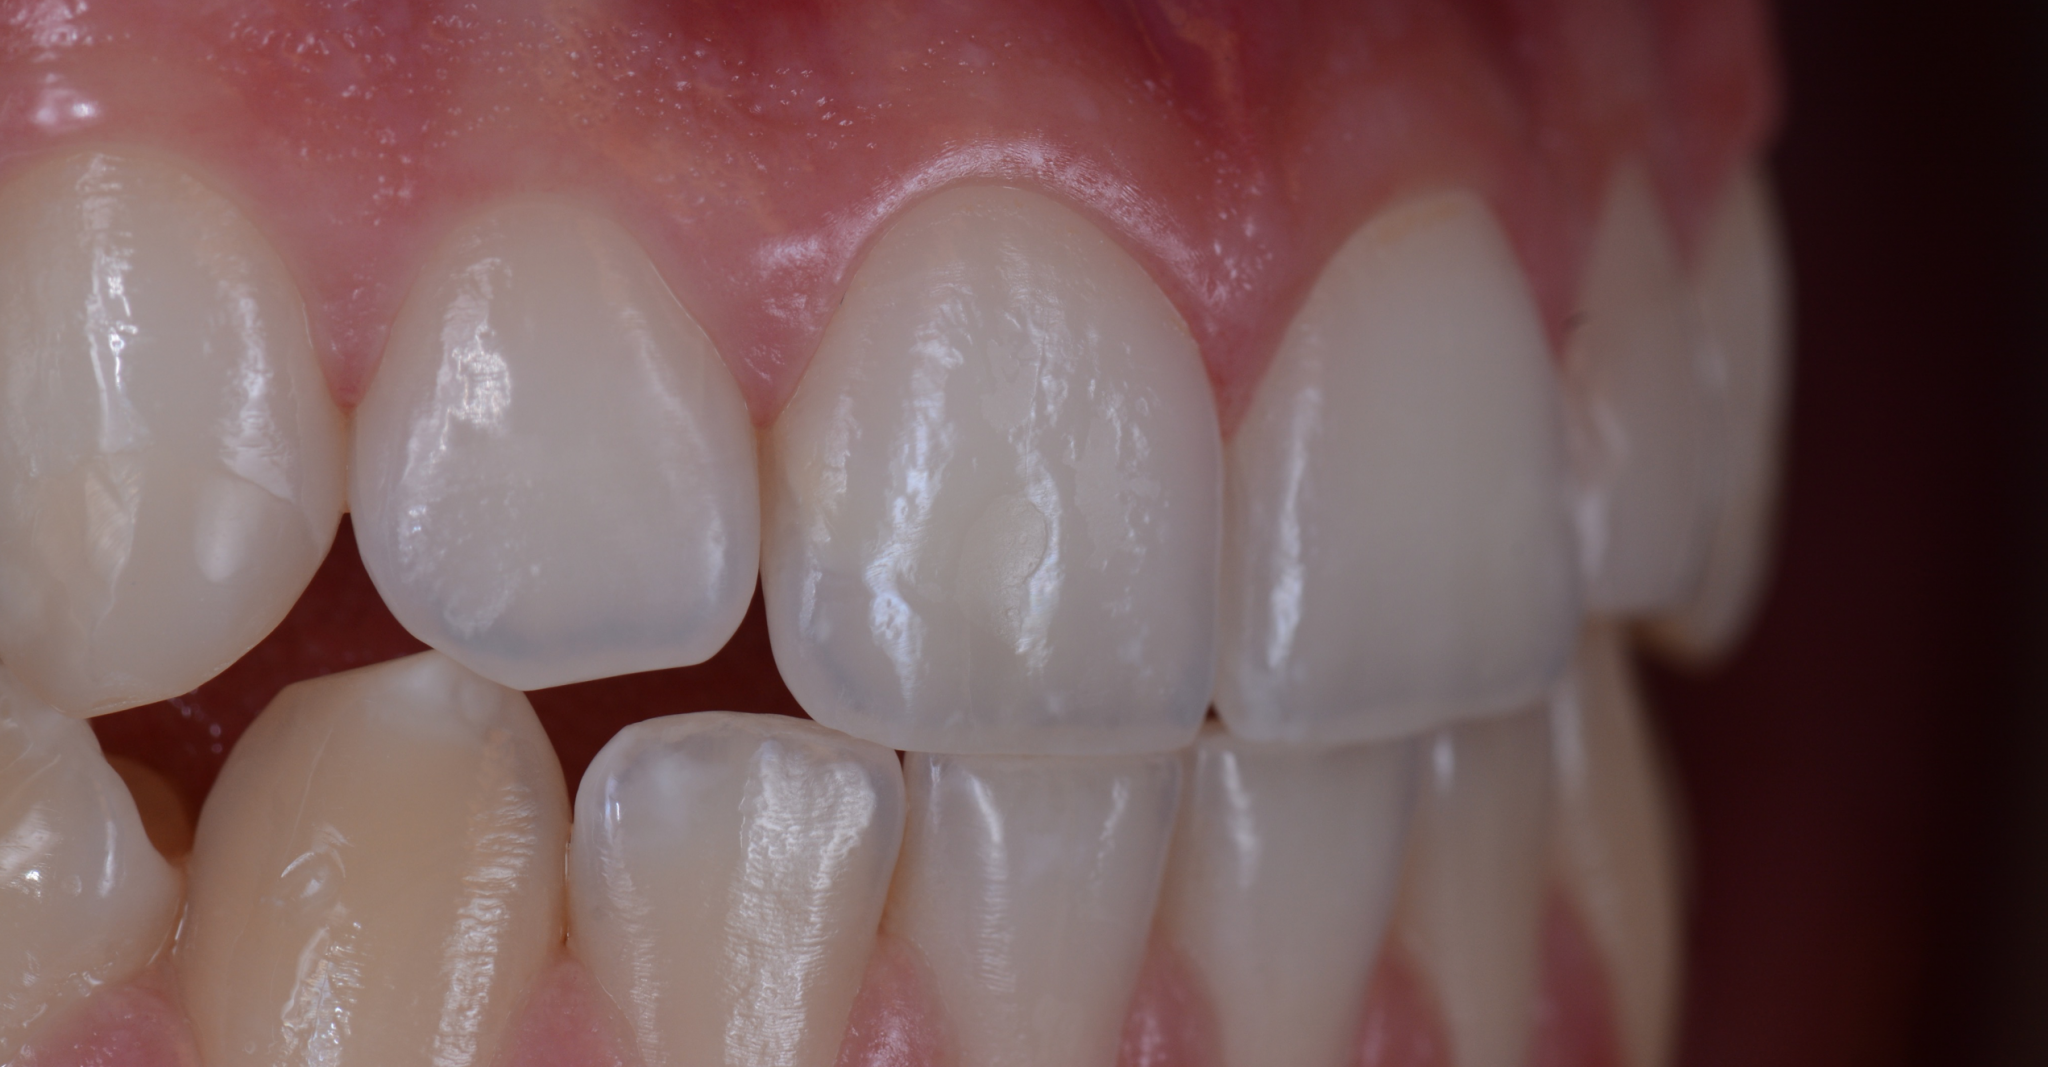
Photo 28
The defect of tooth 11 will be corrected with the next restoration.
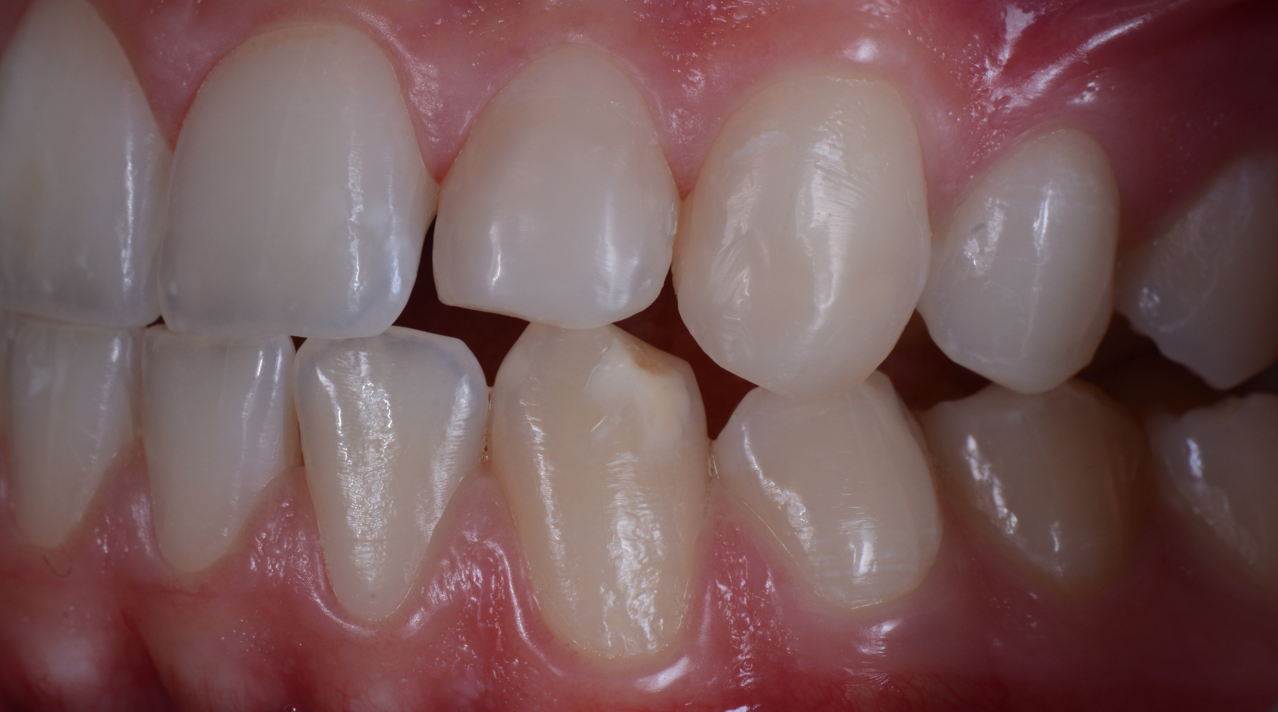
Photo 29
Photo from the side.
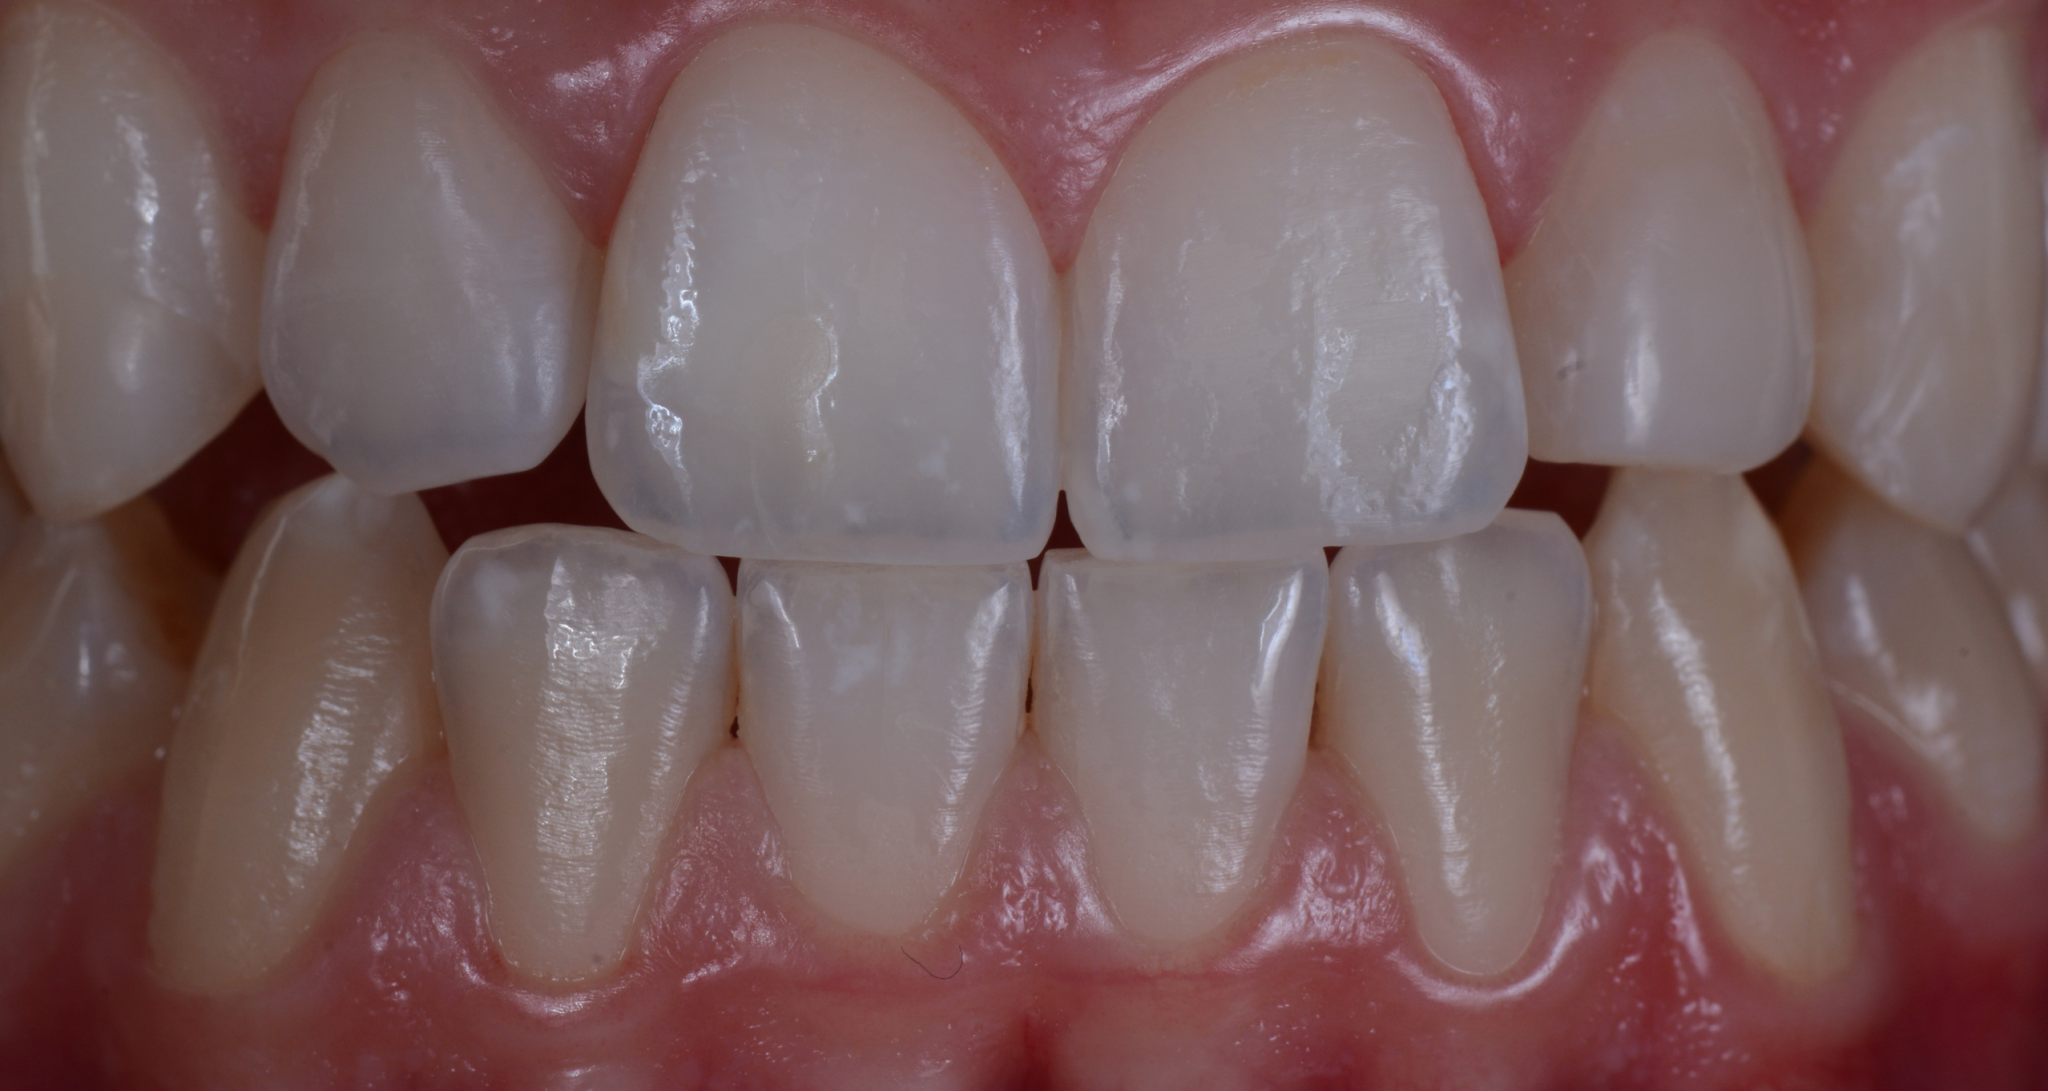
Photo 30
Difference in color between the teeth of the upper and lower jaw.
Defect on the vestibular surface of tooth 11.

Photo 31
Photo of MDP with diffusers.
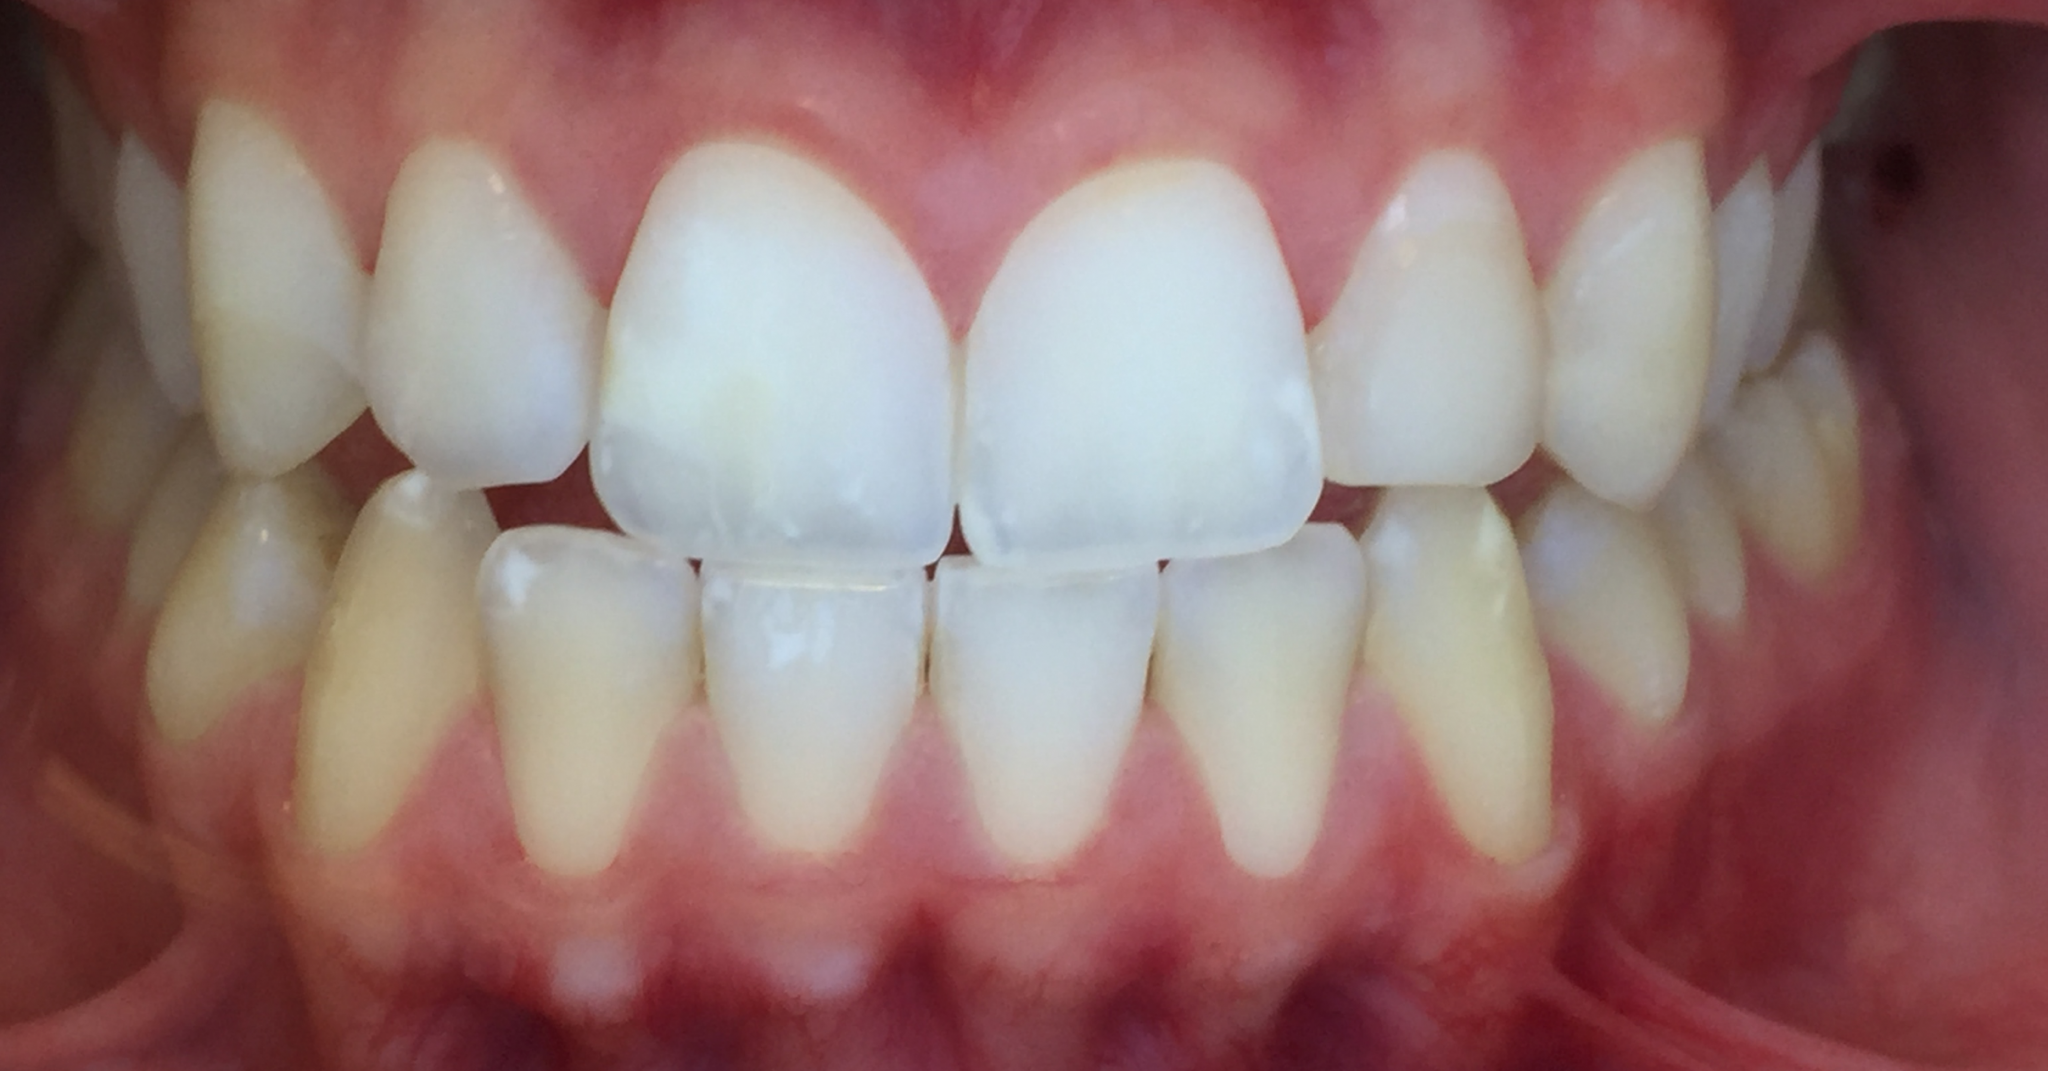
Photo 32
Photo MDP: The difference in color between the teeth of the upper and lower jaw is even more clearly visible.
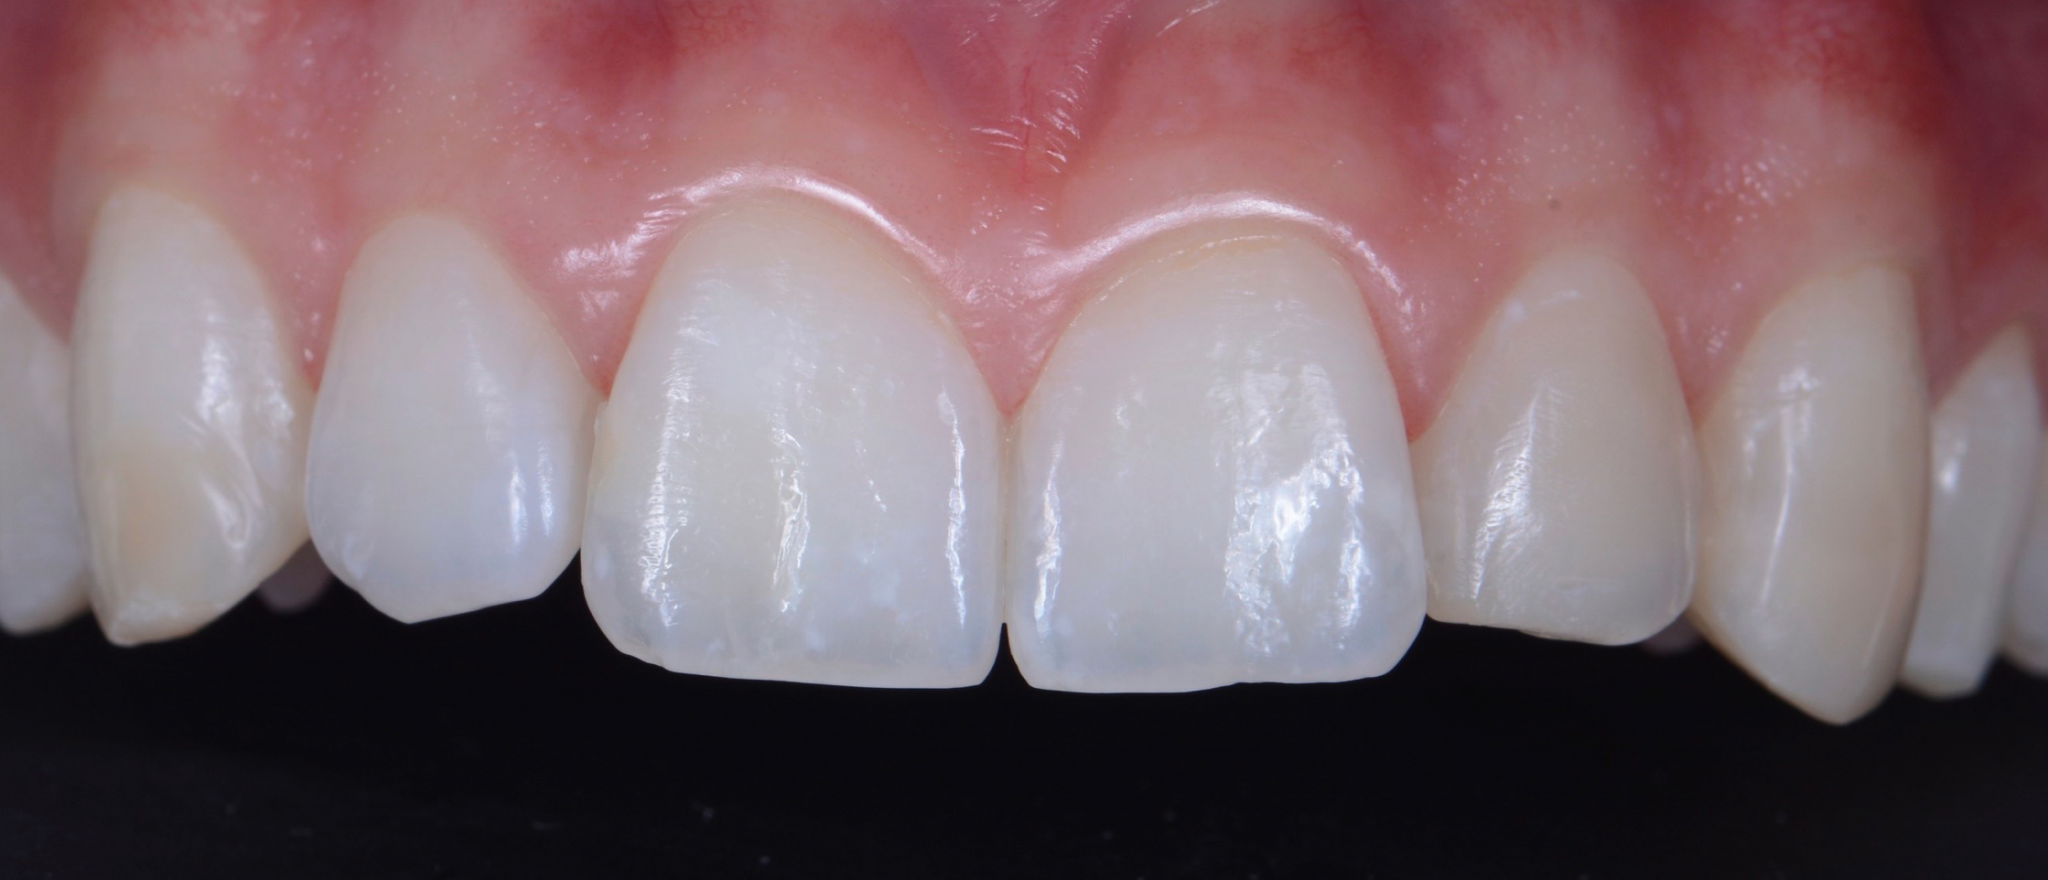
Photo 33
Composite restoration of tooth 11.
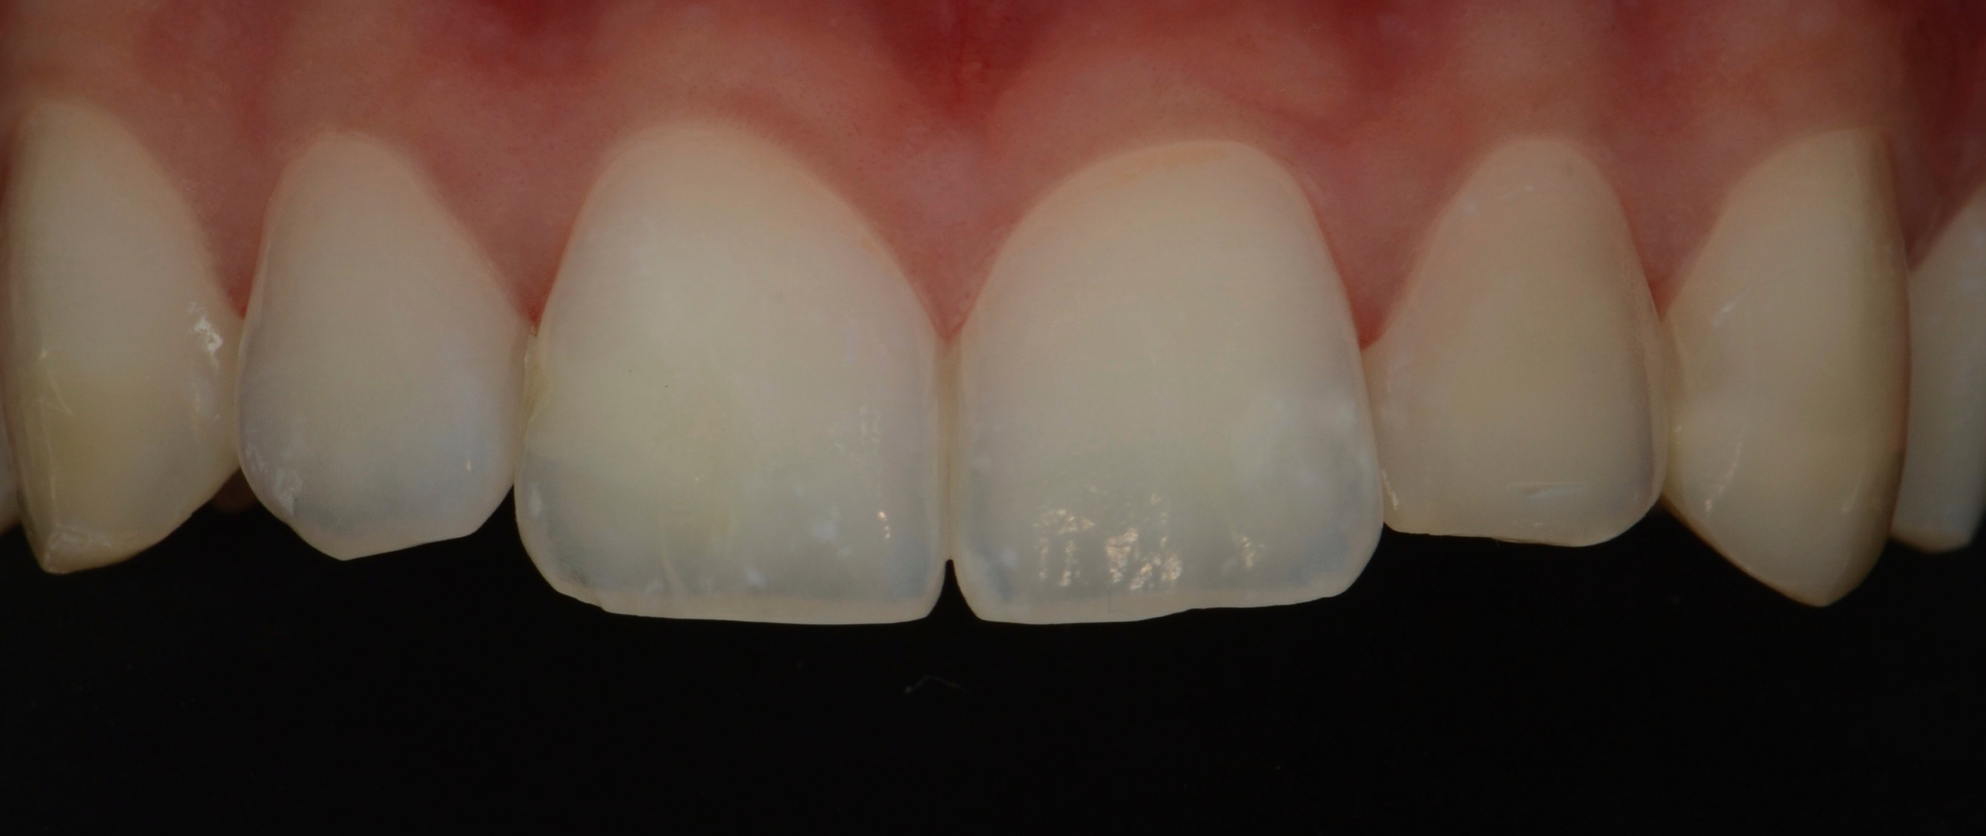
Photo 34
Photography in polarized light.
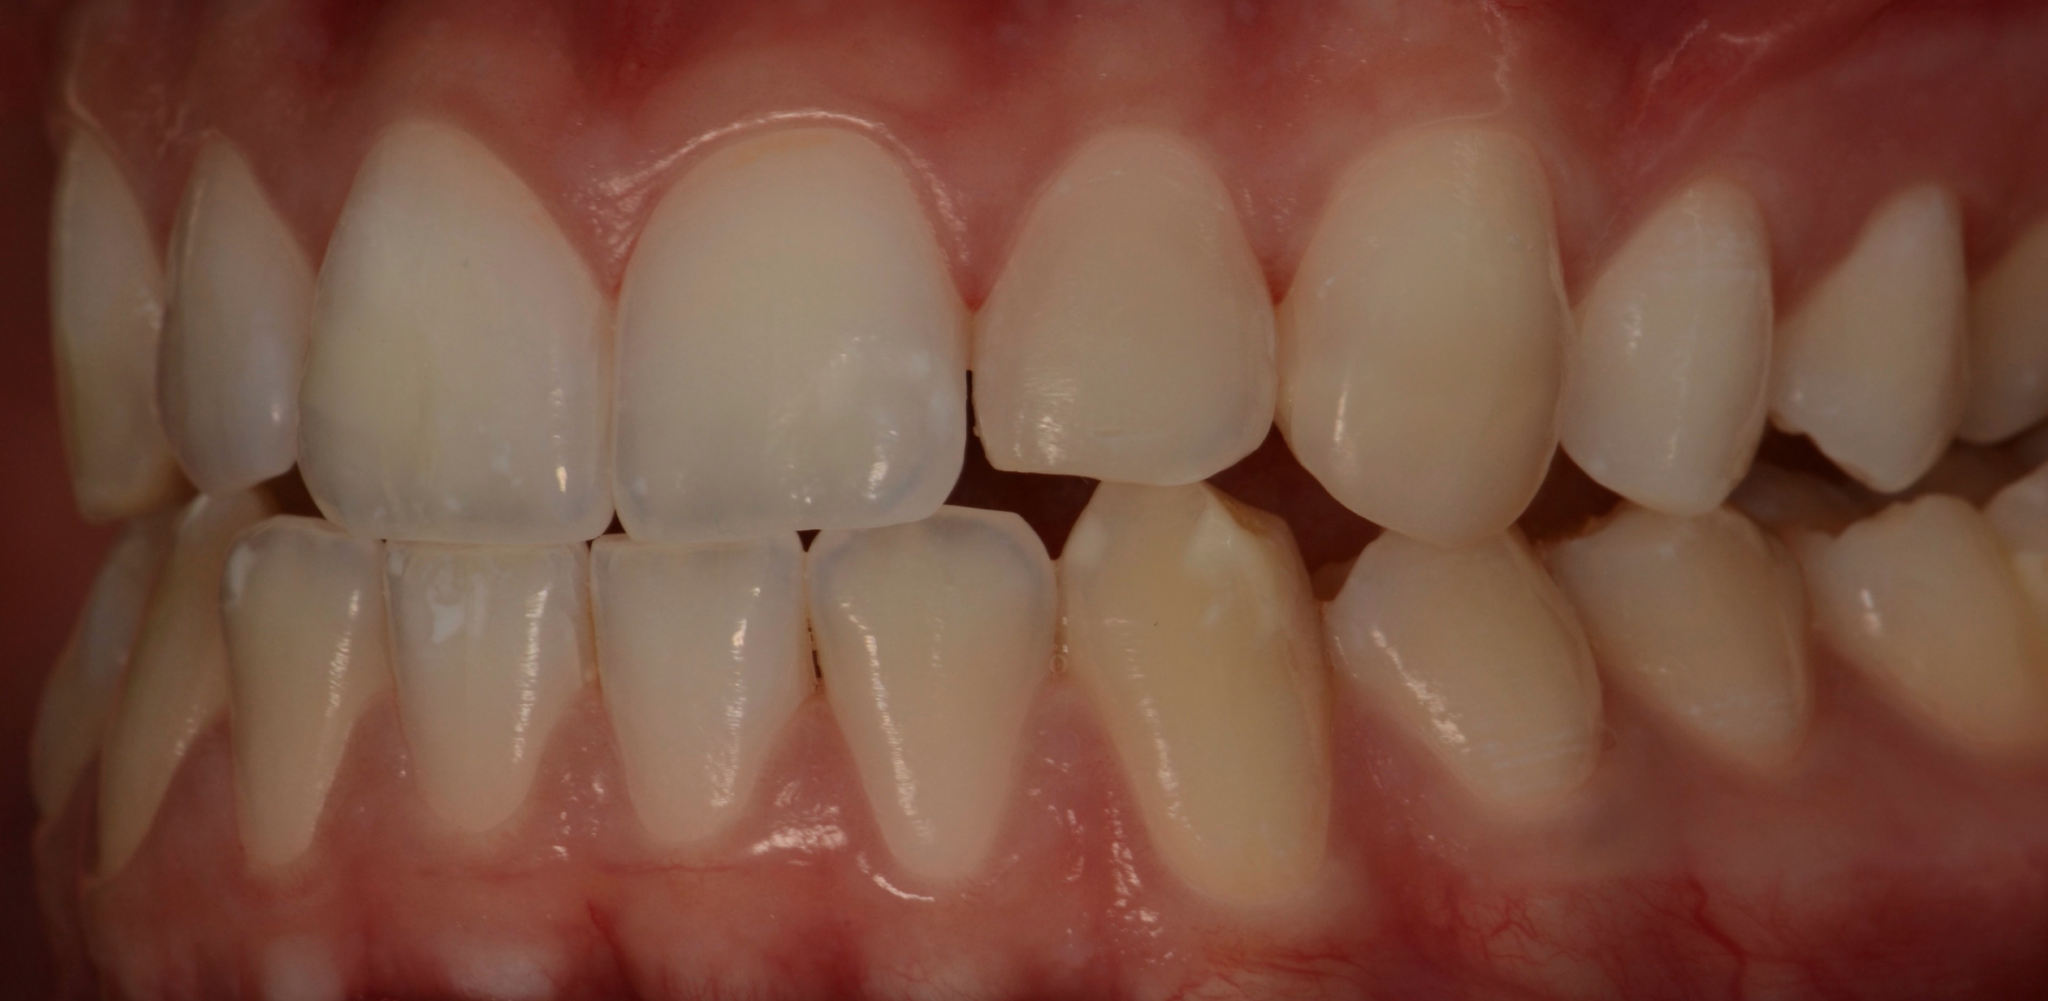
Photo 35
Photos were taken from both sides to highlight the difference between the whitened teeth in the upper jaw and the teeth in the lower jaw, where no whitening was performed.
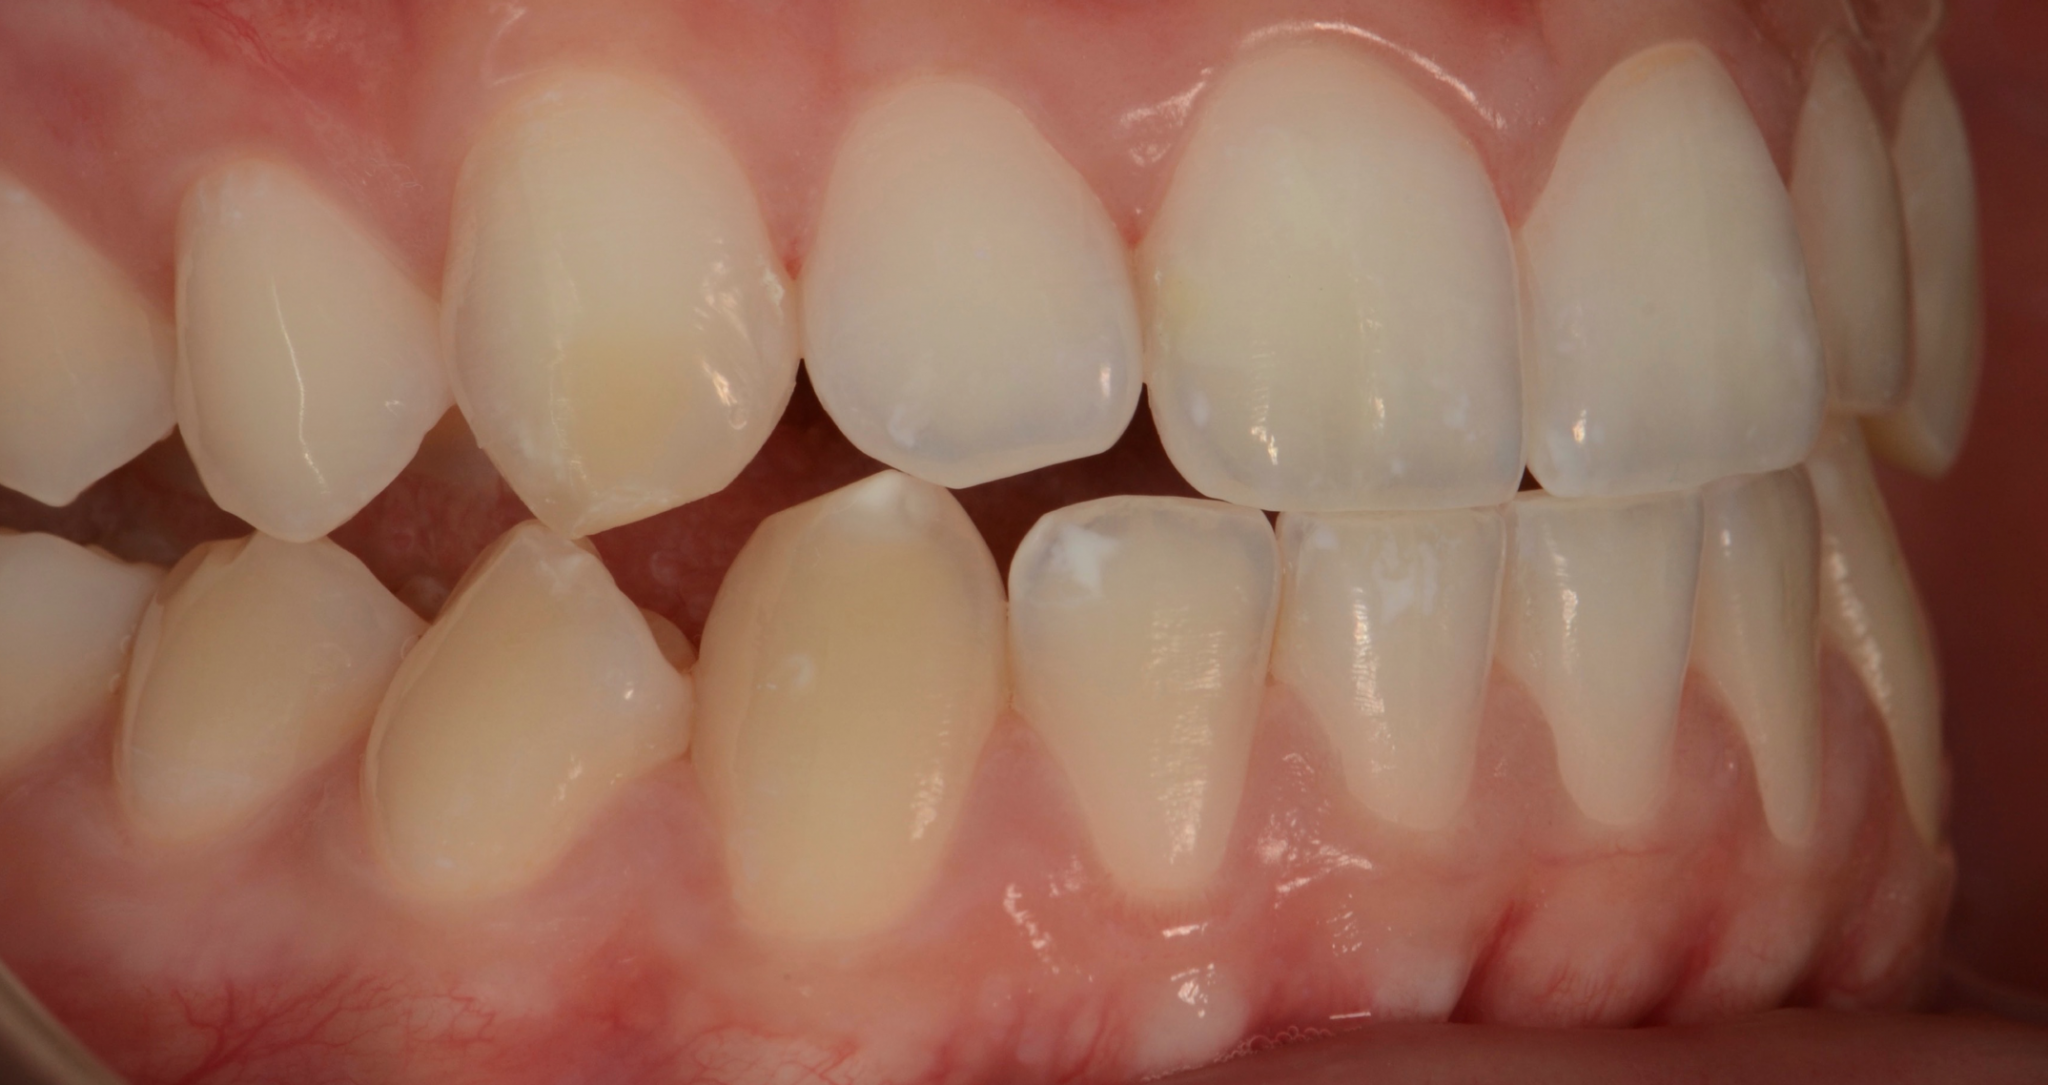
Photo 36
Carrying out the whitening procedure
Diagnostics is the key point when carrying out the bleaching and infiltration procedure.
Sometimes we can correct our mistakes thanks to our skills. But, nevertheless, it is much better to avoid mistakes in advance than to look for a solution later!
Remember: you need to bleach before infiltration. If you used microabrasion, then you need to use a composite to replace tooth tissue.
A combination of bleaching and infiltration is a simple, conservative, and inexpensive solution to correct anterior dyschromia.
You can get acquainted with all the teeth whitening techniques in the online course Teeth Whitening: All Techniques .
http://www.styleitaliano.org/