Fixation of ceramic veneers while preserving enamel
Machine translation
Original article is written in RU language (link to read it) .
High-quality fixation of ceramic veneers can be achieved using minimally invasive preparation of tooth tissue. Many practitioners prepare teeth one at a time as a starting point. Bleaching is also quite common.
The webinar Minimally invasive ceramic veneers: preparation technique is devoted to minimally invasive principles of tooth preparation for ceramic veneers.
The fundamental principles of stepwise preparation involve minimal preparation of tooth structure according to protocols.
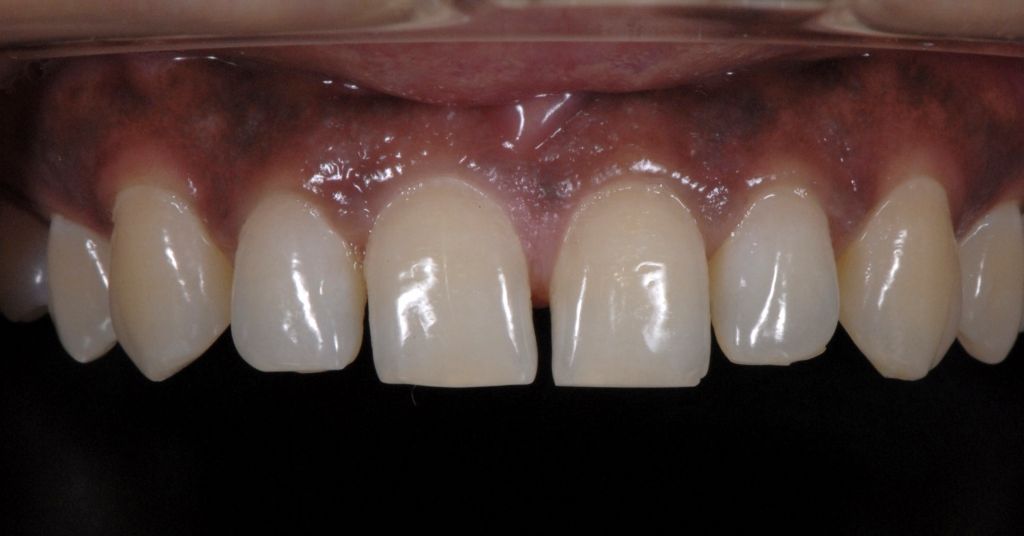
Photo 1
A healthy adult patient has diastemas on the upper jaw. The bite on the canines is neutral, the periodontium is healthy. The patient wants to eliminate gaps between teeth and make teeth lighter. Impressions were taken and diagnostic photographs were taken. Using a facebow, the position of the upper jaw is fixed, these data along with instructions for a wax-up of four indirect porcelain veneers are sent to the laboratory as the desired end result.
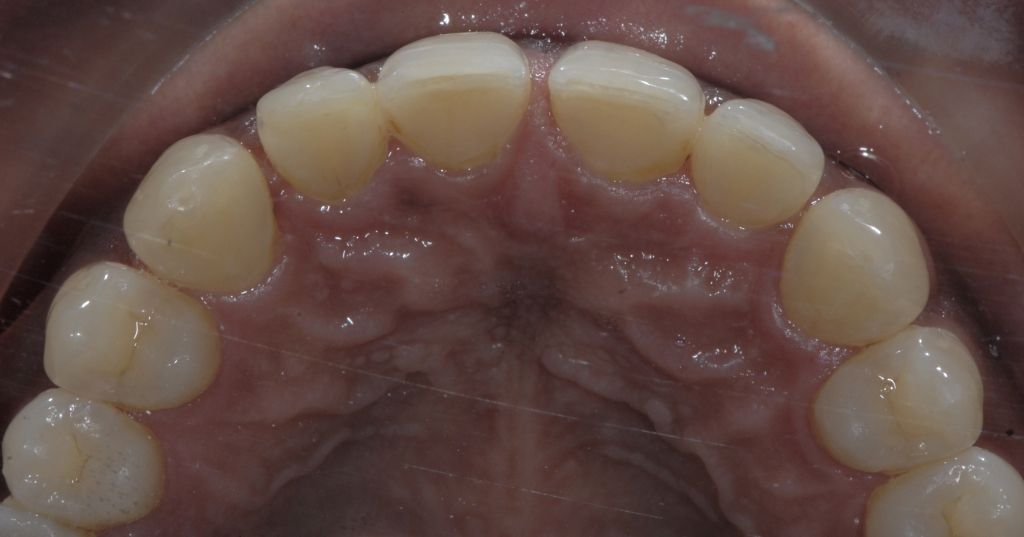
Photo 2
View from the occlusal surface.
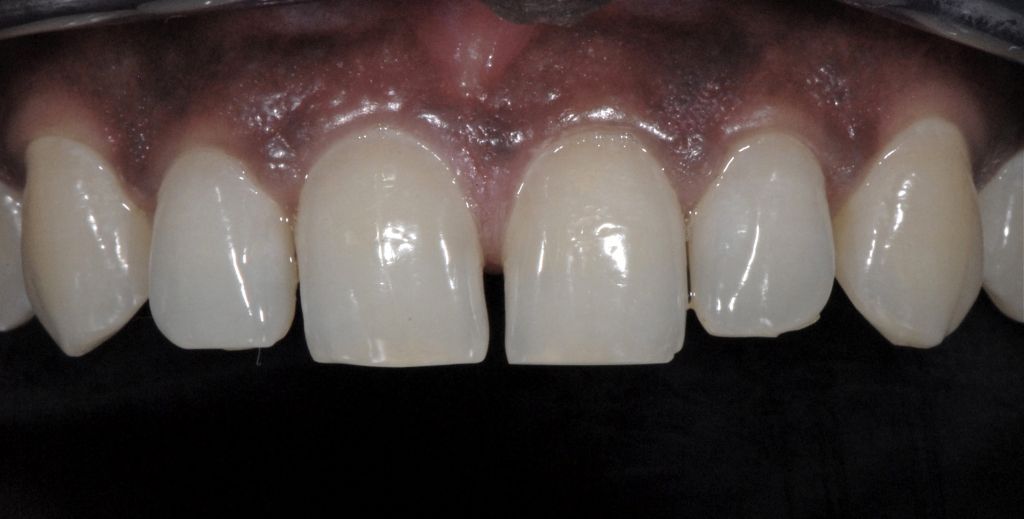
Photo 3
The patient undergoes home whitening for two weeks using 10% carbamide peroxide for 2 hours a day. To change the color of a tooth by one shade, 0.2 mm of ceramic is required. Teeth can be made lighter with minimal tissue preparation if all protocols are followed.
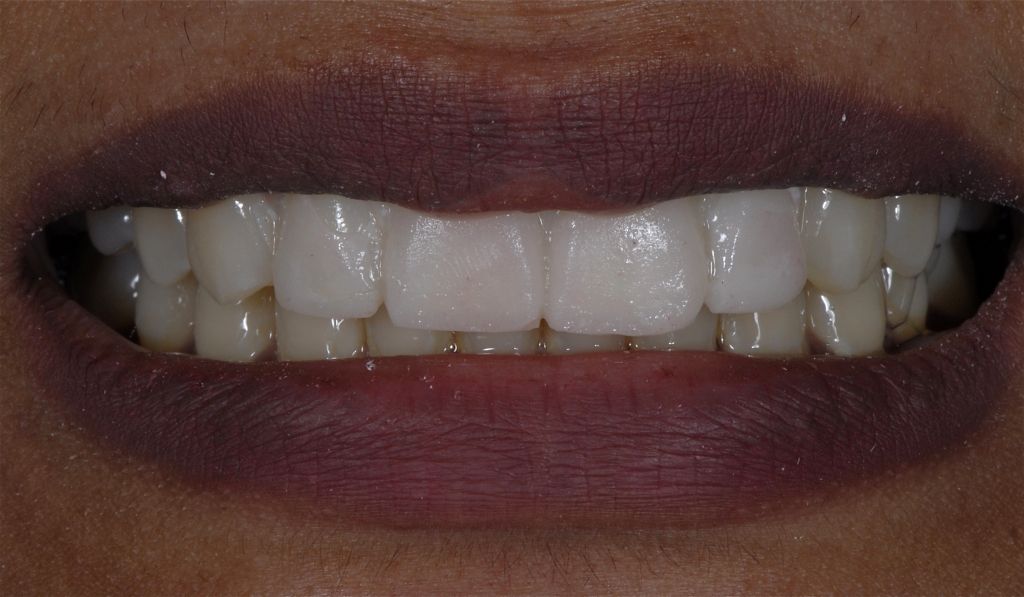
Photo 4
Using a silicone key removed from a waxing app, a mock-up is made (Protemp 4, 3M Espe) using temporary construction material. The mockup must have the same parameters as the wax up. Any discrepancies will lead to an unsatisfactory result, so at this stage the shape and size of future restorations are corrected.
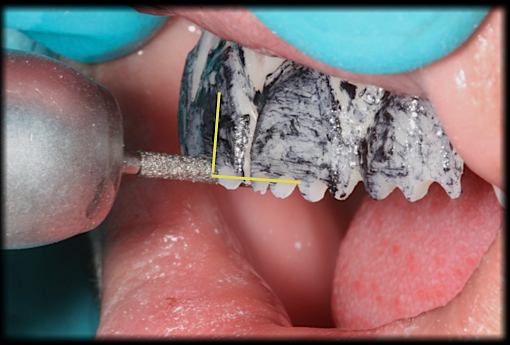
Photo 5
There are various cutting edge designs available, but the most predictable is the butt joint. The cutting edge is prepared 1.5 mm at an obtuse angle to the longitudinal axis of the tooth to avoid undercuts. The preparation is carried out in order to fix the veneer horizontally, and not vertically, like a crown.
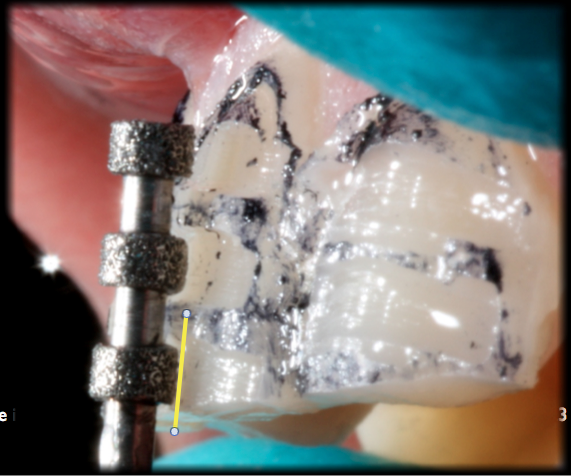
Photo 6
A diamond bur is used, which ensures preparation of no more than 0.5 mm in each plane. Either the entire mock-up is painted as shown, or the lower part of the grooves left by the bur are painted.
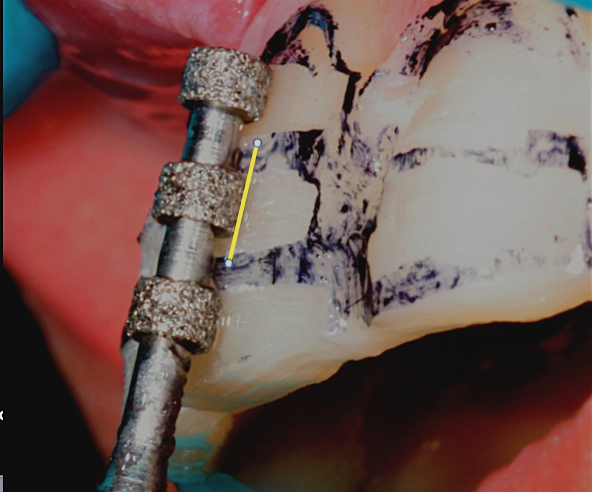
Photo 7
The equator of the tooth is prepared by 0.5 mm.
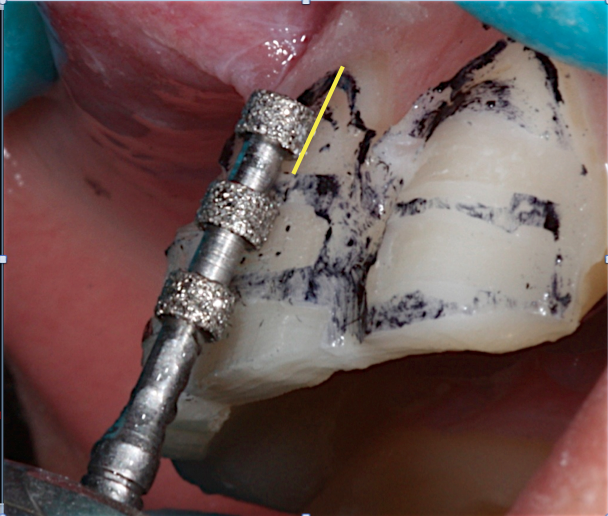
Photo 8
The diamond bur moves to the cervical third. Due to the presence of thin enamel in this area, the preparation depth should not exceed 0.2mm. You can use a round diamond bur for this.
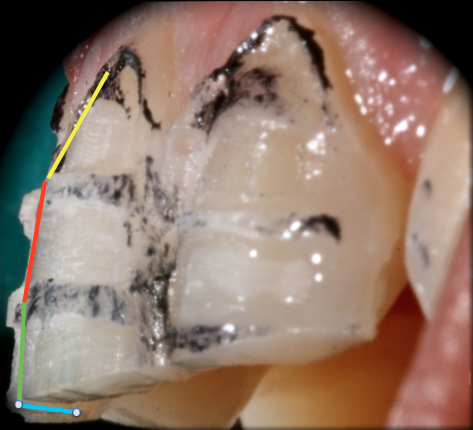
Photo 9
The preparation is carried out in three planes, which are then combined with a mockup.
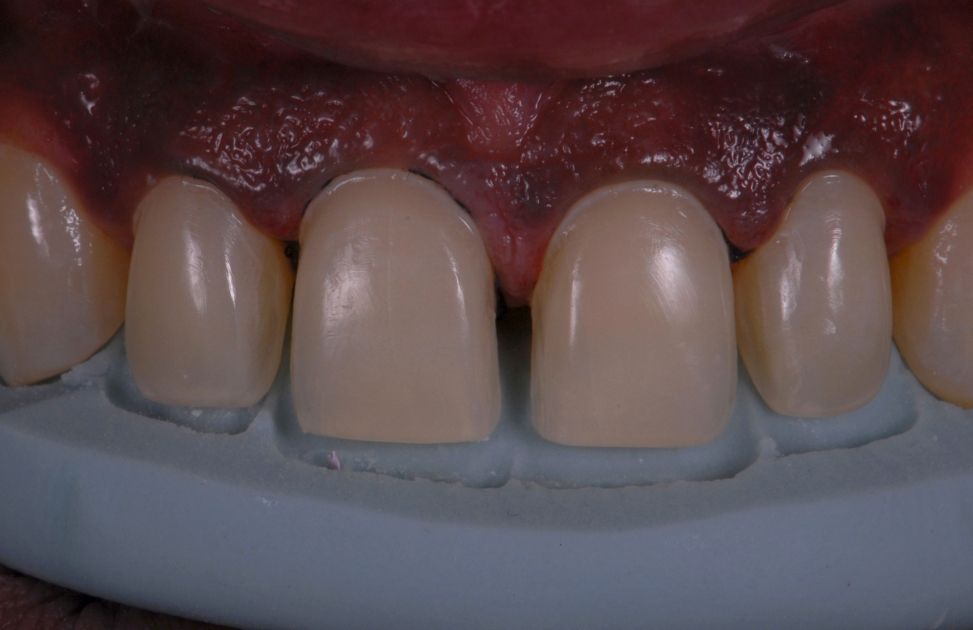
Photo 10
Appropriate protocols are used for preparation for ceramic structures.
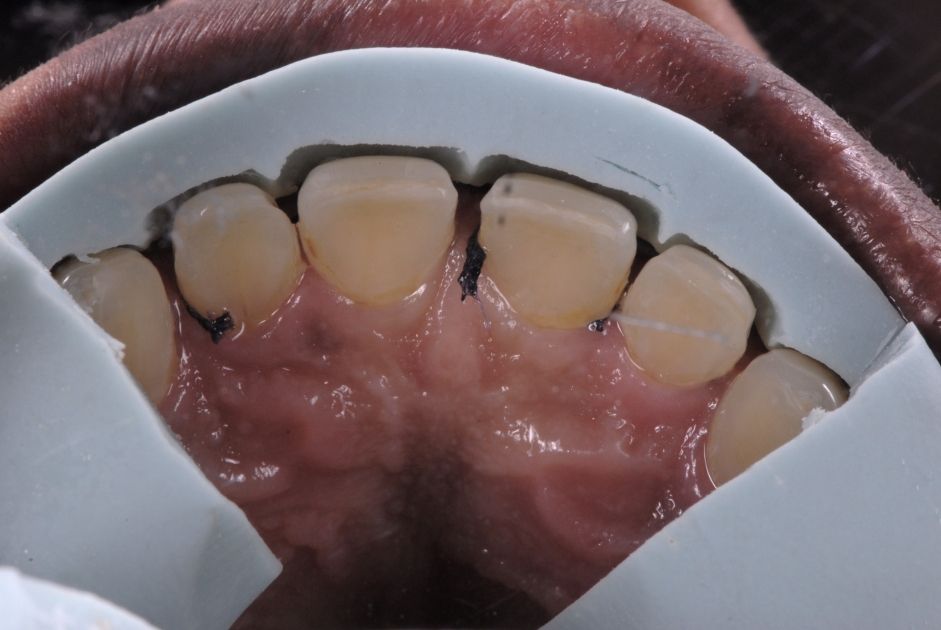
Photo 11
Appropriate protocols are used for preparation for ceramic structures.
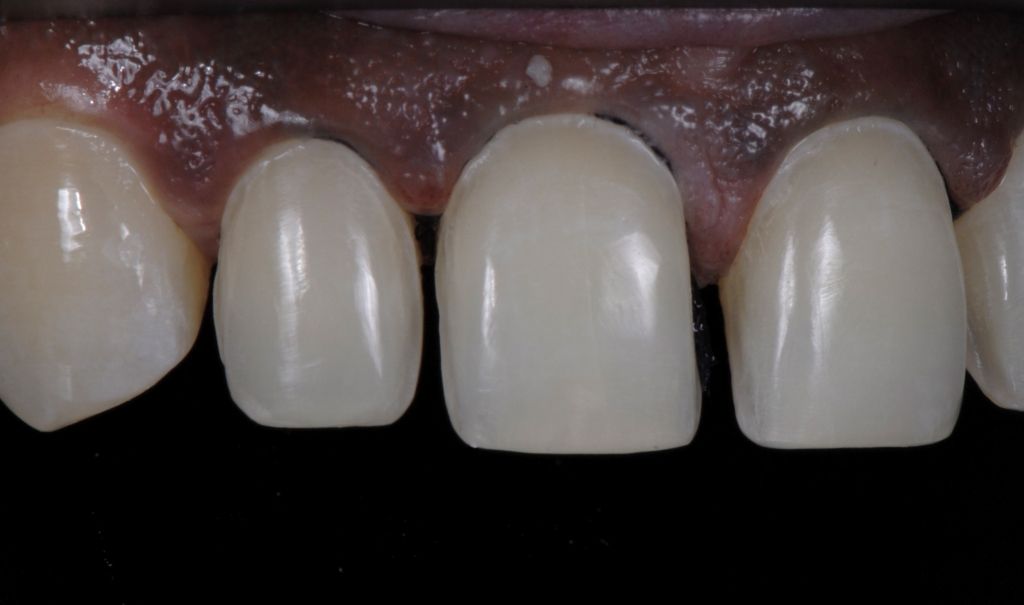
Photo 12
Finish lines are located at or above the gum level. In case of diastema closure, proximal finishing lines are drawn palatally.
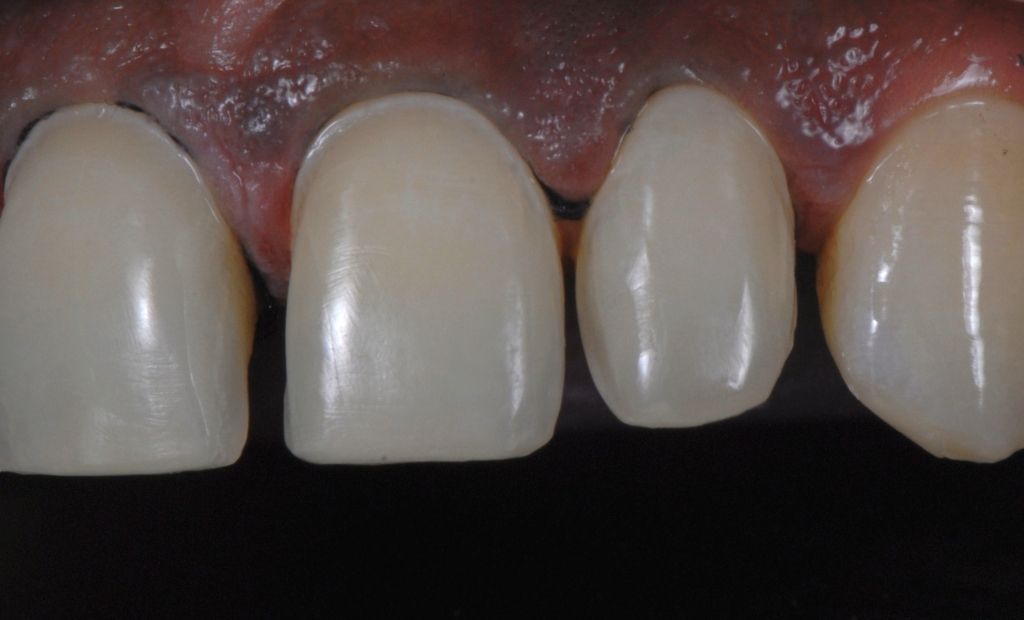
Photo 13
Finish lines are located at or above the gum level. In case of diastema closure, proximal finishing lines are drawn palatally.
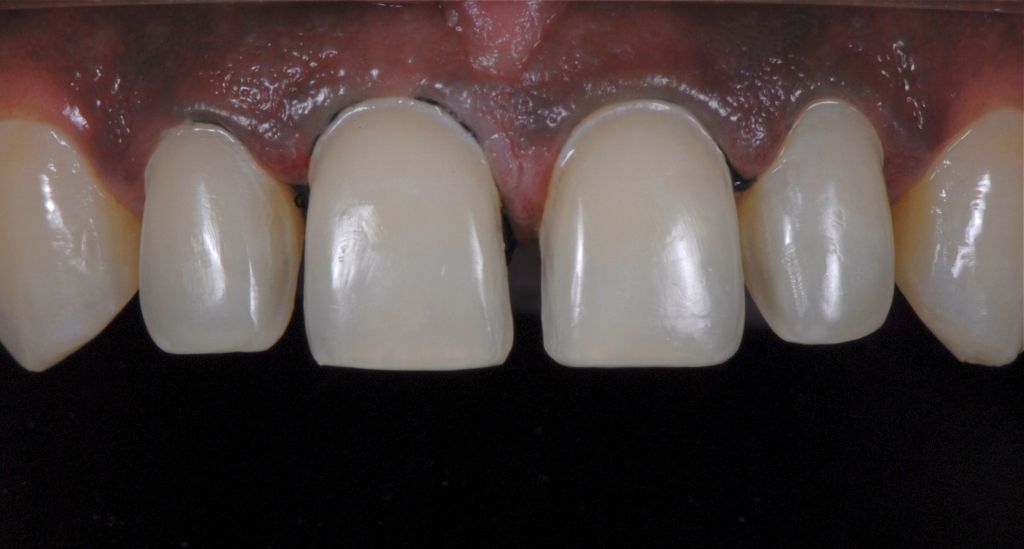
Photo 14
Provide smooth finishing lines and surfaces using 40 micron diamond tools on a high speed or step down tip followed by abrasive discs (Soflex, 3M Espe) and polishing heads used for composite restorations. The smooth surface reduces stress under the veneer and also creates a uniform film thickness. This also results in better adhesion. Double retraction was used to isolate the gingiva. Silicone polyester material (Impregum, 3M Espe) was then used to take the final impression. Temporary veneers (Protemp 4, 3M Espe) were made using a silicone key. The veneers are ground and polished. All prints and models are sent to the laboratory. In just a few days, 4 veneers were made from feldspathic ceramics. Veneers are tried on after removal of temporary restorations and prepared for bonding.
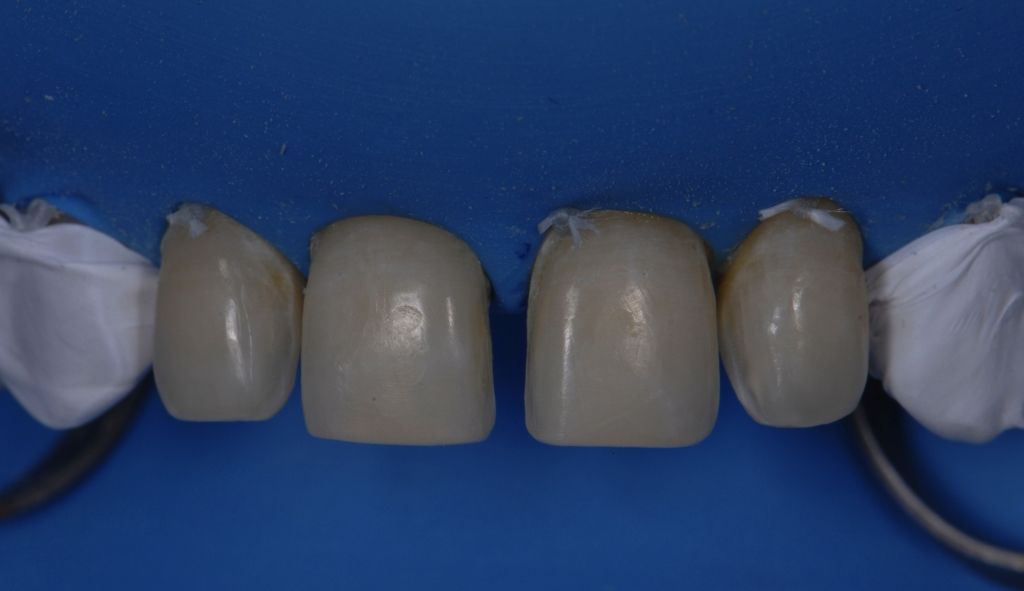
Photo 15
A rubber dam is used for adequate insulation. Teflon tape is placed mesial to the canines to prevent etching. Floss bundles are placed over the finishing lines to ensure proper placement of the veneers. The surface of the prepared tooth is cleaned.
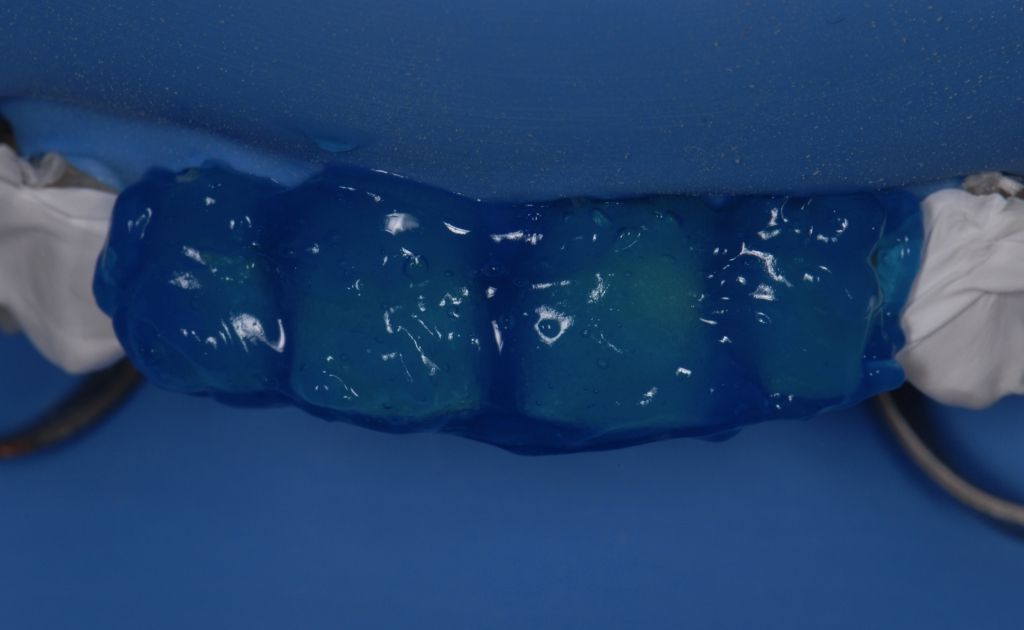
Photo 16
32% phosphoric acid (Scothbond, 3M Espe) is applied to the enamel for 20-30 seconds and washed off, the teeth are dried.
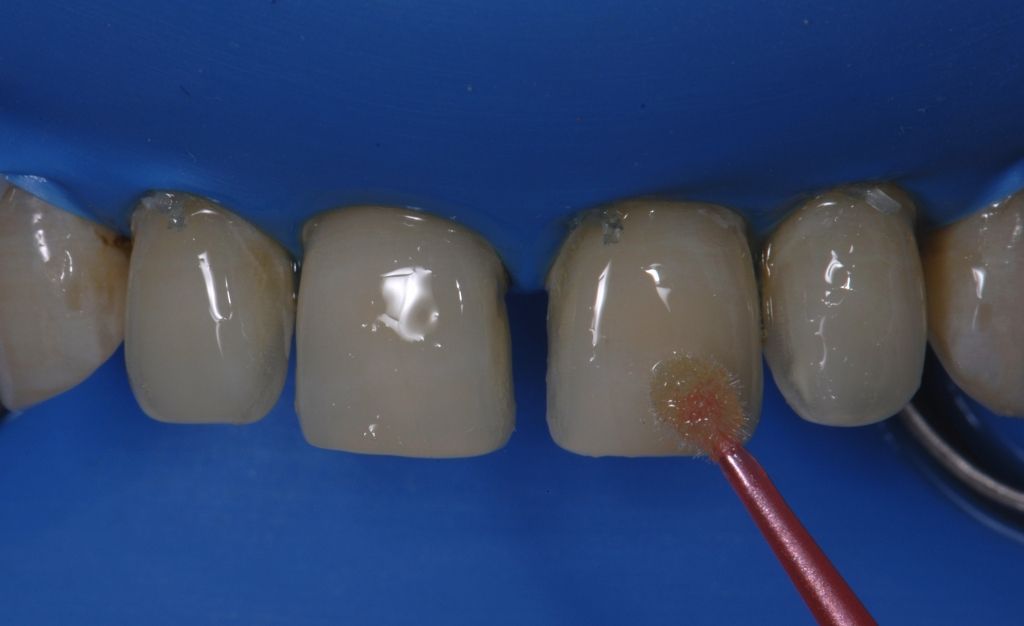
Photo 17
Bond (Single Bond, 3M Espe) is applied to the teeth according to the manufacturer's instructions. After applying several layers of bond, excess solvent is removed by blowing. The bond is not polymerized.
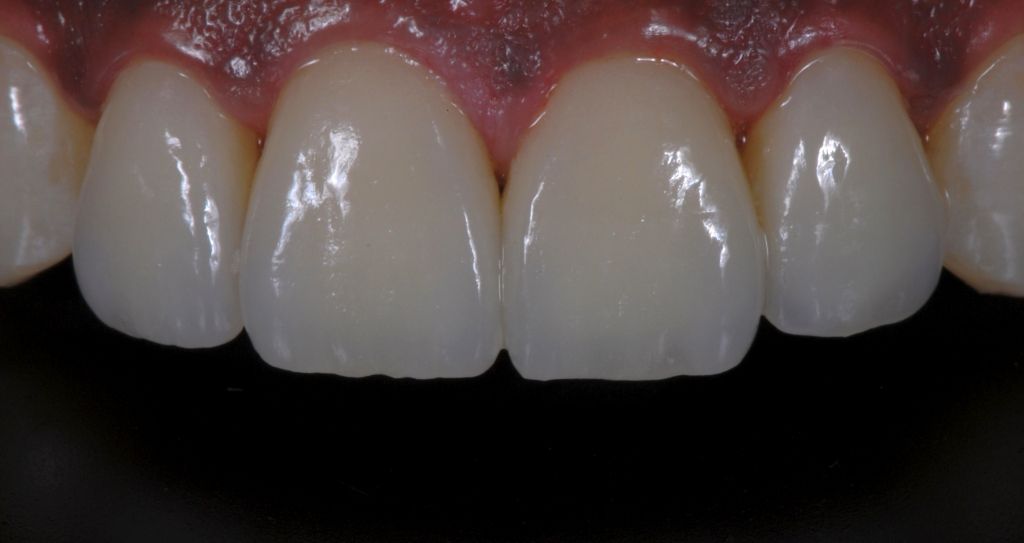
Photo 18
Using refractory technology, 4 veneers are made from feldspathic ceramics. The veneers are fixed with light-curing cement (RelyX Veneer Cement, 3M Espe), and excess cement is removed.
All the manipulations described above provided a good aesthetic result and minimal preparation of tooth tissue.
More detailed information on this topic in the online lesson The incredible world of ceramic veneers .
http://www.styleitaliano.org/