Pericervical restoration and gingivectomy
Machine translation
Original article is written in RU language (link to read it) .
This case report examines cervical restoration and gingivectomy. The work includes: abrasive preparation, correction of the shape of soft tissues, isolation of the working field and restoration.
Learn more about aesthetic planning and gum level correction in the webinar Planning for correction of a gummy smile. Modeling a template for gingivectomy .
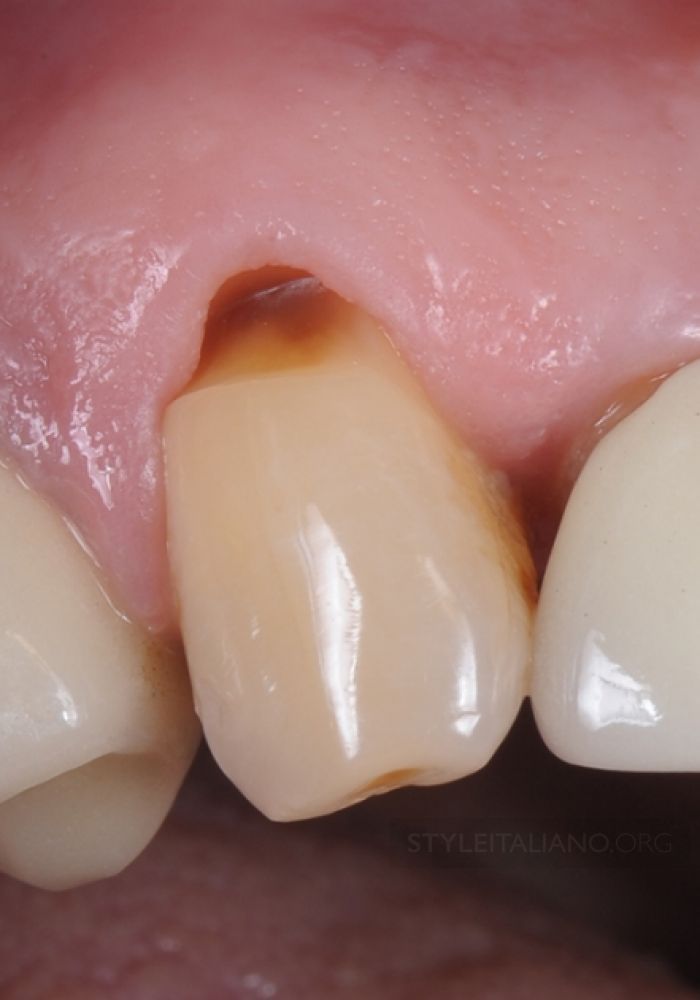
Figure 1. Abrasive treatment of the cervical area on the tooth 1.3. Here we see the need to recreate the contour of the gum edge.
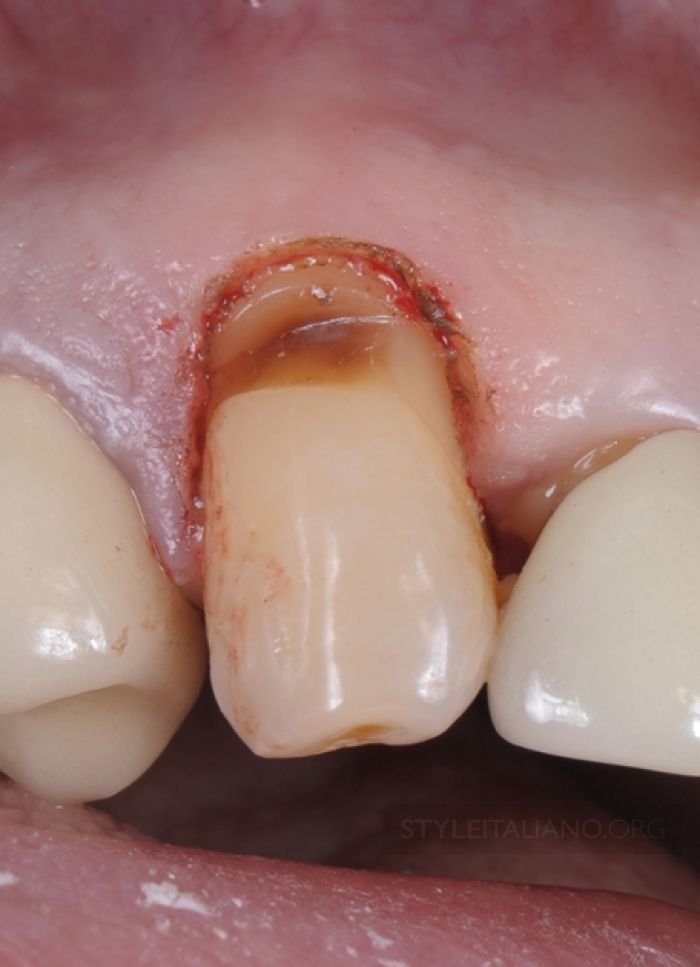
Figure 2. Gingivectomy was performed using an electrocoagulator.
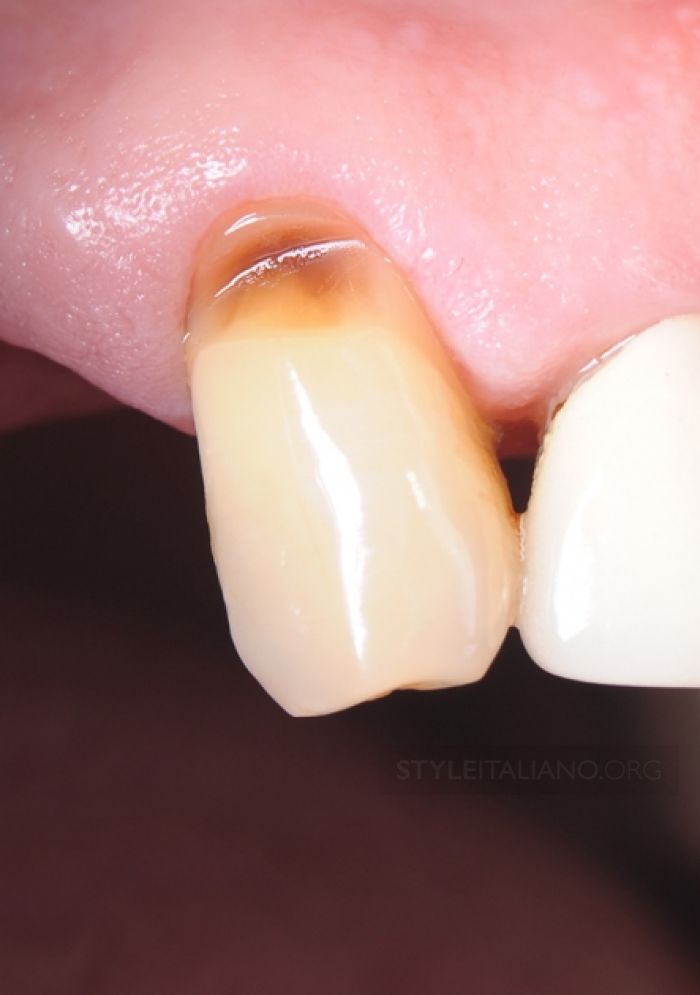
Figure 3. Healing after 1 week.
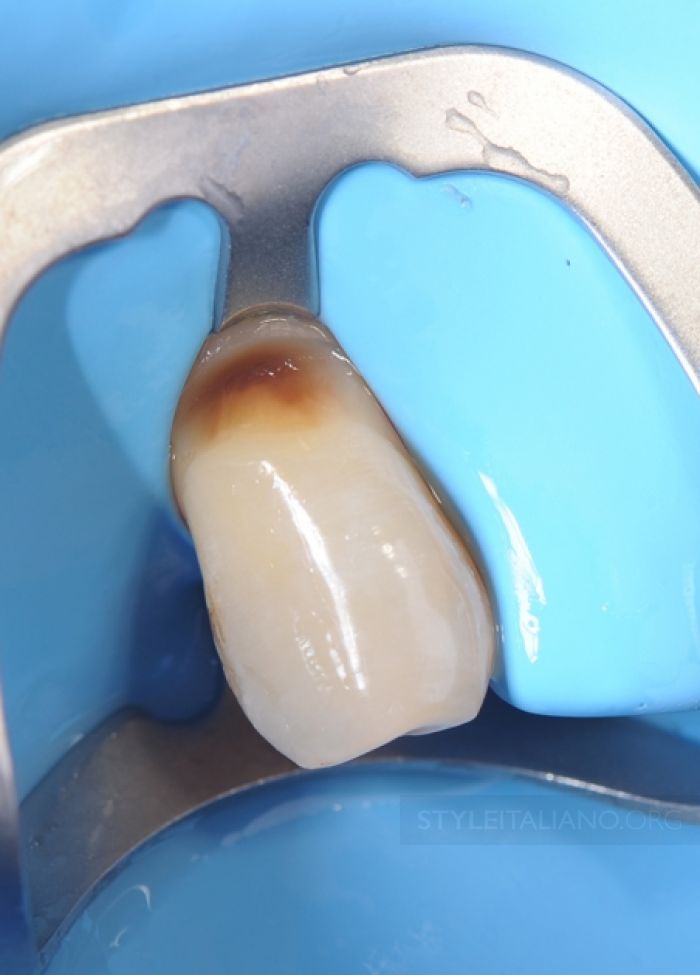
Figure 4. Insulation using a rubber dam and a suitable clasp.
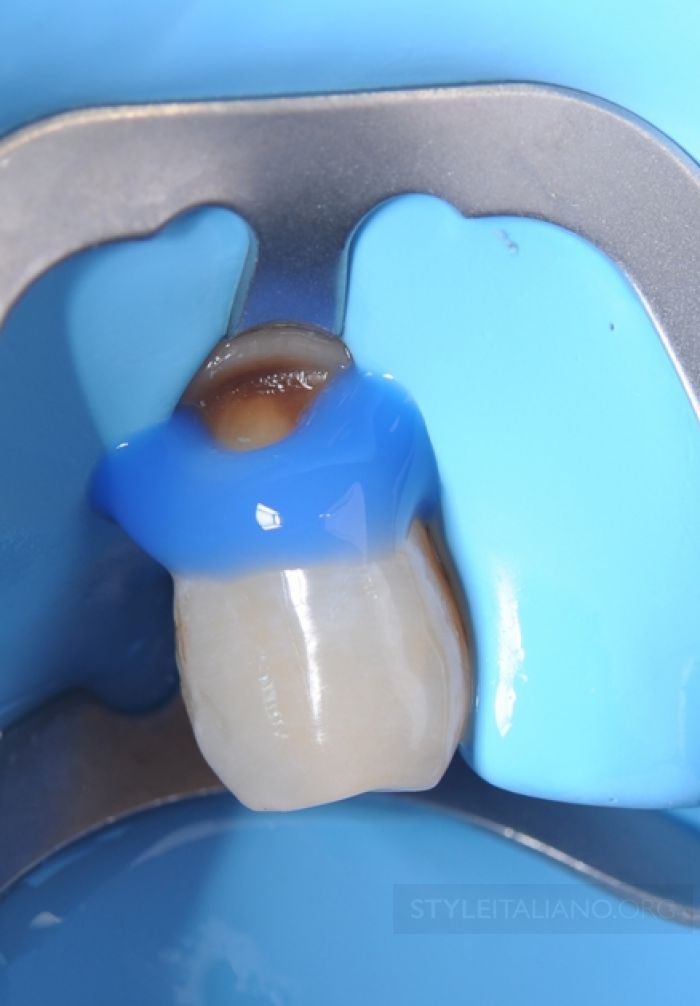
Figure 5. After isolation and minimal preparation of the enamel, we carry out a 30-second etching of the enamel, a 15-second etching of the dentin.
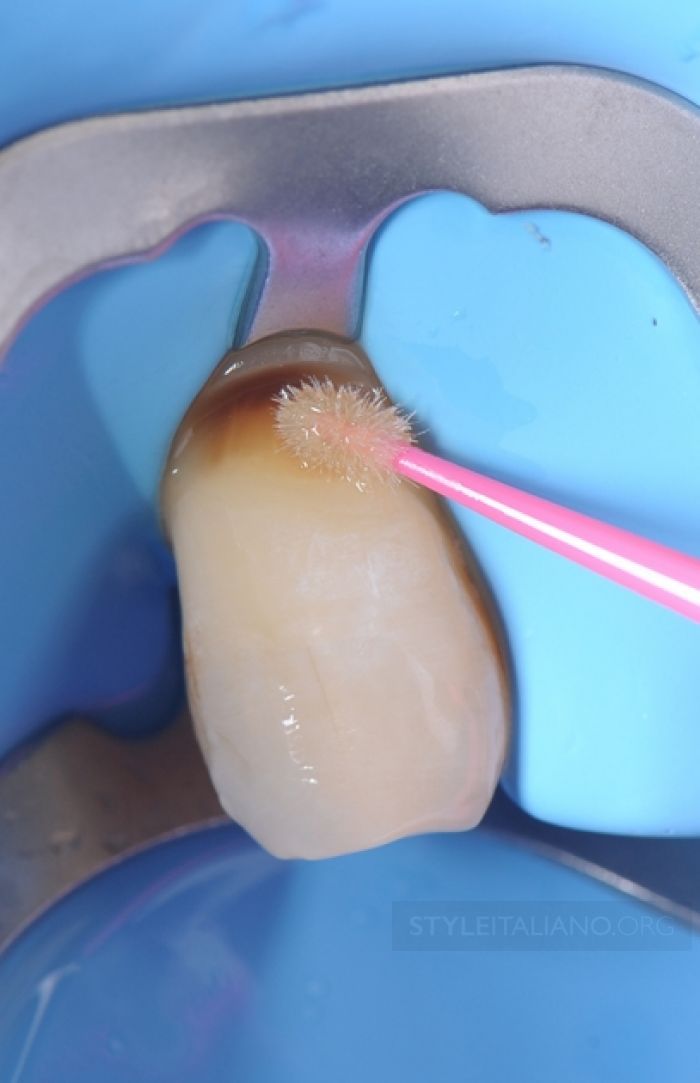
Figure 6. After disinfecting the surface with a chlorhexidine solution, apply a self-etching primer to the dentin.
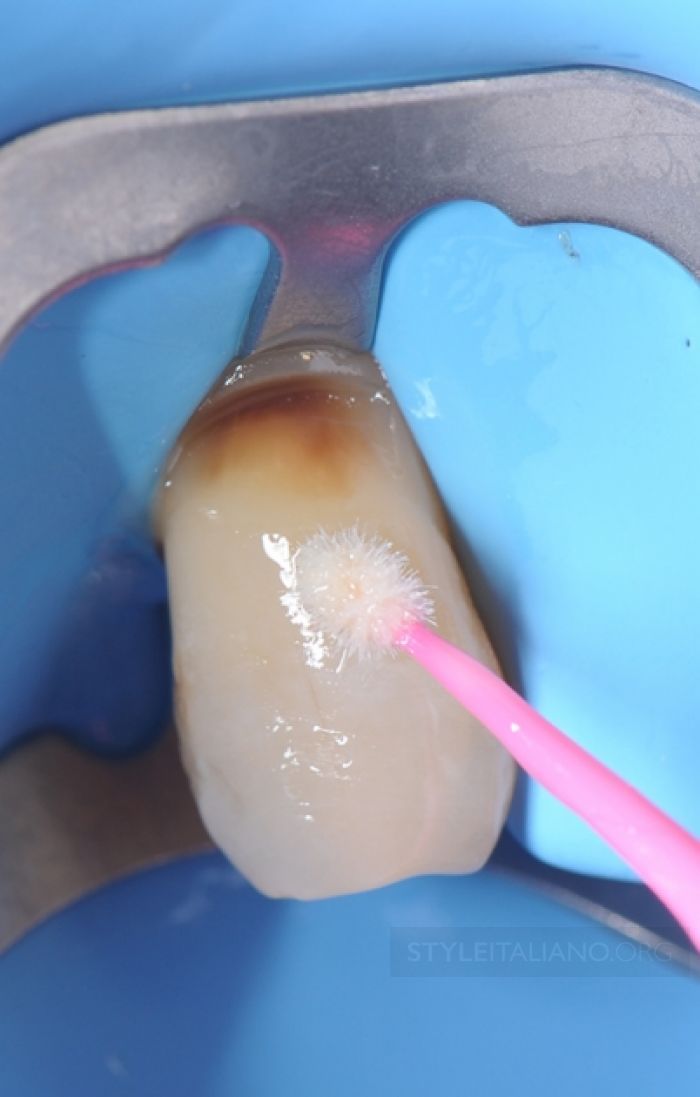
Figure 7. Application of adhesive to dentin and enamel.
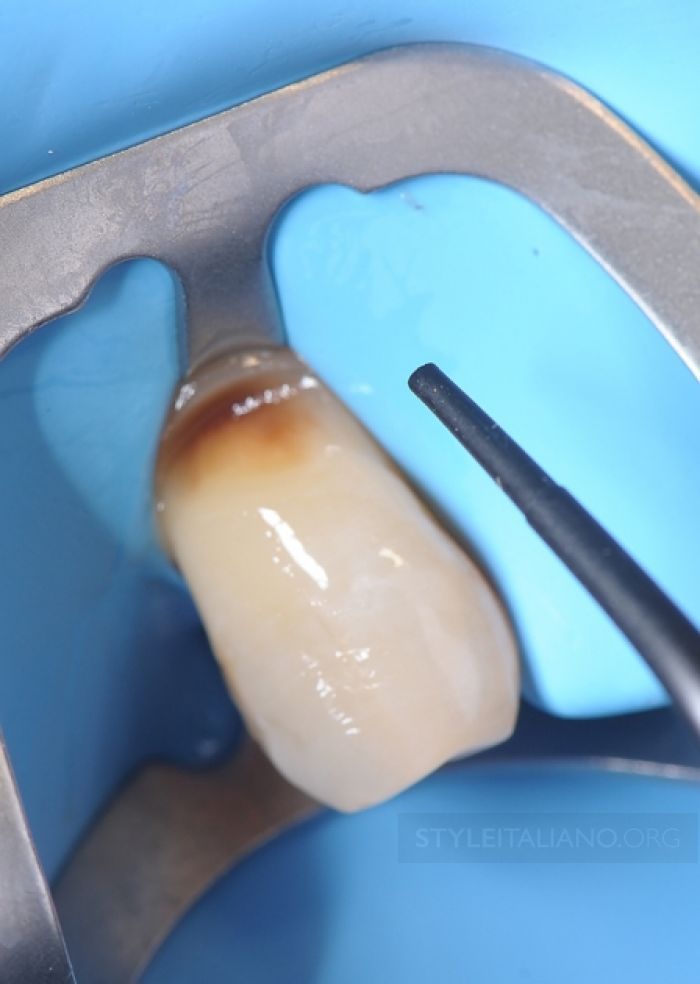
Figure 8. We begin to add the flowable composite.
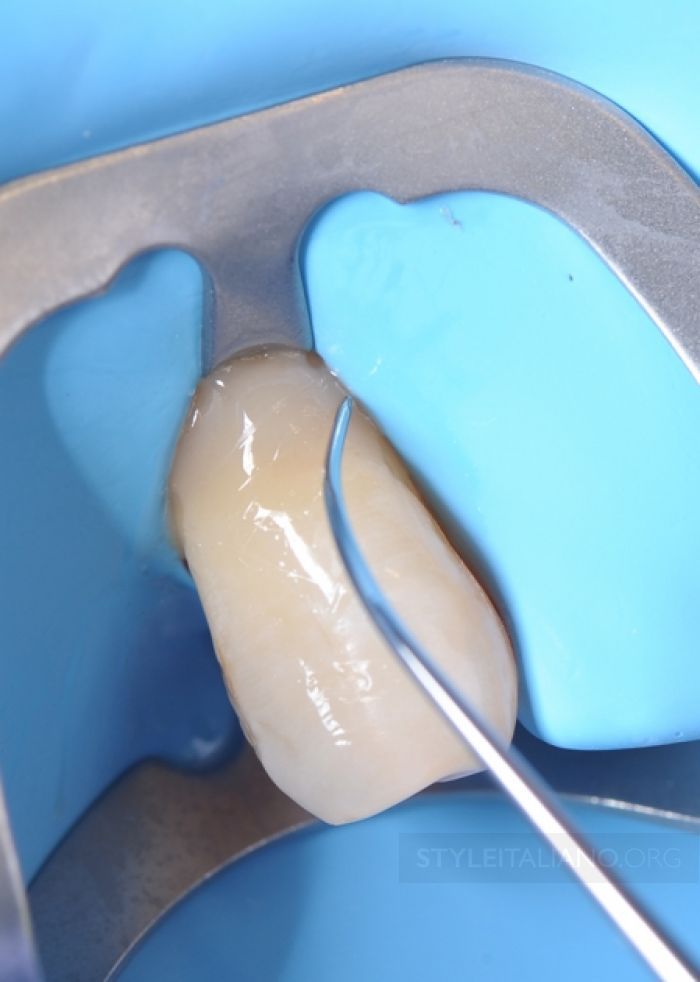
Figure 9. Using the Fissura tool to better layer the flowable composite.
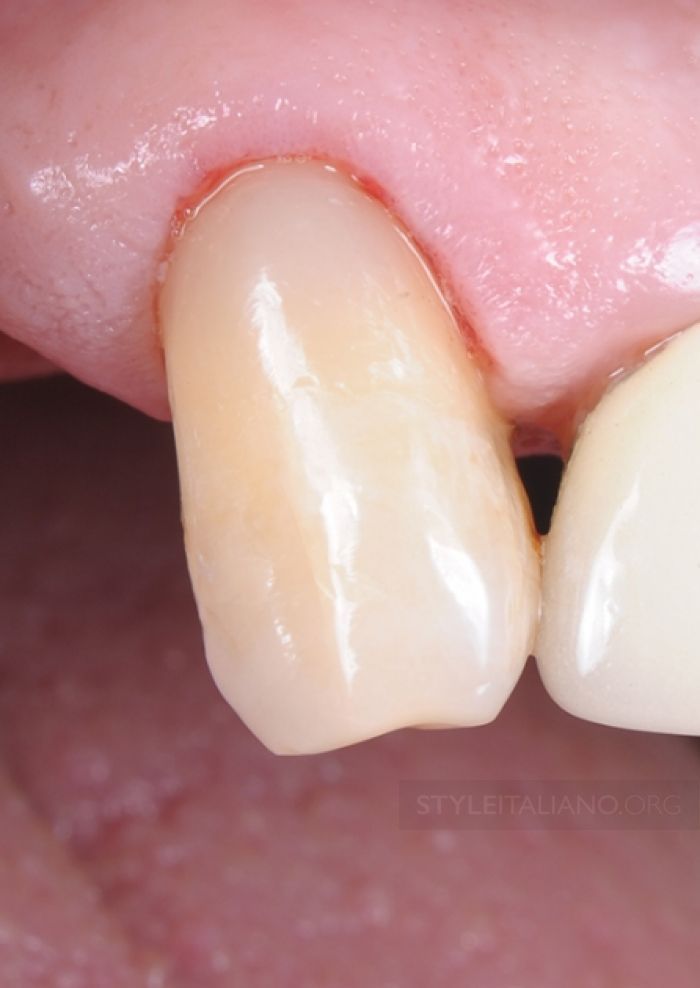
Figure 10. View after finishing and polishing the restoration.
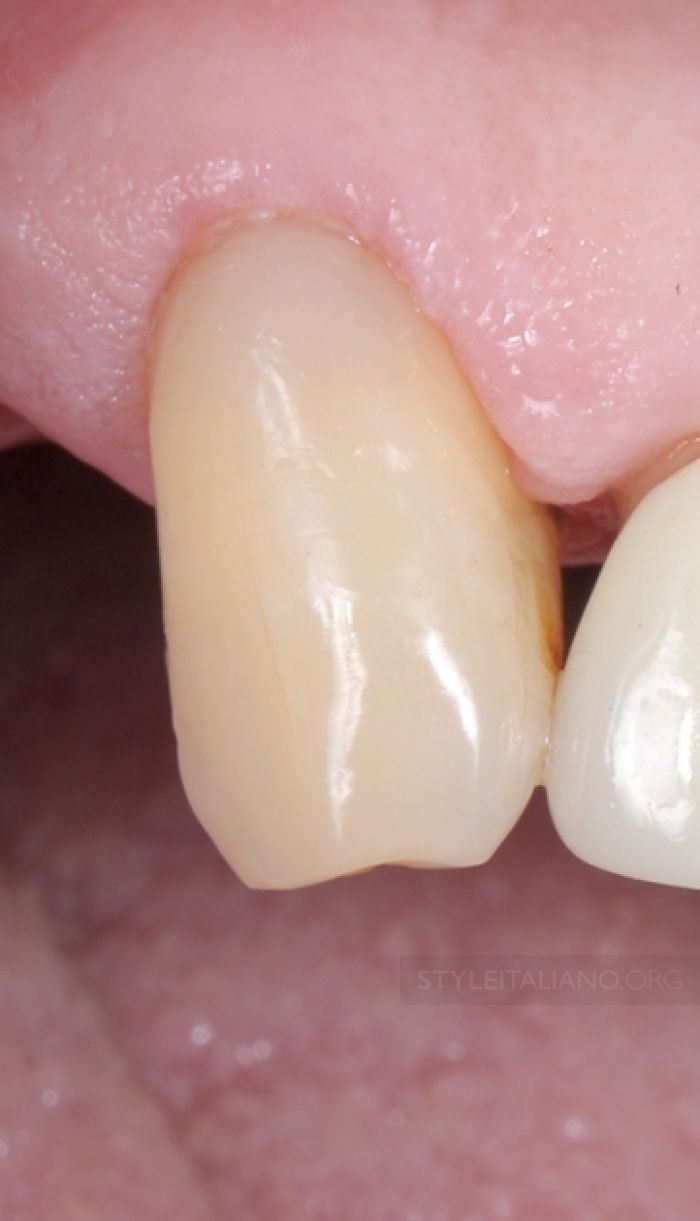
Figure 11. View after 1 week.
Subtleties of restoration of subgingival defects at the webinar Subgingival defects .
http://www.styleitaliano.org/