
Breaking stereotypes when working with volumetric restorations
Machine translation
Original article is written in RU language (link to read it) .
Composite resins are excellent and affordable materials. The improvement in their mechanical and optical properties, as well as the fact that they are light-curing, make them excellent materials not only for restoring cavities or small parts of the tooth, but also when working with large dental restorations. Combined with good polishing and occlusal adjustments, we provide an excellent functional and aesthetic result at a relatively low cost.
Learn more about direct restoration of anterior teeth at the webinar Direct biomimetic composite restoration of severely damaged teeth .
A 32-year-old male patient, a heavy smoker, contacted us. He was looking for a solution that could change his smile without temporary treatments or treatments that required a dental technician.
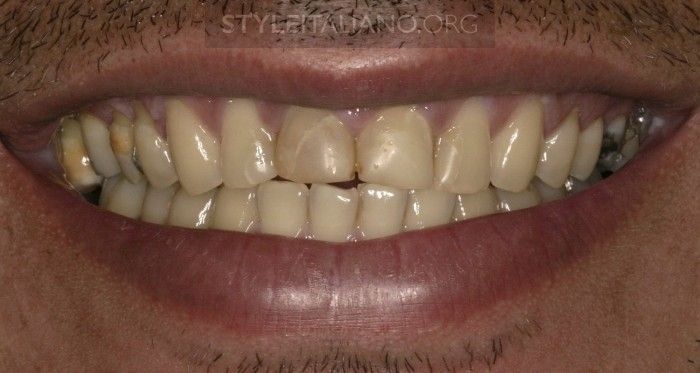
Figure 1. Initial view, showing large restorations, discoloration of teeth and a crooked smile.
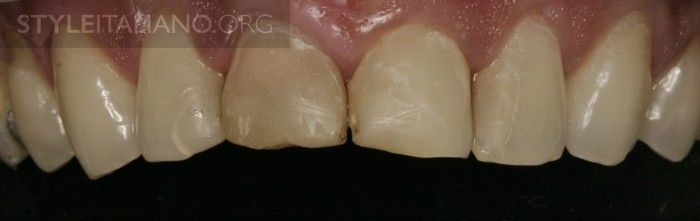
Figure 2. Close-up of the frontal region. Tooth 1.1 had previously undergone endodontic treatment.
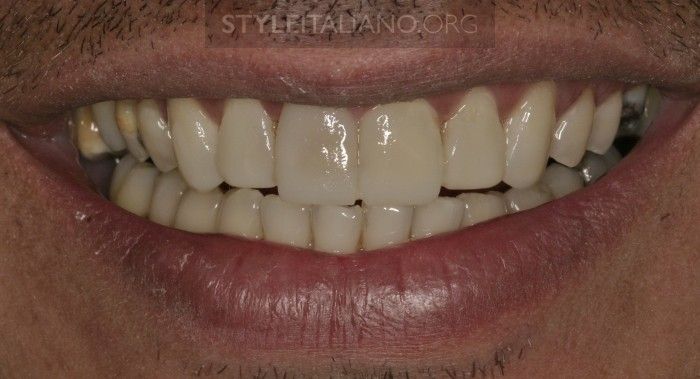
Figure 3. A mock-up of the restoration was modeled using composite resin. This will make it easier to negotiate with the patient and also motivate him.

Figure 4. Foreground, dental retractor applied.
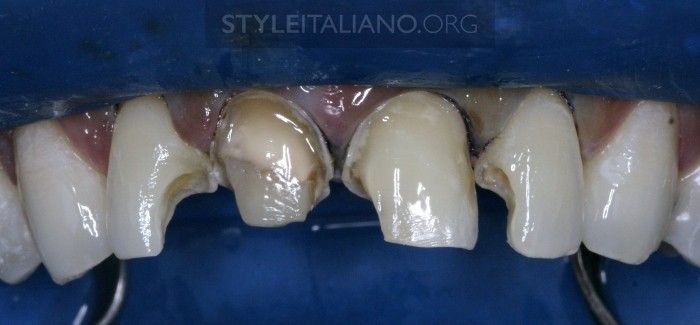
Figure 5. Four bleaching procedures were performed. Two weeks later the old restorations were removed.
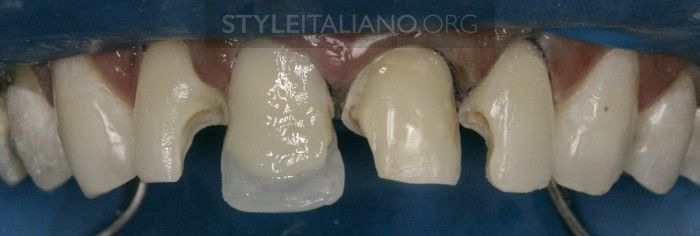
Figure 6. After etching and adhesive technique (Ultraecth-Ultradent/Single Bond-3M), the enamel frame (Renamell OW-Cosmedent) and the first layer of dentin (Herculite A2 – Kerr) were created. The cutting edge of the lateral incisor is a guide to the length of the central incisor. For large restorations, it is best to start with the strongest teeth.
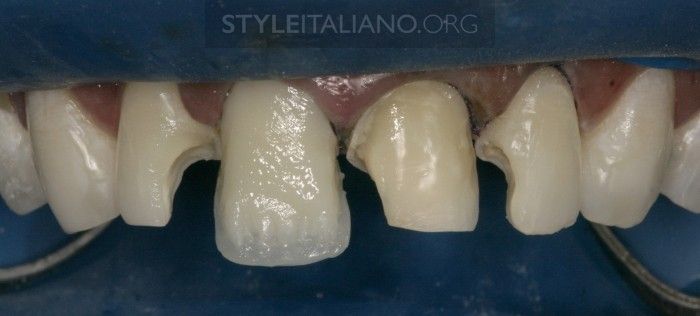
Figure 7. A second layer of dentin (Herculite A1 – Kerr) and a third layer (Tetric-Ceram A1 – IvoclarVivadent) were then applied to restore the mamelons. During the process we left space for the opalescent layer.
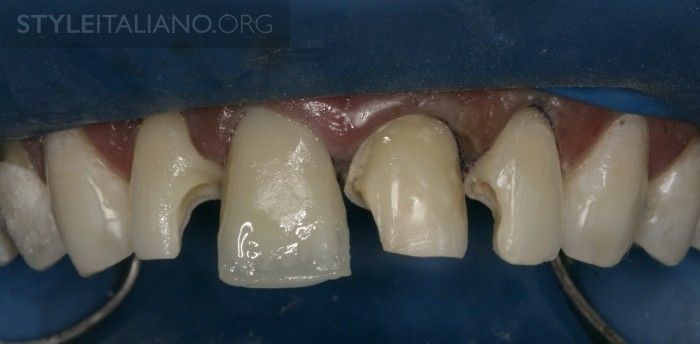
Figure 8. Next, the opalescent layer (Vitalescence TB - Ultradent) and the first enamel layer (Durafill B2 - Heraeus Kulzer) were applied.
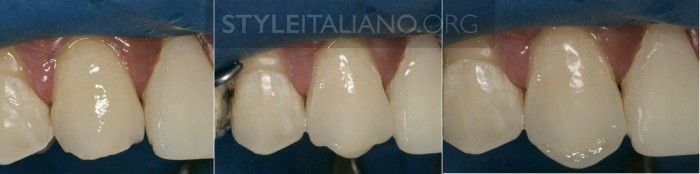
Figure 9. A small palatal bevel was created on the canines. Vitalescence PF – Ultradent was used to recreate marginal ridges, incisal edges and enamel on the palatal side, and TetricCeram A1 was used to create artificial dentin.
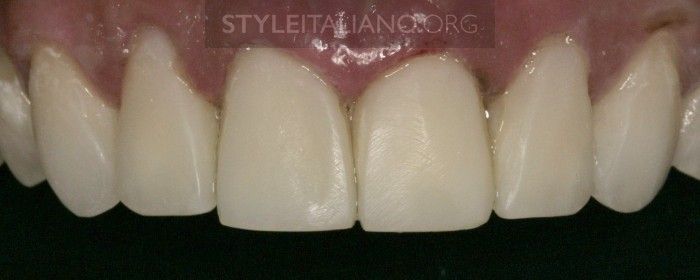
Figure 10. When restoring incisors and canines, the same sequence was followed, taking into account differences in the number of layers of material and the size of the cavities. The final enamel layer for the incisors was made of Renamell IL-Cosmedent and Durafill A1 - Heraeus Kulzer. This completes the main recovery process. We just needed to create the basic anatomy of the teeth without paying too much attention to the finer details.
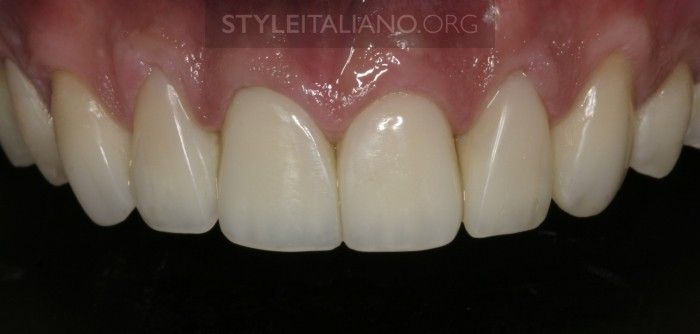
Figure 11. Frontal view. Follow-up for 1 year.
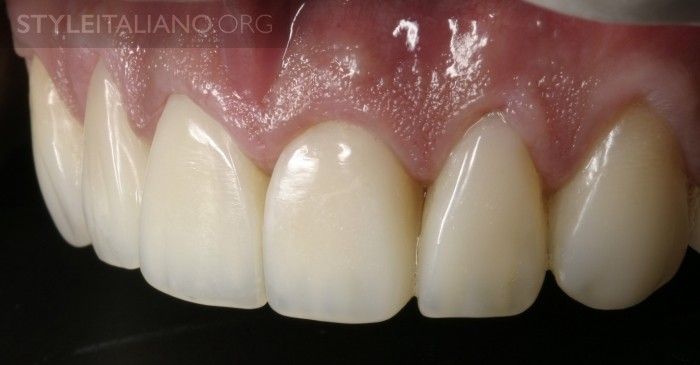
Figure 12. Side view. Follow-up for 1 year.
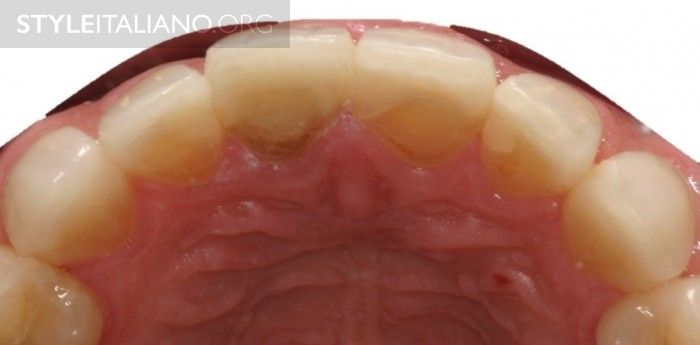
Figure 13. View from the palatal side.
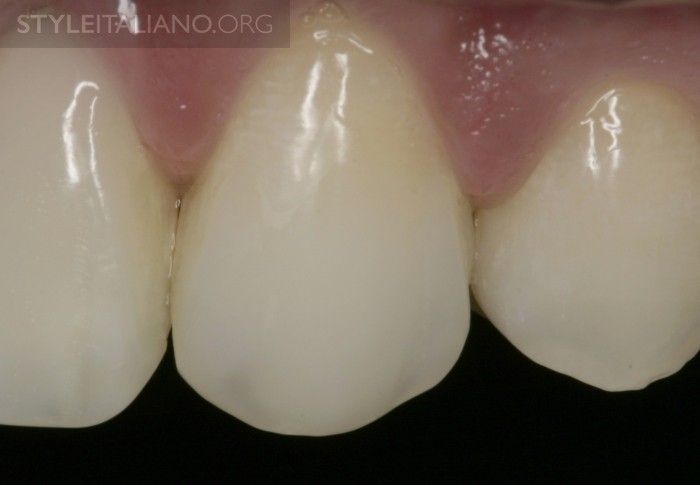
Figure 14. Close-up of canines. Follow-up for 1 year.
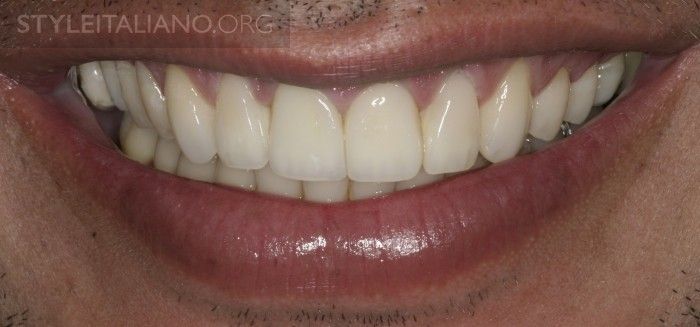
Figure 15. Frontal view - 1 year after the procedure.
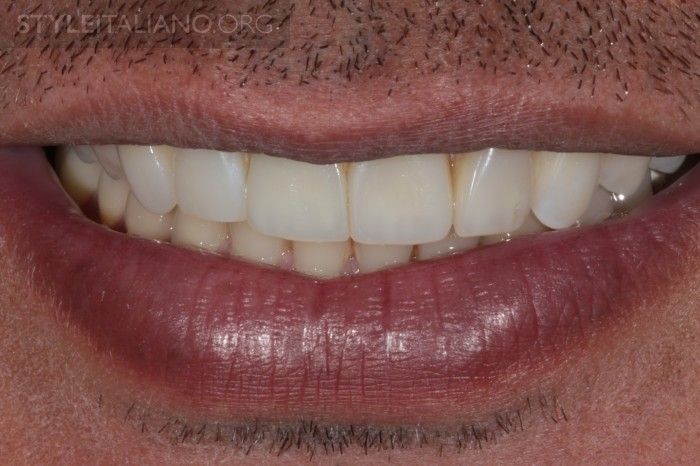
Figure 16. Frontal view of the smile - 4 years after the procedure.
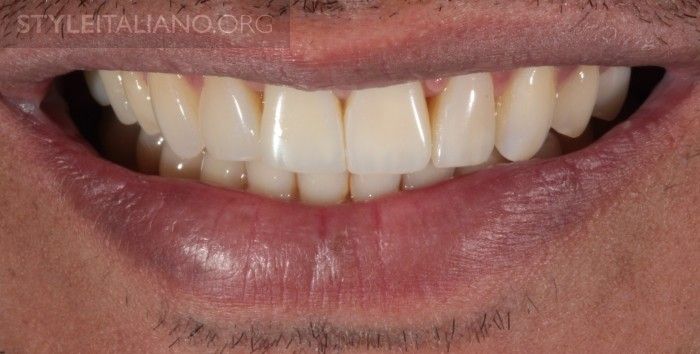
Figure 17. Frontal view of a smile - 5 years after the procedure.
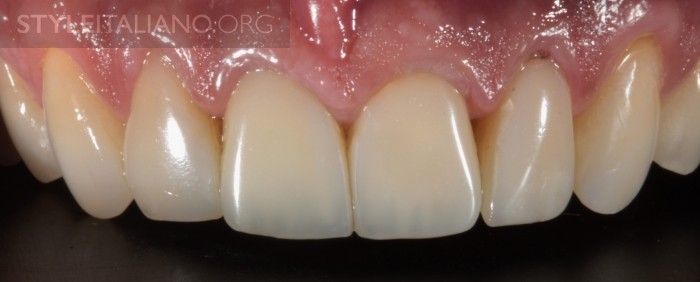
Figure 18. Six anterior teeth – 5-year follow-up. In tooth 1.2, a small restoration of the enamel on the buccal side was performed.
Composite resins - for all occasions
This article illustrates the possibilities of performing large one-stage restorations using the direct method. Composite resins can provide durability and aesthetics if properly selected and applied. In terms of restoring dental anatomy and occlusal relationships, composite resins are an excellent option for solving difficult cases in everyday life.
Even more relevant information on this topic in the online lesson Direct restoration of anterior teeth - perfection and efficiency .
http://www.styleitaliano.org/