Indirect bonding technique for brackets in orthodontics
Machine translation
Original article is written in ES language (link to read it) .
Introduction
To provide the orthodontist with two clinical procedures of the indirect bonding technique, using the fast and safe SondhiTM light-cured resin. With the pre-adjusted bracket systems that the vast majority of clinicians use in their practice, it is important to consider the correct positioning of tubes and brackets accurately to take advantage of the information they possess and to express it properly. However, we all know that there are visual errors due to the direction of appreciation when we do it directly, either due to a deficiency in the type and use of positioners or due to a lack of ergonomics in their clinical practice by not properly positioning the patient in the dental chair. From all this arises the clinician's need to minimize or eliminate parallax errors and achieve the exact location in both vertical and horizontal directions of the entire bracket system.
The indirect technique for placing tubes and brackets aims to be simple, practical, and to assist the orthodontic clinician in avoiding errors in the positioning of their tube and bracket system, benefiting the mechanics of the philosophy they practice in their private practice.
Essential Material
Silicone Splints
- Recent stone plaster working models of the patient.
- MBT height positioner.
- Fine tip pen.
- Drop or brush cyanoacrylate-based glue.
- Light-curable resin.
- Light-curing lamp.
- Heavy silicone.
- Indelible marker.
- Thin lecron spatula or 7A.
- Handle and blade No. 15 scalpel.
- SondhiTM adhesive kits.
- Metal or aesthetic bracket kits.
- Orthodontic mouth opener.
Acetate Splints
- Recent stone plaster working models of the patient.
- MBT height positioner.
- Fine tip pen.
- Drop or brush cyanoacrylate-based glue.
- Light-curable resin.
- Light-curing lamp.
- Soft acetate gauge 0.020” and rigid 0.030”.
- Indelible marker.
- Thin lecron spatula or 7A.
- SondhiTM adhesive kits.
- Metal or aesthetic bracket kits.
- Orthodontic mouth opener.
- Vacuum device.
- Micromotor and carbide discs for trimming acetate.
Laboratory Procedure
A. First, we must have recent models of the patient, letting them dry for at least 24 hours.
B. We can position the teeth vertically and horizontally, from the buccal and lingual sides, at the height determined by each clinician, with the horizontal line preferably reaching the mesial and distal edges of each tooth so that the slot for tubes and brackets aligns.
C. Place a drop or brush of Kola Loka in the center of all the teeth on the model, letting it dry for 30 seconds.
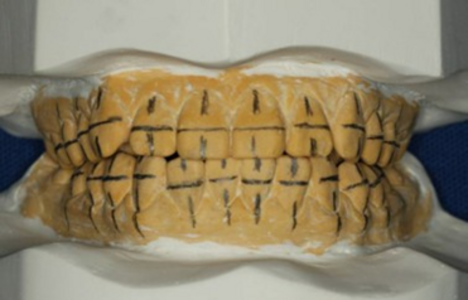
D. Bond our system of tubes and brackets with the resin of our choice.
E. Light cure for 10 seconds on the mesial and distal sides of the tubes and brackets.
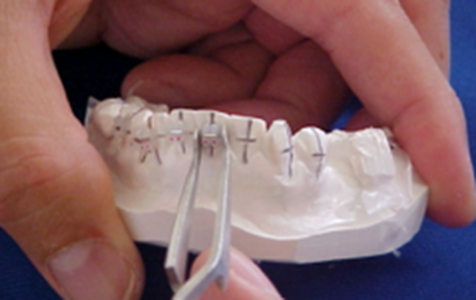
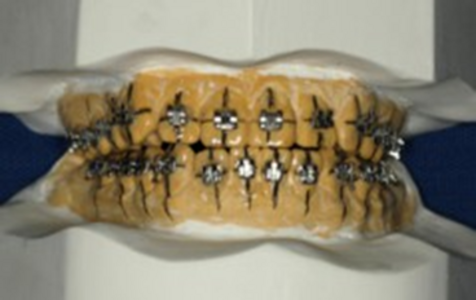
F. Process of the splints, a. take the first soft acetate gauge 0.020” to the vacuum machine, place petroleum jelly over the soft acetate and return to the machine for the second rigid acetate 0.030”, trim along the buccal and lingual with a carbide disc. b. Prepare the heavy silicone, base and catalyst, mix them and form a roll to attach to our working model, pressing on the buccal and lingual and trimming the excess with a spatula before it hardens.
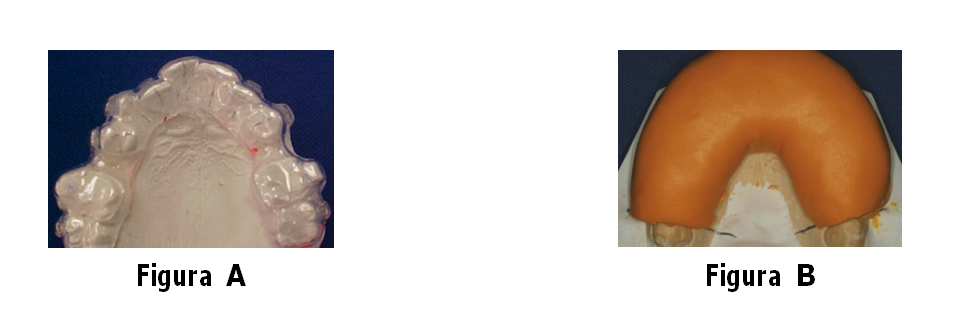
G. Remove the acetate and silicone splints from the working model with a blunt-tipped instrument from the buccal and lingual, it is recommended to light-cure the central part of the mesh of tubes and brackets for 5 seconds and the splints are ready to be taken to the patient's mouth.
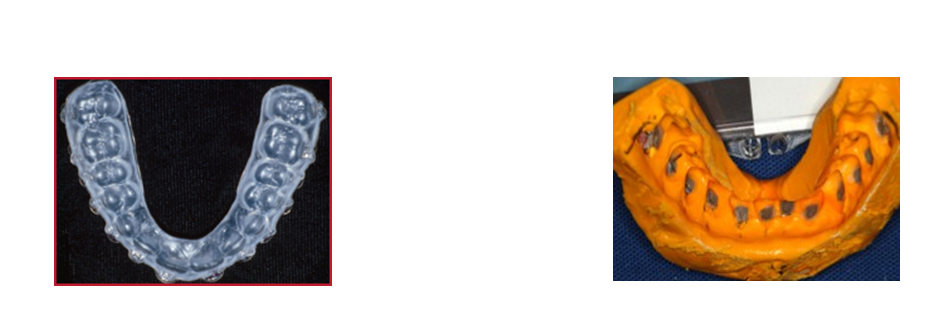
Clinical Procedure
A. First, the entire dentition is properly isolated, etched, washed, and dried. We pour a quantity of Sondhi Resin A and B into the receptacle, being careful not to mix the brushes. We take the A resin with the brush and apply it to the vestibular surface of the teeth, applying a generous amount.
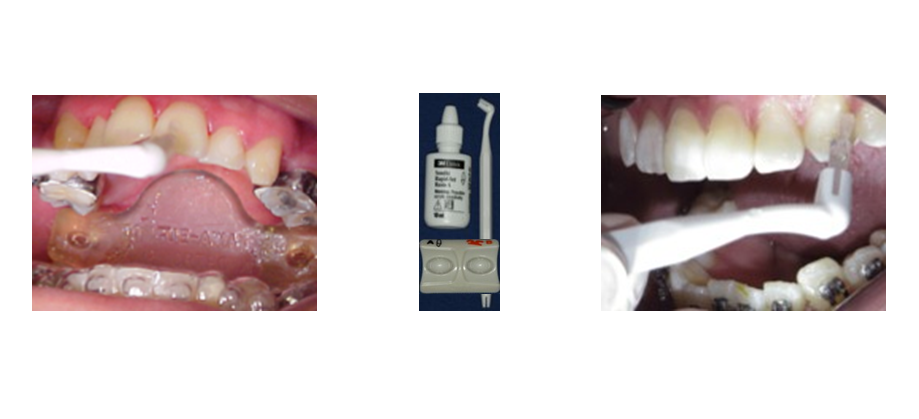

B. A drop of resin B is immediately placed on the mesh of tubes and brackets and taken to the patient's mouth; the splint should be held firmly for 30 seconds and then more gently for 2 minutes.
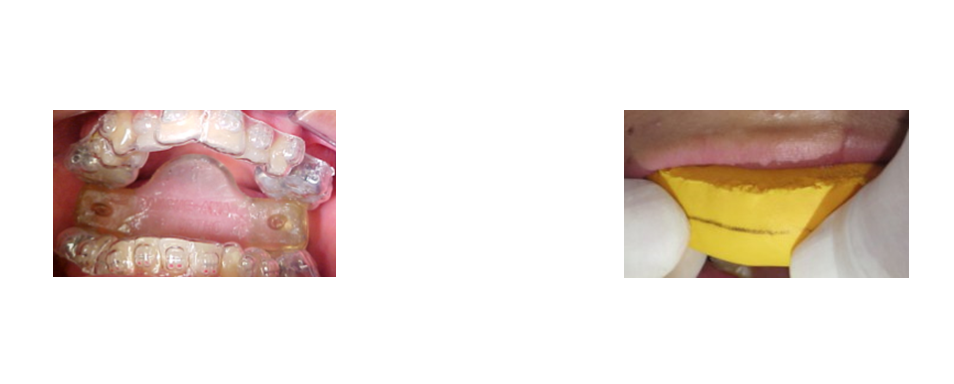
C. After the recommended time in the mouth with the double acetate splint, we proceed to first remove the rigid splint with a pointed instrument and then the soft splint.
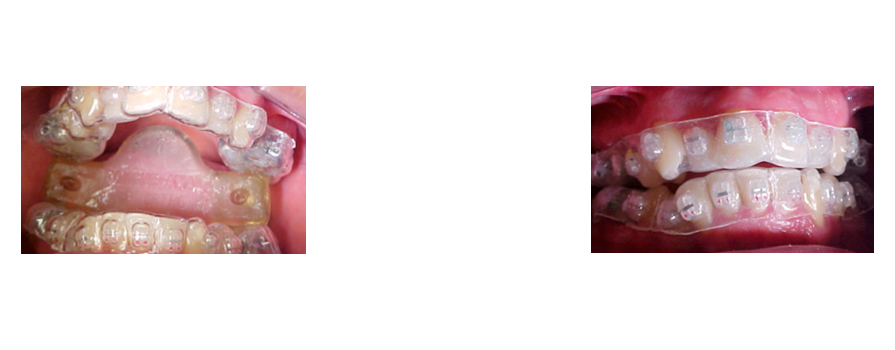
D. With the silicone splint, it is recommended to cut with a scalpel blade from distal to the midline of the splint along the lingual, occlusal, and vestibular surfaces carefully.
E. After removing both splints, the first working orthodontic arches are immediately placed.

Conclusions
The indirect bonding technique for brackets is a simple and practical laboratory and clinical procedure that we can implement in the orthodontic office or clinic aimed at compensating for the limitations that the orthodontic clinician has when performing it directly. Its application ensures the precise placement of the entire system of tubes and brackets used, allows for faster patient care, and reduces chair-time. It is also necessary to apply it consecutively until the best results are obtained in daily orthodontic practice.
Bibliography
- Sondhi A. Efficient and effective indirect bonding. Am J Orthod Dentofac Orthop 1999: 4:1.352-359.
- Hickam J. Predictable indirect bonding. J. Clin Orthod 1993; 27: 215-218.
- White L. A new improved indirect bonding technique. J Clin Orthod 1999; 33:17-23.
- Kalange J. Ideal appliance placement with APC brackets and indirect bonding. J Clin Orthod 1999; 33: 516-524.
- Fonseca F, Riquelme R. Indirect bonding technique “2 clinical procedures”. Odontología Actual 2004; 36-43.
