
Restoration of class II cavities
Machine translation
Original article is written in RU language (link to read it) .
A step-by-step protocol for creating a direct posterior restoration can help the dentist achieve the best results in his daily practice. Small details in preparation and matrix placement will help improve the end result of routine Class 2 cavity restorations.
If you want to learn how to make the most natural restorations according to the protocols of leading experts in the concept of biomimetics, go to the online course The concept of biomimetics: protocols for composite restoration .
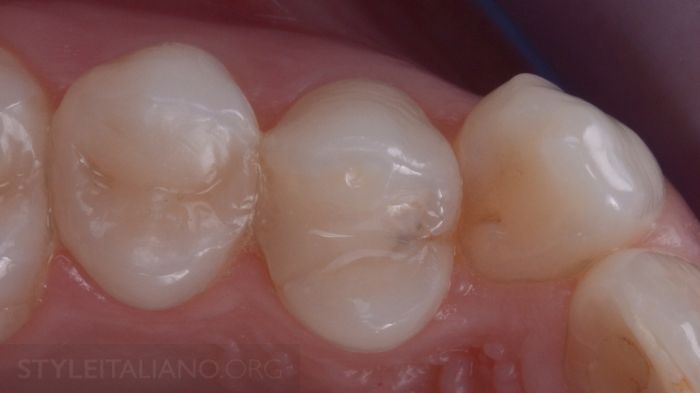
Figure 1. Old composite restoration in the first premolar, unsatisfactory contact point and secondary caries.
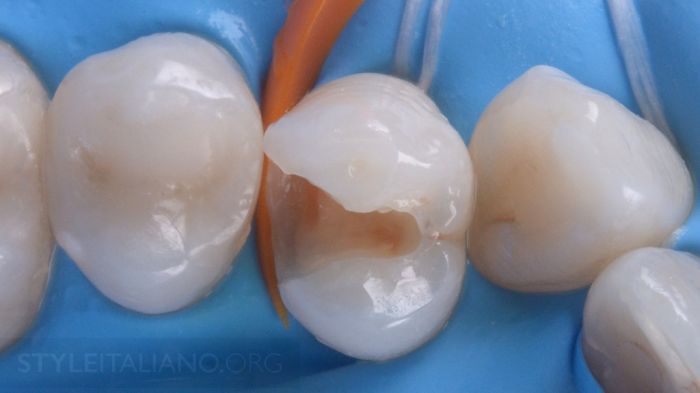
Figure 2. A wedge should always be placed before interproximal intervention for the benefit of protection, marginal gingival definition, and tooth separation. After removing the old restoration, tissue decay was discovered, which subsequently must be completely removed.
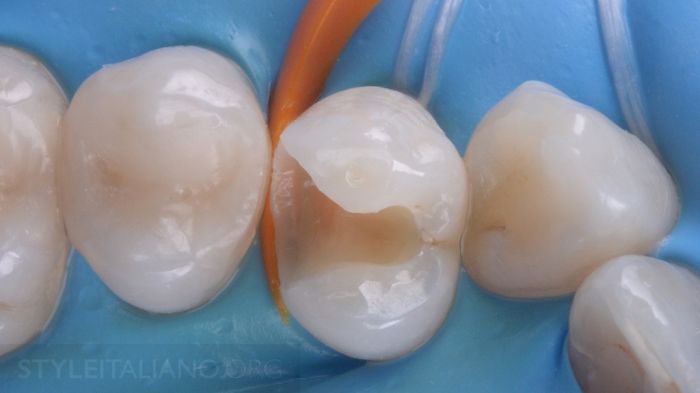
Figure 3. The vestibulodistal wall was too close to the adjacent premolar, but the use of an appropriate bur allowed the teeth to be separated very conservatively. This separation is very important for the subsequent correct adaptation of the matrix and marginal fit of the future restoration in an area that is easily accessible and controllable.
The cervical border of the future restoration should ideally be at the level of the wedge. This area is usually where the matrix adapts best.
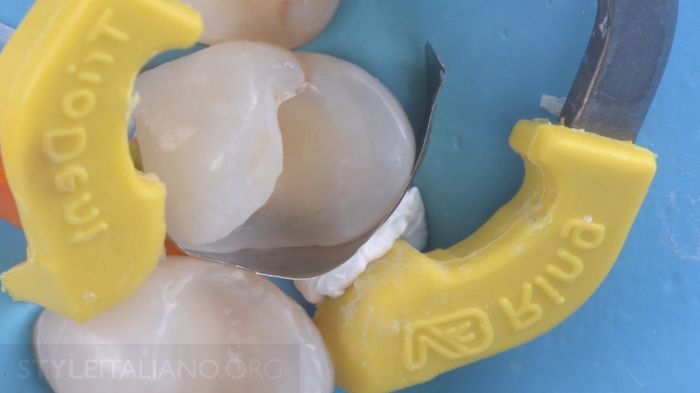
Figure 4. Matrix adaptation using a ring and Teflon tape. Teflon was adapted before the ring was applied. The use of Teflon tape in this case ensures that the shape of the adapted matrix is maintained during the applied pressure, which allows for a tight contact point to be maintained as long as there is physical contact between the matrix and the adjacent tooth.
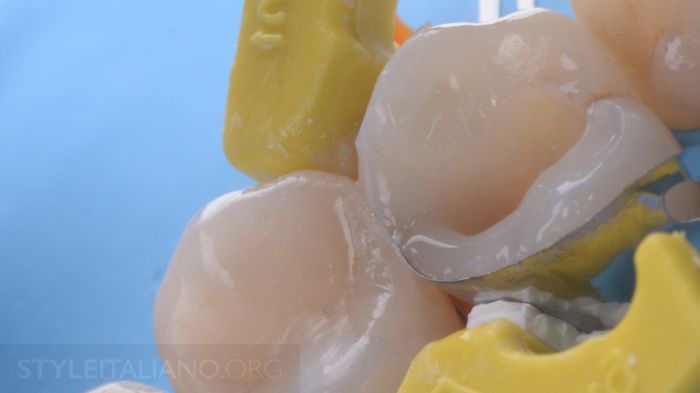
Figure 5. The first step in restoring the tooth anatomy is to create a proximal ridge using a thin composite wall based on the proximal ridge anatomy of the adjacent premolar.
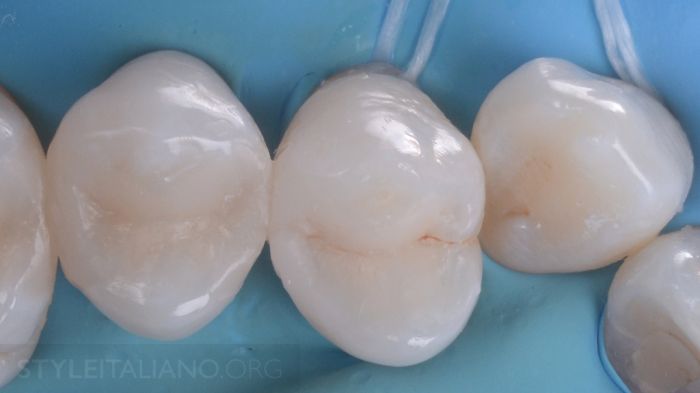
Figure 6. Final appearance of the composite restoration before processing and polishing. For better aesthetic integration, a small amount of paint was used.
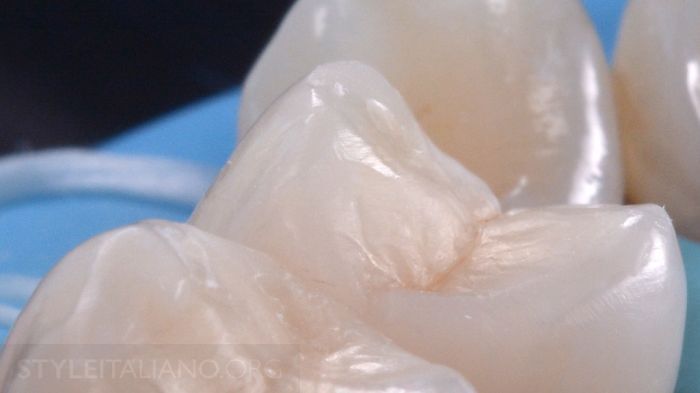
Figure 7. Anatomy details from a different angle, which helps reveal excess material.
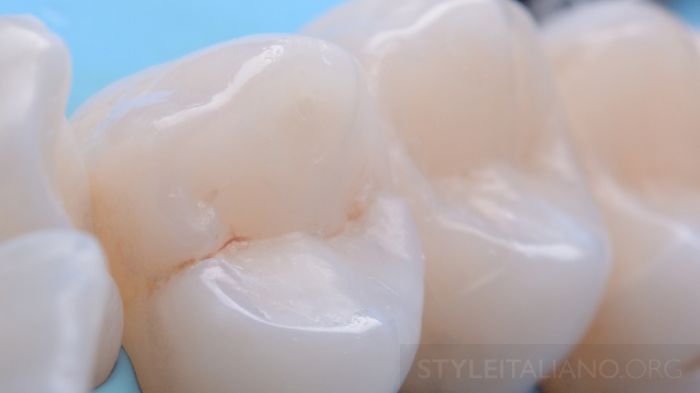
Figure 8. From this angle, a slight excess of material on the palatal tuberosity is visible.
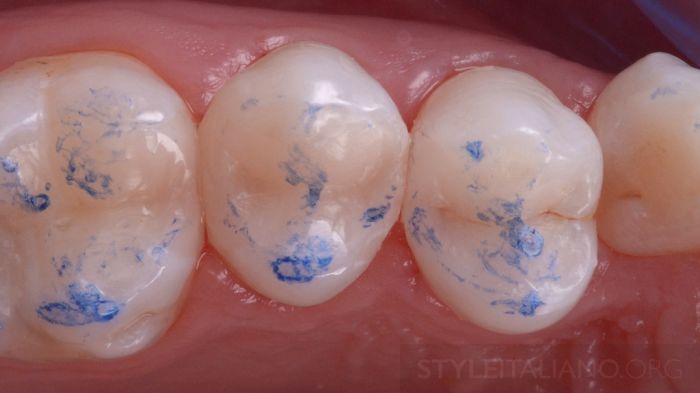
Figure 9. Occlusal check of contacts after rubber dam removal. Final finishing and polishing was done after this step.
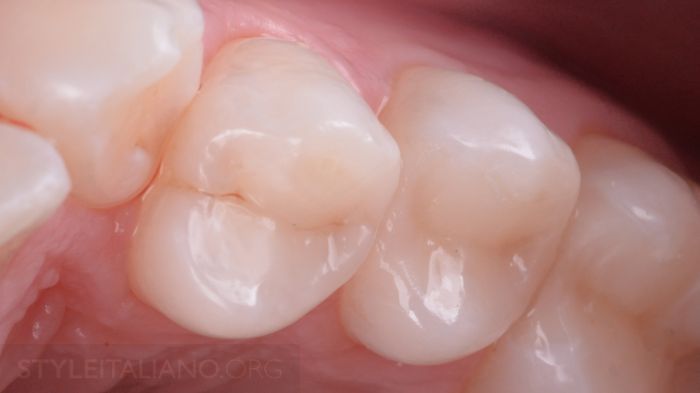
Figure 10. By using discs, delicate abrasive rubber heads and natural bristle brushes in combination with the paste, the final shine and anatomy of the restoration was achieved.
About direct composite restorations of posterior teeth at the webinar Direct restoration of posterior teeth using the technique of stress-reduced direct composite restoration .
http://www.styleitaliano.org/