
Isolation of the working field in class V cavities
Machine translation
Original article is written in RU language (link to read it) .
Class V cavities are very common in the population and are becoming increasingly common. This is becoming a hot topic for doctors and a problem for many patients.
The number of patients experiencing cervical tissue loss (CTL) is actually increasing, and the prevalence of this process has been continuously increasing over the years.
About protocols for creating highly aesthetic composite restorations in the online course Brazilian School of Aesthetic Restoration .
PTP can involve hard tissue and soft tissue: this situation requires a multidisciplinary approach using combined restorative and periodontal treatment.
Etiology of class V cavities
It is very important to begin by properly establishing the etiology of class V cavities. Main reasons:
- Acid: This category covers all forms of chemical, biochemical and electrochemical destruction.
- Abrasiveness: the effect of a toothbrush, toothpaste.
- Abfraction: microdestruction of dental tissue in areas of stress concentration.
Cervical caries occurs due to the complex interaction of these mechanisms. The clinician should consider all etiologic and modifying factors before completing diagnosis or initiating treatment, if identified.
Restoring lost tissue in the cervical region is a major challenge for clinicians and poses challenges for adhesive materials due to biomechanical aspects. As well as the type of substrate available for adhesion and isolation of the surgical field.
Isolation of the working field when restoring class V cavities
One of the problems may be the isolation of the working field. The loss of tissue in the cervical area can be so significant that the difference between the buccal/lingual and labial levels of a healthy tooth can make dental dam placement truly difficult or nearly impossible without the use of a clamp. It’s another matter if we isolate the surgical field using a special instrument that can perform both the function of a rubber dam and a soft tissue retractor, useful for demonstrating the working area.
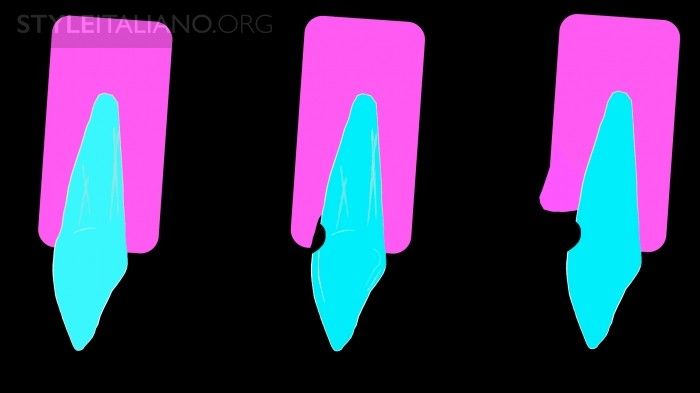
Photo 1. Tissue loss in the cervical area can extend below the gum and below the neck of the tooth itself.
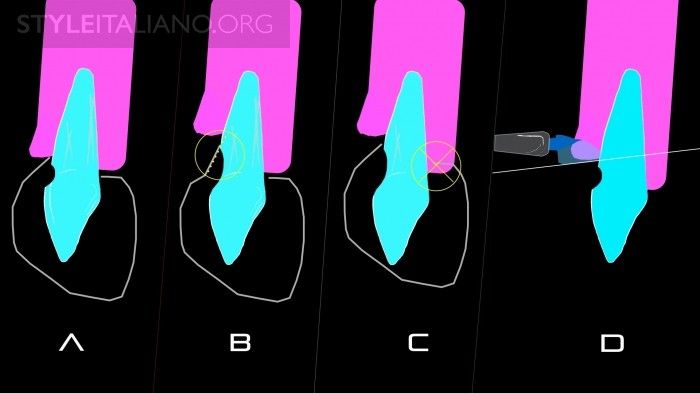
Photo 2. A) clamp in place: if the tissue loss is small and not deeper than the neck of the tooth, then the working angle is correct. B) If the lesion is deeper than the cervix, the clamp can be modified to reach the level of healthy tissue, but the working angle will only allow for a very flat restoration. As a result, a lot of finishing and polishing may be required. C) To maintain a good working angle, the clamp may damage the rubber dam from the buccal surface. D) The solution is to use a Gengiva instrument capable of pushing through a rubber bandage and compressing the gingiva on the labial side only.

Photo 3. Working angle for tissue loss below the neck of the tooth using a clamp.

Photo 4. Working angle for tissue loss below the neck of the tooth using the Gengiva instrument.
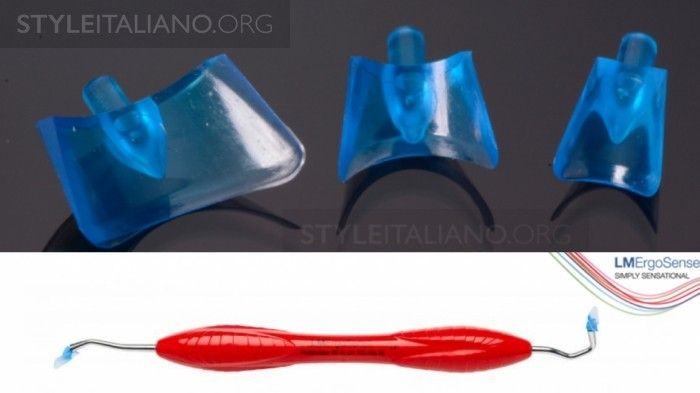
Photo 5: The blue plastic working ends of this tool are available in three sizes. They can fit tightly to the gum margin in relation to different teeth and facilitate gum protection and retraction.
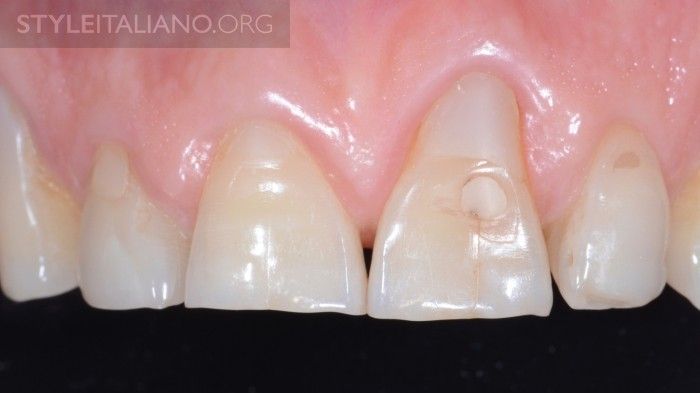
Photo 6. Deep loss of tissue in the cervical area.
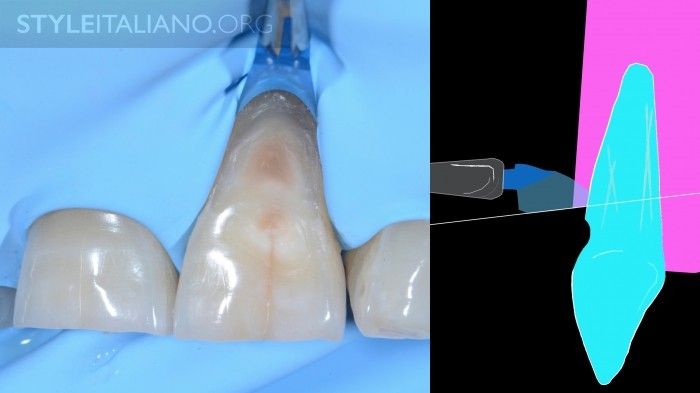
Photo 7. Deep loss of tissue in the cervical area and use of the Gengiva instrument.
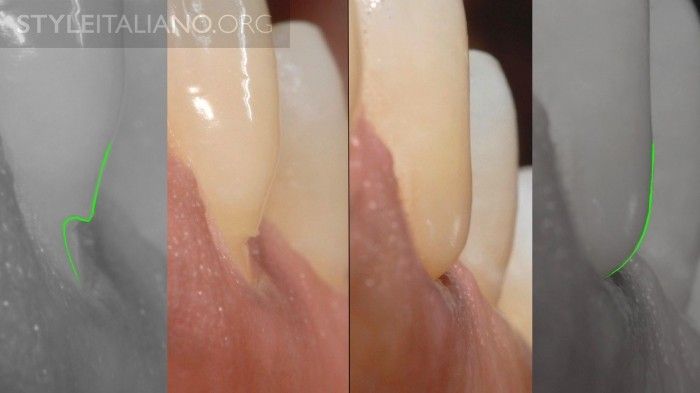
Photo 8. The goal is to obtain the correct angle of the restoration.
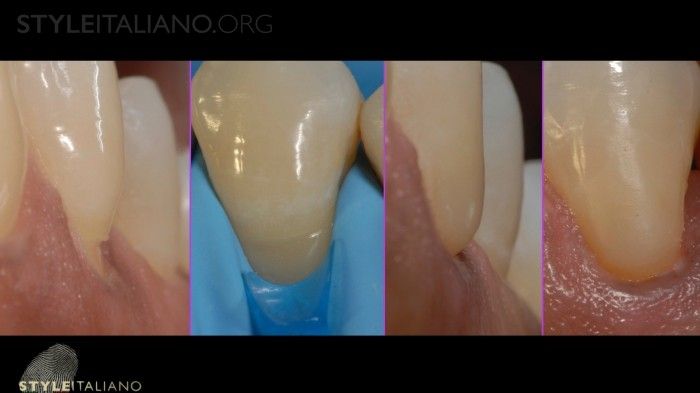
Figure 9. This is a suitable tool for isolating this type of lesion. The advantages of this method are: simple exposure of healthy tissue. If access to the edges of the working field is maximum, then it is easier to model class 5 restorations, which will lead to less processing and polishing time, and less damaging effects on hard and soft tissues. The fast and atraumatic procedure minimizes postoperative discomfort for the patient. Disadvantages: the instrument must be kept in place by the operator's hand during the procedure.
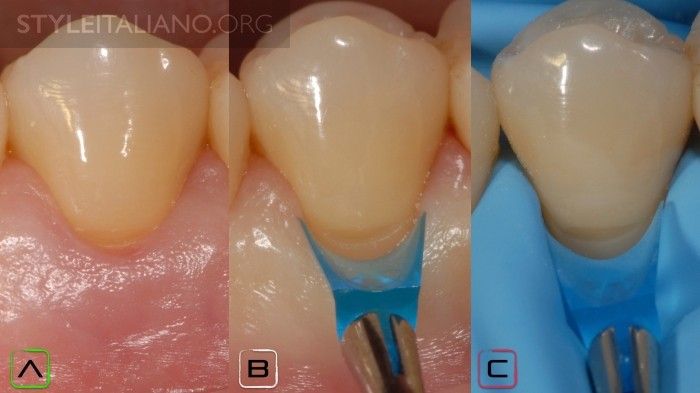
Photo 10. A) preoperative state. B) Application of the Gengiva tool. C) Gengiva and rubber dam in place.
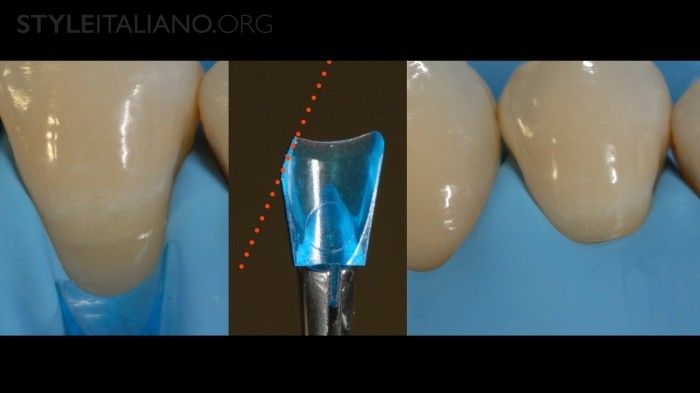
Photo 11. Sometimes it is necessary to adapt the plastic working end.
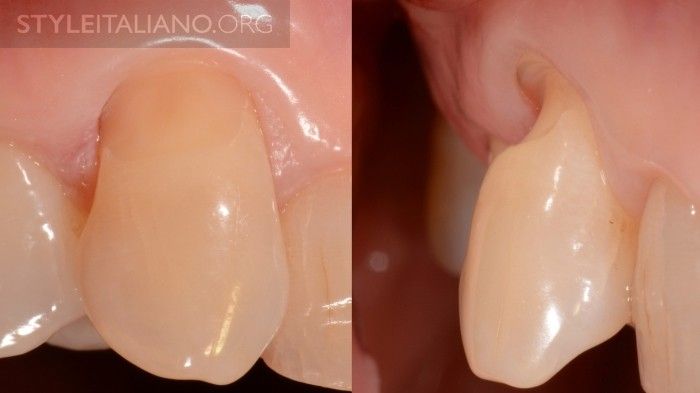
Photo 12. Preoperative condition.
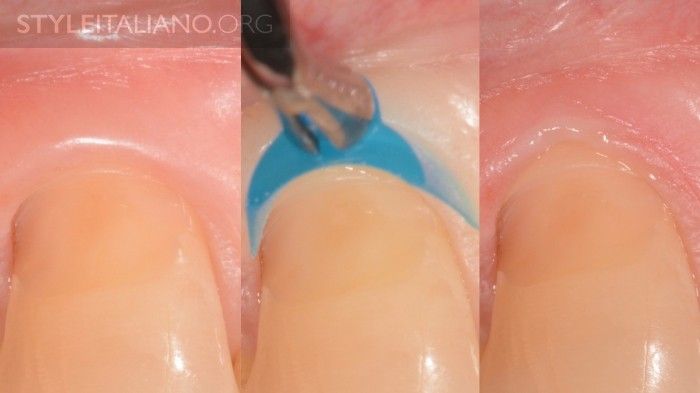
Photo 13. 1) Gengiva installed. To test its pressure on the gum, gently spray air to assess the patient's sensitivity. If this procedure causes him discomfort, then use anesthesia; If the patient does not respond to thermal sensitivity or has no discomfort, then it can be continued without the use of anesthesia.
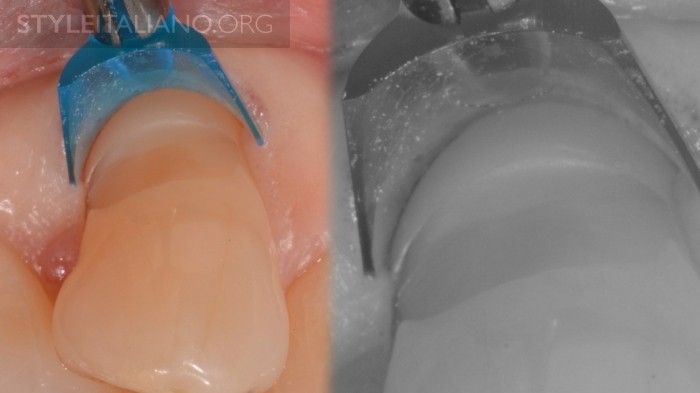
Photo 14: If the blue plastic work surface is too wide, it may prevent the rubber dam from adjusting correctly.

Photo 15: Use the dial to change the area of the blue work surface.
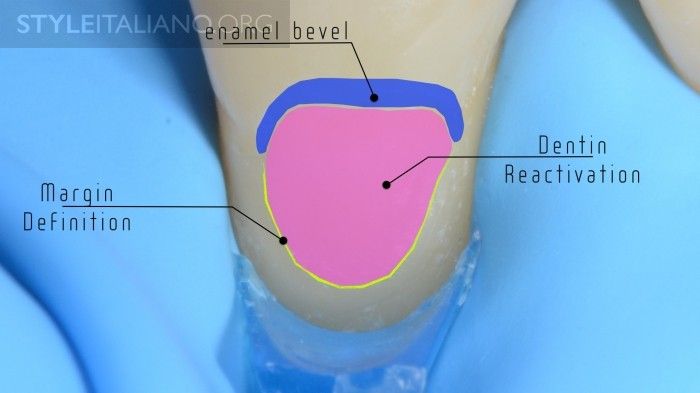
Photo 16. Before adhesion procedures, we bevel the enamel to achieve the best aesthetic result. It is very important to determine the margins of the future restoration, especially in the case of small cavities. This is necessary in order not to exceed the area limit during restoration.
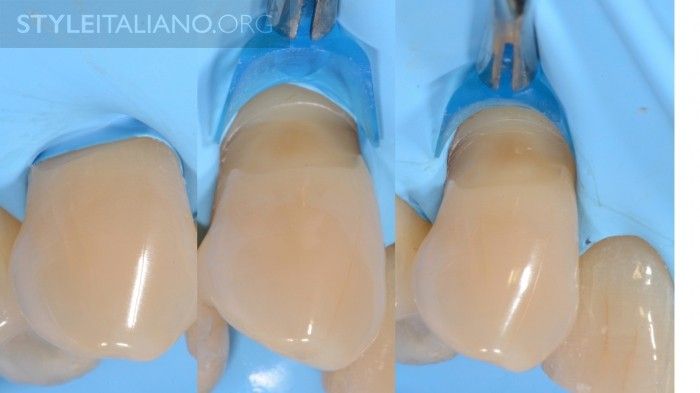
Photo 17. It is important to drag the scarf completely under the Gengiva tool, finding the correct angle.
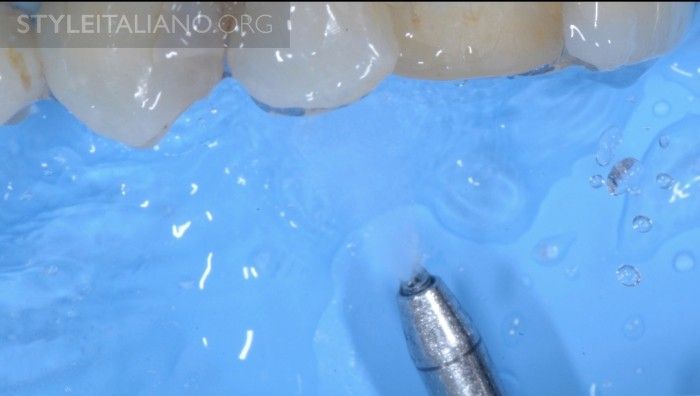
Photo 18. To clean the work area we use glycine in an aerosol.
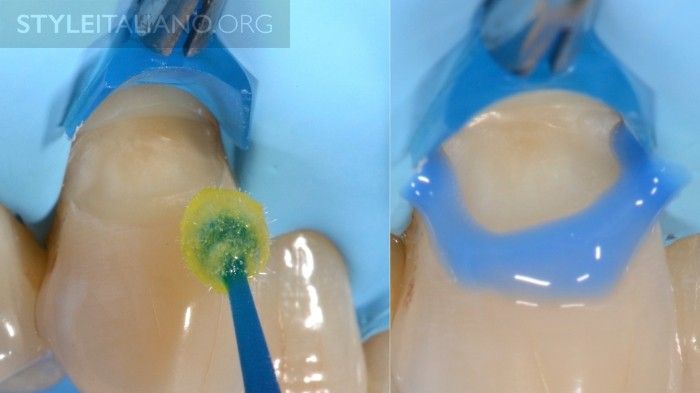
Photo 19. Selective etching and adhesive procedures.
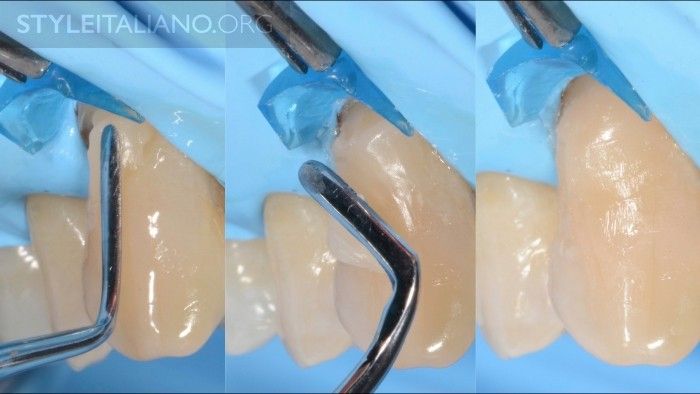
Photo 20. Layering of the composite in the direction from the cutting edge to the surface in the cervical area using the Closing Gap strategy.
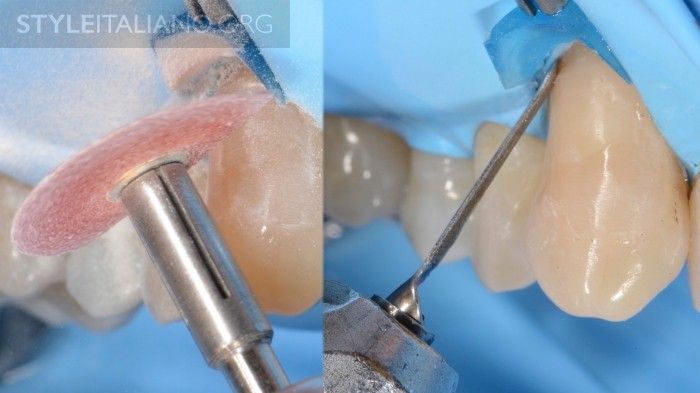
Photo 21. Processing.
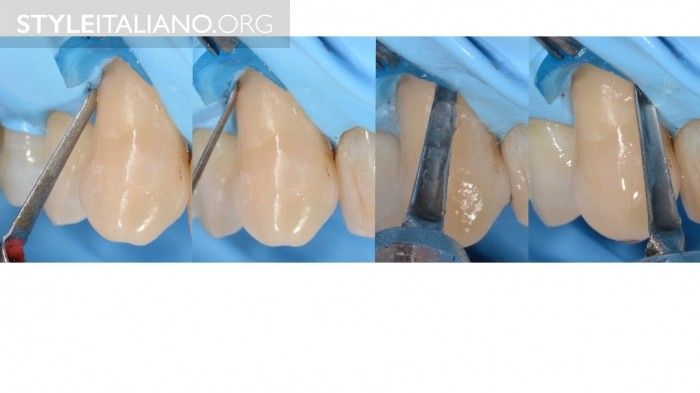
Photo 22. Processing.
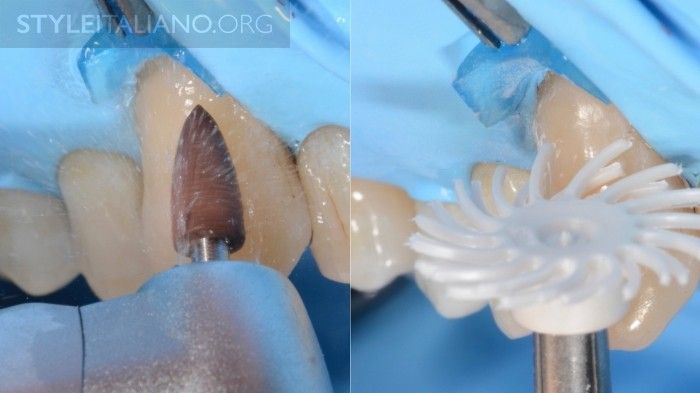
Photo 23. Finishing (grinding) and polishing with rubber dam in place using Eva Kavo handpieces (reverse action instruments), cones, scalers and silicone instruments for grinding composite restorations with rubber dam.
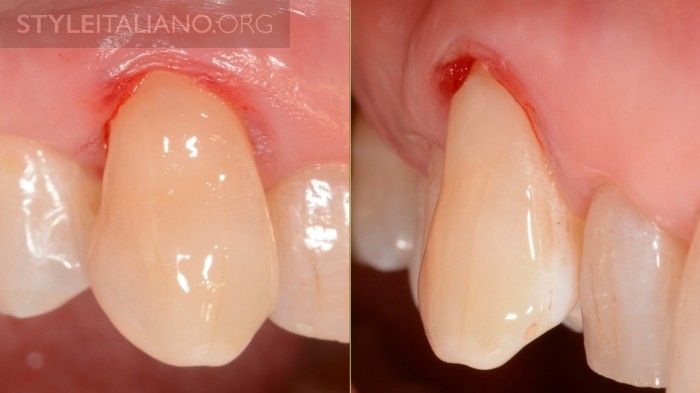
Photo 24. Starting point.
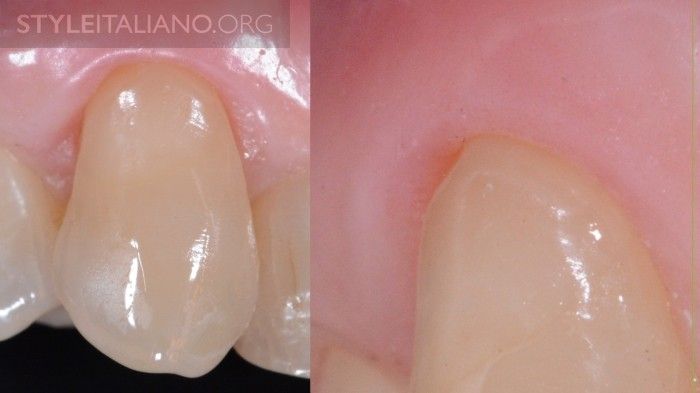
Photo 25. A week later.
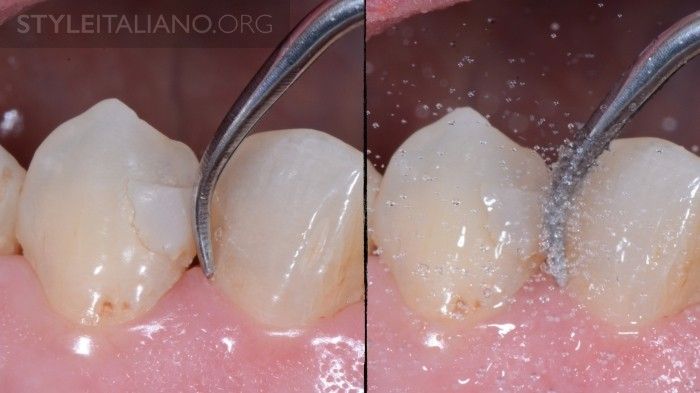
Photo 26. Only a lesion in the enamel area. Start by cleaning the surface with an ultrasonic tip and glycine in an aerosol.
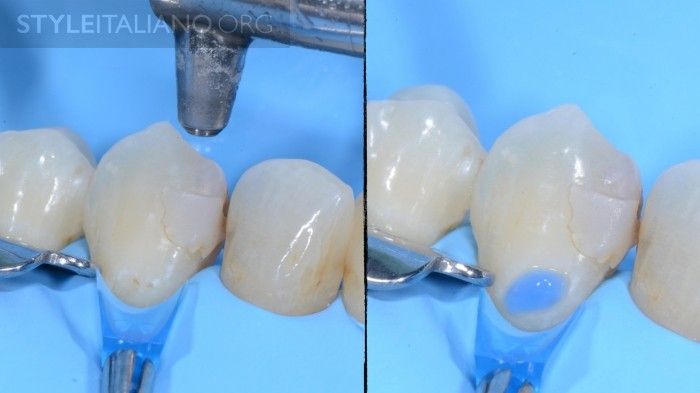
Photo 27. Gengiva small sizes. Sandblast with 27 micron aluminum dioxide using an air and water spray nozzle, then etch.
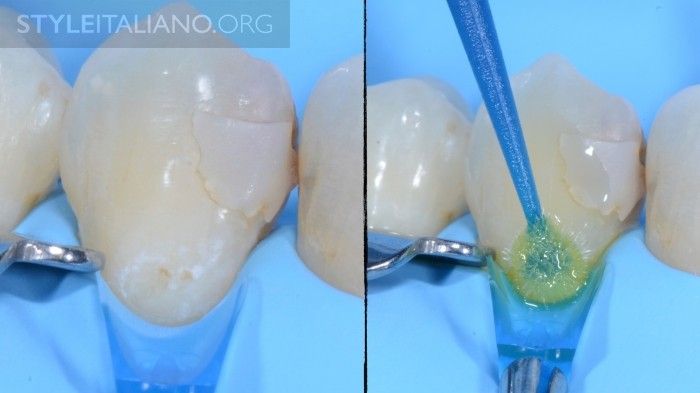
Photo 28. The left photo shows the surface after etching. On the right is the use of the universal adhesive system.
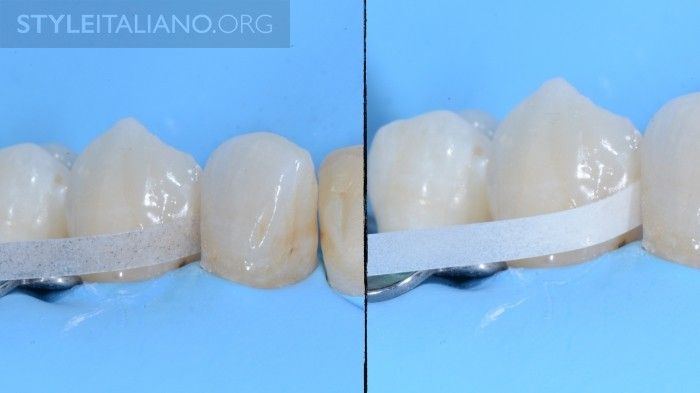
Photo 29
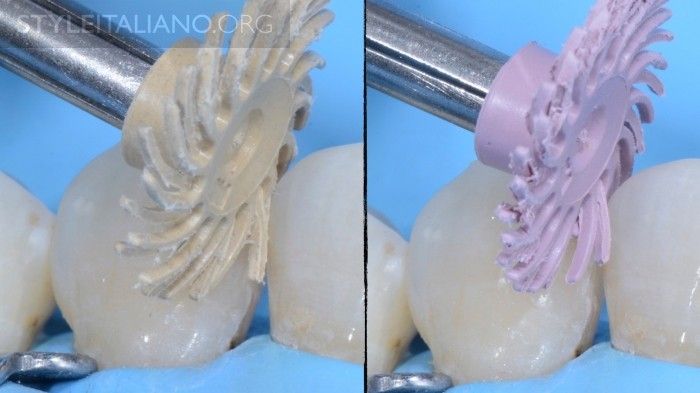
Photo 30
conclusions
Achieving a good, streamlined profile in Class 5 restorations can be simple. This method helps ensure that the rubber dam is always used in Class 5 restorations and has the correct shape with minimal need for grinding and polishing procedures. It also allows you to obtain the correct streamlined angle of the restorations and prevent the appearance of flat restorations. The best gum healing processes usually involve restorations that correctly reproduce the lost tooth anatomy.
Learn more about direct composite veneers in the webinar Color in Aesthetics: The Science and Beauty of Direct Composite Veneers .
http://www.styleitaliano.org/