
Implantation problems. Healing abutment
Machine translation
Original article is written in RU language (link to read it) .
There are suggestions that we are not able to get rid of some components of the prosthesis when solving problems of dental restoration with implants or that the components at our disposal do not meet our needs, which is why we cannot obtain the optimal contour implant.
Learn more about individual abutments in the webinar Modeling individual abutments in the lateral and anterior teeth .
Some of these situations:
- At the stage of implantation surgery, we do not have a specific healing abutment, the properties of which correspond to the properties of the implant.
- We have a similar healing abutment, but its diameter and height are smaller than necessary.
- Difficulties arise when we want to obtain a certain contour of the gum around the implant that would correspond to the restored tooth. We are also trying to develop personalized healing abutments.
Part 1
When we see patients who have had dental implants placed by other professionals, they may not have specific documentation or descriptions of the implant placed. Therefore, we cannot find out information about the brand, model and type of connection of the implant. In case of implantation surgery, if the healing abutments that we have are not suitable for the given implant, we can proceed as shown in the following images:
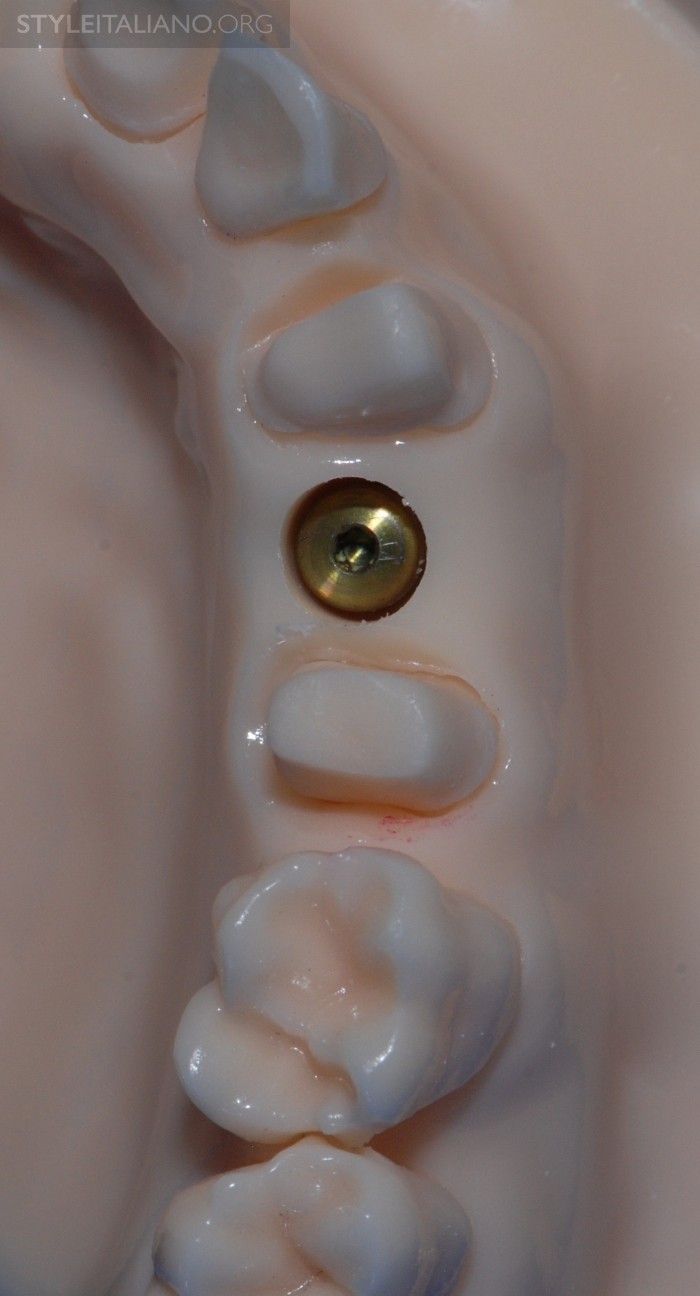
Rice. 1. This photo shows a model simulating a situation in which surgery to place a healing abutment is performed.
Rice. 2. We remove the cover screw, at this point determining the type of implant connection. Since we do not have a healing abutment for this type of connection, we decided to recreate a healing abutment by bonding composite resin and a cap screw.
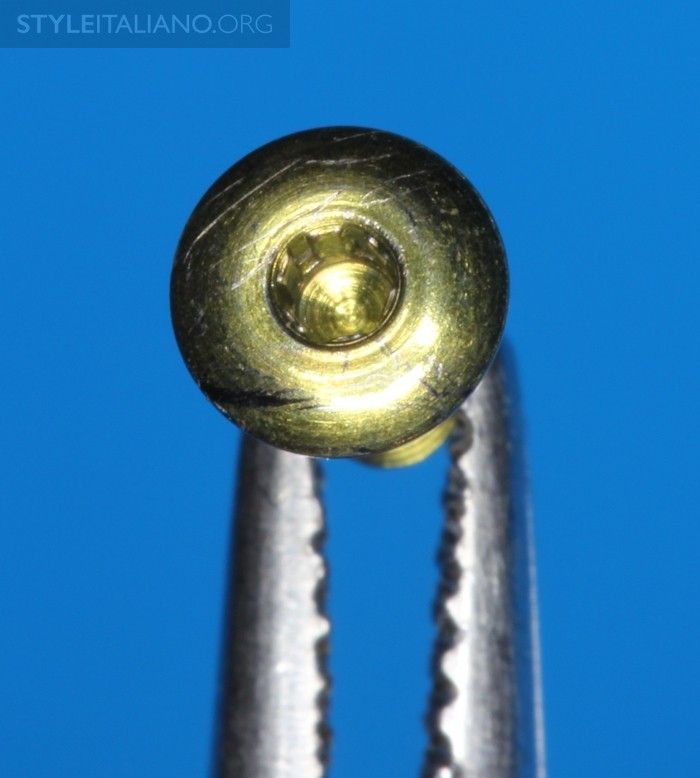
Rice. 3. Thoroughly wash the screw cap, disinfect it and prepare it for the adhesive procedure.
Rice. 4. Sand the outer surface with 50 micron Aluminum Oxyde sand until we achieve a uniform, opaque surface. Then rinse the surface with water and dry with air.
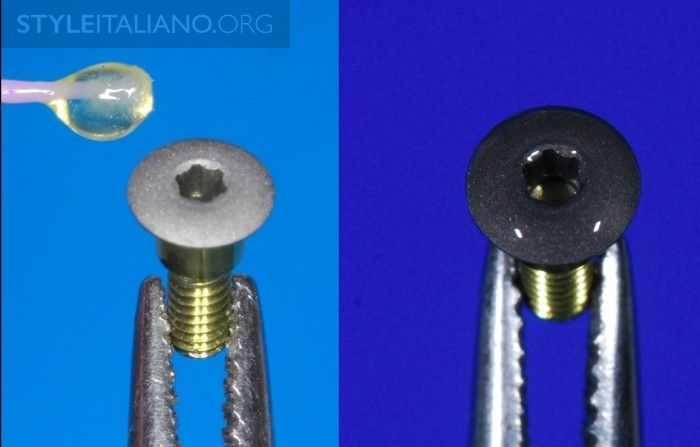
Rice. 5. Apply hydrophobic bond to the treated titanium surface and blow with air to remove excess bond.
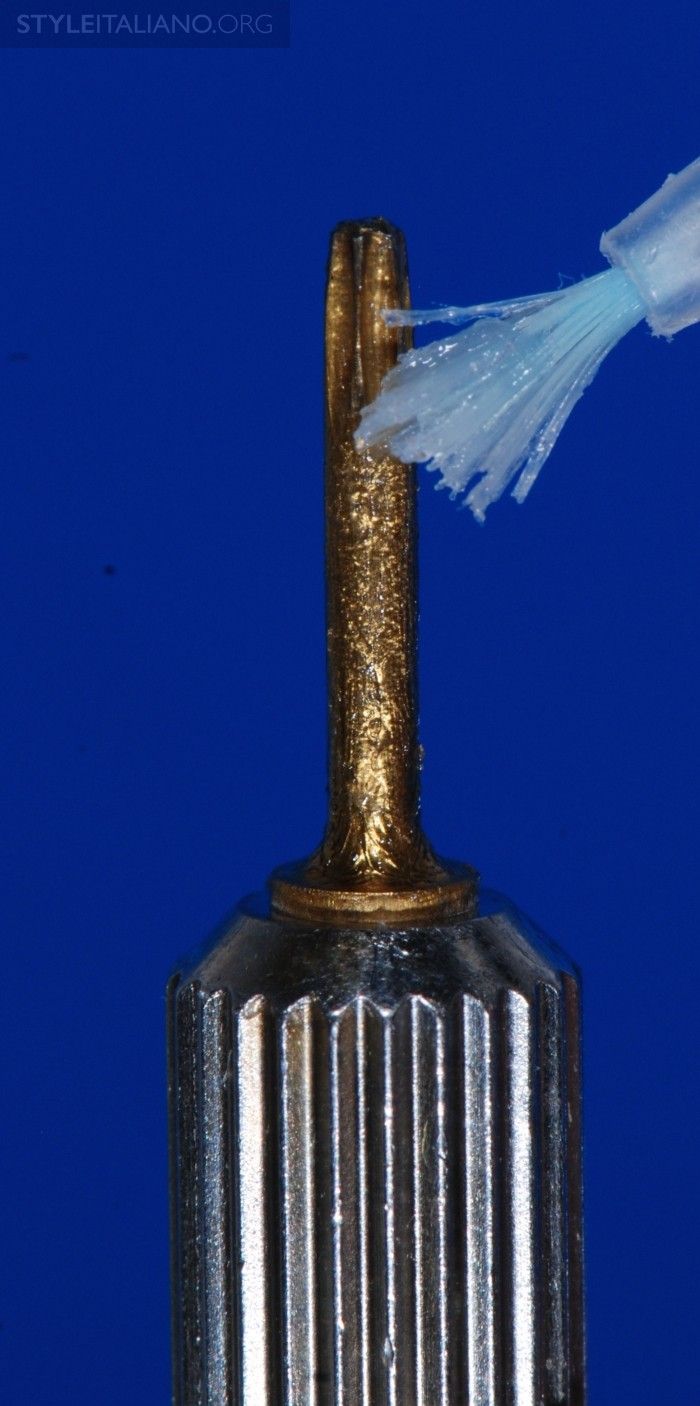
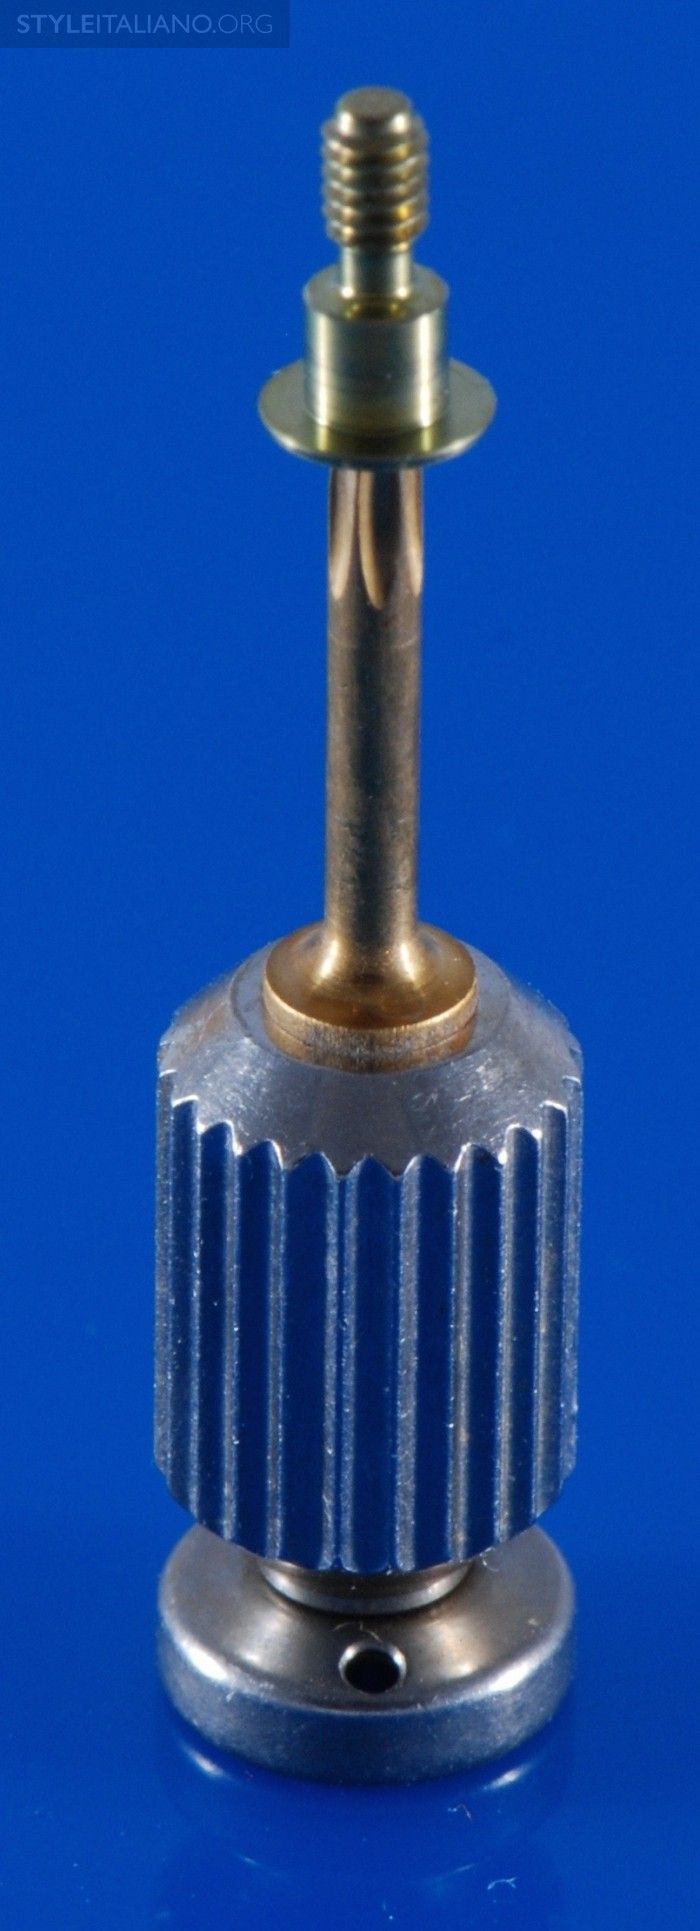
Rice. 6. Prepare the screwdriver body by lubricating it with Vaseline. At the same time, we create a thin layer that will prevent the composite from sticking to the metal.
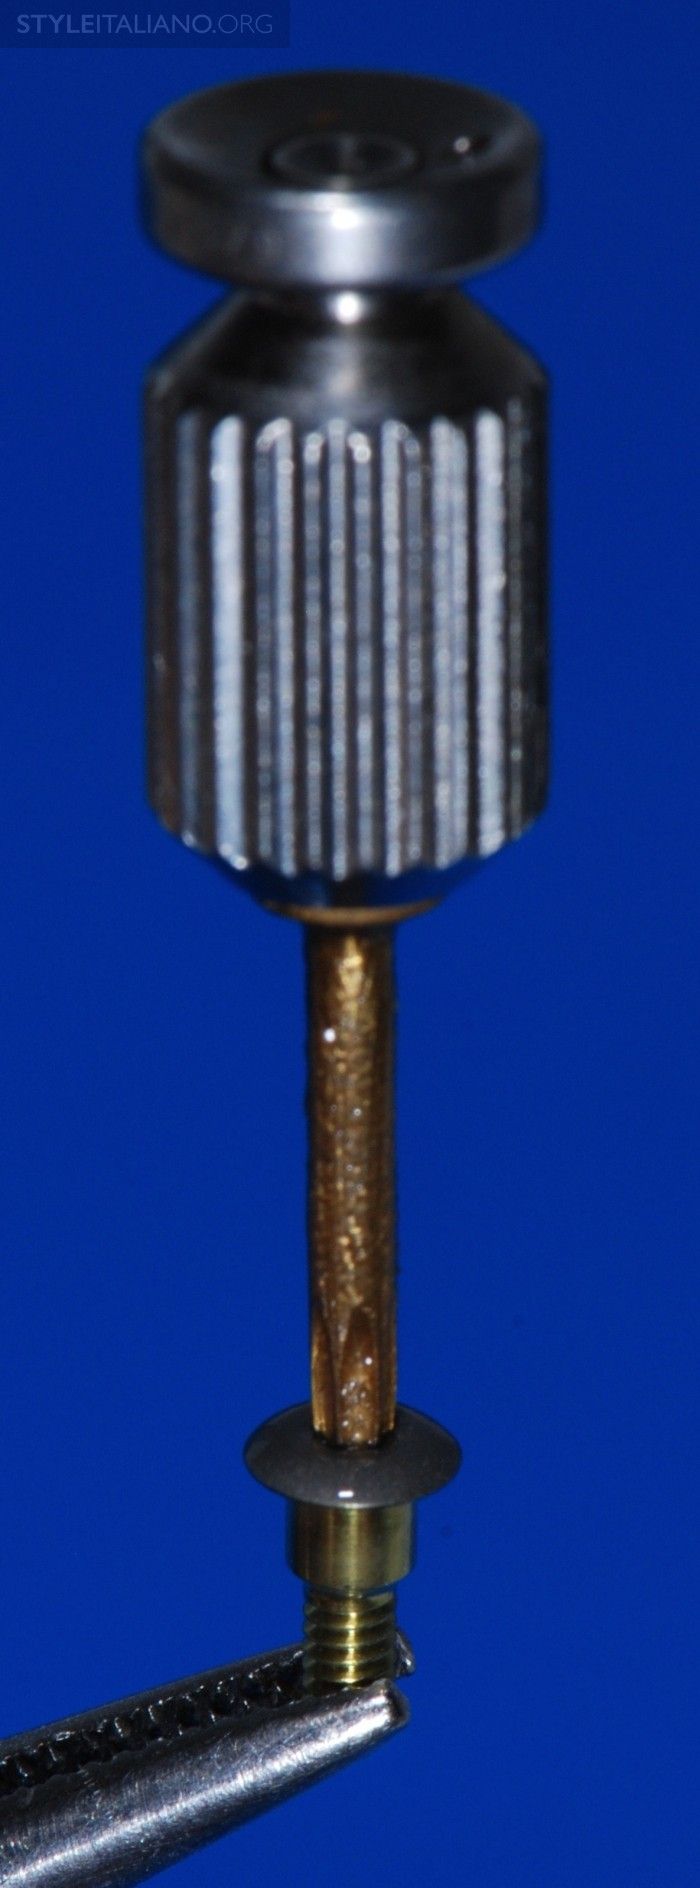
Rice. 7. The screwdriver is firmly inserted into the cavity of the cover screw.
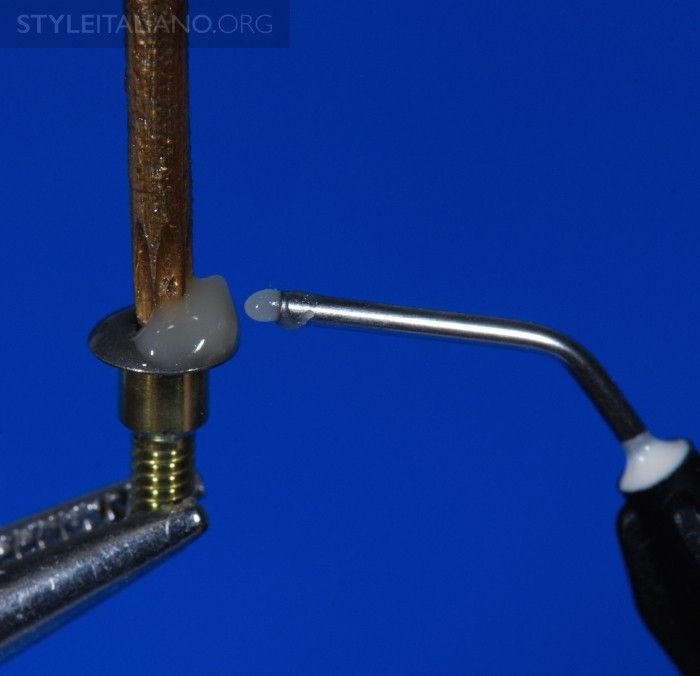
Rice. 8. Using a special tip, we apply a small amount of flowable resin, thoroughly wetting the pre-treated surface of the cap and covering the body of the screwdriver tip.
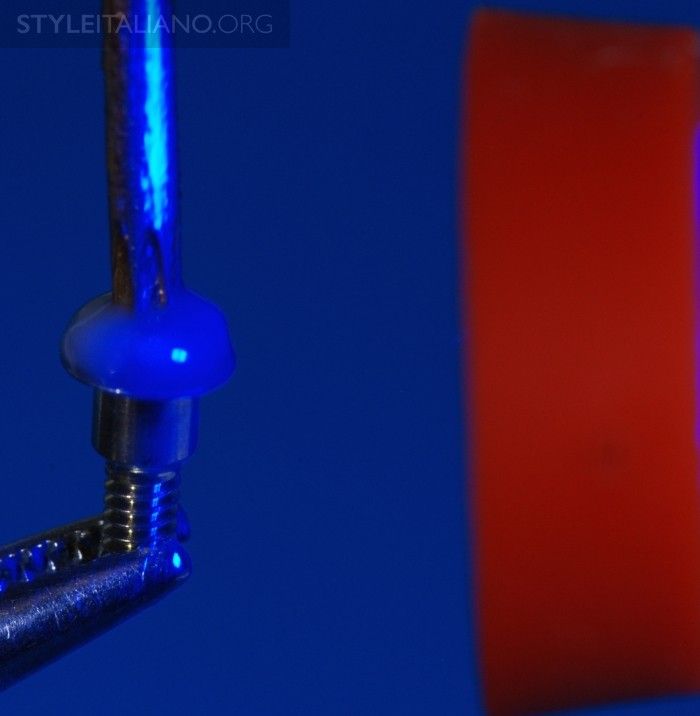
Rice. 9. Polymerization process. It is recommended to slowly rotate the structure to polymerize all surfaces.
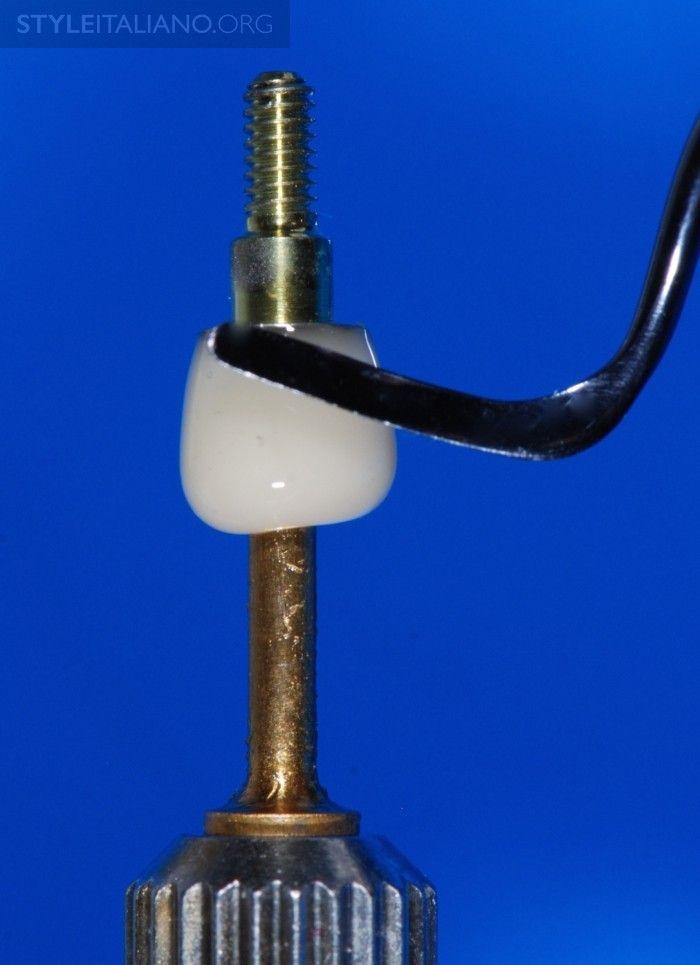
Rice. 10. Using metal instruments and silicon tips, using composite paste, we form the future healing abutment. We create the required diameter and height required for a given clinical case.
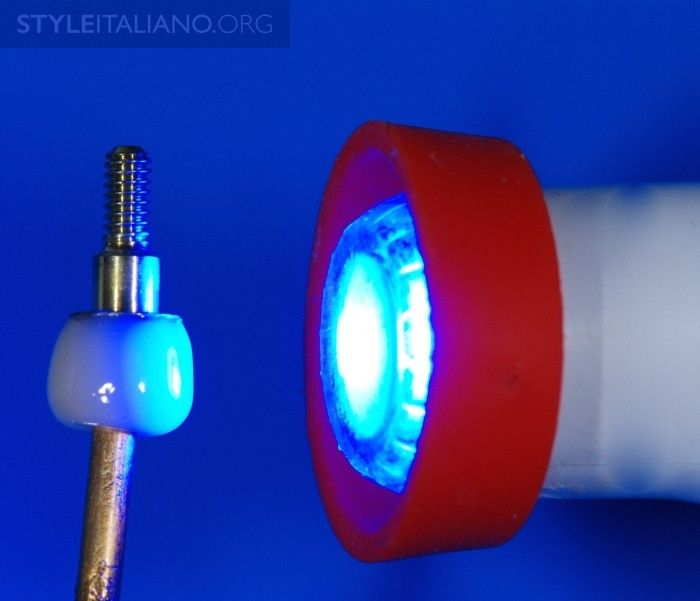
Rice. 11. We polymerize again, this time for 1 minute, achieving complete cure.
Advice! By holding the screw with threaded tweezers while making traction (drag) movements, we can separate the screwdriver from the modified screw.
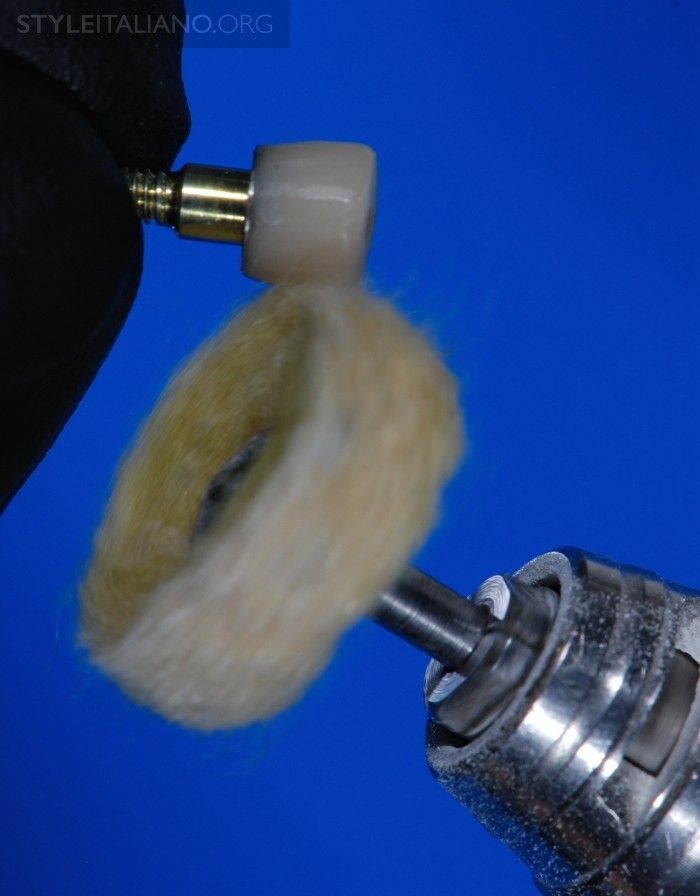
Rice. 12. Now it's time to polish our abutment. We use abrasive discs, abrasives and brushes to achieve the final shape, polish and shine. The surface must be well polished, as this will simplify hygiene in the future and also prevent plaque retention.
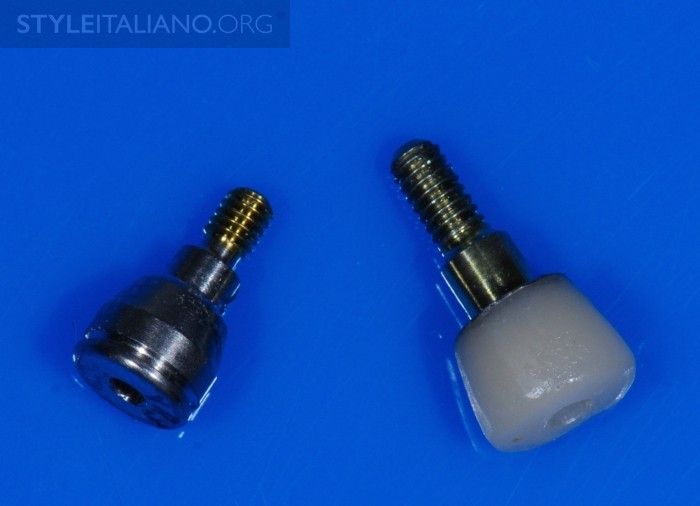
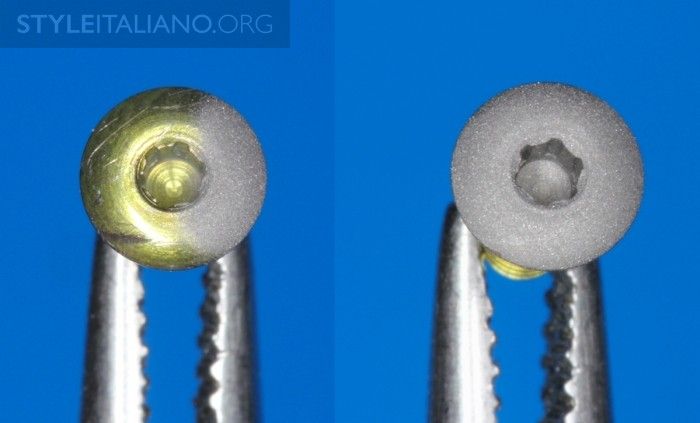
Rice. 13. In the photo on the left we can see a factory titanium healing abutment, and on the right we can see a modified abutment made using our technique.
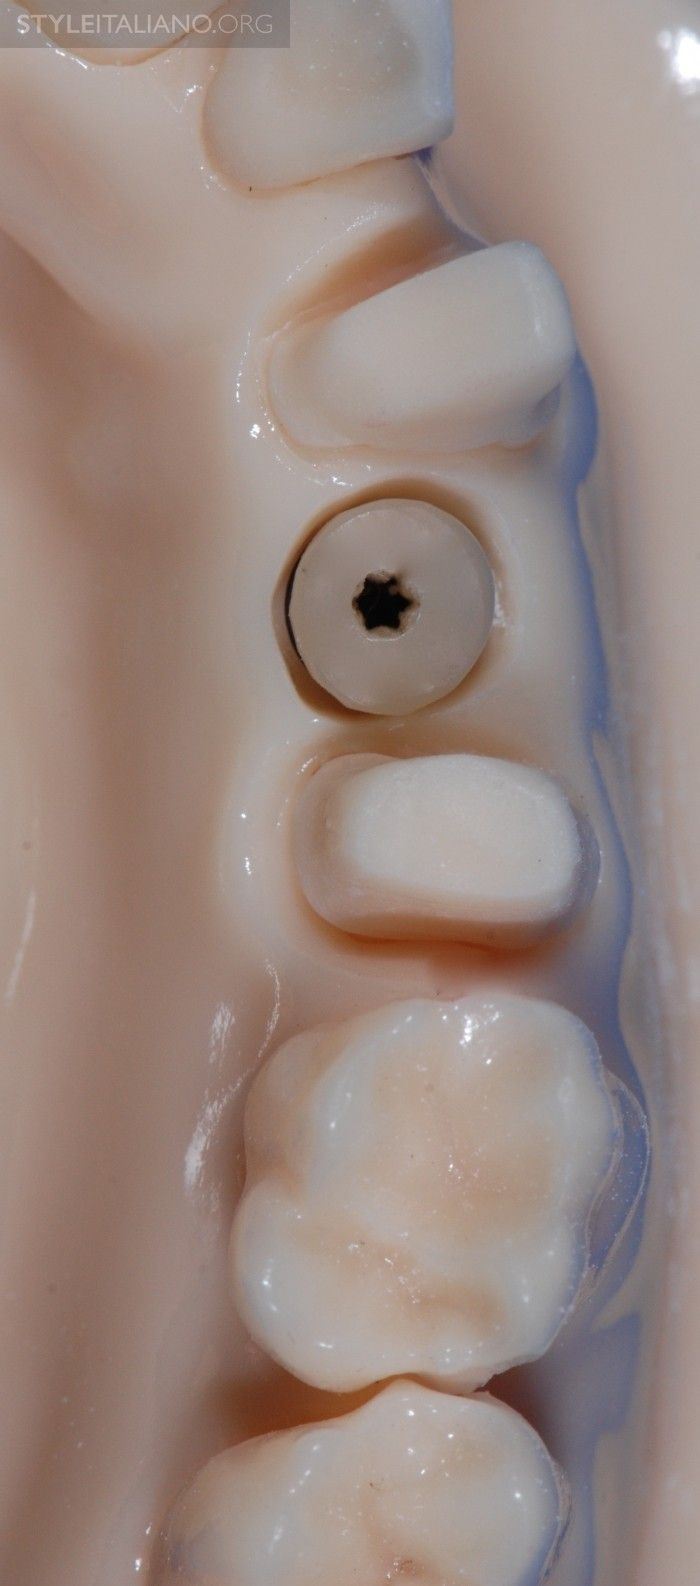
Fig. 14. We sterilize the healing abutment, then place it in the wound to begin the healing process.
Conclusion
We have analyzed only one solution to the problem that you may encounter. Even in the absence of the necessary factory preparations, this problem is easily solved, since all the elements that are required are available in any clinic involved in the rehabilitation of patients after implantation.
If you are interested in this topic, go to our online lesson BOPT Concept: From Teeth to Implants (Part 1) .
http://www.styleitaliano.org/