Implant placement with IS-III active fixtures in the posterior mandible
Patient information
A 55-year-old, male.
Treatment Plan
- IS-III active implant installation was planned.
- Prosthesis : 3-unit zirconia SCRP FPDs on implants #45, #46 & #47.
Tools that used in surgery
IS-III active, Pick-cap Impression coping, Neo Surgical Kit.
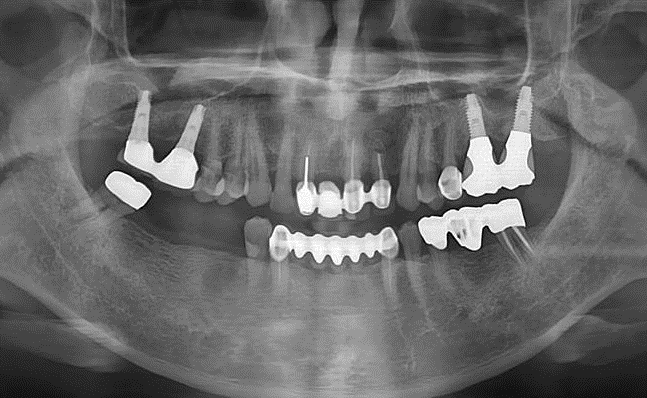 Fig.1
Fig.1
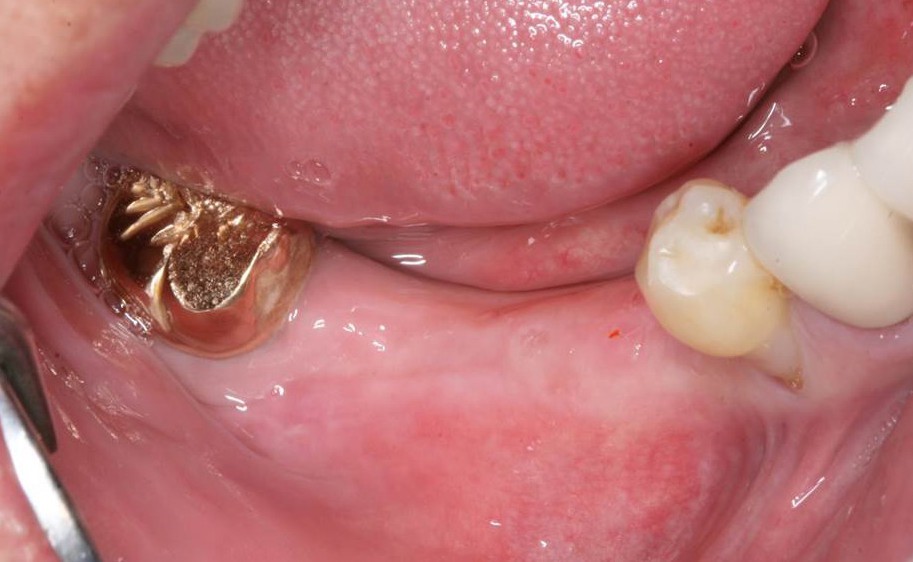 Fig.2. Intra-oral photograph.
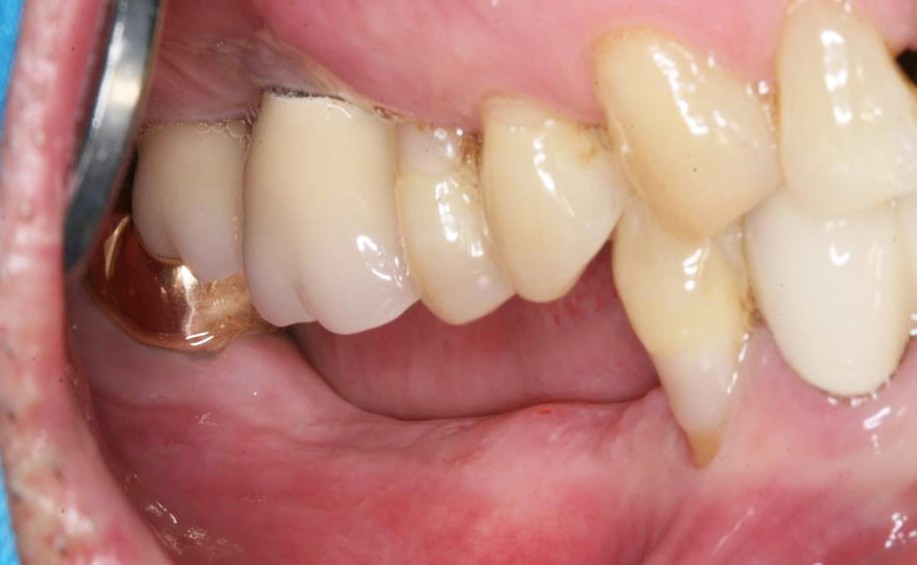 Fig.3 Intra-oral photograph.
Surgical protocol: flap design, drilling, tapping (rpm)
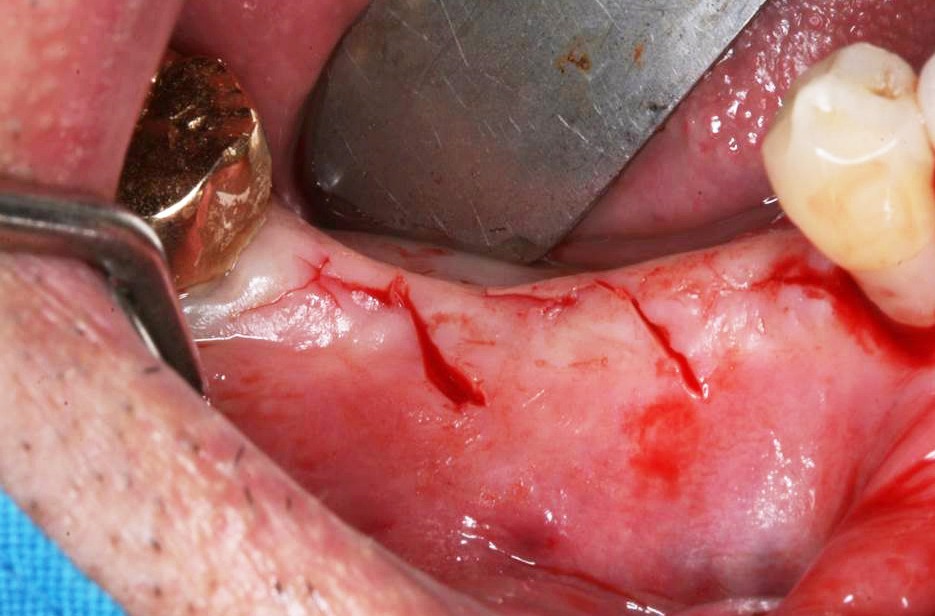 Fig.4 Multiple oblique incision was performed to safe attached gingiva and minimally invasive surgery. This method helps patient's wounds heal much faster.
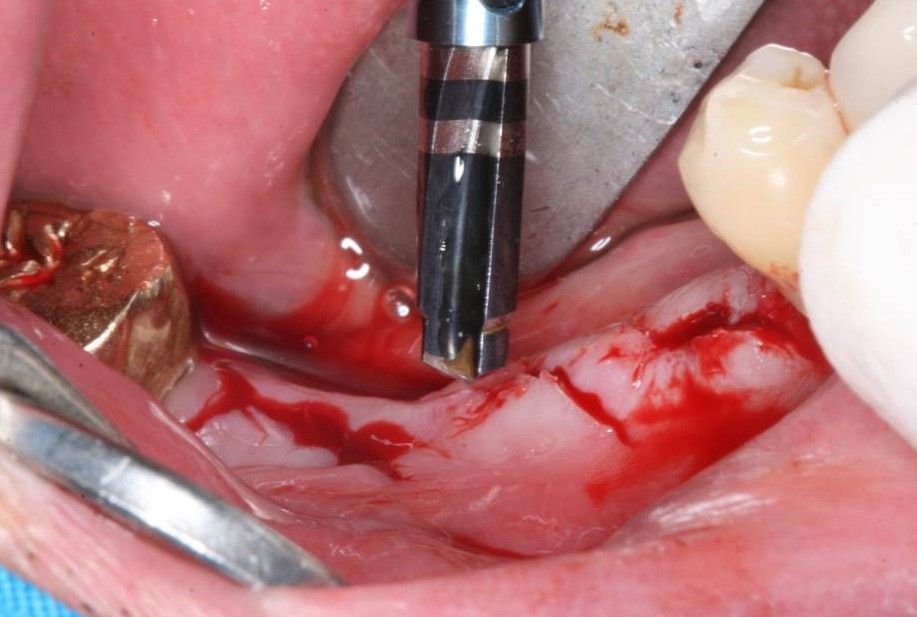 Fig.5 Enough drilling for the implant placement with the appropriate Stopper connected to the drill with irrigation. (Recommended speed : 1,200rpm)
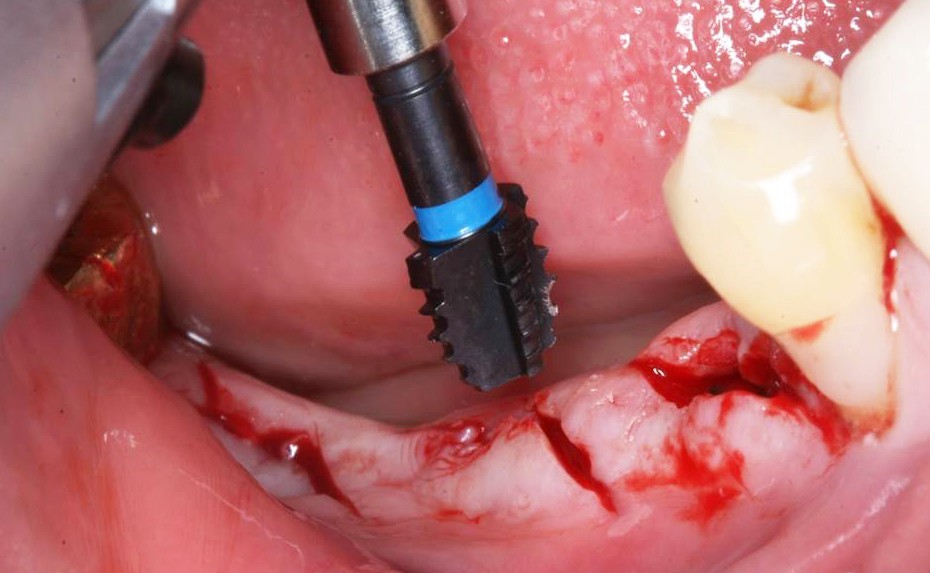 Fig.6 Tapping with irrigation.
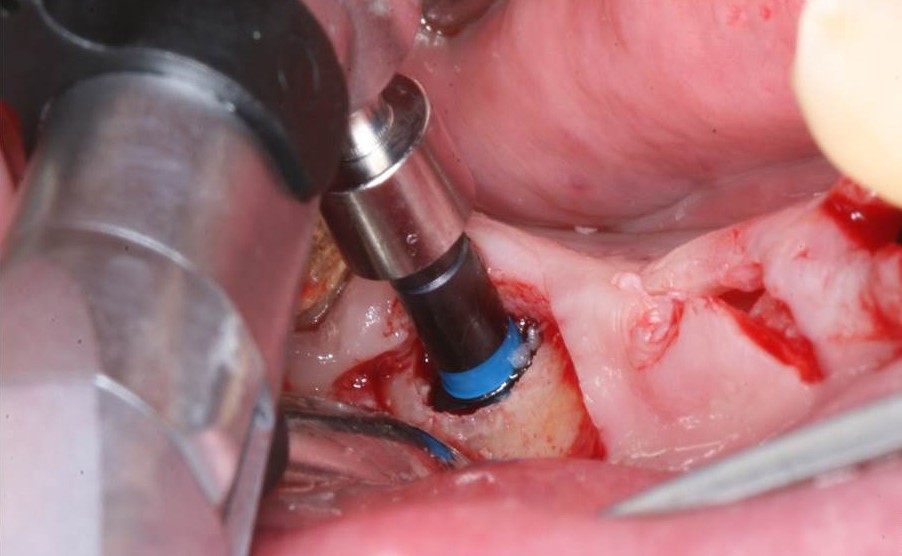 Fig.7 Recommended speed when using the Cortical tap : 50rpm.
Implant placement torque and fixture sizes (Neobiotech IS‑III)
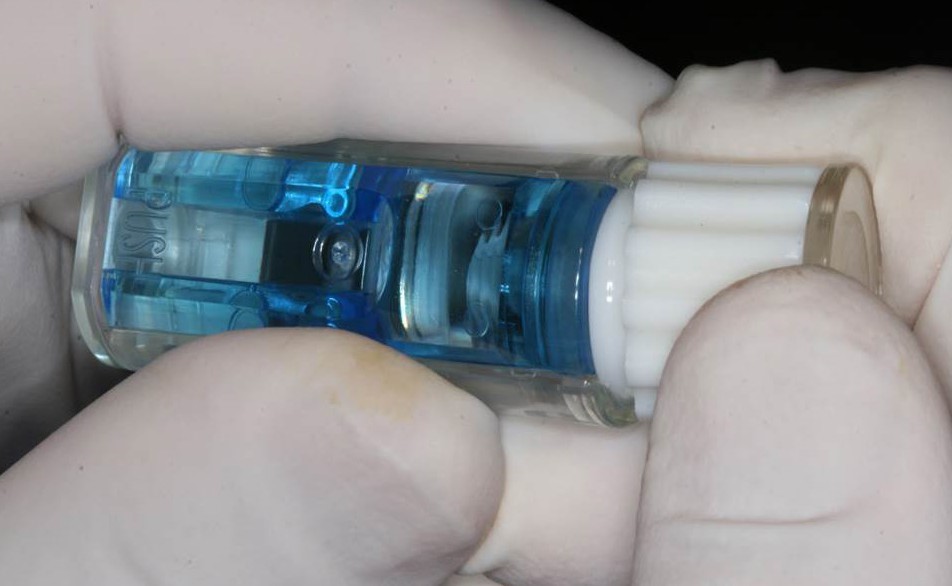 Fig.8 Open the sterilized package after checking the type, size and expiration date of implant specified on the label and packaging status.
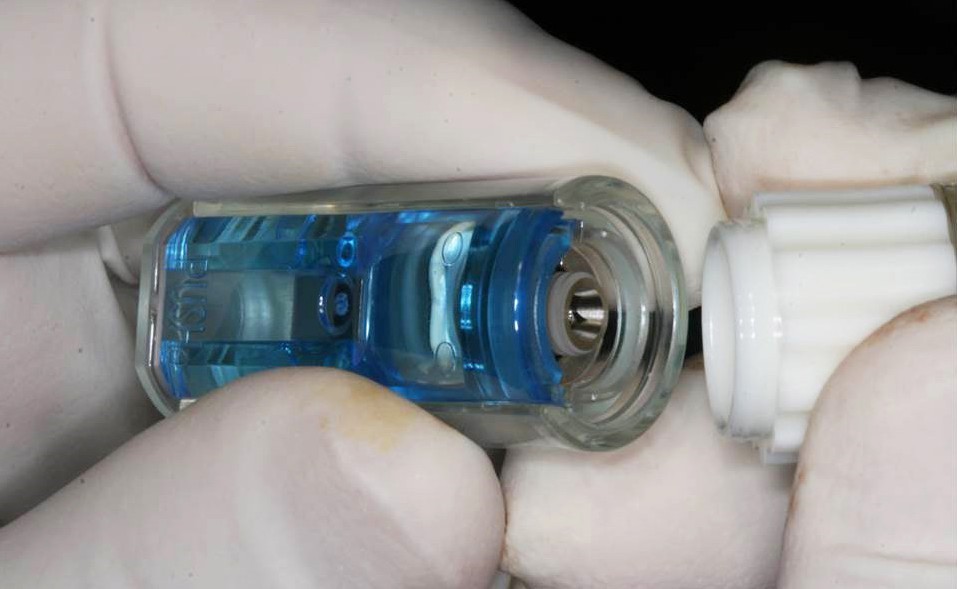 Fig.9
Fig.9
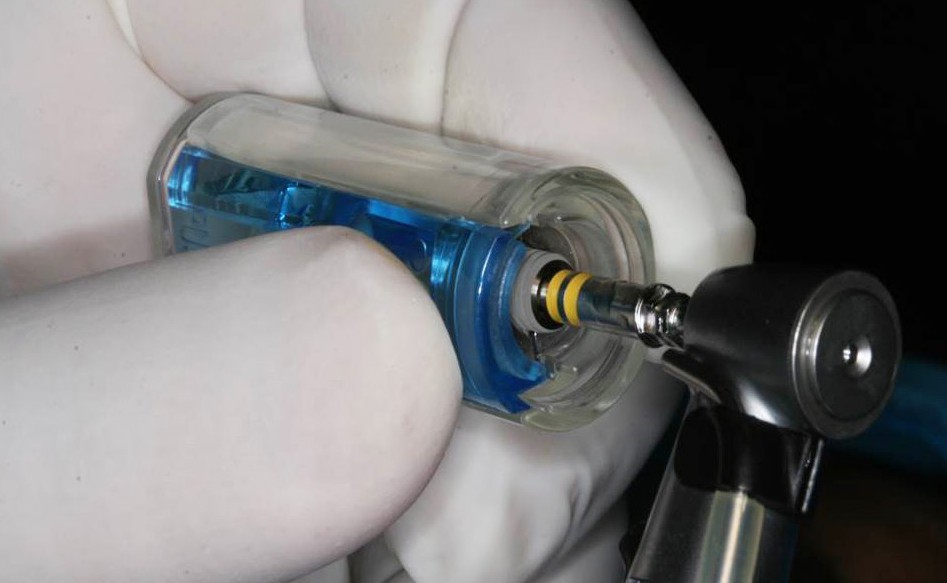 Fig.10 Connect the Fixture Driver mounted on the Hand Piece or Torque Ratchet to the implant in a straight line.
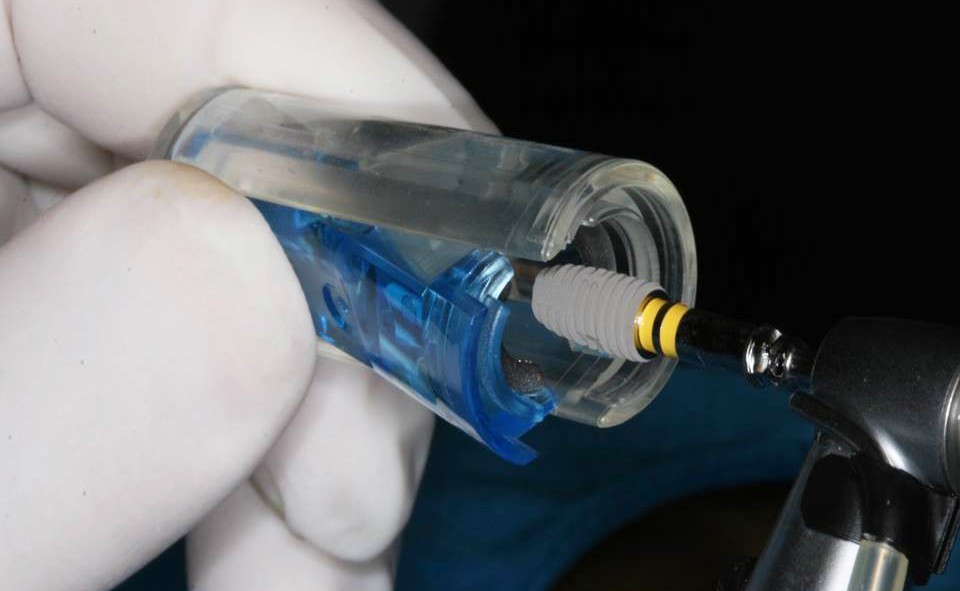 Fig.11 Be careful to prevent contamination of implants from metal or saliva.
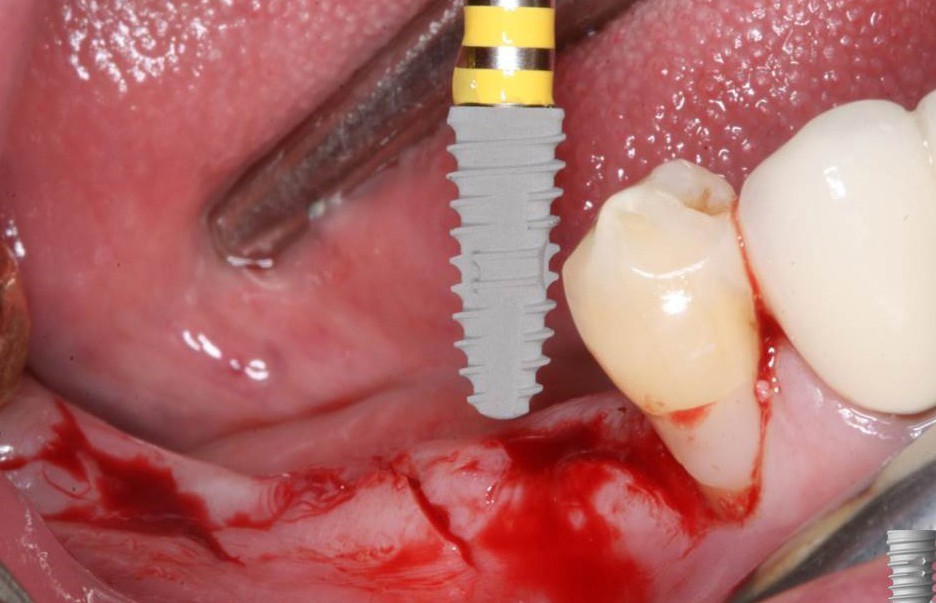 Fig.12 Fully insert the implant inside the bone with the torque value of 35~45Ncm by placing the implant in the pre-drilled hole and rotate the Hand Piece with 25~35rpm.Make sure not to exceed 50Ncm when placing an implant.
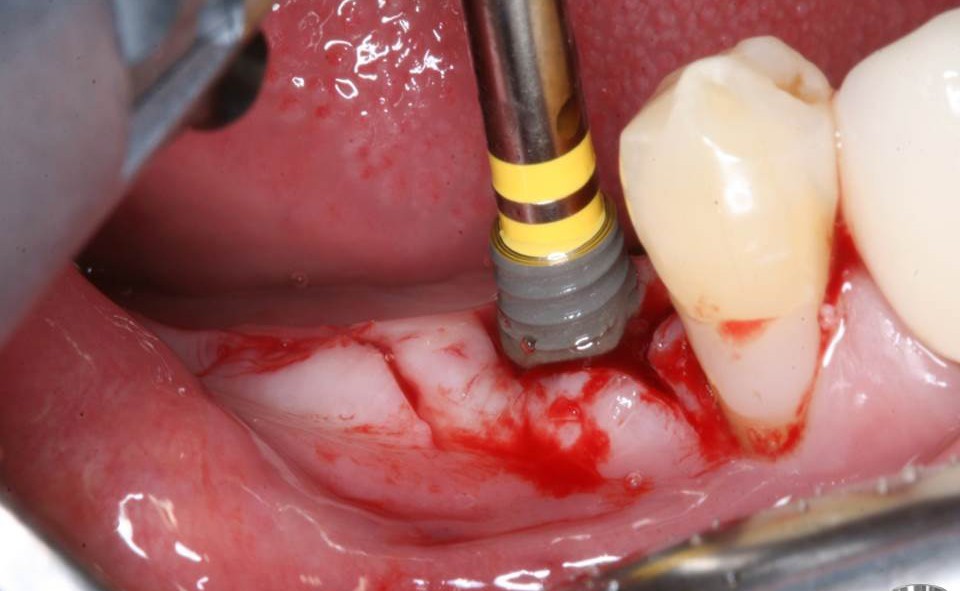 Fig.13 CMI IS-III active 4.0*10mm (Neobiotech, Korea) fixture was placed in the area of #45.
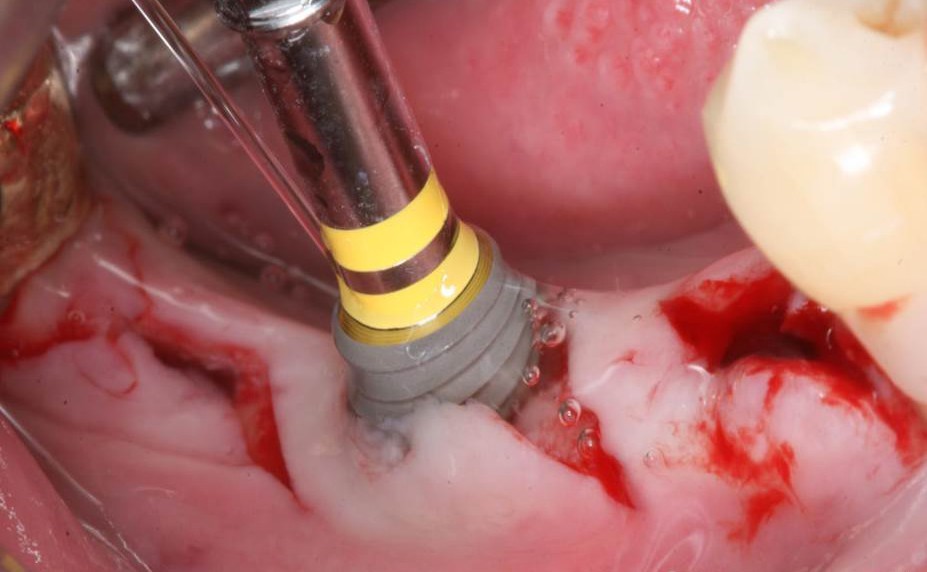 Fig. 14 CMI IS-III active 5.0*10mm (Neobiotech, Korea) fixtures were placed in the area of #46 and 47.
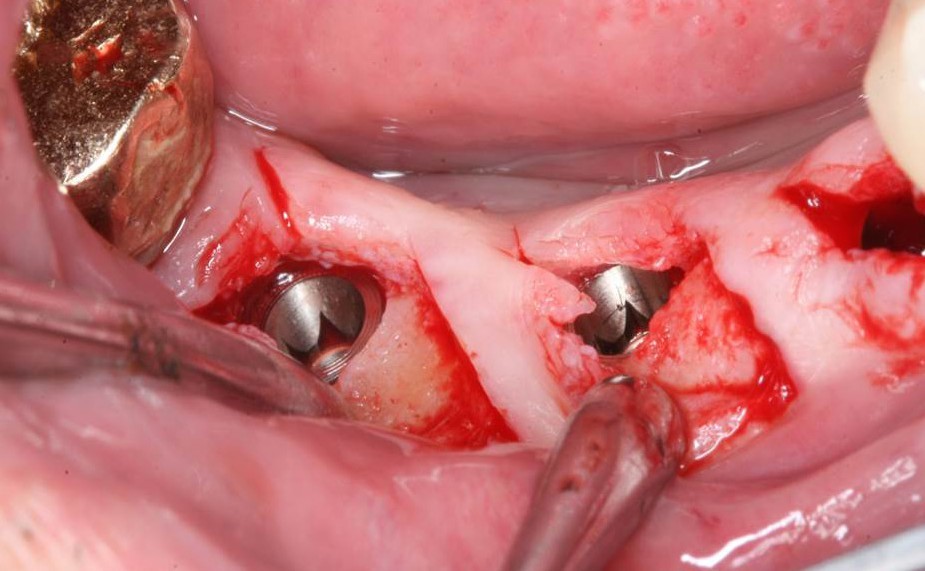 Fig.15 3 implants were placed successfully.
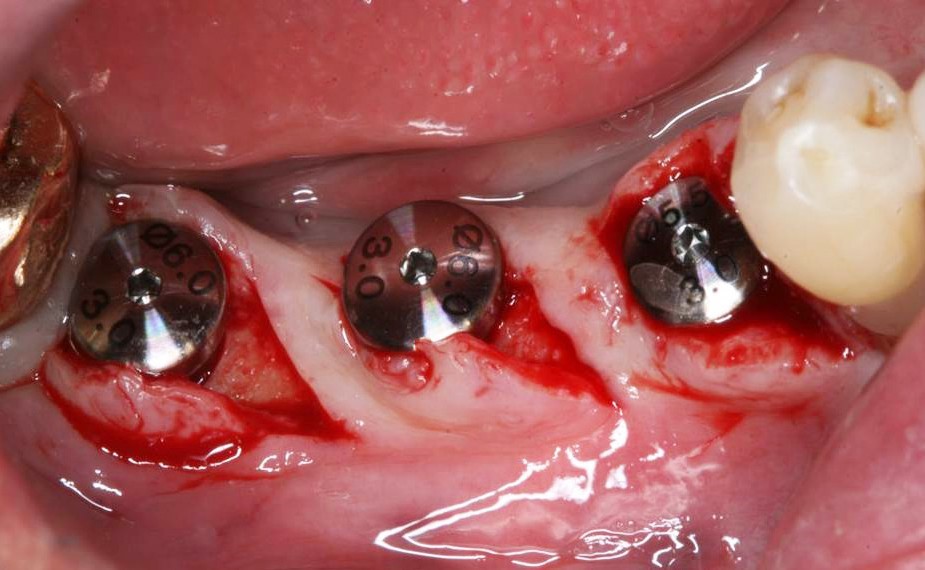 Fig.16 Healing abutments were connected to the fixtures.
Neobiotech implant x-ray / xray follow-up (panoramic + periapical)
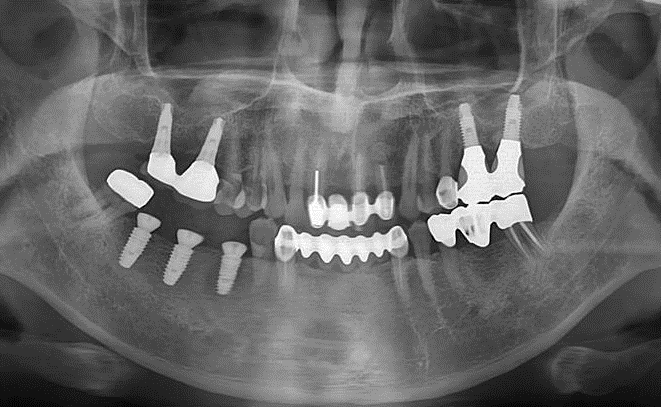 Fig.17 Postoperative panoramic radiograph showing 3 implants placed in the mandibular right posterior area.
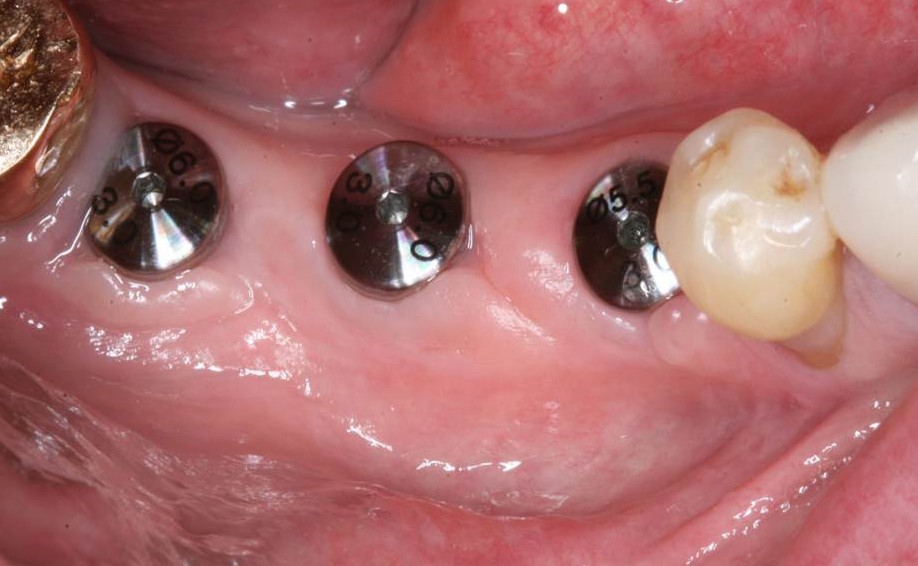 Fig.18 4 weeks after the surgery.
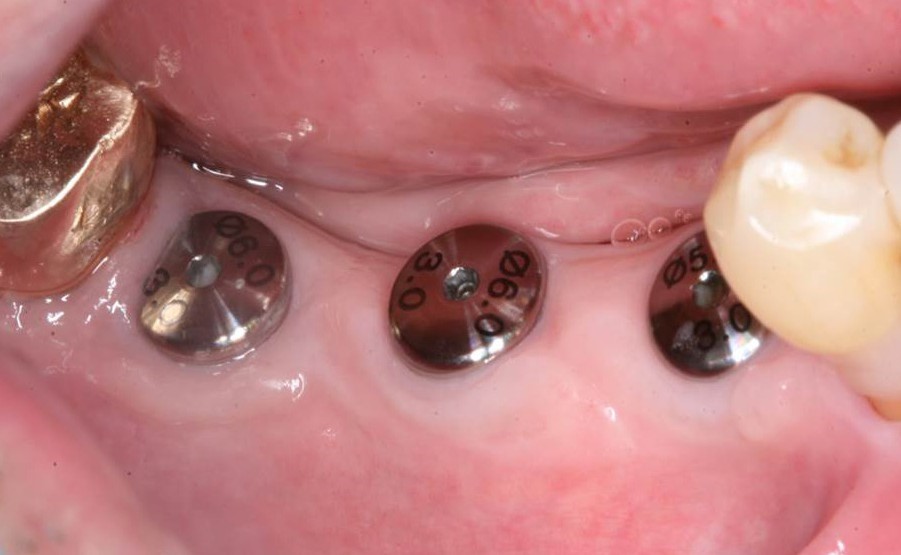 Fig.19 3 months after implant placement surgery. Good soft tissue healing was seen. Impression was made at this time.
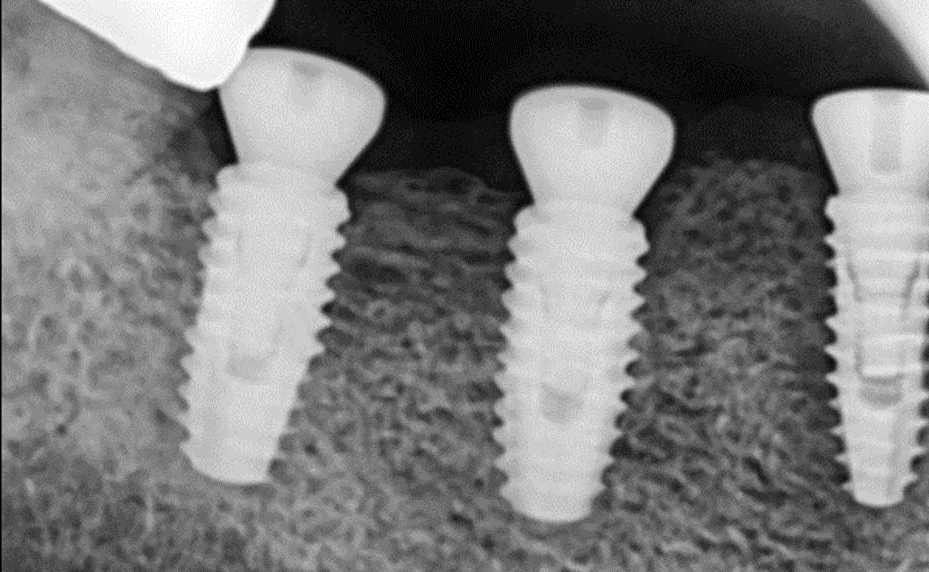 Fig.20 A periapical radiograph after 3 months healing.
Prosthetic phase: impression copings and 3-unit SCRP zirconia FPD
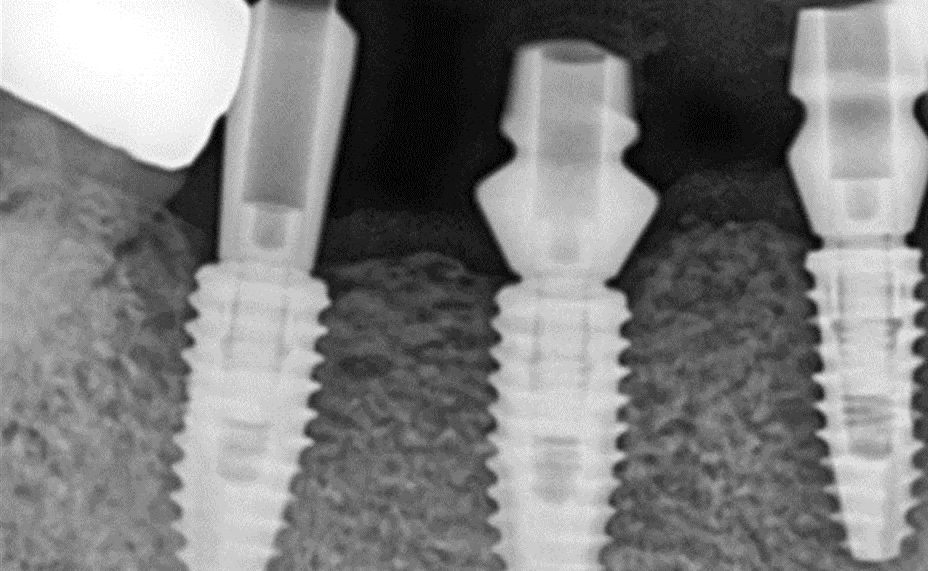 Fig.21 Pick Cap impression copings (Neobiotech, Korea) were connected to the implants for making impression for prosthesis fabrication.
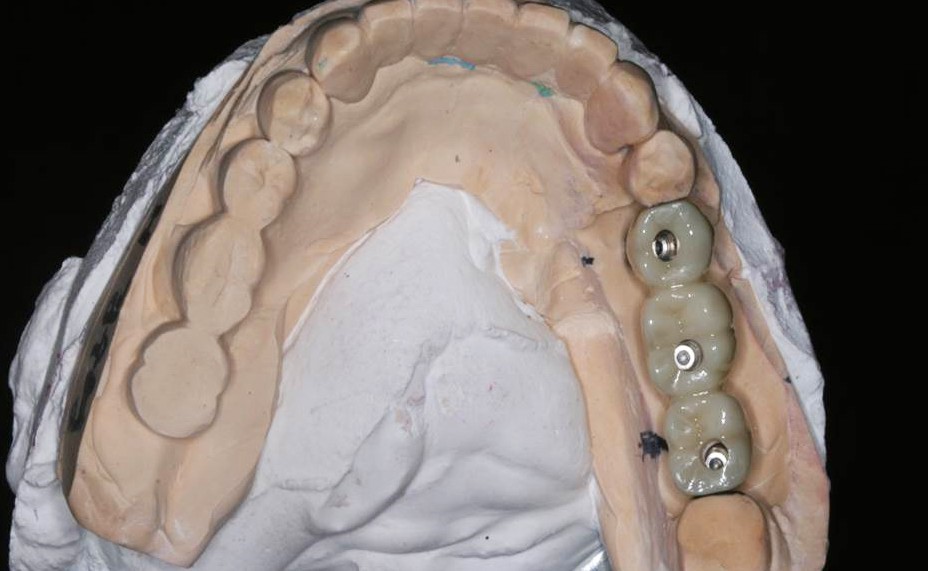 Fig.22 A definitive 3-unit zirconia SCRP FPD were fabricated.
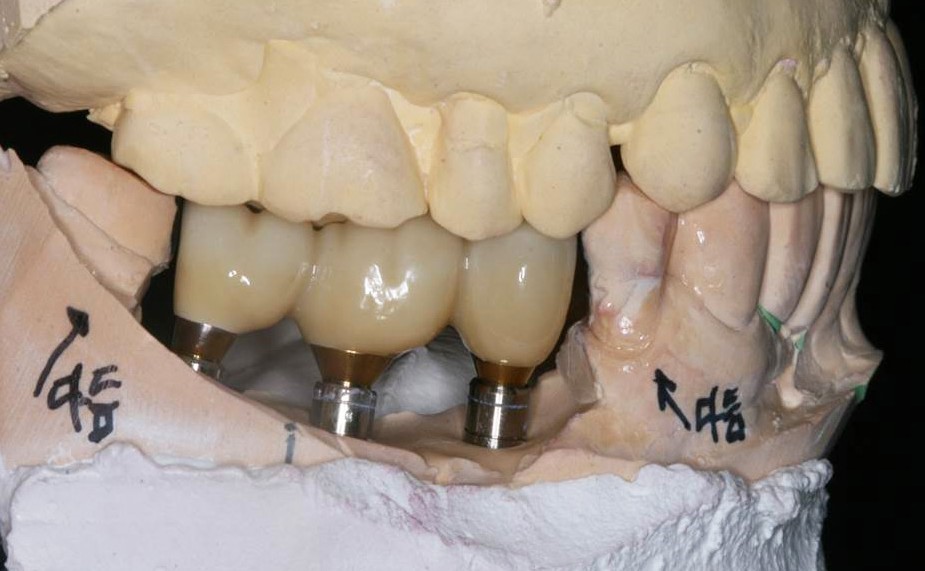 Fig.23
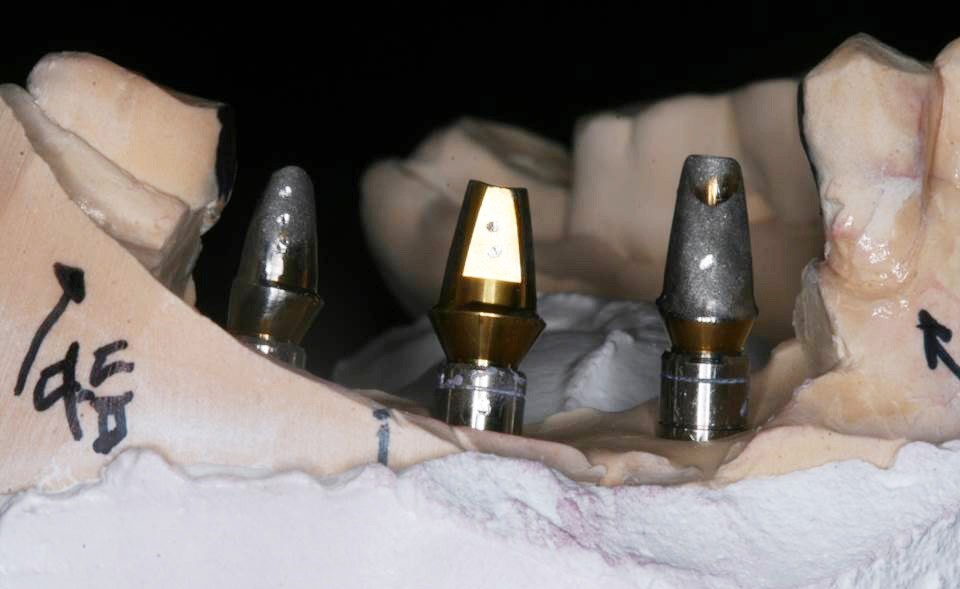 Fig.24 SCRP prepared abutments.
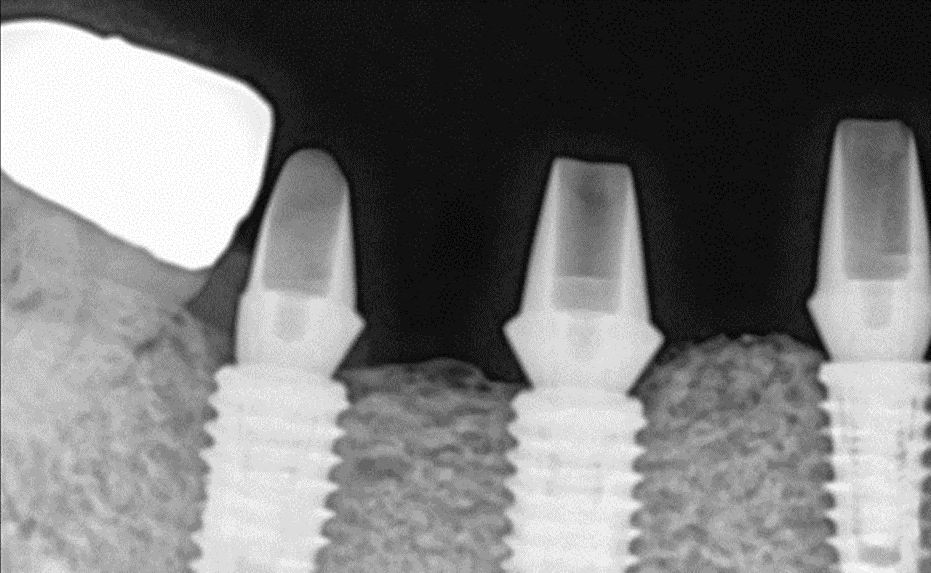 Fig.25 The SCRP abutments were repositioned.
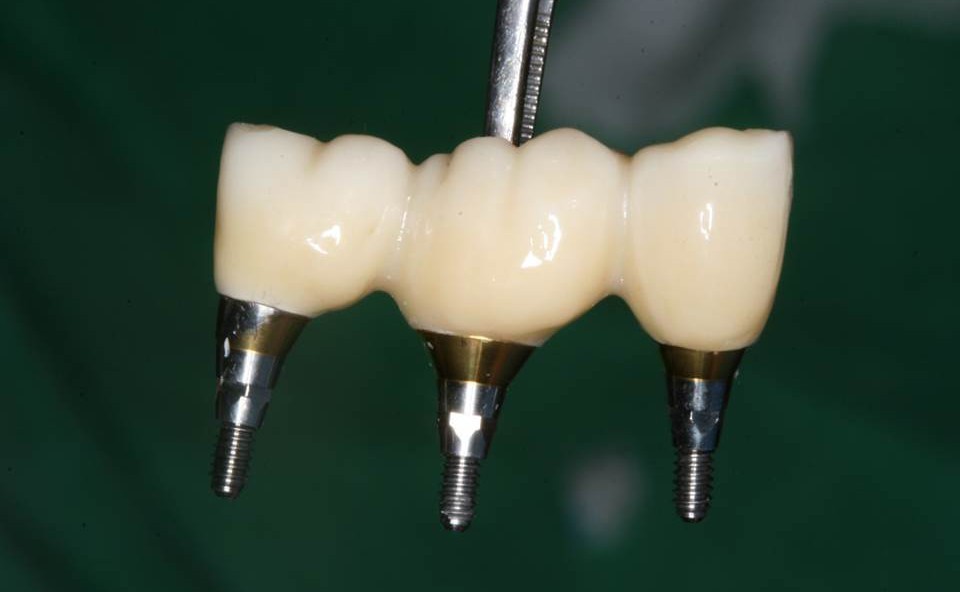 Fig.26 A definitive 3-unit zirconia SCRP FPD were fabricated on the SCRP abutments.
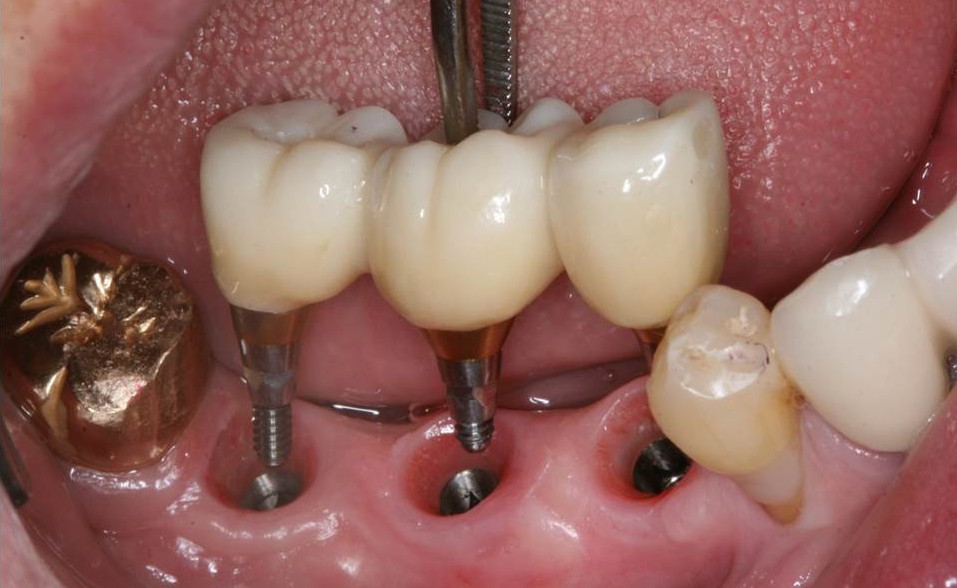 Fig.27 3-unit SCRP zirconia FPD were cemented with a final resin cement.
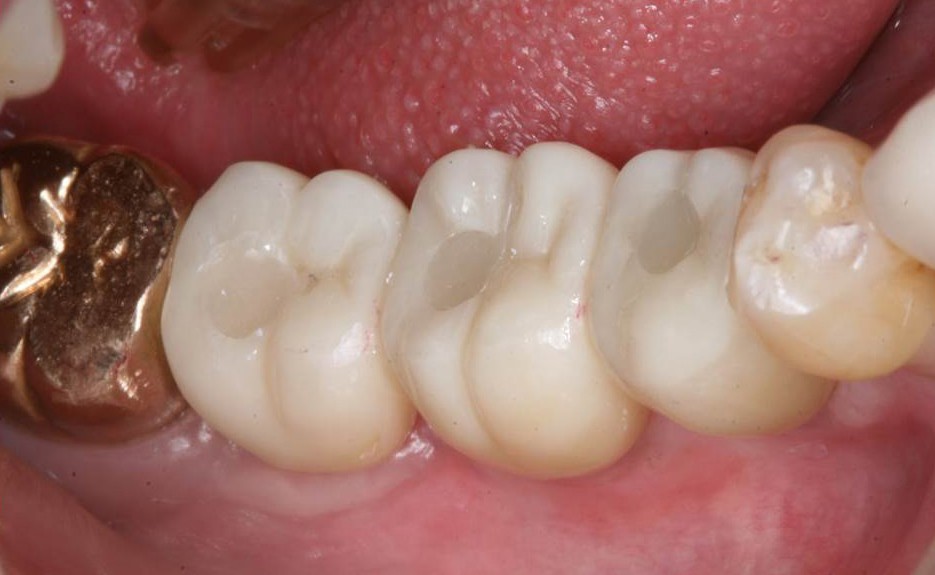 Fig.28 The prosthesis was repositioned and the screw holes were occluded by resin.
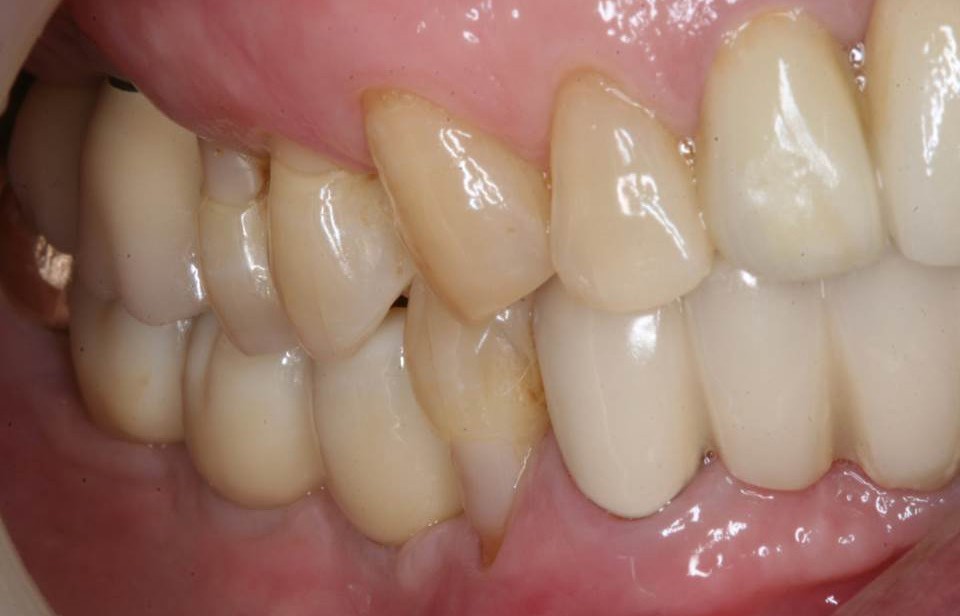 Fig.29 Lateral view of right mandibular after delivery of restorations.
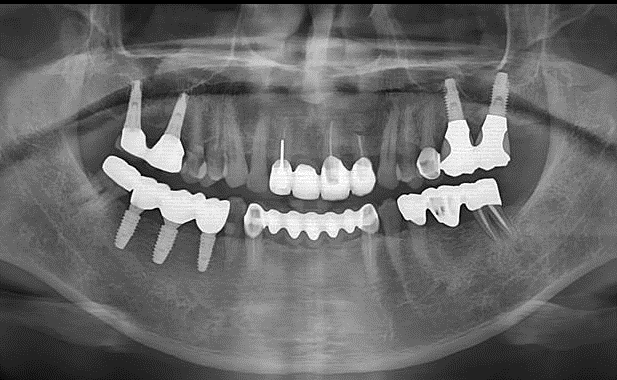 Fig.30 Panoramic view after delivery of the prosthesis.
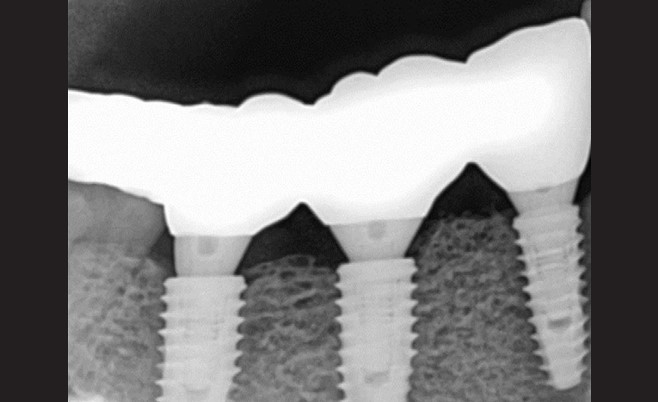 Fig.31 Periapical radiograph after delivery of the final prosthesis.
