
Ceramic veneers. Digital mockup
Machine translation
Original article is written in RU language (link to read it) .
Electronic record keeping has become very popular in the dental world. We can take notes and plan treatment on electronic devices. Additionally, mobile dental photography devices are being used more and more. It all seems so simple and makes us feel like we are truly keeping up with the times.
Learn more about the features of preparation for veneers at the webinar Minimally invasive porcelain veneers: preparation technique .
Time is also of the essence and will work in the dentist's favor if there is little difference between the treatment proposed and the treatment performed. Additionally, thanks to the popularity of social media and smartphones, it has become much easier and simpler to offer treatment. Fast and effective communication saves time for both the doctor and the patient.
The author would like to thank DT, Lamberto Villani, Oral Design, Dubai for this valuable support during the fabrication of veneers.
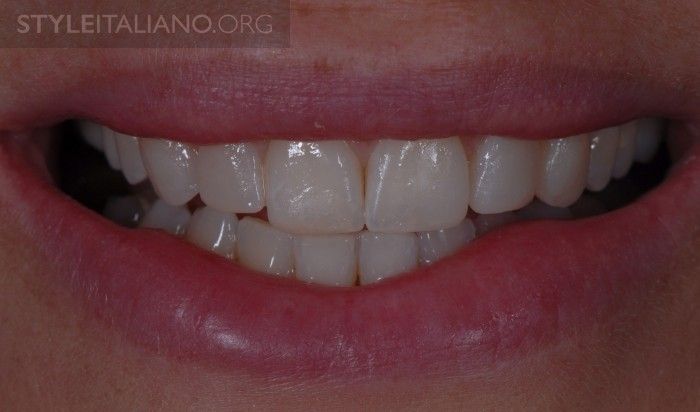
Drawing. 1. A 35-year-old woman approached us with a request to make her smile more beautiful. She was found to have several diastemas, as well as wear on some of her teeth.
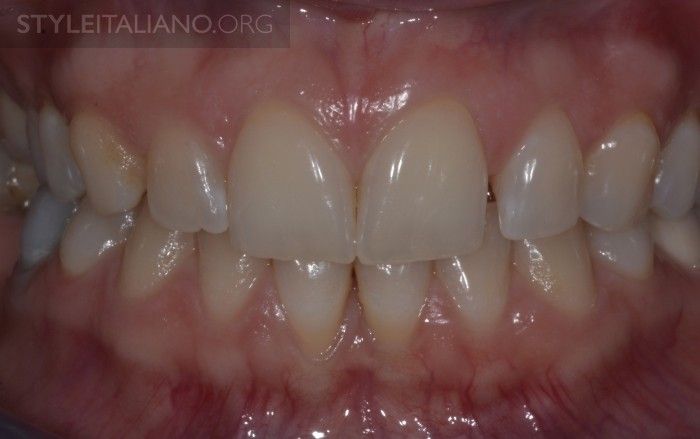
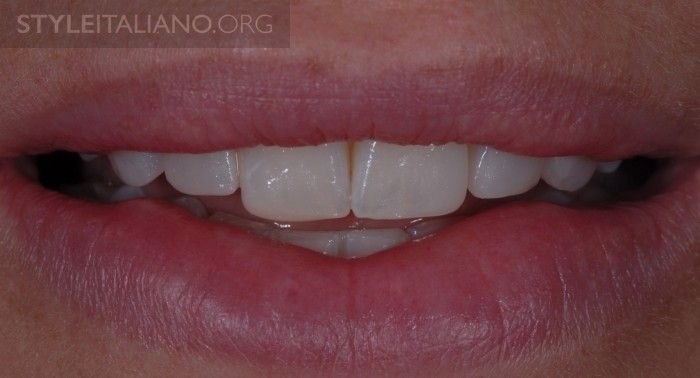
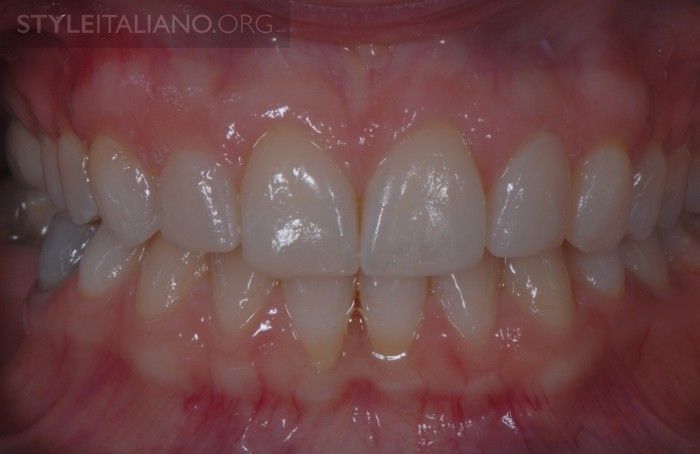
Drawing. 2. Initial situation, front view.
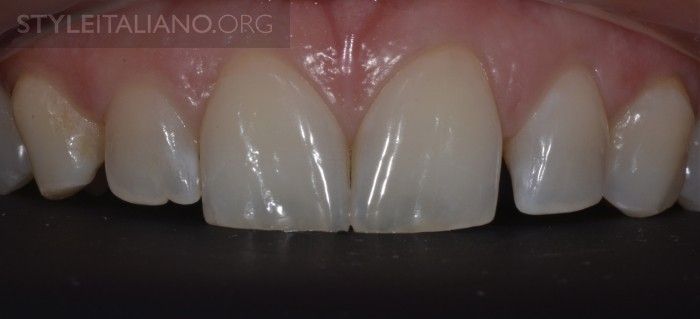
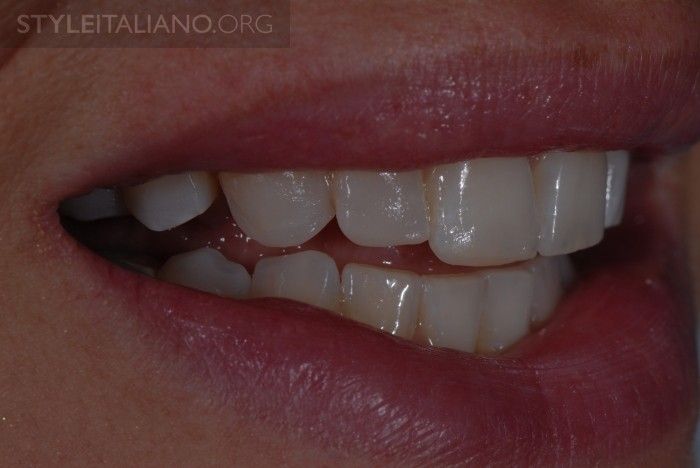
Drawing. 3. Initial situation, view from the right.

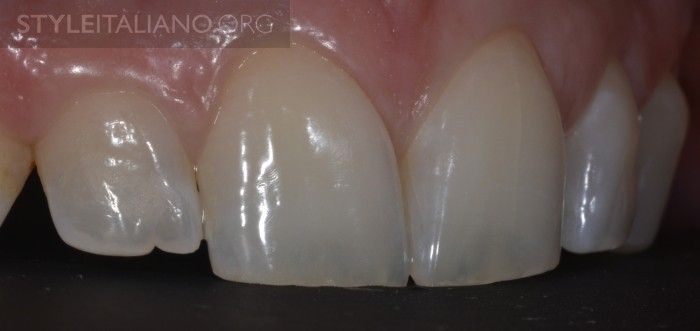
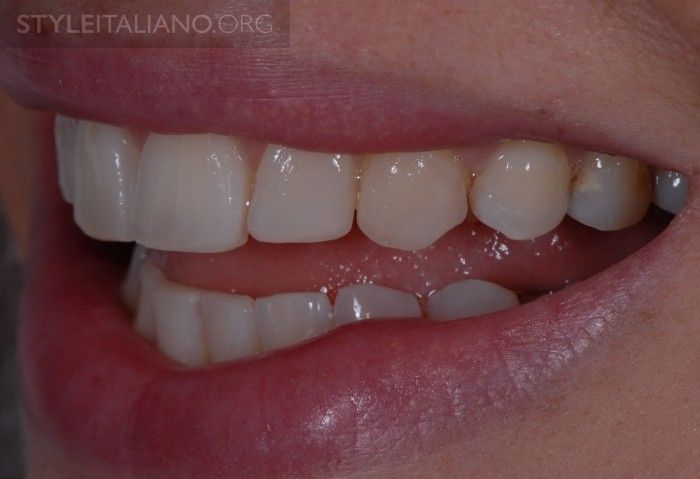
Drawing. 4. Initial situation, left view.
Drawing. 5. Creating a mock-up of the restoration at the initial visit is important for diagnosis and treatment planning, and also helps to explain everything to the patient in more detail and clearly.
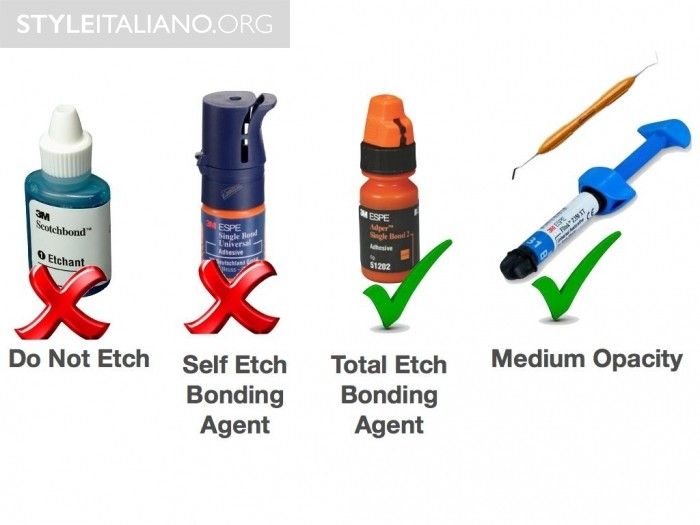
Adviсe:
- Do not etch tooth structure and, with this in mind, do not use a self-etching adhesive system.
- Use medium translucency materials because very translucent materials can produce a gray cast. The patient may not like this.
Drawing. 6. First perform the restoration on the right side, taking into account the wishes of the patient and the anatomical features of the teeth.
Drawing. 7. Another view from the right side.
Drawing. 8. Then carry out the restoration on the left side, also taking into account the desired end result and the anatomical features of the teeth.
Drawing. 9. Evaluate the restoration and check incisal position, esthetics, smile line, phonetics and function. Adjustments can be made using sanding discs (Soflex, 3M Espe).
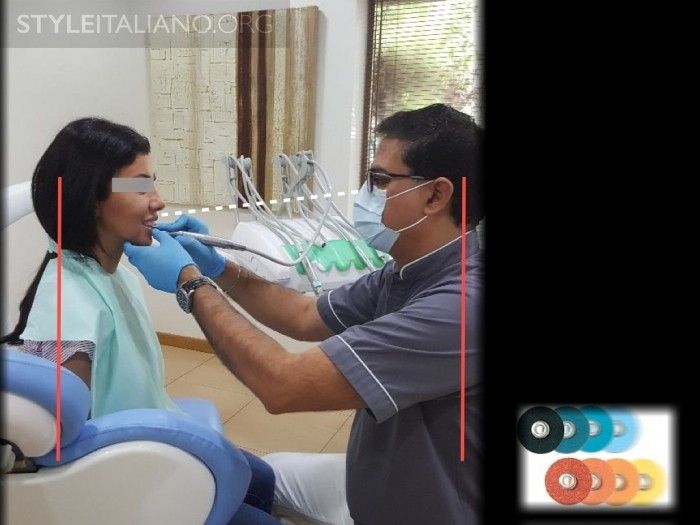
Drawing. 10. When making a model, it is extremely important to sit facing the patient, then the patient’s face will be parallel to the horizon line. If you ignore this requirement and carry out manipulations in a reclined position, then there is a risk of incorrectly recreating the smile line, which in such cases often turns out to be slanted in one direction.
This image is provided for illustrative purposes and is not relevant to this case.
Drawing. 11. Here is an adjusted version, which should be as close as possible to the desired result.
Drawing. 12. Intraoral view of the completed restoration. Next, you need to make an alginate impression, which will be transferred to the dental technician. If you want to follow modern trends, you can use a scanner, which will then recreate a 3D wax model.
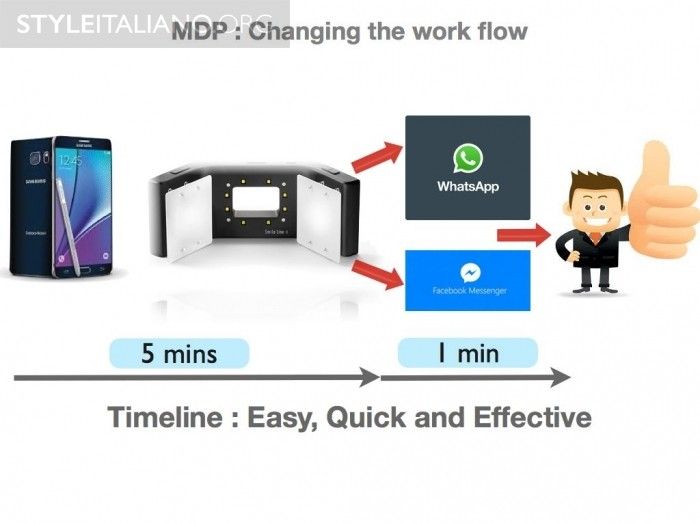
Drawing. 13. Once the layout has been made, photographs can be taken using a smartphone and the MDP lite (Smart Lite by Prof. Louis Hardan) can be used to quickly and efficiently communicate with the patient as well as the dental technician. This has 2 distinct advantages:
- Very fast image transfer. All we need to do is email the image and have the patient open and download it.
- Due to the built-in compression algorithms in the applications the patient uses to exchange files, the images are relatively small in size. Therefore, the patient can easily share and consult with whomever he wants, allowing a quick decision on the proposed treatment.
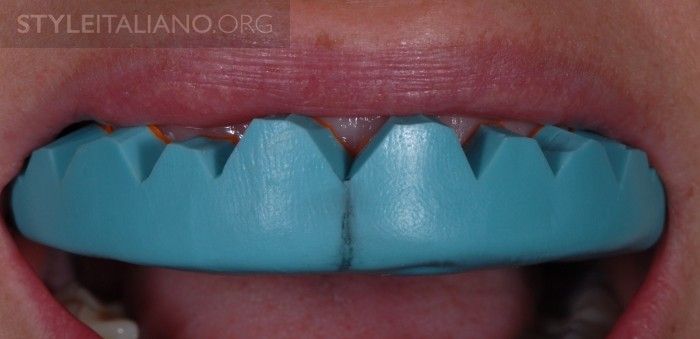
Drawing. 14. Once the wax-up has been obtained, we duplicate it in the mouth using a silicone impression.
Advice:
- Always mark the center line of the silicone impression. This allows for quick orientation during insertion into the oral cavity and therefore a more accurate layout during the preparation stage.
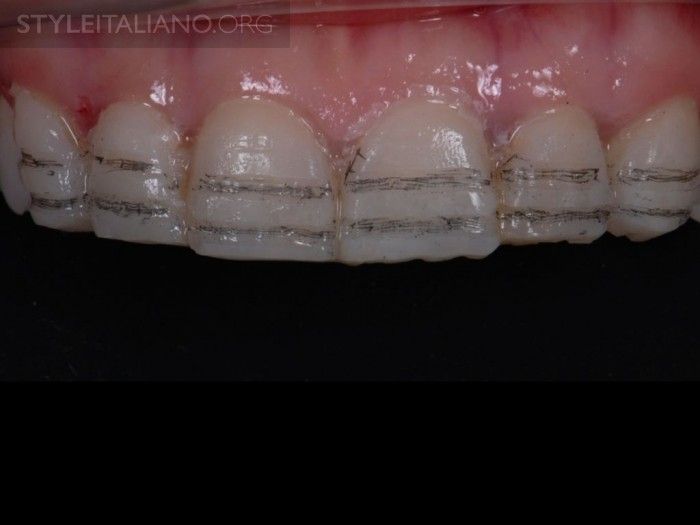
Drawing. 15. Preparing the teeth. Remember, our goal is to preserve as much of our own tissue as possible.
Drawing. 16. We make a slight bevel to achieve the best long-term result, the surface of the tooth should be completely smoothed, without sharp edges.
Drawing. 17. Interproximal spaces are located in accordance with the clinical situation. Once the diastema is closed, they will look much better.
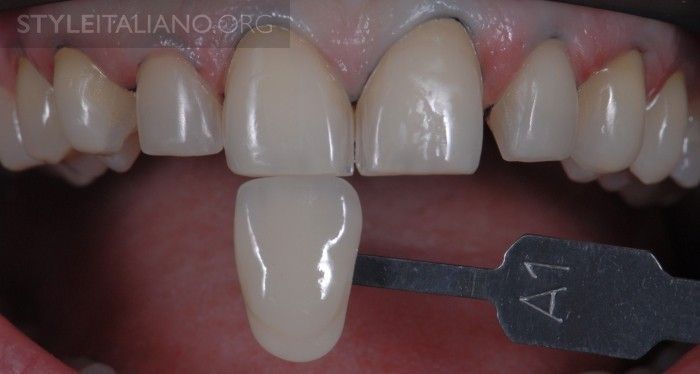
Drawing. 18. Select the appropriate shade.
Advice:
- Choose a shade before taking an impression, the materials used may cause dehydration of the tooth and it will change the natural color.

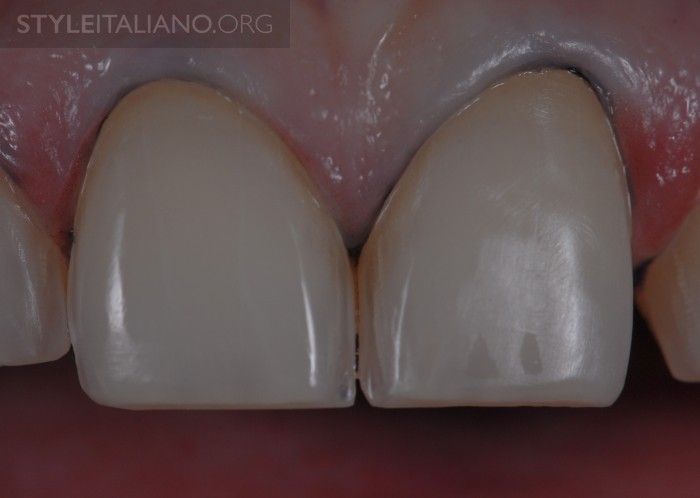
Drawing. 19. 8 ceramic veneers were tried on and cemented.
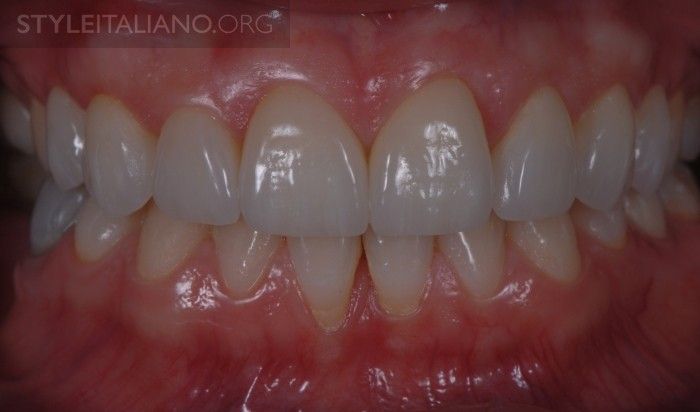
Drawing. 20. The final result is very close to the original layout.
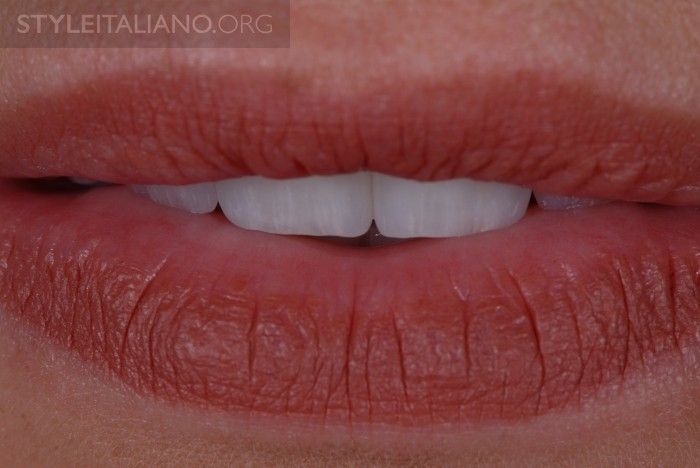
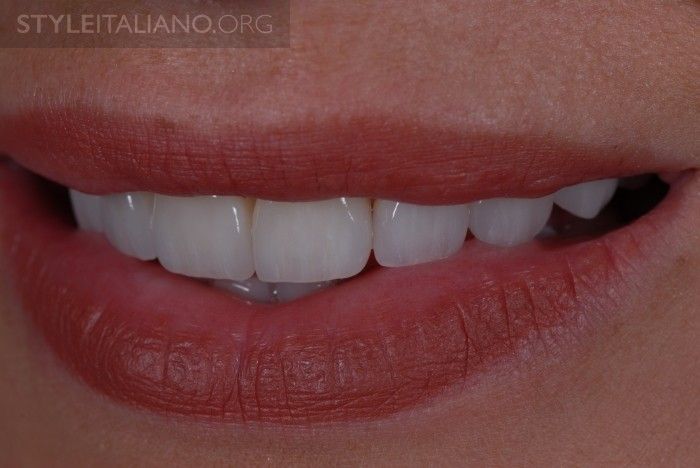
Drawing. 21. Position of the cutting edge relative to the lips.
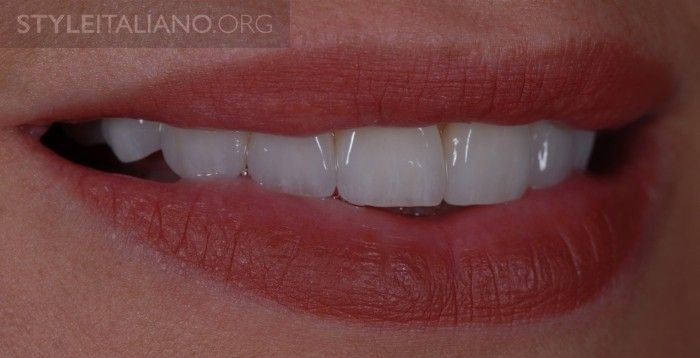
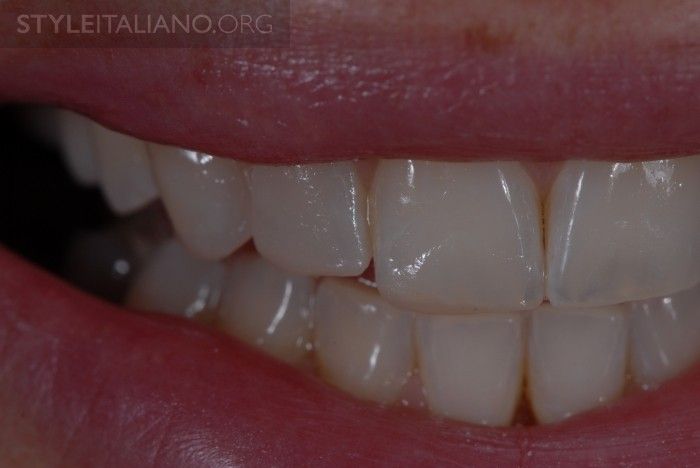
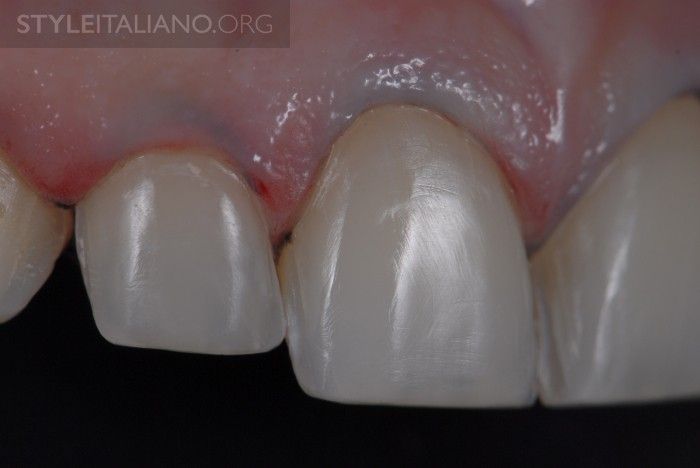
Drawing. 22. Final view on the right.
Drawing. 23. Final view on the left.

Drawing. 24. Patient with a new smile.
Restoration model
A restoration model made at the initial stage of treatment is an invaluable tool for diagnosis, predicting the final result and communicating with the patient. This is an extremely effective tool for promoting treatment acceptance.
Online training on protocols for creating ceramic veneers on the course VertiPrep and Ceramic Veneers: online master class by Fabio Scutella .
http://www.styleitaliano.org/