Digital Clone and Its Applications in Motivational Mock-ups
Machine translation
Original article is written in PT language (link to read it) .
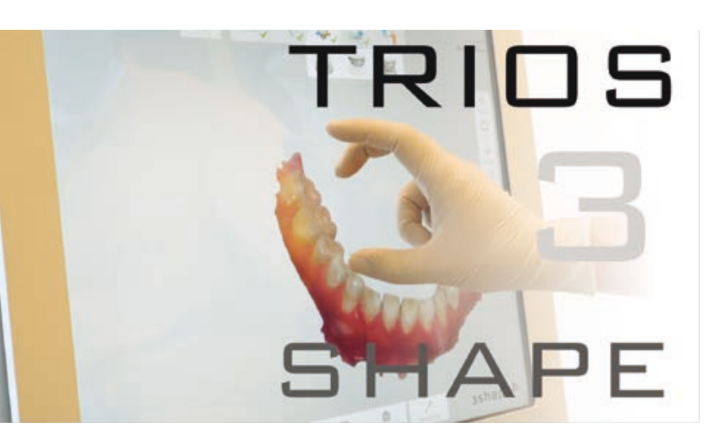
The digital clone allows the dentist to create a "copy" of their patient digitally before any treatment for better diagnosis, treatment planning, and predictions of final results. This clone is created through capture with photographs, videos, intraoral scanners, facial scanners, computed tomography, and other diagnostic collection methods.
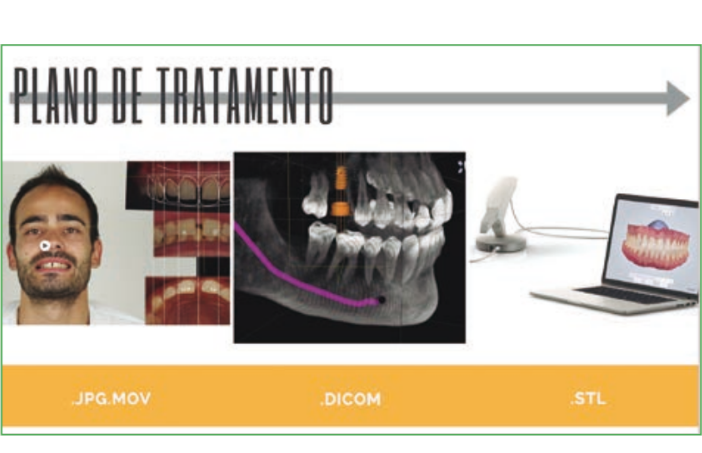
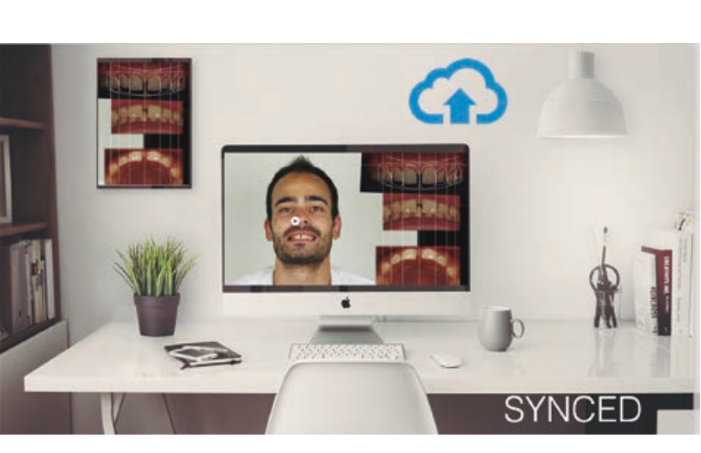
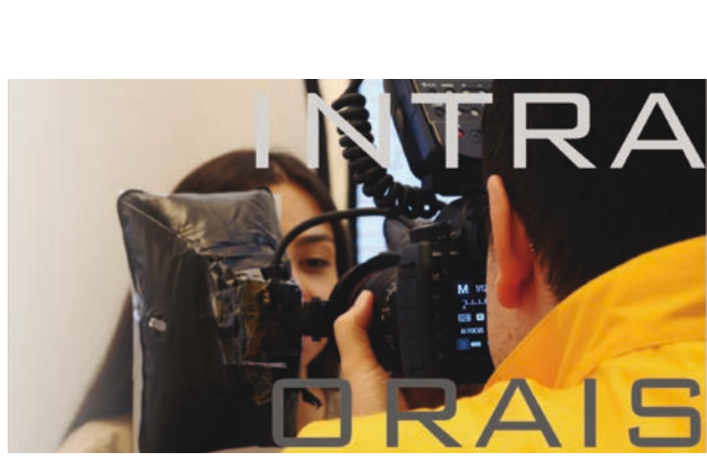
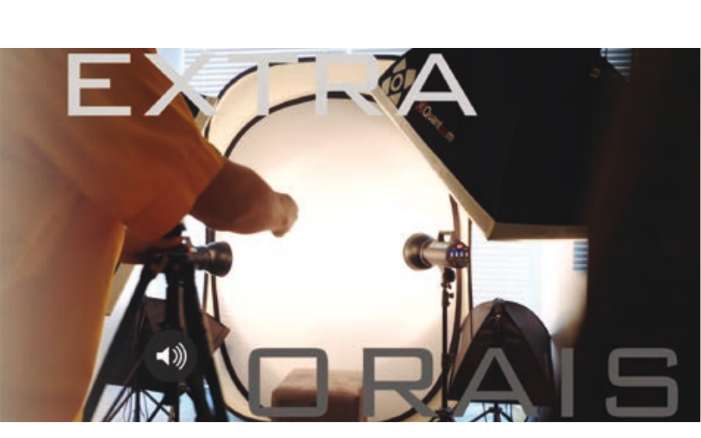
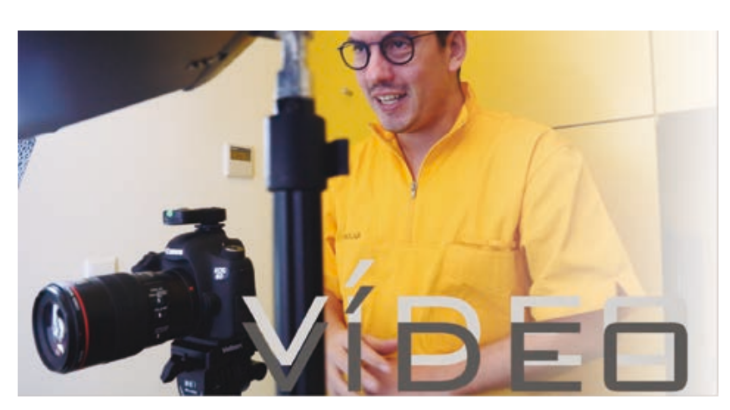
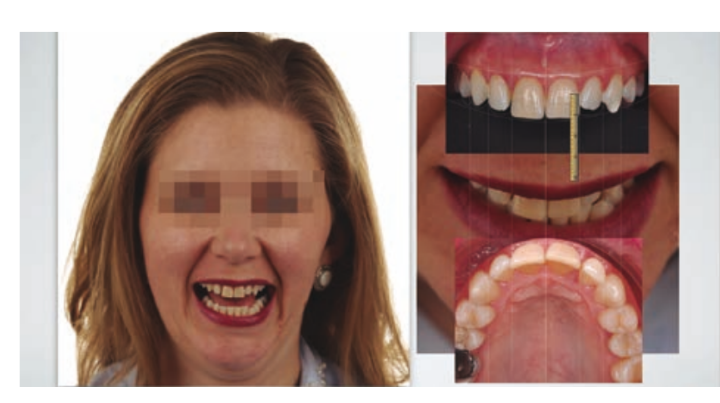
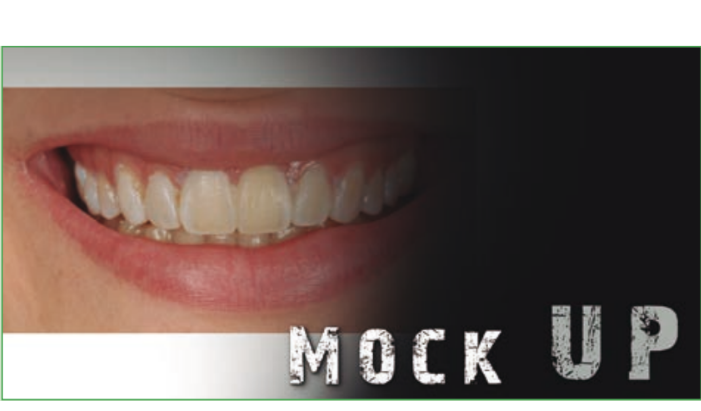
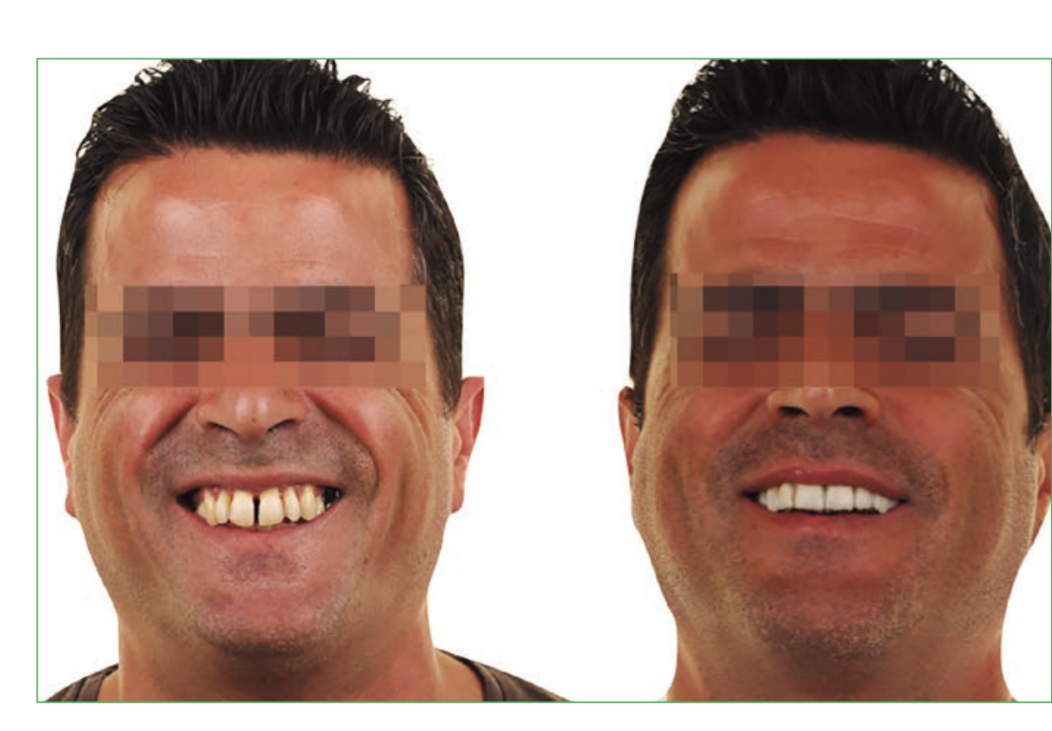
The motivational mock-up is a smile simulation before any dental treatment based on 2D treatment planning. This step represents an extra communication between the dentist and the patient. It helps the patient in the decision-making process and assists the dentist in visually communicating the aesthetic implications of a treatment plan. It is usually presented to the patient with a before-and-after photo/video.
Indications
The motivational mock-up is an optional component of a prosthetic workflow. It is generally used to increase case acceptance and improve the patient experience, as well as motivate them towards correct or complete treatment options. It also plays an important role in interdisciplinary communication when the smile design project involves multidisciplinary procedures such as clinical crown lengthening and orthodontic treatment.
Execution
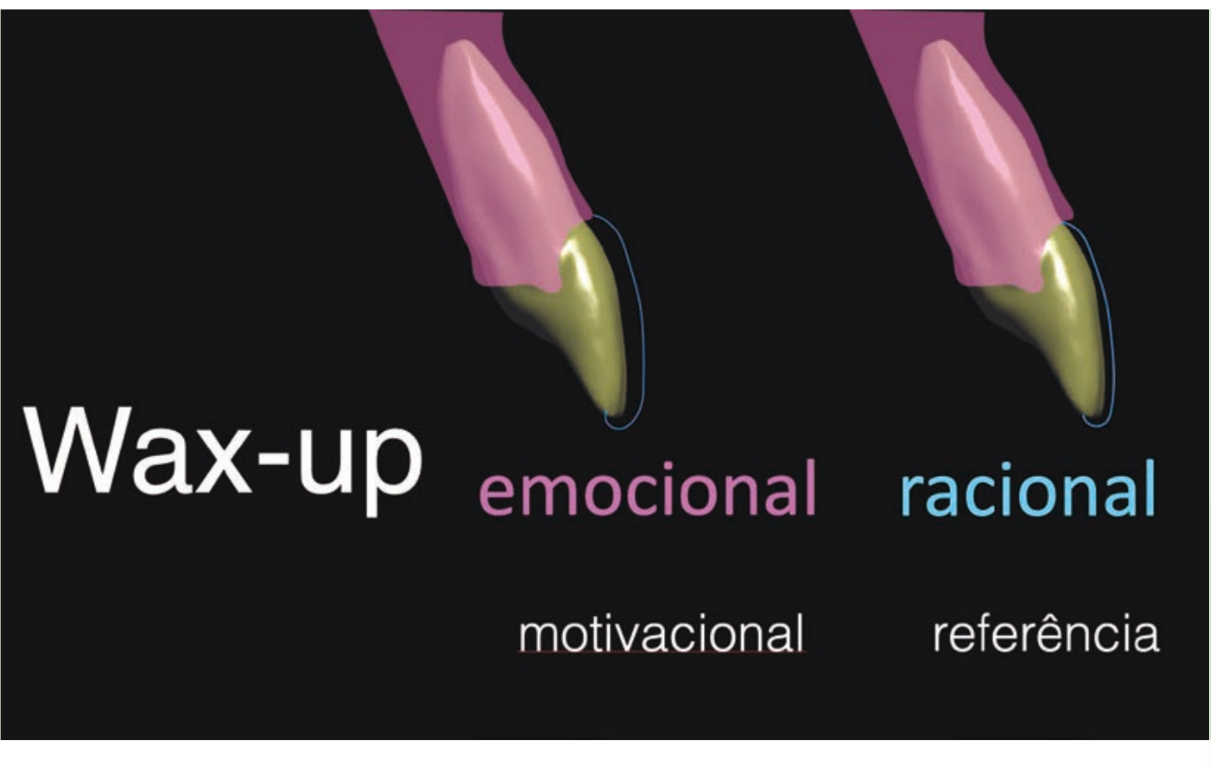
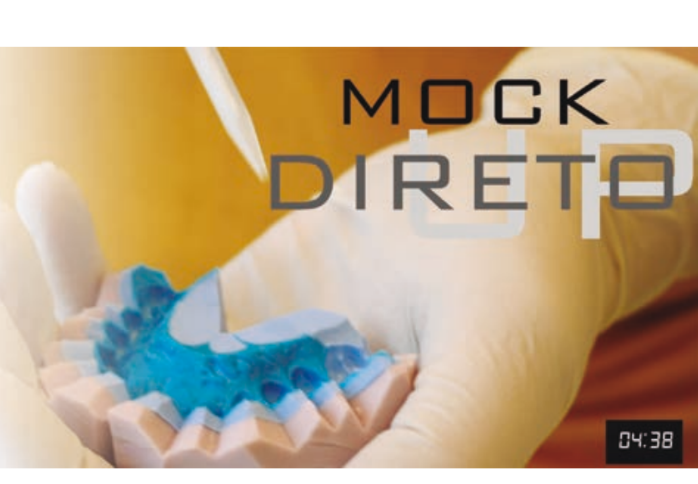
The design can be a wax-up or printed. For both workflows, a silicone index is made for the transfer. The best results require two-stage silicone or rigid laboratory silicone. This will allow the mock-up to capture all the details of the design.
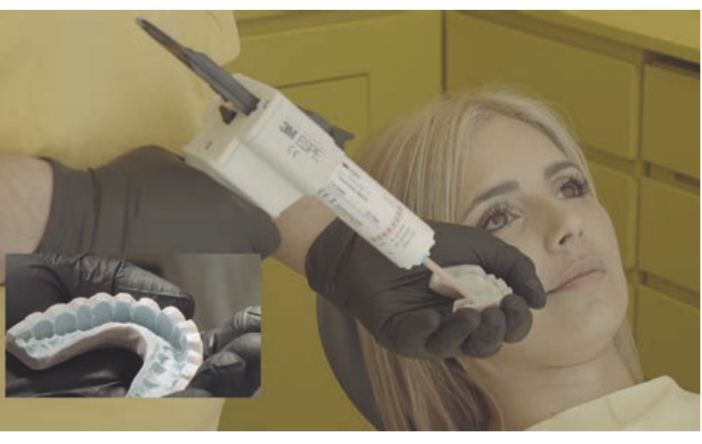
To facilitate the removal of excess bis-acryl, V-shaped cuts are made following the papillae in the impression. It is also advisable to mark the midline on the silicone to avoid incorrect positioning. Once filled with bis-acrylic resin, the index is then positioned in the mouth. When the bis-acryl starts to harden, the excess is cleaned with a probe. No pressure should be applied to the index; if pressure is applied, there is a vacuum effect on the surface of the mock-up, resulting in loss of micro or even macro texture. When the bis-acryl is completely rigid, the index is carefully removed, and any remaining excess is cleaned with a blade.
Management of subtractive scenarios
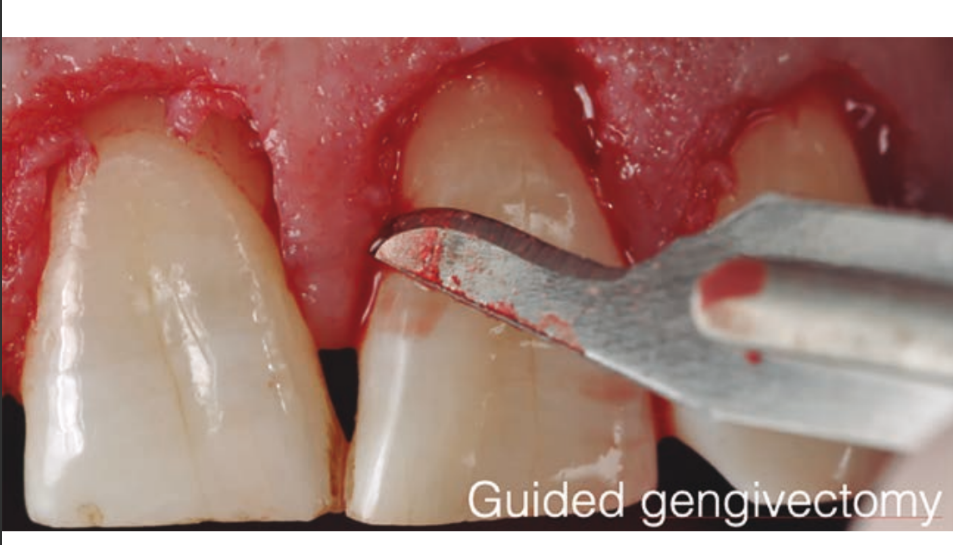
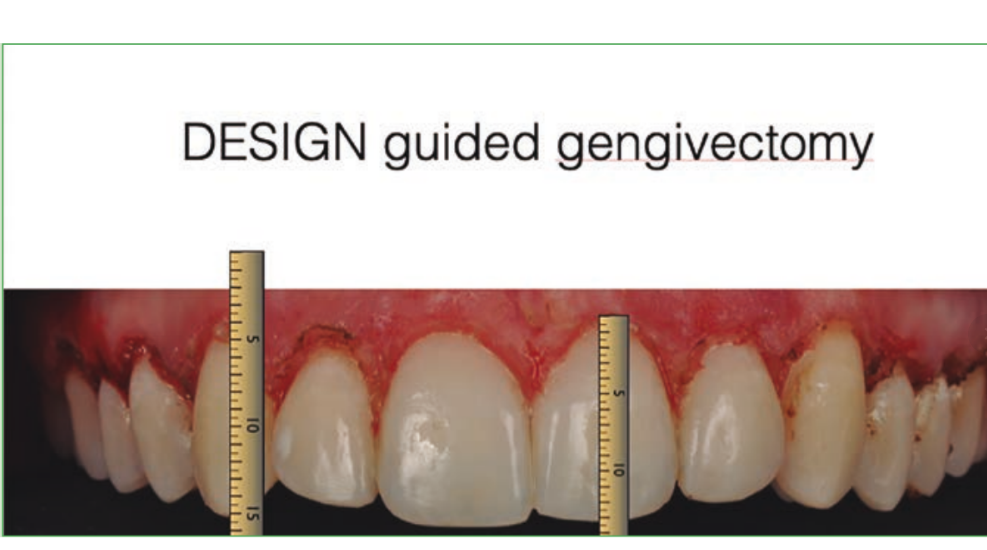
The pink composite can be used to simulate a better relationship with the tissue, which will result, after patient consent, in reducing or orthodontically moving the structures, or periodontal surgical treatment before the treatment.
Patient experience
Ideally, the mock-up is presented through a before and after photo or video. The patient is filmed or photographed before the mock-up and after. Building the before and after perspective helps the patient understand the aesthetic implications of the treatment.
It also ensures that the smile is evaluated from a facial perspective, rather than an intraoral one. The video will also capture movement, allowing the patient and the dentist to assess the new design in relation to the patient's expression and lip dynamics.
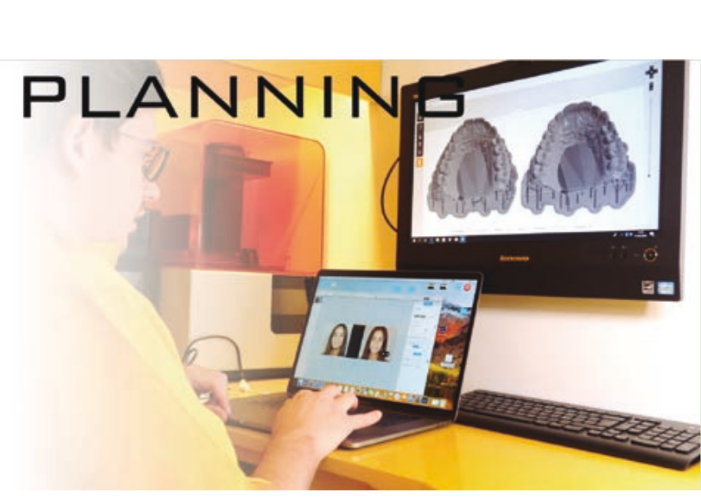
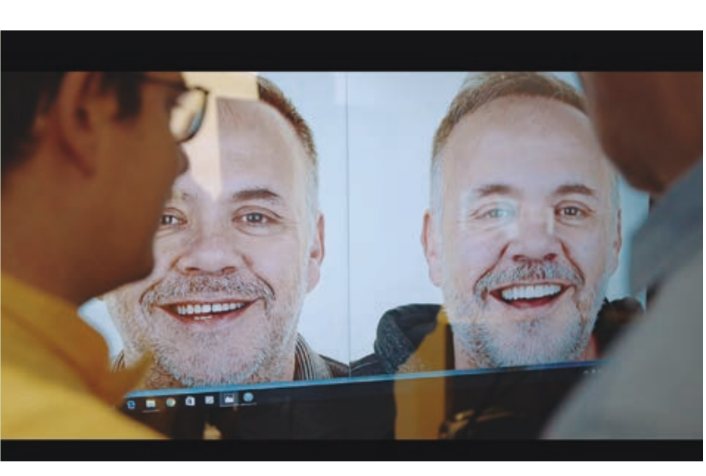
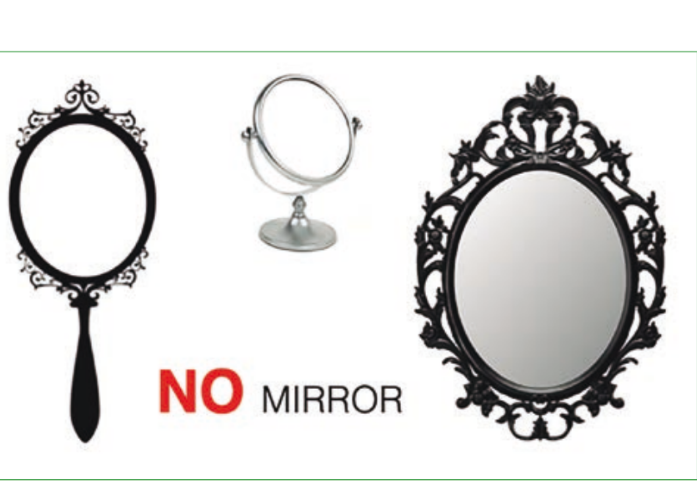
The patient should not be allowed to look at the mock-up with a mirror. Only the presentation of photo/video gives a good perception of the simulated final result.
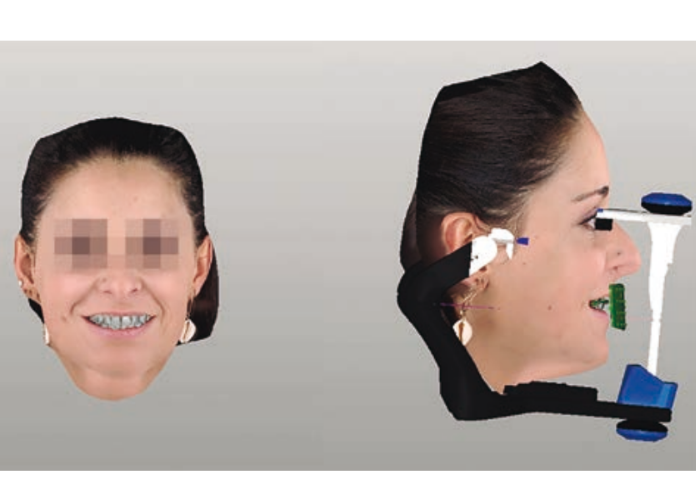
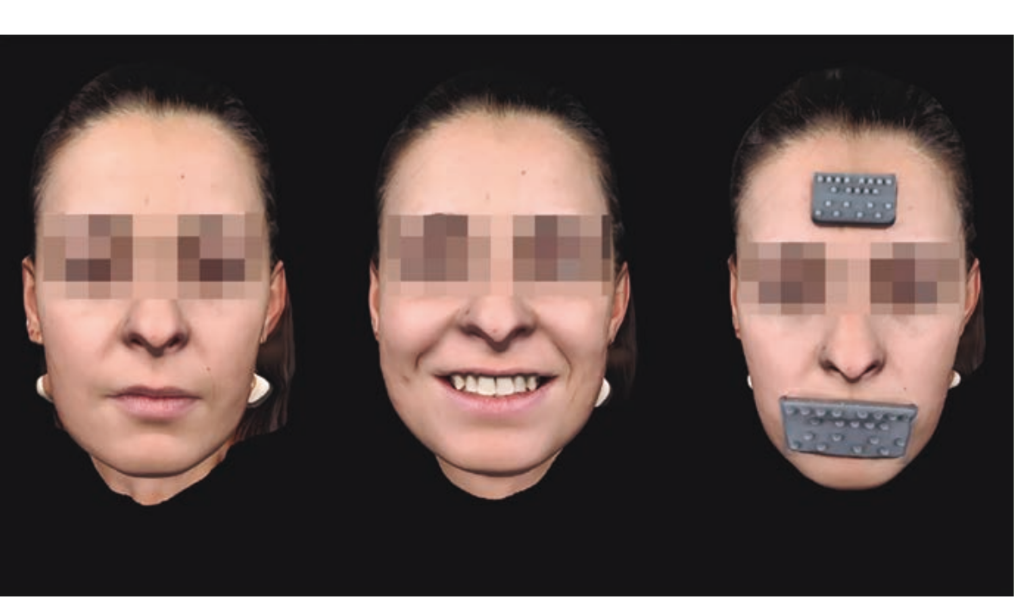
The use of facial scanners helps to guide facial planning more easily, avoiding positioning errors of the mock-up on the face, as well as the use of virtual articulators.
Common mistakes
To achieve the best possible result, observe the following:
- Incorrect placement of the silicone index. The clinician should always check the fit of the silicone index before loading it with bis-acrylic resin.
- Show the mock-up to the patient using a mirror. Due to the scale effect, the patient will perceive the design as too large and, most of the time, this will result in failure.
