
Formation of cavities for pinlay and onlay inserts
Machine translation
Original article is written in RU language (link to read it) .
Any type of inlays, including the overlay type, can be used as a standalone prosthesis, as a supporting part of a bridge prosthesis, or as an element of a splinting structure.
Basic principles of preparation for inlays in the webinar Minimally Invasive Preparation for Overlay and Onlay.
Overlay type inlays (overlay)
In the area of the posterior teeth, the following types of overlay inlays can be manufactured:
- located on three surfaces;
- also cover three surfaces, but their configuration is more complex,
- cover 7/8 of the crown.
In the anterior section, half-crowns and pinlay inlays are used. This article is dedicated to the preparation of teeth, forming cavities that are best suited for the fixation of overlay inlays. Due to the difficulties in achieving a highly aesthetic result in the anterior section, the use of this type of inlays is limited.
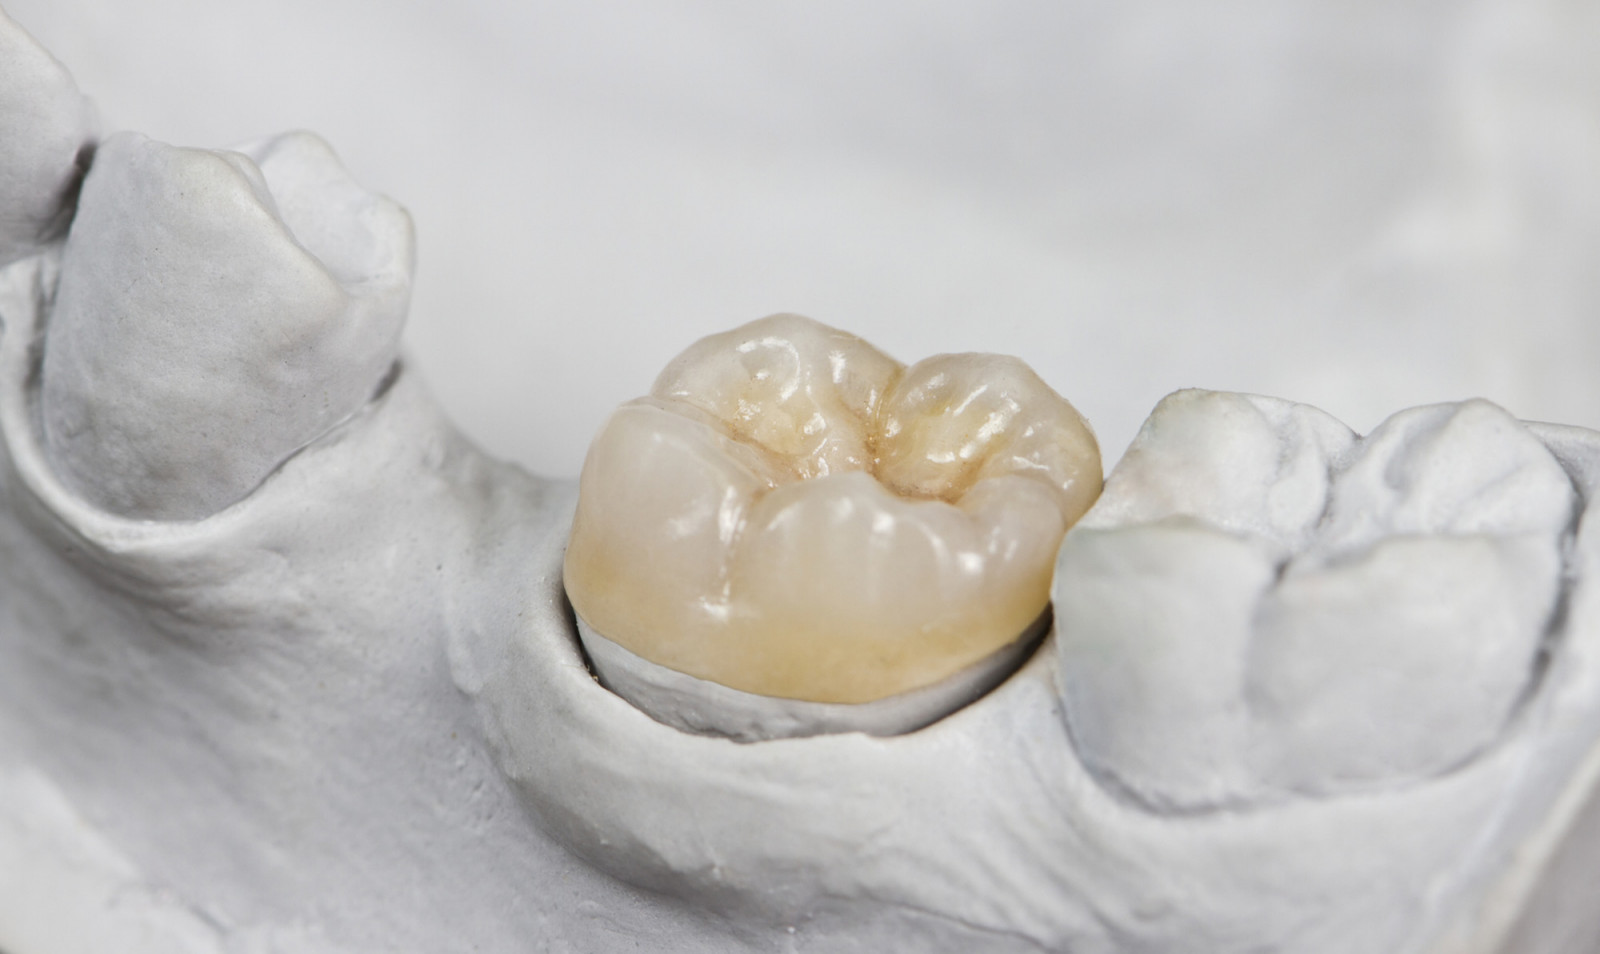
Figure 1. Overlay type tab.
Pinlay type tabs
As an independent prosthesis, pinlay affects only the oral surface of the crown without preparing the contact surfaces. They are predominantly used as a support for a bridge prosthesis or a segment of a splinting structure.
Depending on the topography of the pinlay in the prosthesis, preparation of one or both lateral surfaces of the supporting tooth is carried out. Retention pins are inserted 2 mm deep into the dentin to provide retention for the inlay. Using this type of inlays for fixation is the most tissue-preserving option for the tooth.
In the case of fissure caries, in addition to opening the cavity, prophylactic expansion is recommended, but the cavity should not be made excessively large, removing almost all the slopes of the cusps, which significantly weakens the tooth walls. The cavity needs to be shaped like a box, while simultaneously cleaning it from softened dentin. It is important to ensure a smooth transition from one wall to another, avoiding the formation of sharp angles when shaping the cavity. The finished cavity in fissure caries is characterized by its complex configuration.
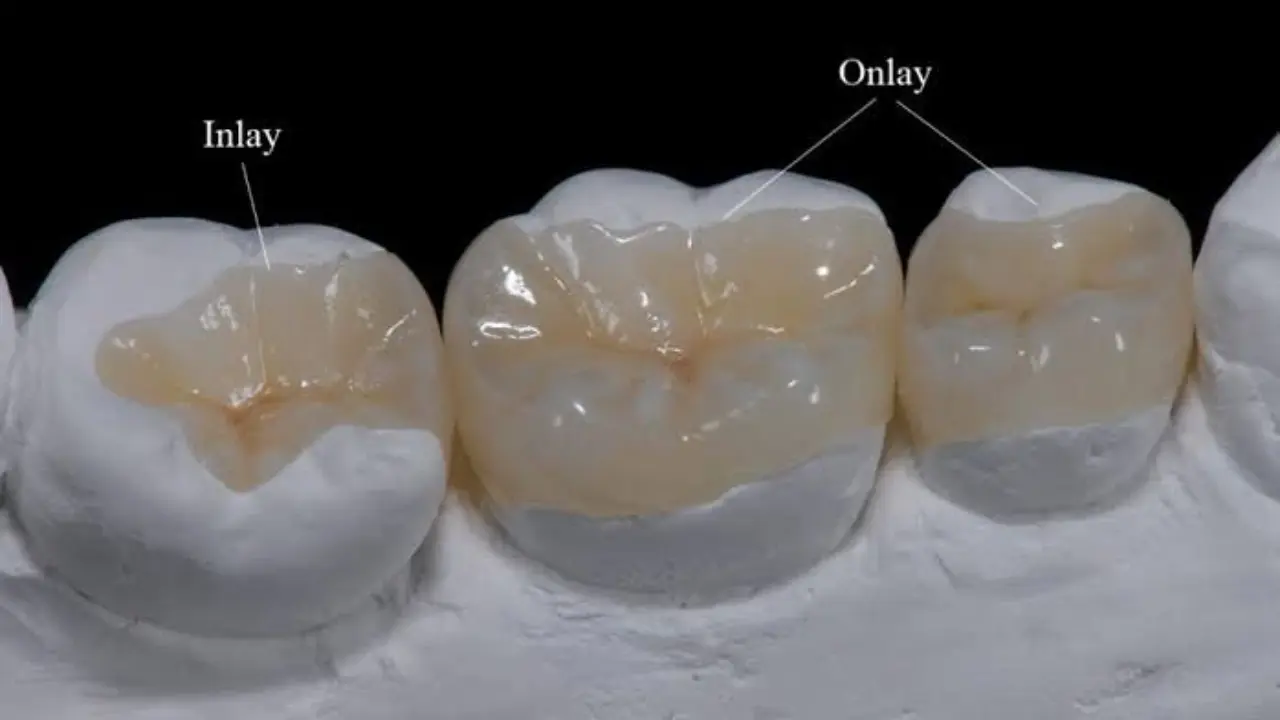
Figure 2. Types of tabs.
During the creation of a cavity, it is important to maintain the ratio of width to depth. As the width of the cavity increases, so does its depth. If the cavity is relatively wide but shallow, the micro-prosthesis will not be securely fixed. With a narrow but sufficiently deep cavity, it is difficult to prepare vertical walls. To allow the cement to freely exit from under the micro-prosthesis during its fixation, the walls are made with a slight incline of 3°-5° towards the bottom. The degree of wall incline is determined by the depth of the cavity: it is smaller in a shallow cavity and larger in a deep one.
The angle formed by the base and the walls of the cavity is of great importance for stabilizing the inlay. If the angle is close to right and distinct, the inlay will be stable. If the angle is rounded, closer to obtuse, the inlay is less securely fixed. In the case of a deep cavity, it is better to cover the bottom with cement, reduce the height of the future micro-prosthesis so that its shape approaches cubic. Against the background of large cavity sizes, additional depressions are created around the perimeter of the cavity bottom to increase stability. In deep cavities in molars, a circular step along the walls can be prepared, the roof of the pulp chamber will be concave. If it was not possible to achieve a flat bottom of the cavity due to the carious process, it is leveled with cement.
When marking the boundaries of the inlay, it is important to consider giving the cavity an asymmetric configuration, which will provide precise landmarks when inserting the inlay.
The creation of the cavity ends with the formation of a bevel along its edge at the height of the enamel (flange). The enamel prisms located along the edge lose their dentin support, they are fragile and often chip off, forming small defects where food residues accumulate, and a carious process develops. When beveling the enamel, the metal of the prosthesis will cover the exposed prisms and secure them. The angle of the marginal enamel must ensure the stability of the remaining prisms under load.
The cavity is formed in such a way as to avoid creating "undercut" enamel, which lacks support from the dentin. In this case, the bevel angle ranges from 15° to 45°.
When preparing a cavity for an inlay on the oral surface of the upper teeth, caution is needed. Here, the pulp chamber is in close proximity to the surface, it can easily be opened, but there is still a need to immerse it in dentin. The configuration of the cavity is planned to be asymmetrical, while retention zones are provided, which are directed towards natural depressions, serving as a prevention of secondary caries. Considering the direction of the inlay removal, the walls of the cavity are made vertical towards the palatal surface. If caries affects not only the palatal wall but also the contact surfaces, it is recommended to form a common cavity with a bridge that will connect both parts. The bevel is only made on the edges of the cavity adjacent to the palatal side. The enamel bevel on the proximal surface is not made, as it would complicate the insertion of the inlay.
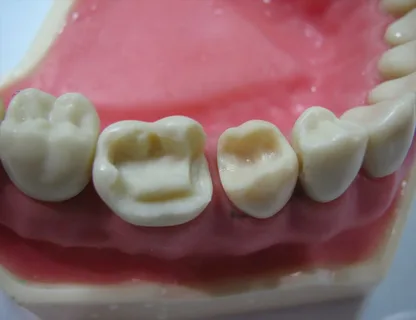
Figure 3. Features of cavity preparation for inlays.
In the cavities under the inlay, located on the proximal surfaces of the tooth, efforts are made to preserve the cutting edges or occlusal surface. Caries of the lateral surfaces is most often found against the background of tight tooth eruption in the arch.
For anterior teeth, three degrees of proximal surface damage are recognized:
- with preserved buccal or oral surface;
- with damage to the buccal or oral surface;
- with destruction of both these surfaces.
If one contact surface is damaged by caries, the cavity is given the shape of a triangle, with the apex directed towards the cutting edge, and the base parallel to the gum line. However, such a cavity can only be formed if the adjacent tooth is missing. Much more often, cavities are located simultaneously on the proximal and either the buccal or oral surface. The preparation of such a cavity is carried out considering the path of prosthesis application and the need to ensure reliable fixation.
An additional fixing platform, resembling a "dovetail" in shape, is made in cases of deep and moderate caries, especially if the walls, particularly the buccal wall, are significantly thinned. The size of the additional cavity corresponds to the size of the main one. The auxiliary platform is prepared cautiously, as there is a high risk of exposing the palatal wall of the pulp chamber. One cavity transitions into another through a special step, thereby improving the stabilization of the inlay due to an increased area of contact and the auxiliary fixing platform. The resulting stepped cavity ensures the preservation of a reliable "roof" over the tooth cavity.
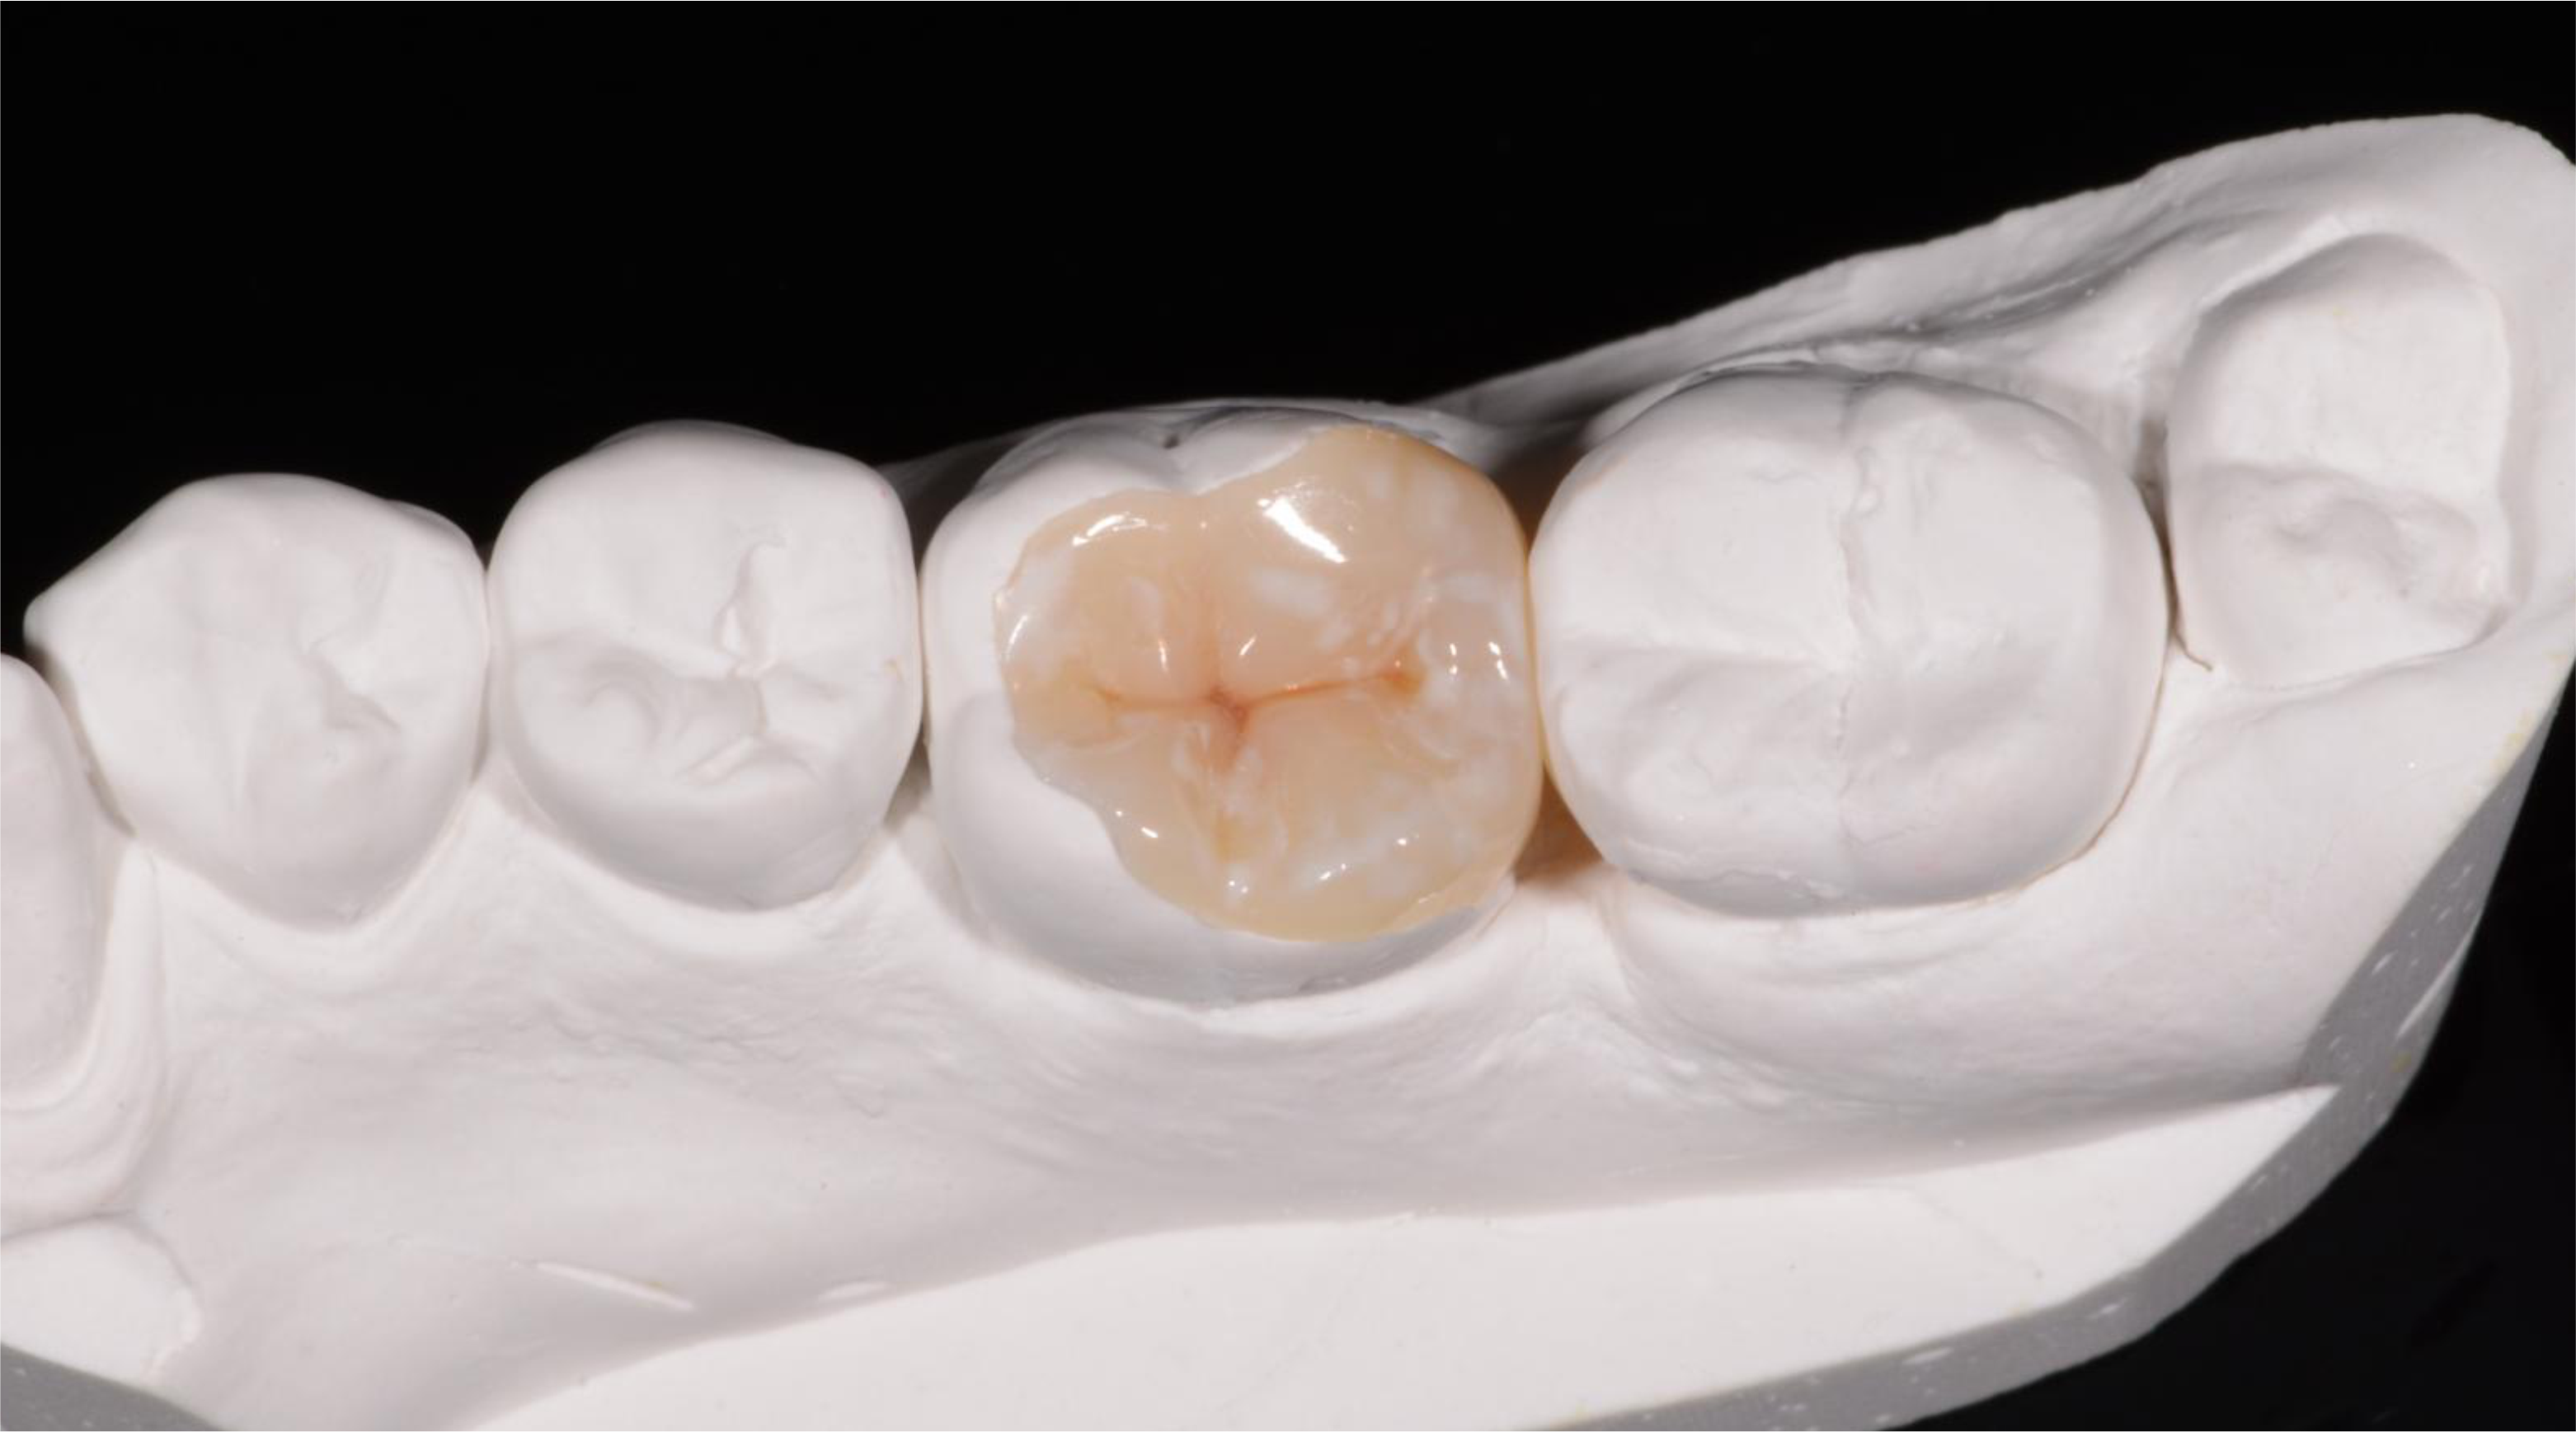
Figure 4. Tab on occlusal and proximal surfaces.
If the cavity extends to the buccal surface, an additional platform is created as economically as possible. The edges of the cavity rounding off at the buccal wall helps to achieve a more aesthetic result in the future. The palatal wall is retained only if it is thick enough to withstand masticatory load. If the cavity is located both on the buccal and oral sides, the risk of exposing the pulp chamber increases. To retain the inlay within the dentin thickness, additional retention notches are made on both the buccal and oral sides, which helps protect the axial wall. It acts as a protruding ridge, covering the tooth cavity.
Bilateral cavities are connected by a groove, considering the topography of the pulp. The surface near the blind pit is suitable for these purposes. The task of the bridge is to ensure the reliability of the connecting bridge, resistance to masticatory load. A flange is created along the edge of the cavity that opens onto the palatal surface. An important condition for the strength of the tooth tissues after prosthetics is the integrity of the cutting edge, which has a sufficient volume of dentin base.
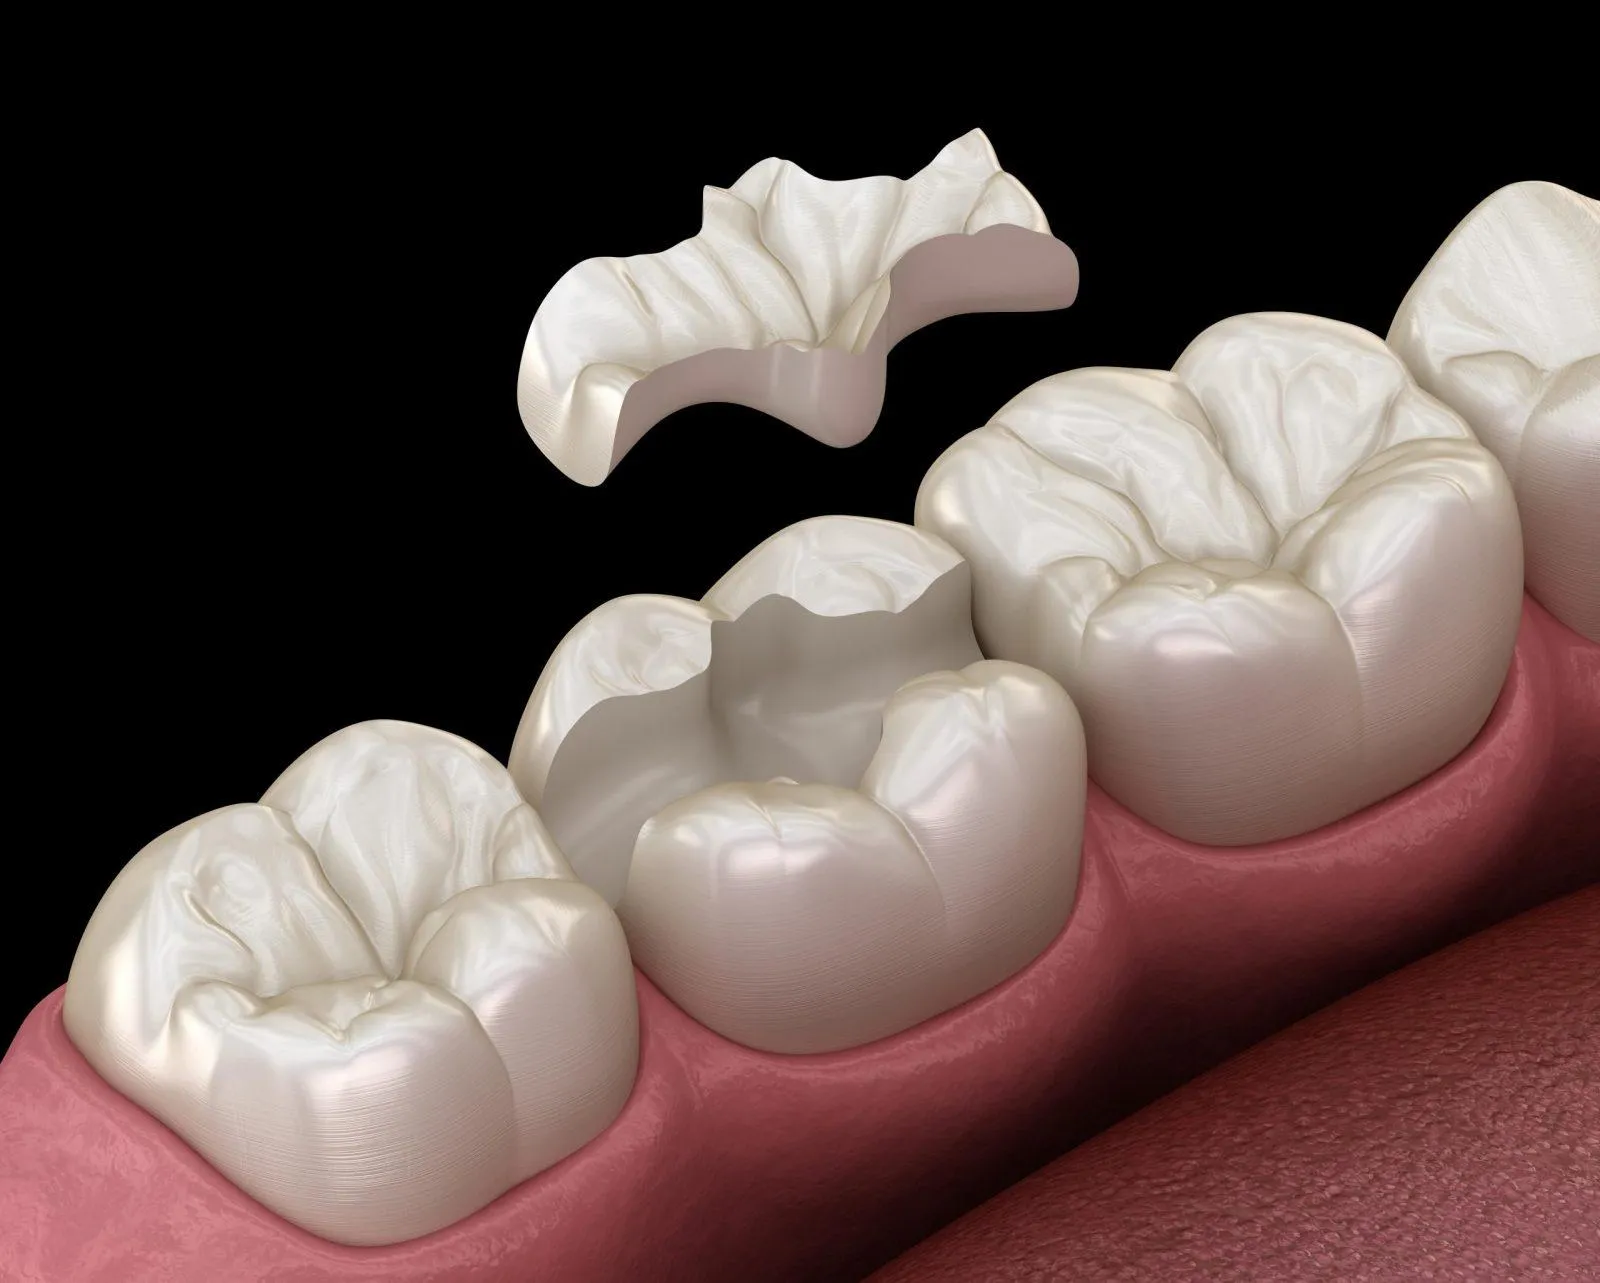
Figure 5. Path of tab insertion.
Due to the special arrangement of enamel prisms on the contact surface, caries here is accompanied by the formation of a cavity of conical shape, with the apex of the cone directed towards the pulp. The spread of caries in the dentin is similar, with emergence on the occlusal surface observed in deep lesions on the lateral surface, which is explained by a strong barrier in the form of the gingival margin, and on the chewing surface – by the lateral enamel ridge.
Before starting the preparation of the cavity, separation of the proximal surface is ensured, and at the final stage, a planar cut is performed, the algorithm for creating such a cut is simple: the disc is set at a slight angle to the longitudinal axis of the tooth, and the tooth tissue is removed down to the level of the gum. The planar cut of the contact surface simplifies the protocol for creating the cavity, determining the path for placing the inlay, conducting preventive expansion, and ensures economical removal of dentin.
The impact of adhesive techniques on preparation design in the webinar Preparation for overlays.