
Tools and Principles of Cavity Preparation for Inlays
Machine translation
Original article is written in RU language (link to read it) .
The inlay is a prosthesis that restores the lost fragment of the tooth crown, which, unlike restoration, is manufactured in laboratory conditions and fixed in a previously prepared cavity with a fixation material.
Different aspects of tooth preparation for various fixed prostheses are covered in the online course Preparation: Techniques for Veneers, Inlays, Crowns.
There are a number of requirements for the configuration of cavities, strict adherence to which ensures easy removal of wax models of inlays, as well as the fitting of finished prostheses.
The excision of hard tissues during cavity preparation inevitably affects the condition of the pulp. The reaction of the latter is determined by the size of the intervention. Preparation for inlays stimulates the development of moderate, small-area inflammation, which passes without serious destructive changes in the morphology of the pulp. Hence, it is concluded that cavity preparation for inlays is a less traumatic operation for the tooth compared to preparation for full crowns.
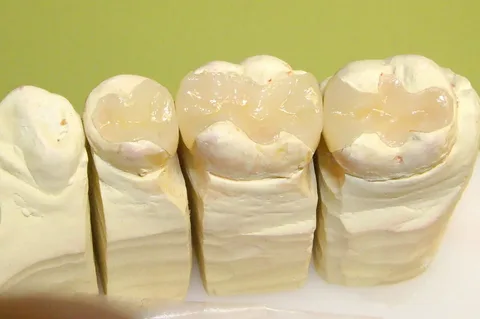
Figure 1. Prepared tabs on the model.
A sufficiently thick layer of dentin above the pulp acts as a preventive measure against unwanted reactions. In the process of creating deep cavities, there is a risk of exposing the pulp. To prevent this complication, the doctor needs to know the safety zones – these are areas where one can confidently cut hard tissues without the risk of exposing the tooth cavity. An X-ray taken before prosthetics provides an idea of the topography of the pulp chamber, but more precise information is contained in specialized tables.
Main Principles
To ensure reliable fixation of the future prosthesis while preserving the edges of the cavity that are resistant to chewing load, and to prevent secondary caries during cavity preparation, it is necessary to follow these principles:
- The shape of the cavity should be formed most appropriately so that the inlay can be removed without obstruction.
- To prevent the recurrence of caries during cavity formation, prophylactic expansion is carried out.
- The walls and the bottom of the cavity must successfully withstand chewing pressure.
- If the cavity configuration is complex and involves several surfaces, retention points must be provided.
- The depth of the cavity should be sufficient, within the limits of the dentin, so that the prosthesis does not shift under the influence of chewing pressure.
- It is preferable for the cavity to be asymmetrical, or with additional indentations, which are necessary as guides when inserting the prosthesis.
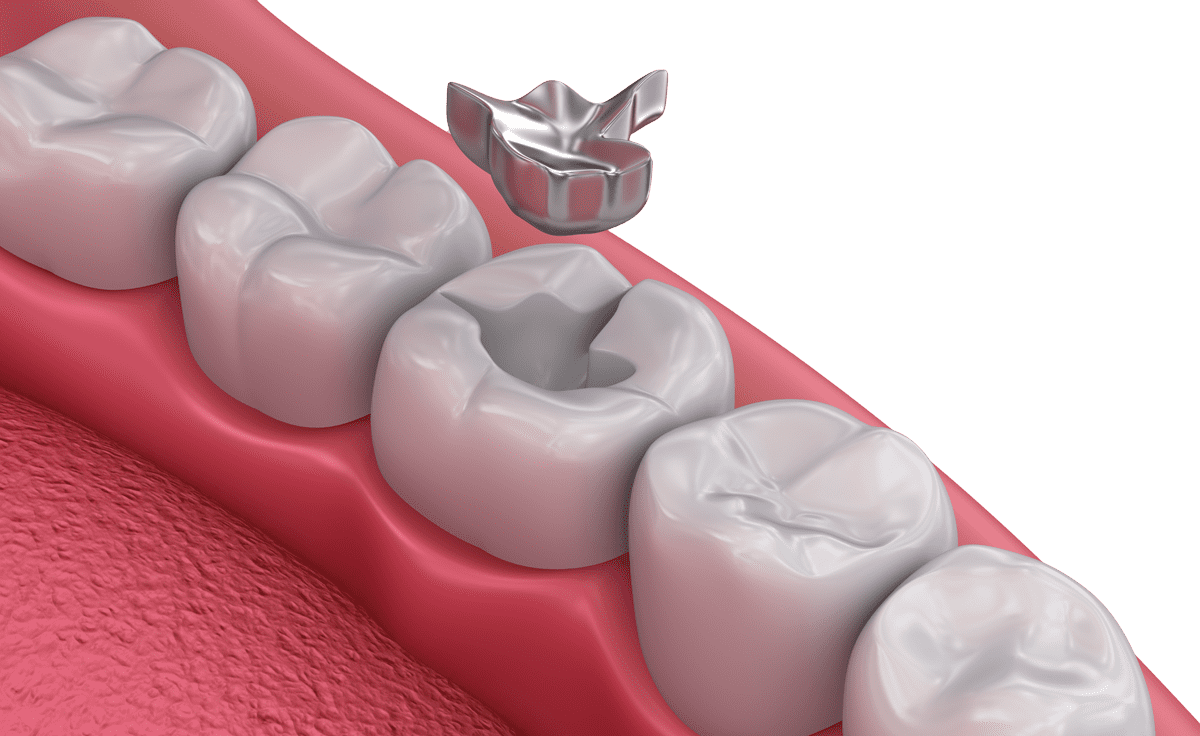
Figure 2. Path of tab insertion.
Tools for Dissection
For the preparation of teeth for various types of dental prostheses, carbide and diamond burs are used today. The modern protocol for tooth preparation is relatively democratic in terms of the required set of diamond tools. Burs included in the minimal set:
- conical,
- torpedo-shaped,
- cylindrical,
- lentil-shaped.
The thin conical tool is used for the preparation (precision separation) of the proximal tooth walls. When using this tool, it is important not to apply excessive pressure, as the cutting capabilities of the bur decrease towards the tip, and excessive pressure in this area leads to rapid wear, axis shift, which can disrupt the accuracy of the preparation.
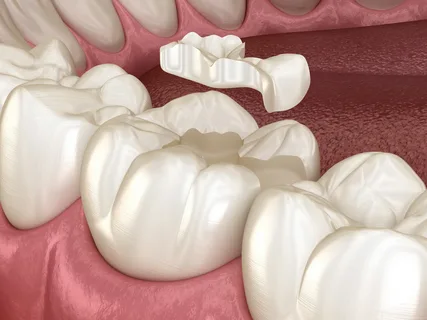
Figure 3. Ceramic inlay.
A diamond cylindrical bur is used for the preliminary rapid removal of a large volume of tissue from the proximal and occlusal surfaces. This bur, considering the knowledge of its diameter, is used to mark the depth of preparation, which allows controlling the thickness of the tooth tissue removal.
The torpedo-shaped bur is necessary for the final stage of preparation, shaping, and forming the margin. The configuration of this tool includes a program for creating the most commonly encountered 135° margin.
The lentil-shaped, or diamond-shaped, diamond bur is used to create an adequate anatomical shape when processing the oral surfaces of the front teeth; it is also convenient for shaping the chewing surface of the side teeth, smoothing sharp angles.
We have discussed above the main tools traditionally used for preparing cavities for inlays. However, there are also a number of additional burs specifically designed to simplify the technique of preparing a tooth for an inlay.
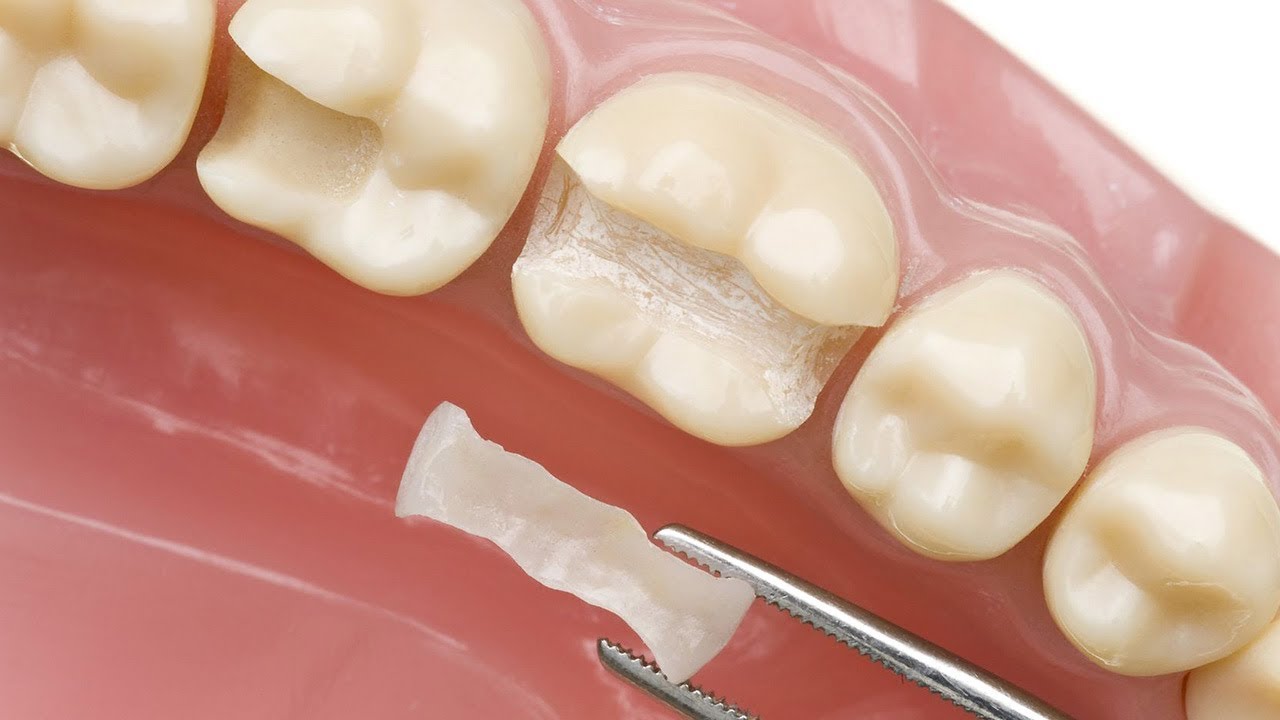
Figure 4. Prepared cavities for inlays.
Marking burs are quite useful, especially for an inexperienced doctor. They help form reference grooves that regulate the depth of dissection.
To minimize the traumatic impact of the tool on tooth tissue while forming a suitable microrelief on the treated surface, it is necessary to use burs of different abrasiveness in a strictly defined sequence. Such a preparation protocol eliminates errors in work and helps achieve optimal results.
At the initial stage of preparation, it is required to remove the largest volume of hard tissues, for which diamond burs with black marking can be used. Tornado burs equipped with spiral, ring, and cross notches are suitable for these purposes, allowing the removal of a significant amount of tooth tissue in a short period of time. However, working with such tools requires caution, performed without excessive pressure, due to the fact that during preparation under inlays, the thinned walls of the tooth often chip off.
Diamond burs with blue or green marking on the shanks help shape the form of the tooth stump or cavity. Tools with such color coding, having medium abrasiveness, provide precise control over the volume of tooth tissue removed. They are convenient for use in separation, forming a step, and creating marking grooves. Often, the doctor chooses a diamond bur of medium abrasiveness from the very beginning of the preparation, which increases the duration of the procedure, contributes to the rapid wear of the tool, and overheating of the tooth.
Diamond tools with red and yellow shank markings are used to give the final shape to the prepared cavity. The final procedure of creating a margin, forming bevels, and flutes requires precision and special care, for which low abrasiveness diamond burs are needed. The mentioned procedures can also be performed with carbide burs, but when using them, one should not forget that their cutting characteristics differ when preparing clockwise or counterclockwise.
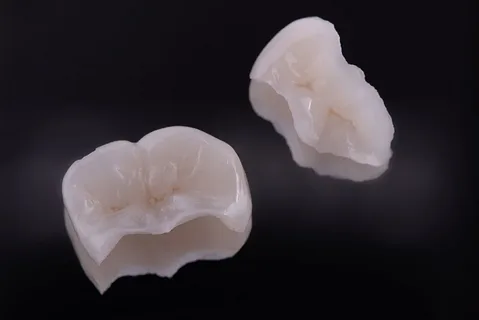
Figure 5. Final appearance of the tabs.
The dissection boundary when preparing the cavity for an inlay often lies within the enamel, which can provoke destructive disturbances in the enamel, causing the formation of microcracks that spread to the boundary of the enamel with the dentin. Cracks sometimes run longitudinally, aligning with the direction of the enamel prisms, or transversely, causing fragmentation of the enamel prisms.
The degree of destructive disturbances is determined by a combination of factors, including the method of preparation. Enamel prisms are located on the tooth surface at various angles. When the position of the enamel prisms is identical to the vector of the mechanical action of the preparation tool, the destruction of the enamel surface is minimal; if there is no alignment, maximum damage is observed during preparation. To prevent this complication, the preparation of the oral and buccal surfaces begins from the gum, gradually moving towards the cutting edge or occlusal surface. In this case, the vector of the abrasive action of the tool should be identical to the direction of preparation. Occlusal surfaces of the side teeth are prepared towards the fissures from the cusps, from the proximal surfaces to the median axis.
At the final stage (enamel finishing), it is important to achieve a surface with a high level of cleanliness, which will minimize the marginal permeability of the area where the fixing material is located and significantly reduce the risk of its polymerization shrinkage after the prosthesis is fixed. For finished enamel, sets of heads are produced that ensure high surface cleanliness of the cavity. To increase smoothness, tools with small particle sizes of the coating are used, and the pressure on the bur and its rotation speed are reduced.
The choice of dentin preparation tactics is influenced by the accuracy of the prosthesis casting and the selected fixing cement. In the case of high-precision casting and fixation with composite or glass ionomer cement, a slight roughness of the surface is acceptable. When fixing with polycarboxylate or zinc-phosphate cement, high smoothness of the walls is not necessary, as the fixation will be carried out due to the micromechanical retention of the inlay.
The specifics of tooth preparation for making ceramic restorations are presented in the online course Ceramic Inlays. Complete Guide.