
Composite Resin as an Imitation of a Real Tooth
Machine translation
Original article is written in RU language (link to read it) .
Composite resin as a restorative material is not always the best option for broken teeth; it is usually an emergency aid in a dental office, the first option is always to try to reattach the original fragment of the patient's natural tooth if possible. In this article, we will show a clinical case that occurred 4 years ago. After reattaching the patient's own tooth fragment, he came back after some time without it.
Direct Class IV restorations and direct restoration of restorations in the webinar Single Composite Veneer: Shape and Color Correction.
We needed to correct this emergency case using composite resin, considering the patient's age and the complexity of the situation. Such clinical cases always occur unexpectedly when we do not expect such patients in the upcoming workday, and this fact must be taken into account in our daily practice. Here we will tell you how we managed such a situation.
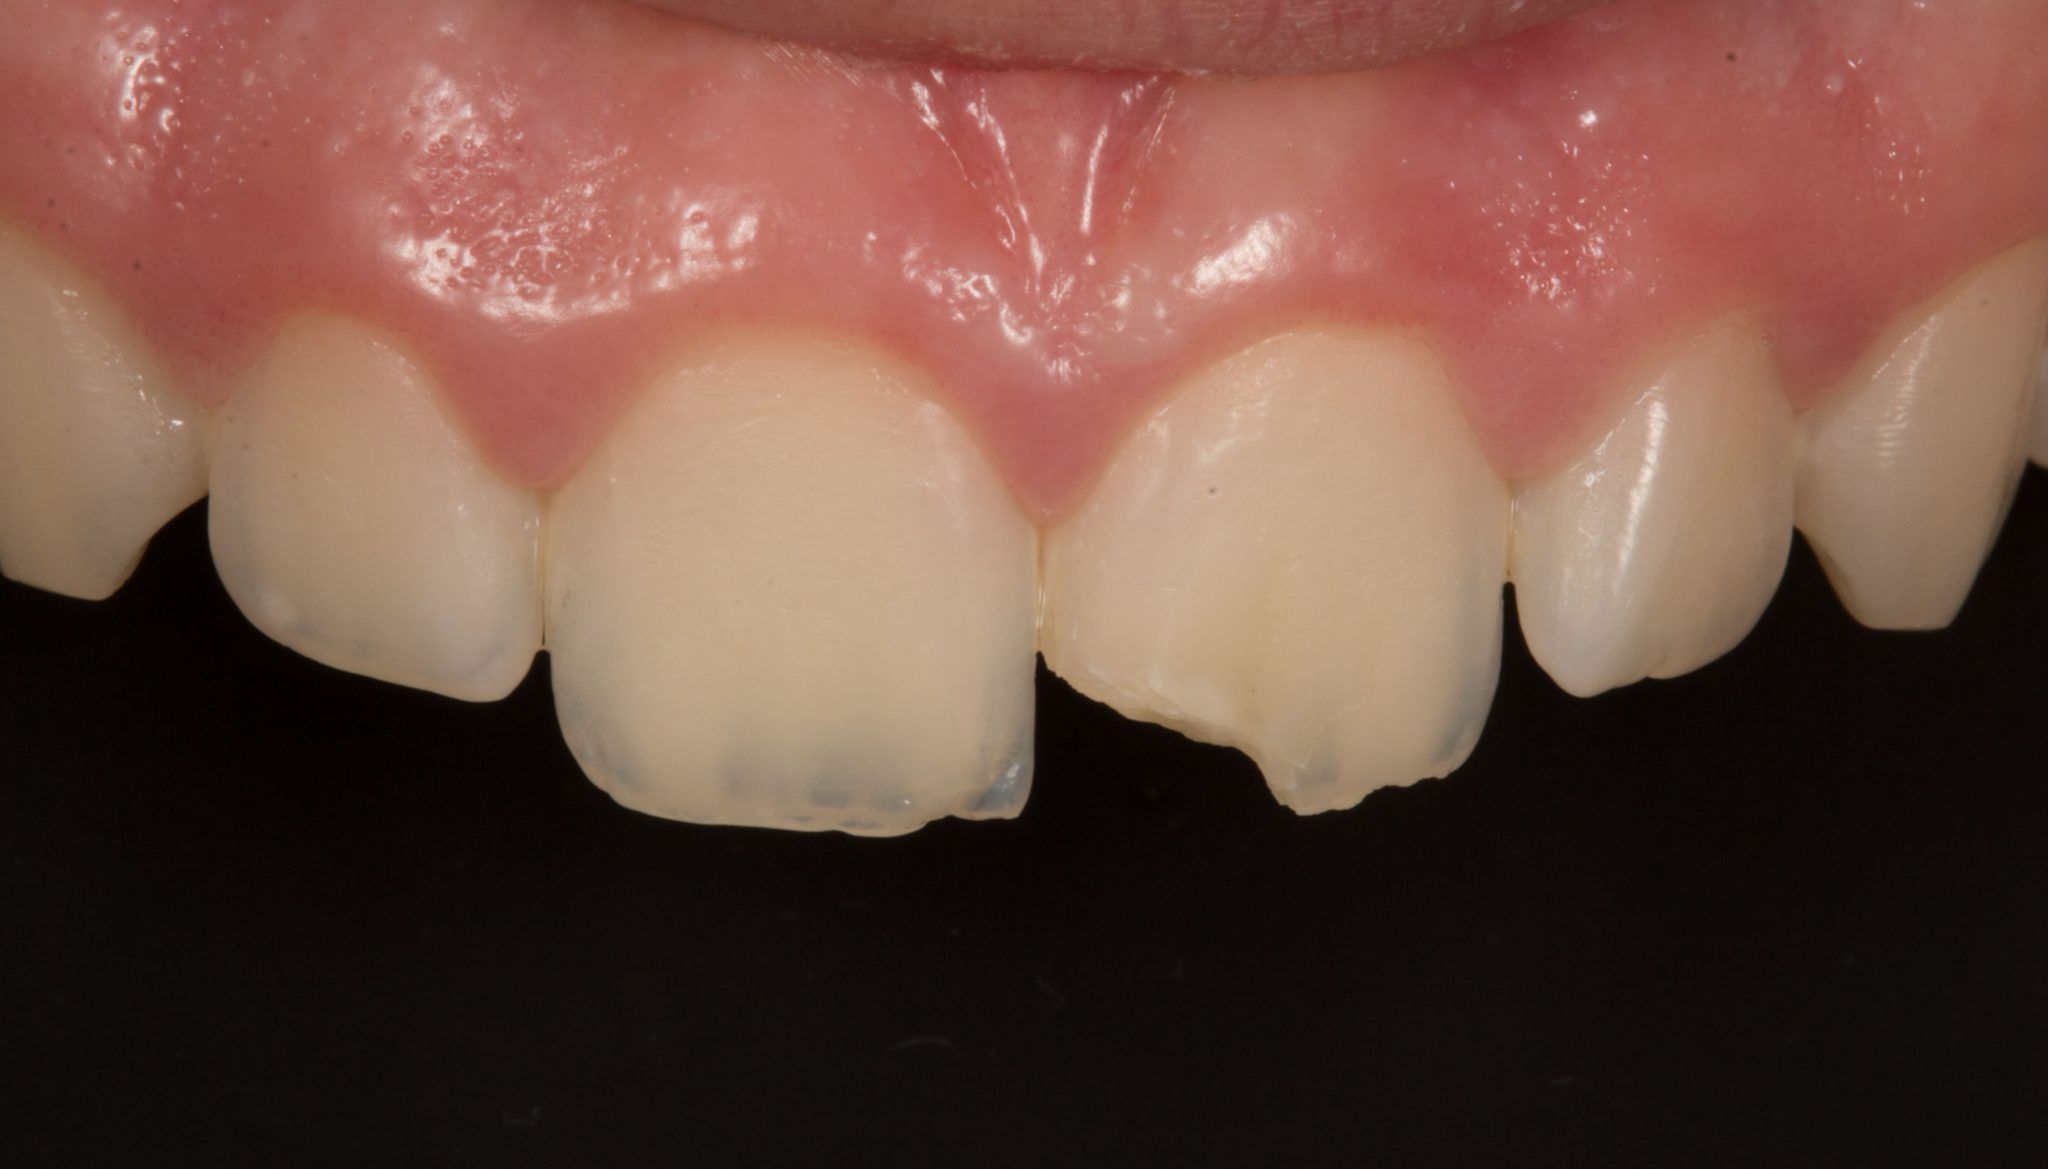
Photo 1. A 16-year-old girl came with tooth 2.1, broken after manipulating with a fork.

Photo 2. This is a fragment from a case 4 years ago.
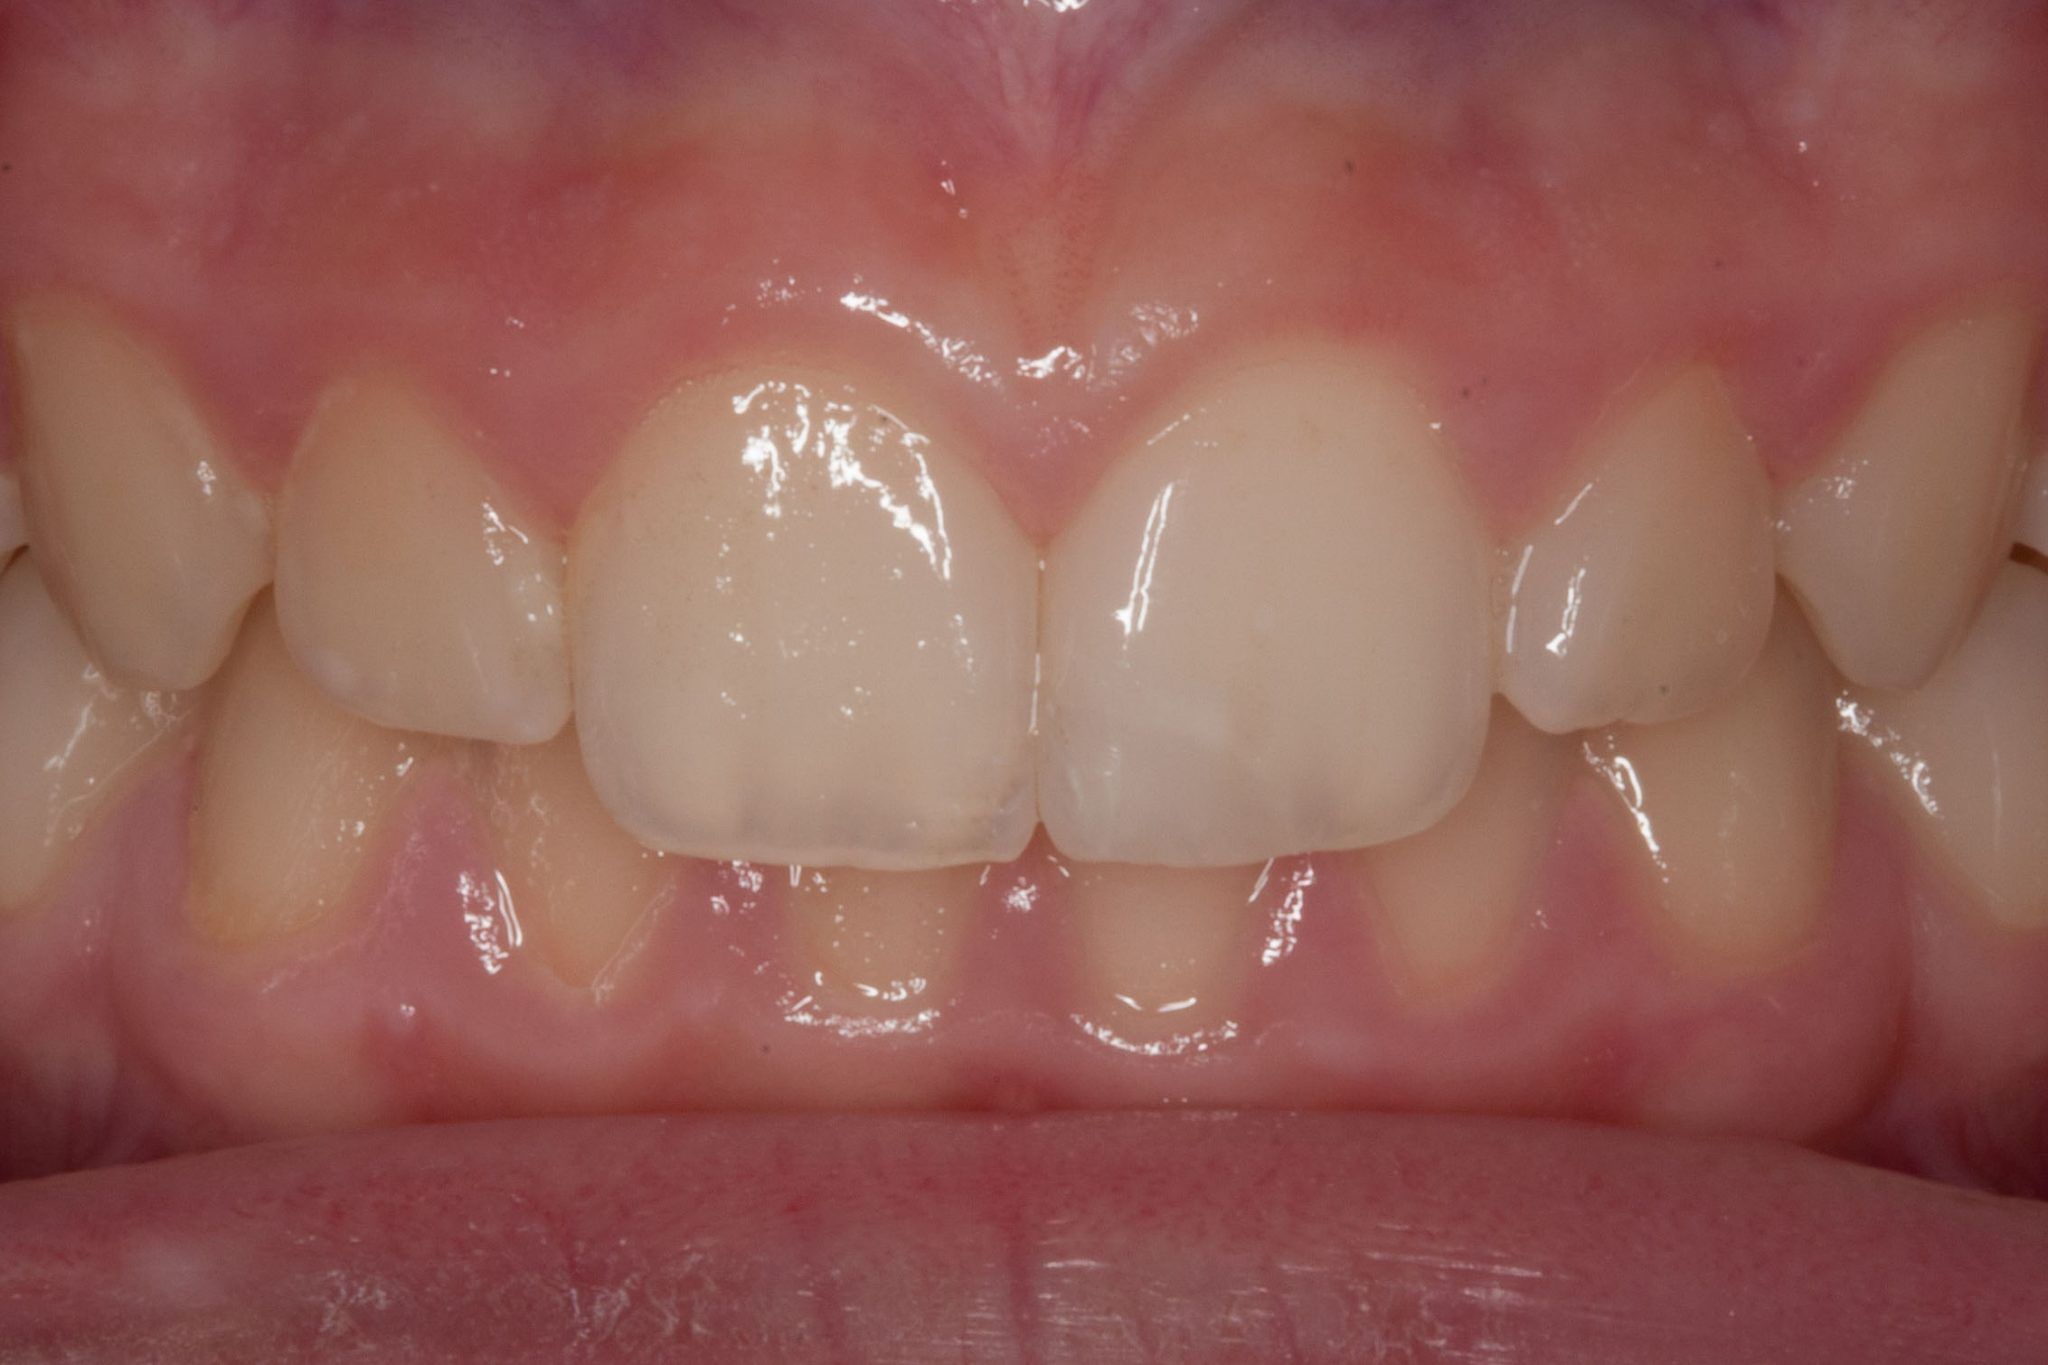
Photo 3. And this is the final result of the treatment in 2013.
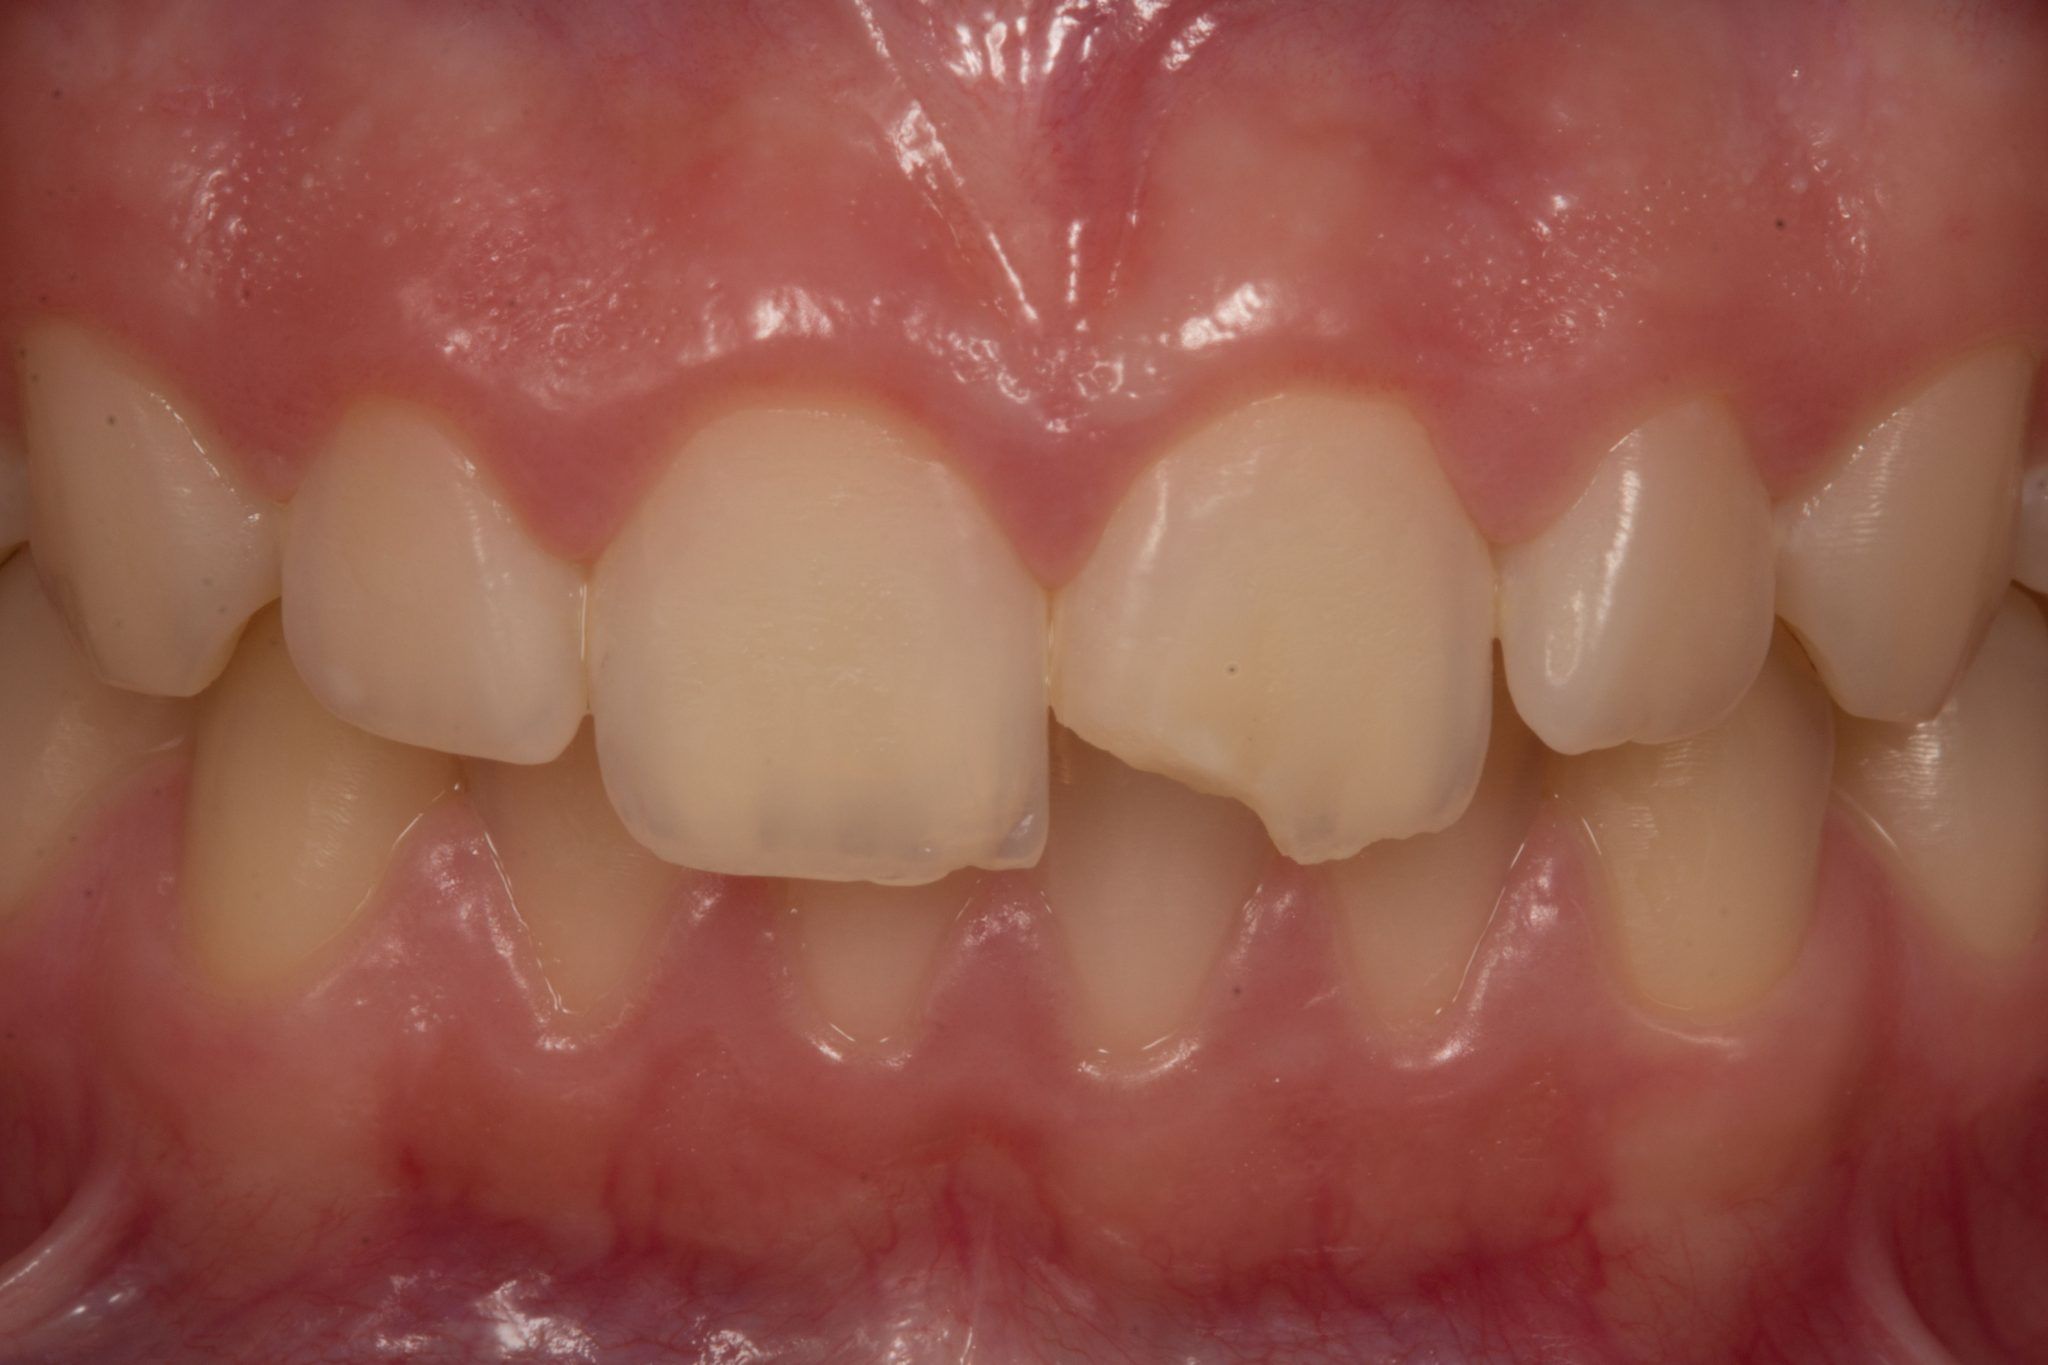
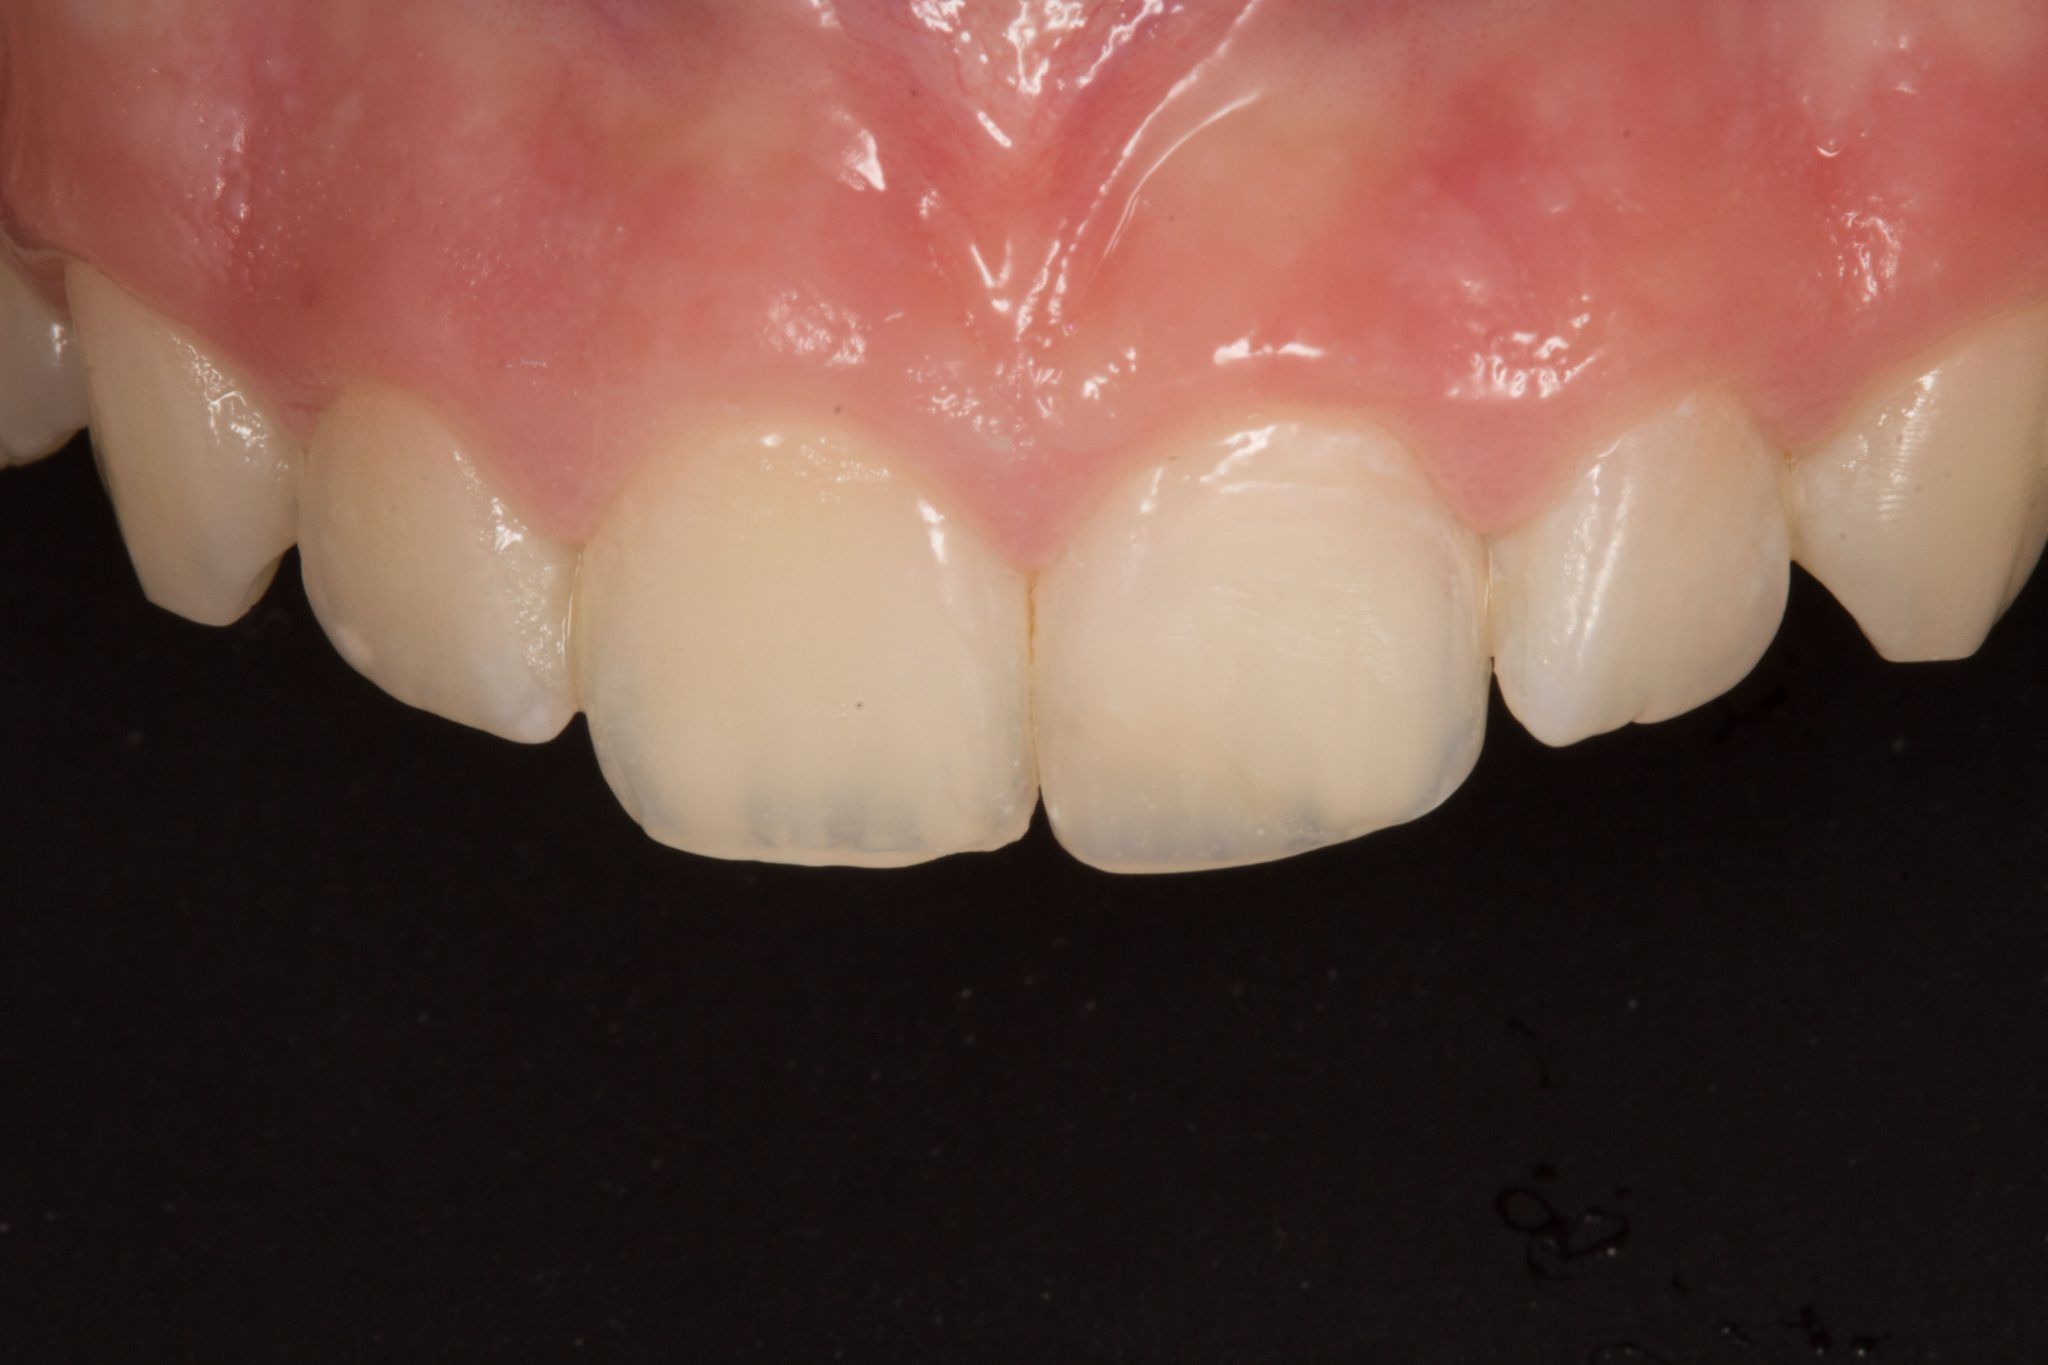
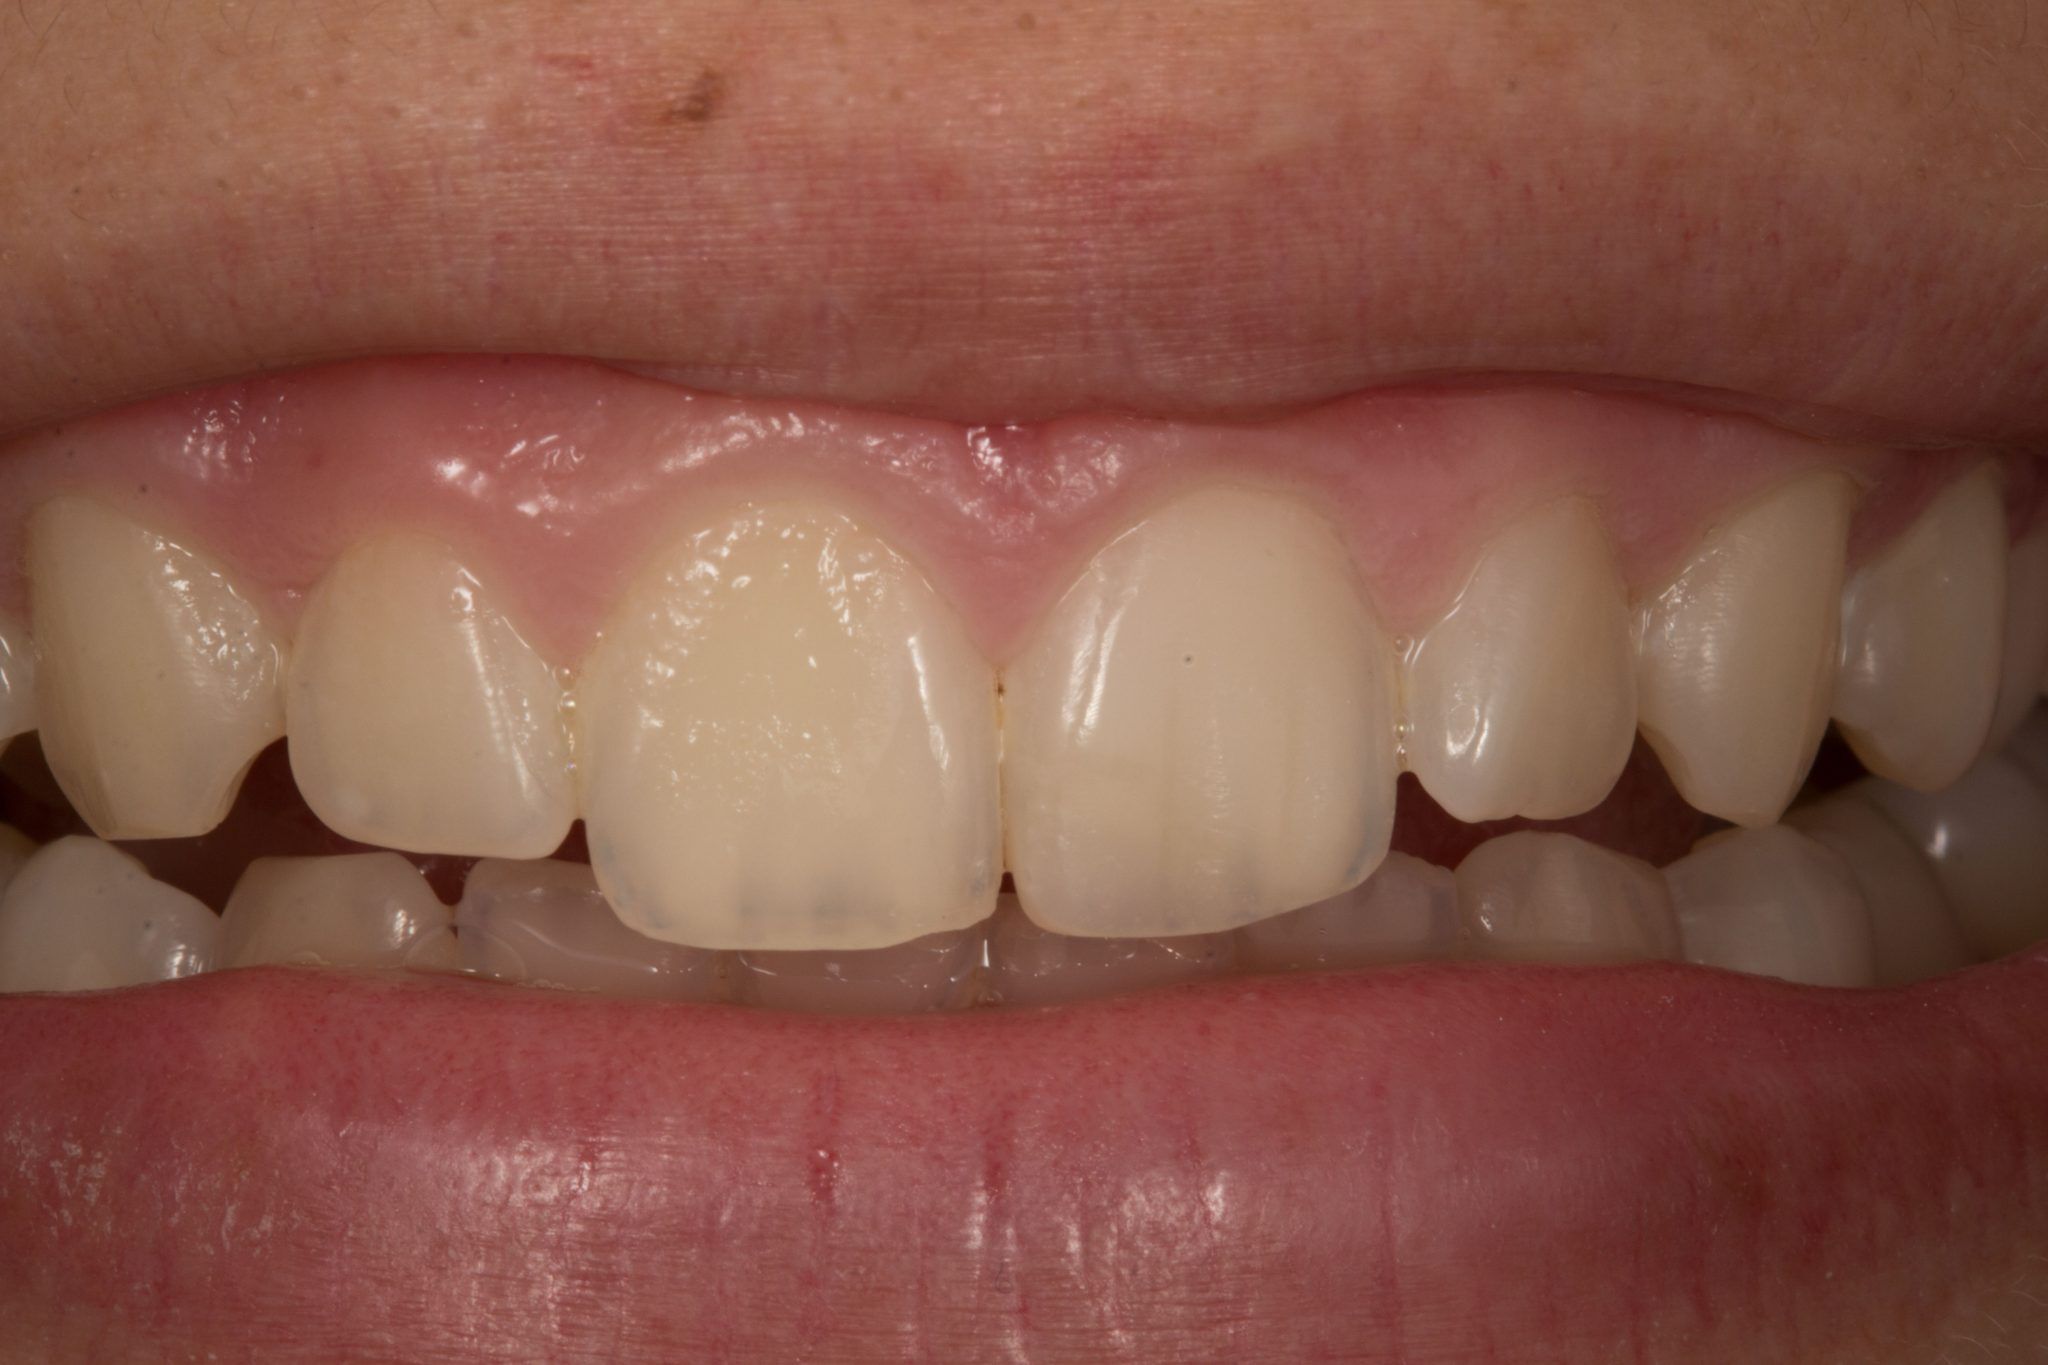
Photo 4. 2017, clinical image before the start of treatment.
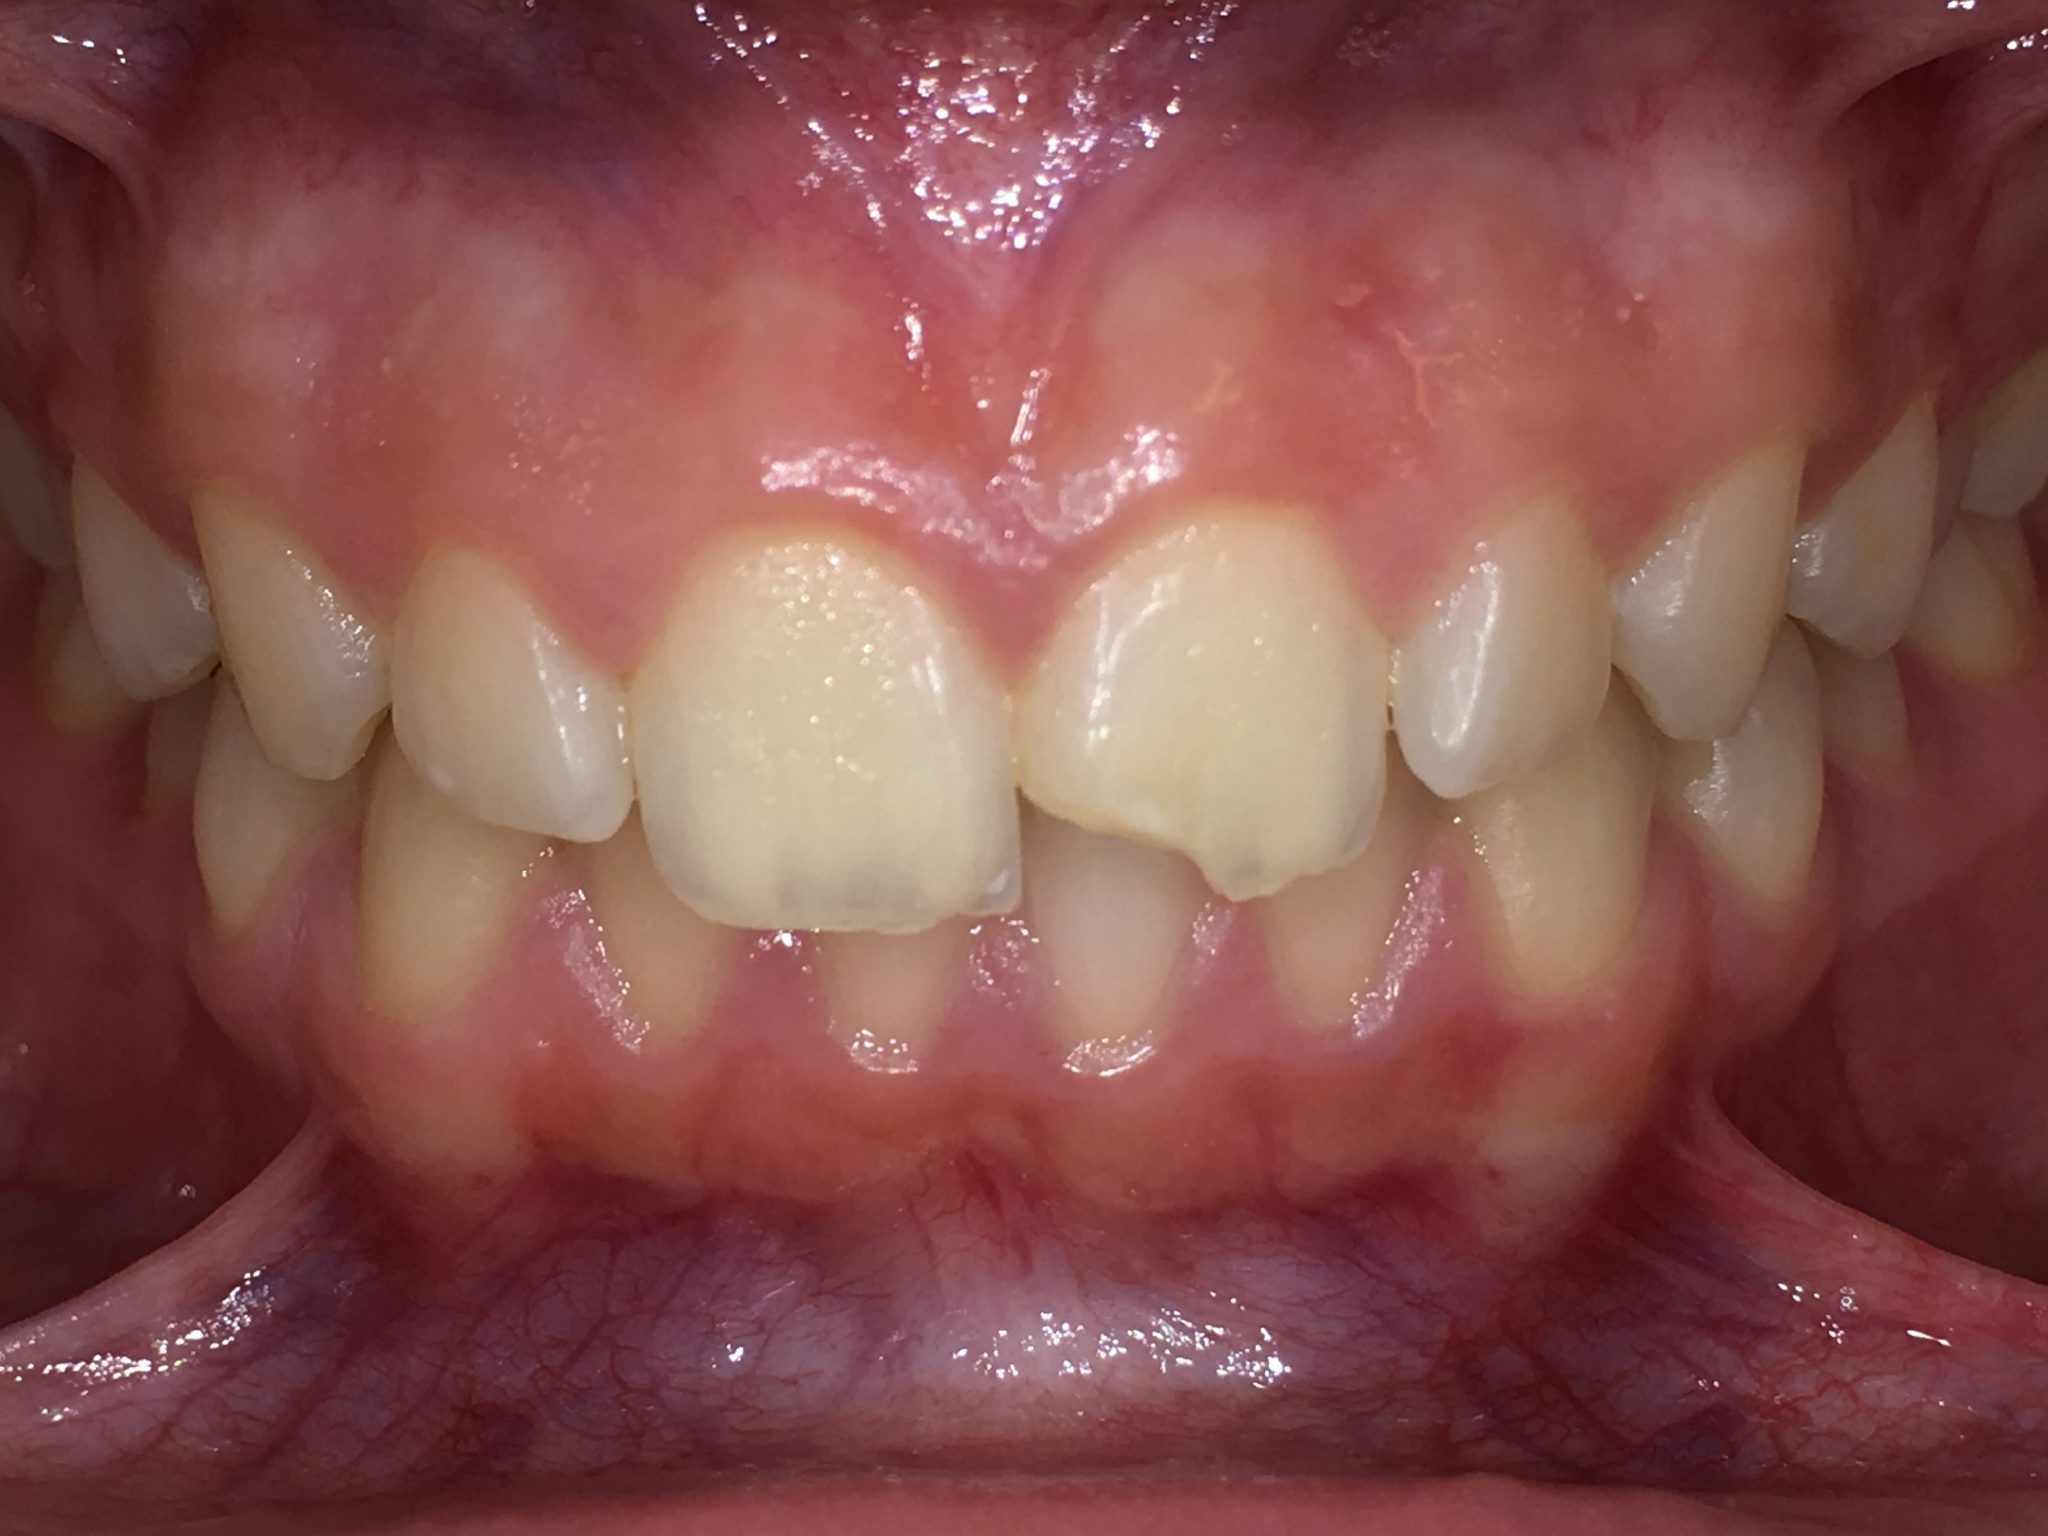
Photo 5. Not only with DSLR cameras, but also with mobile phones and devices for shooting mobile dental photography (MDP).
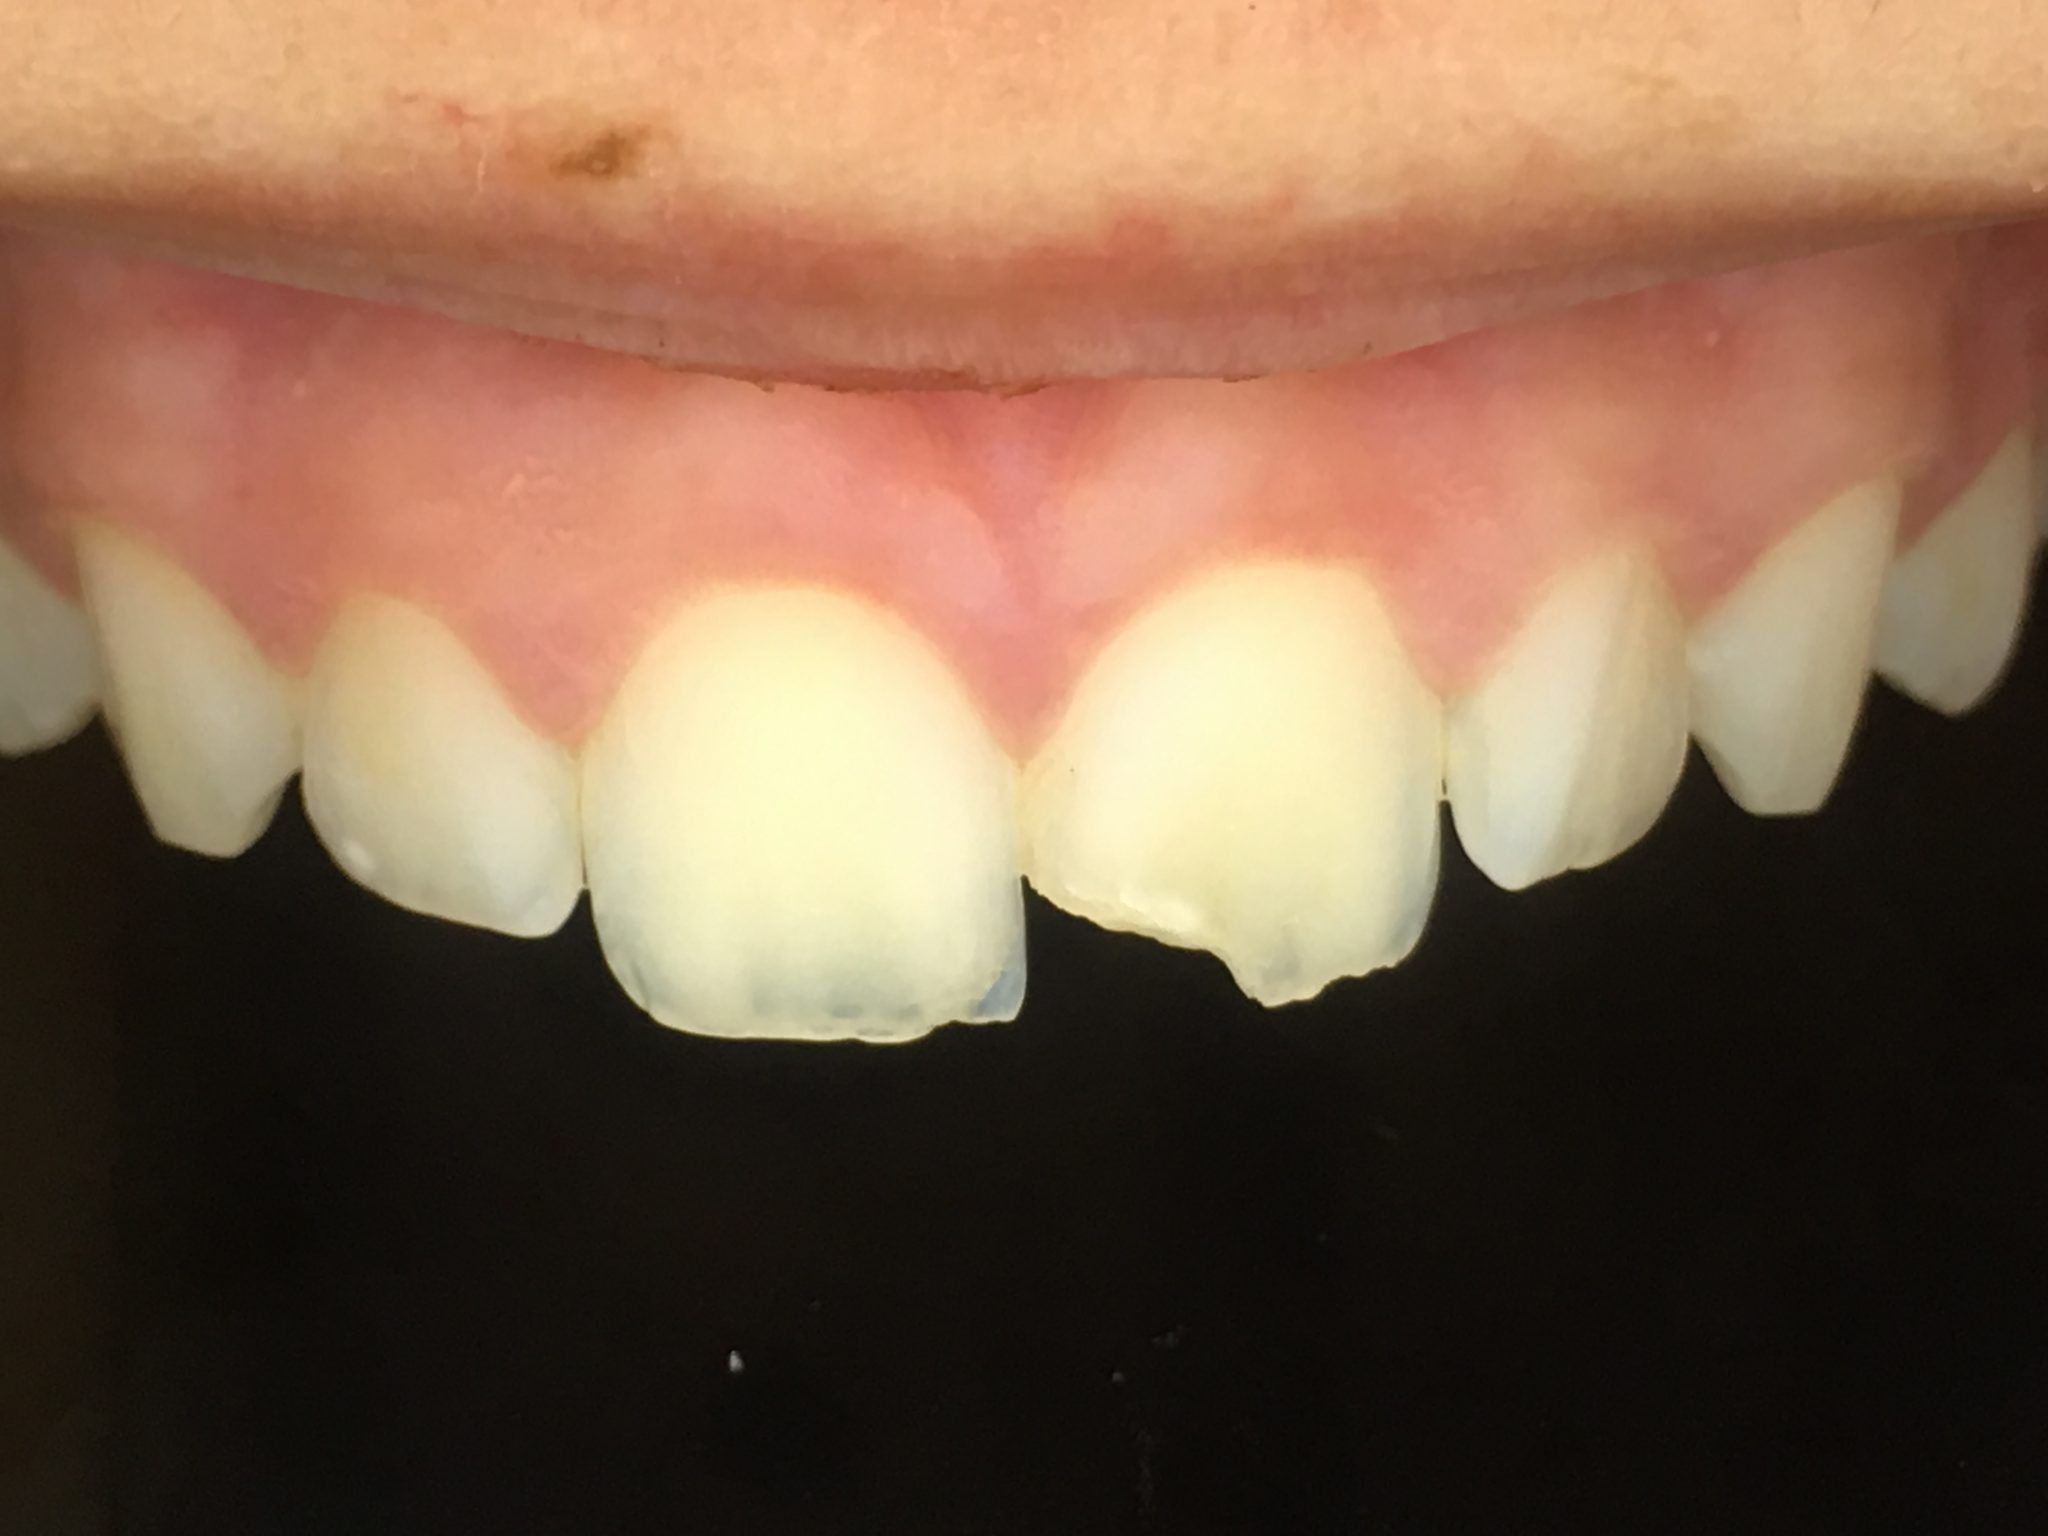
Photo 6. MDP allows us to obtain an image with high polarization using the camera of any mobile phone.
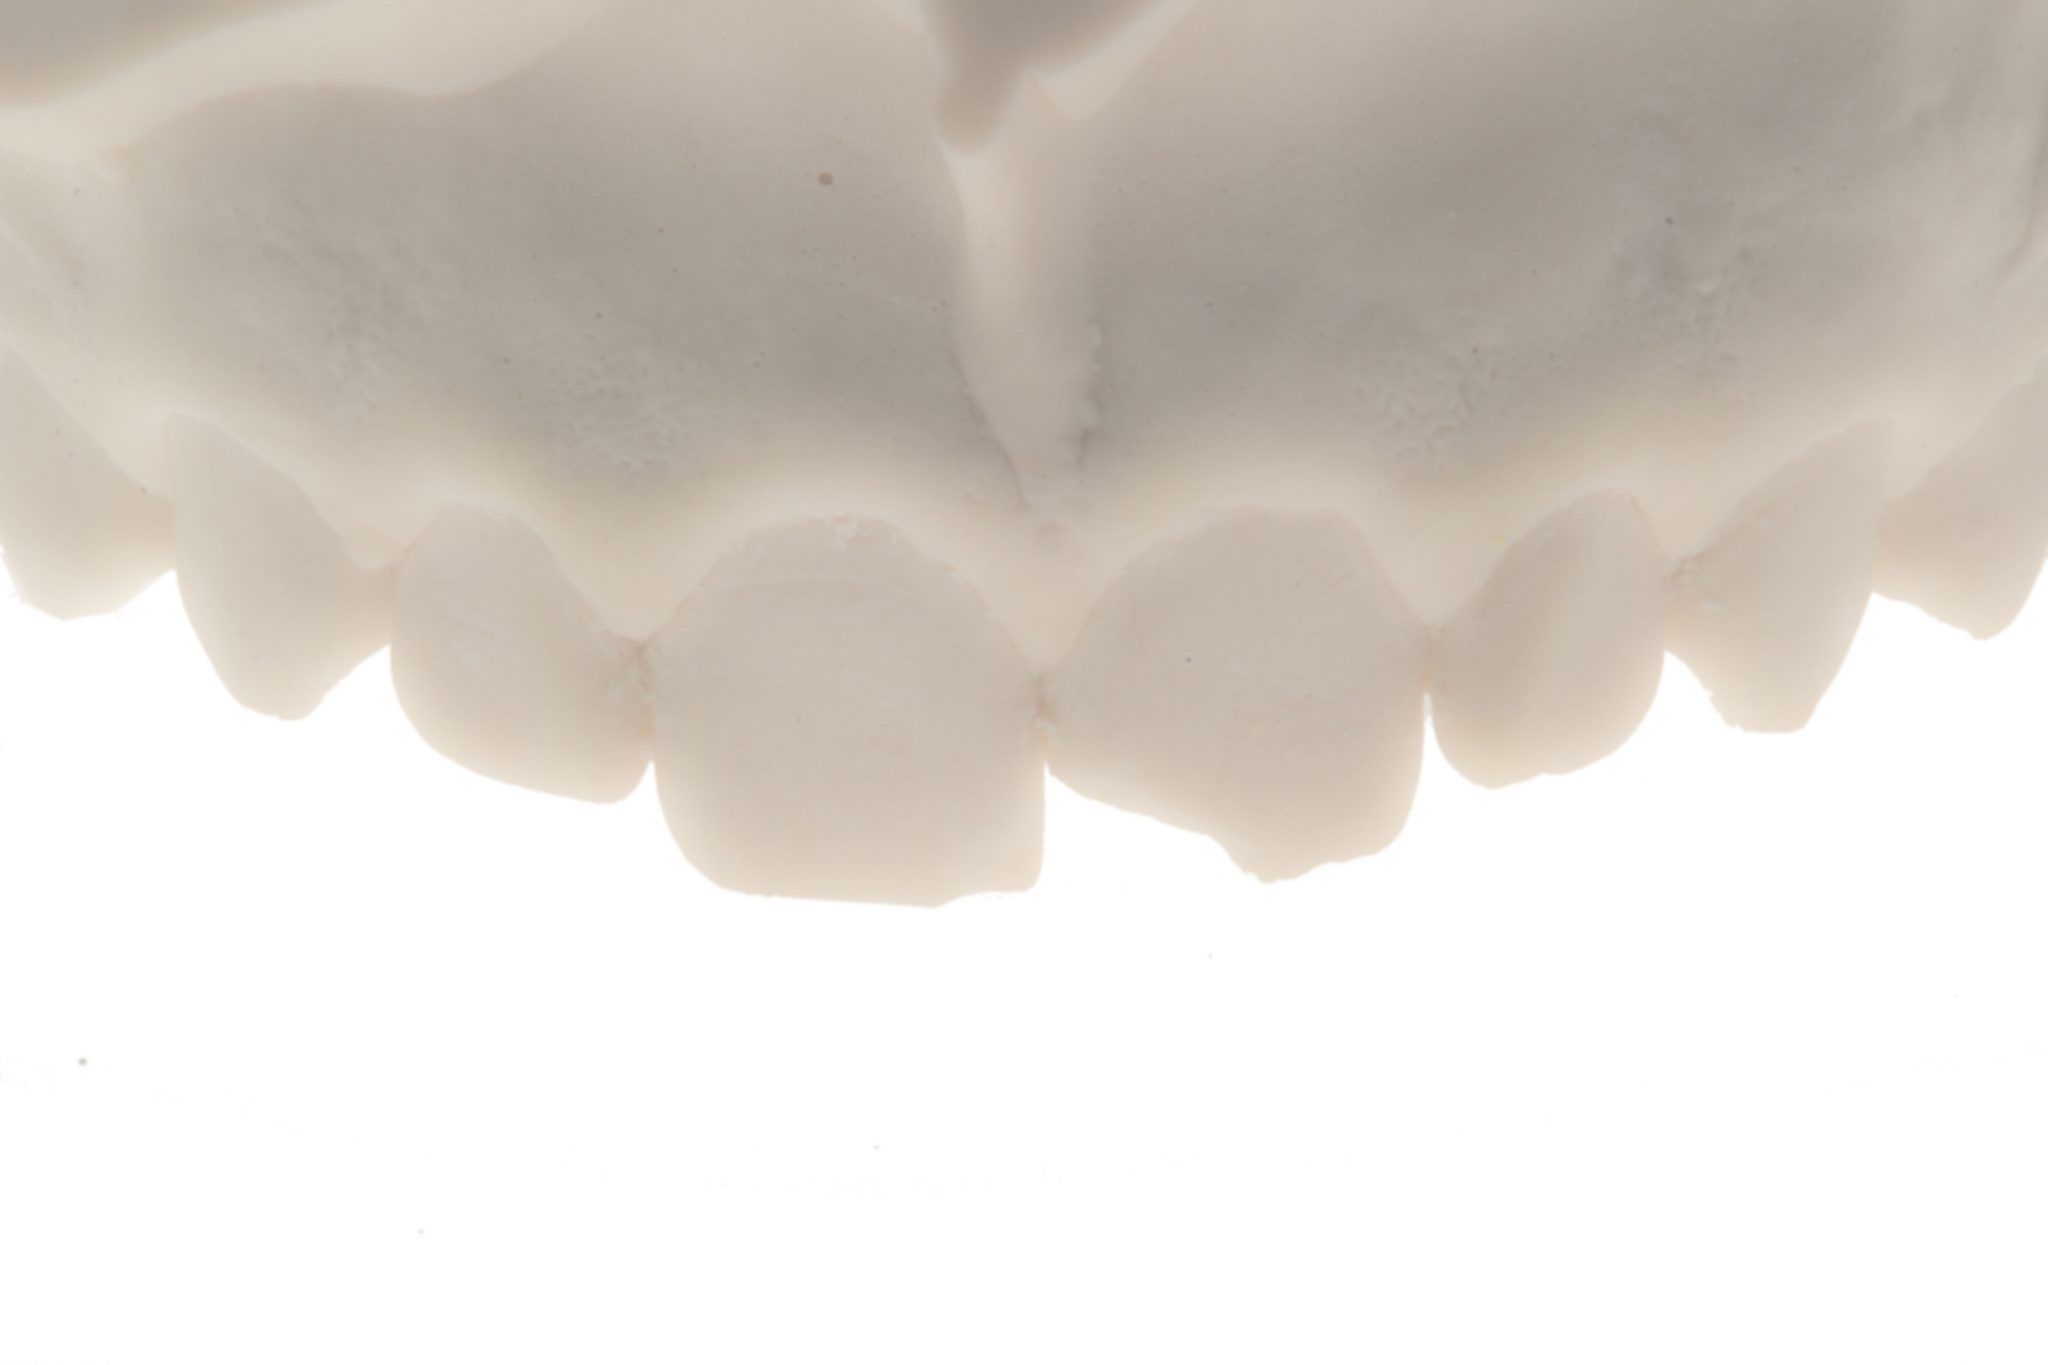
Photo 7. We took an alginate impression, then cast a model from fast-setting plaster to make a wax model of the missing tooth fragment and have time to reorganize the reception of other patients due to providing emergency assistance [to the patient].
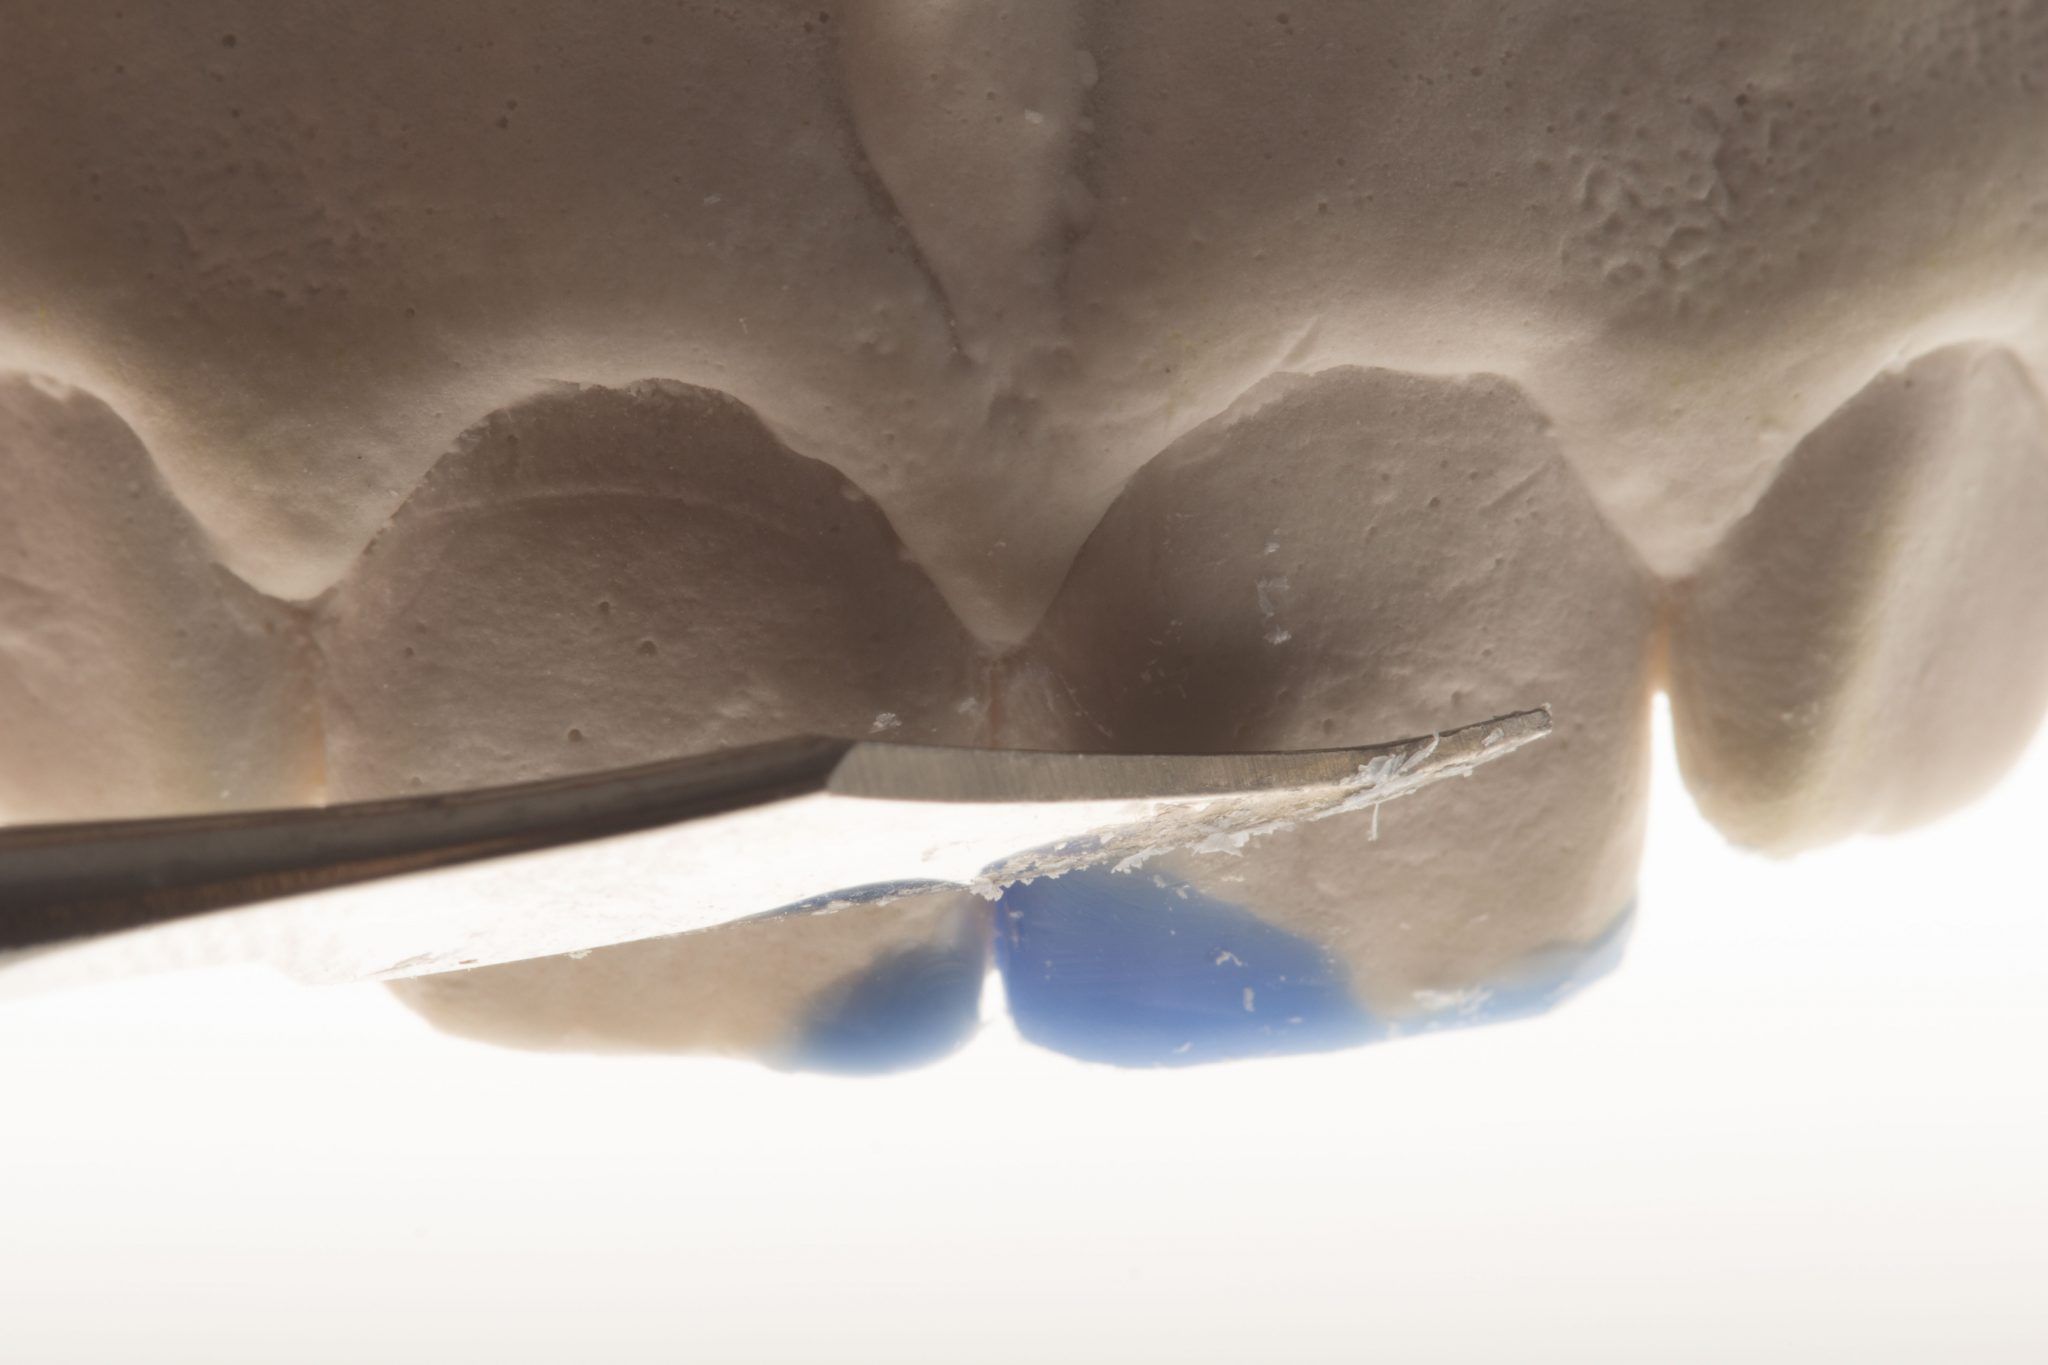
Photo 8. Wax model.
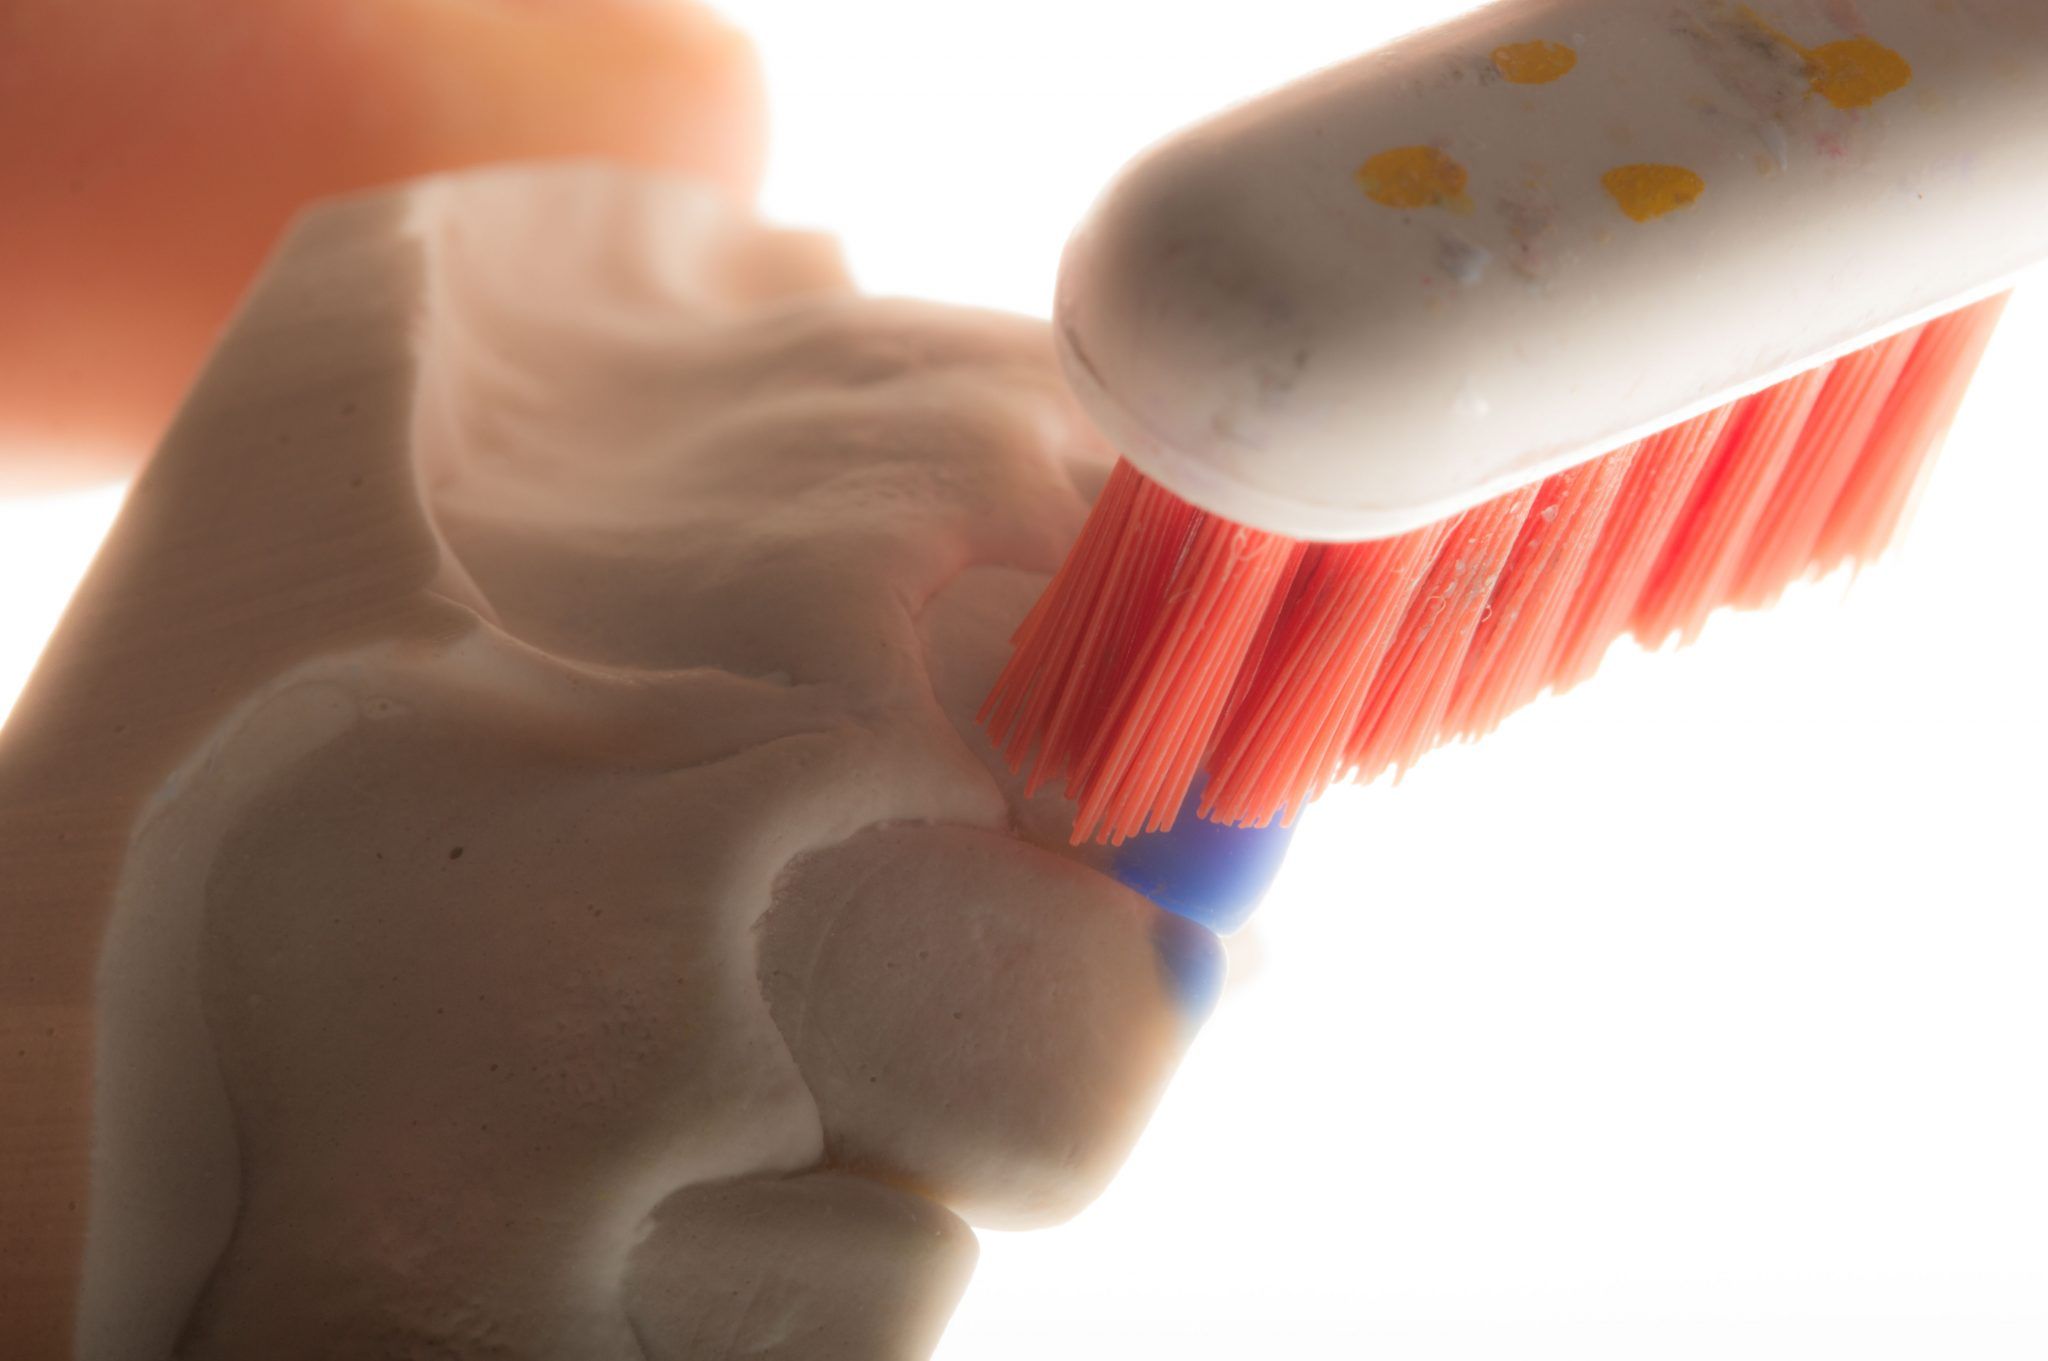
Photo 9. Quick care for a wax model.
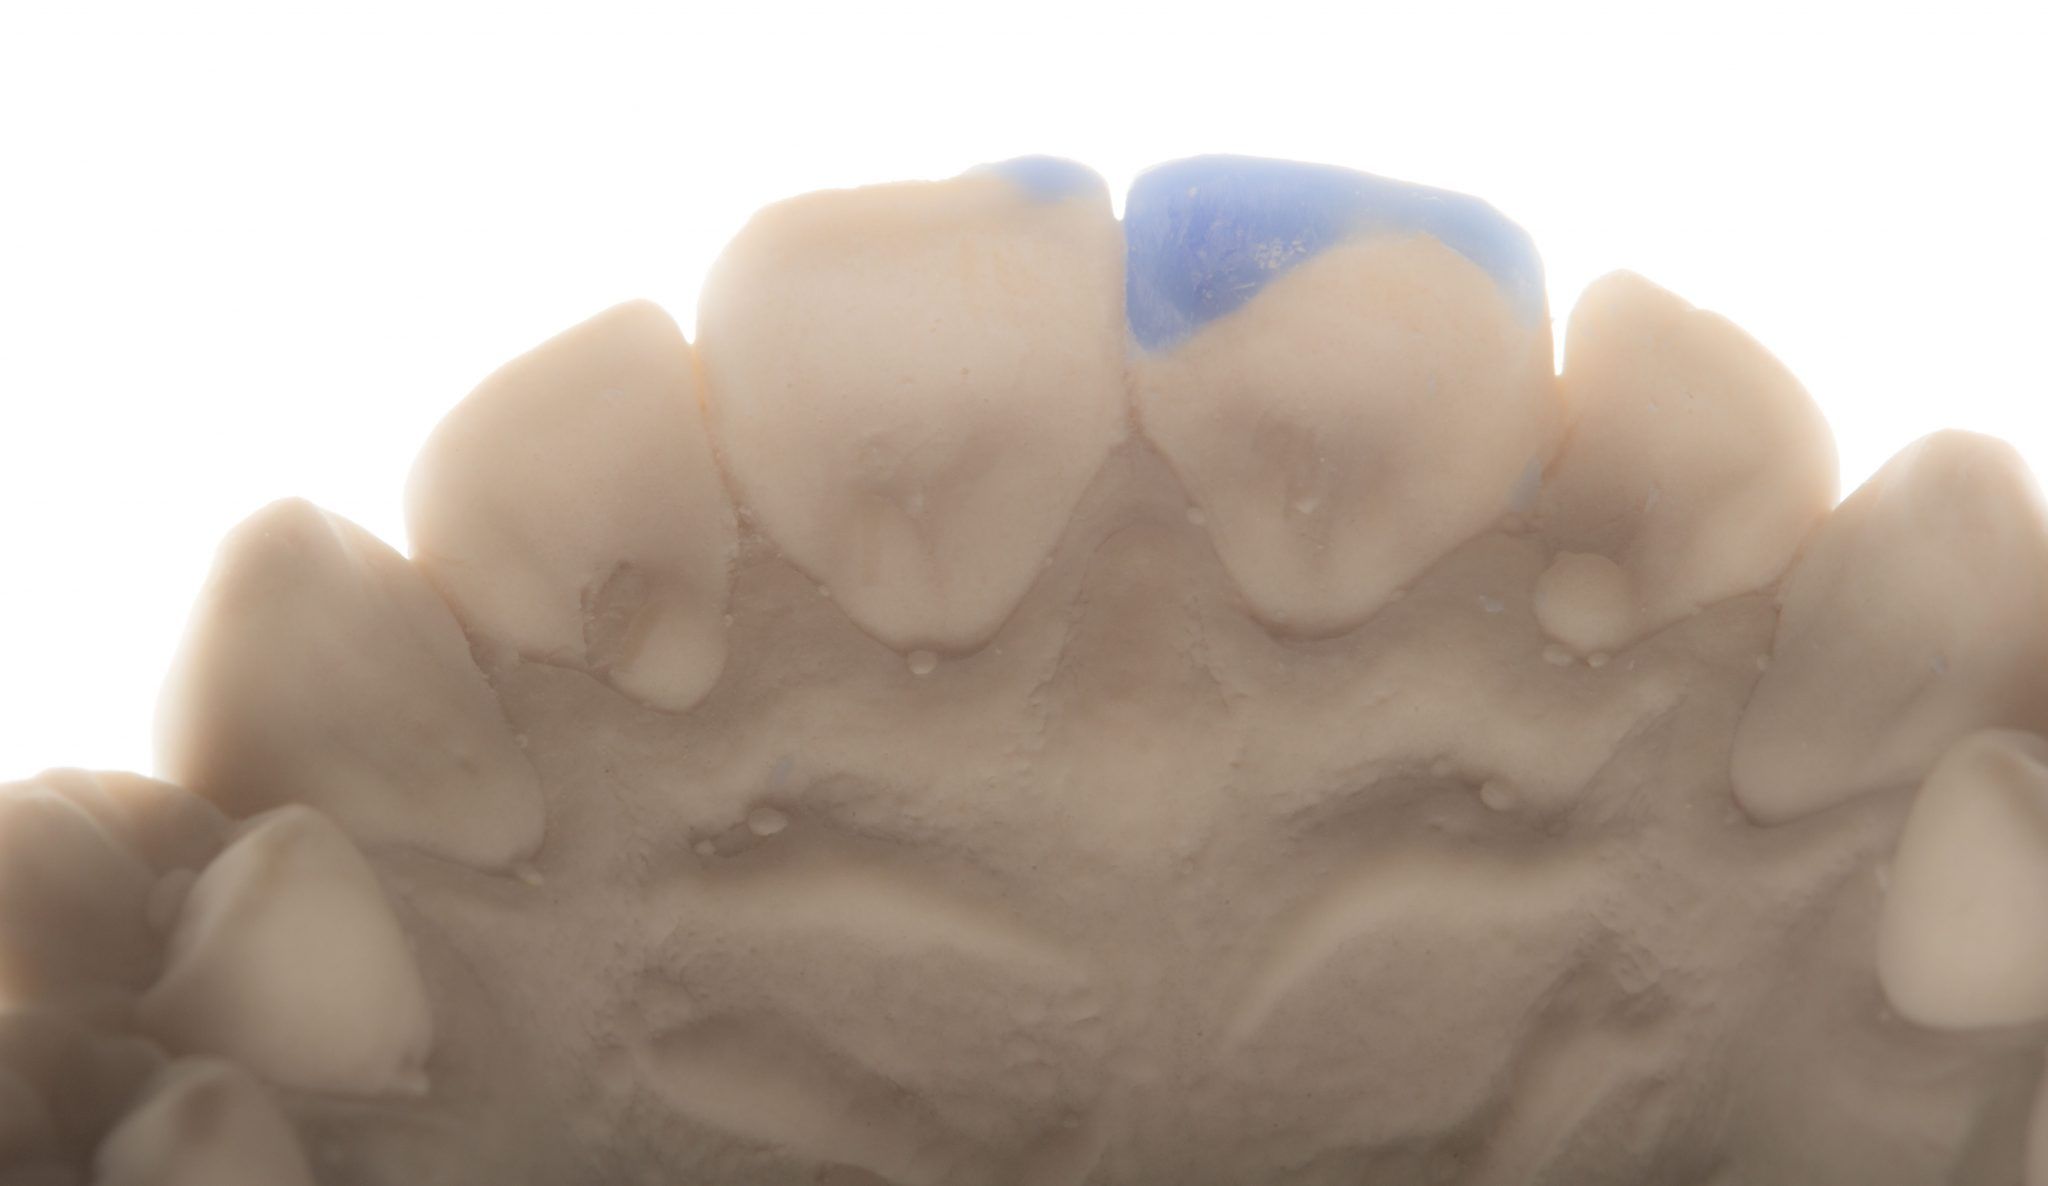
Photo 10. After caring for the wax model on the palatal surface.
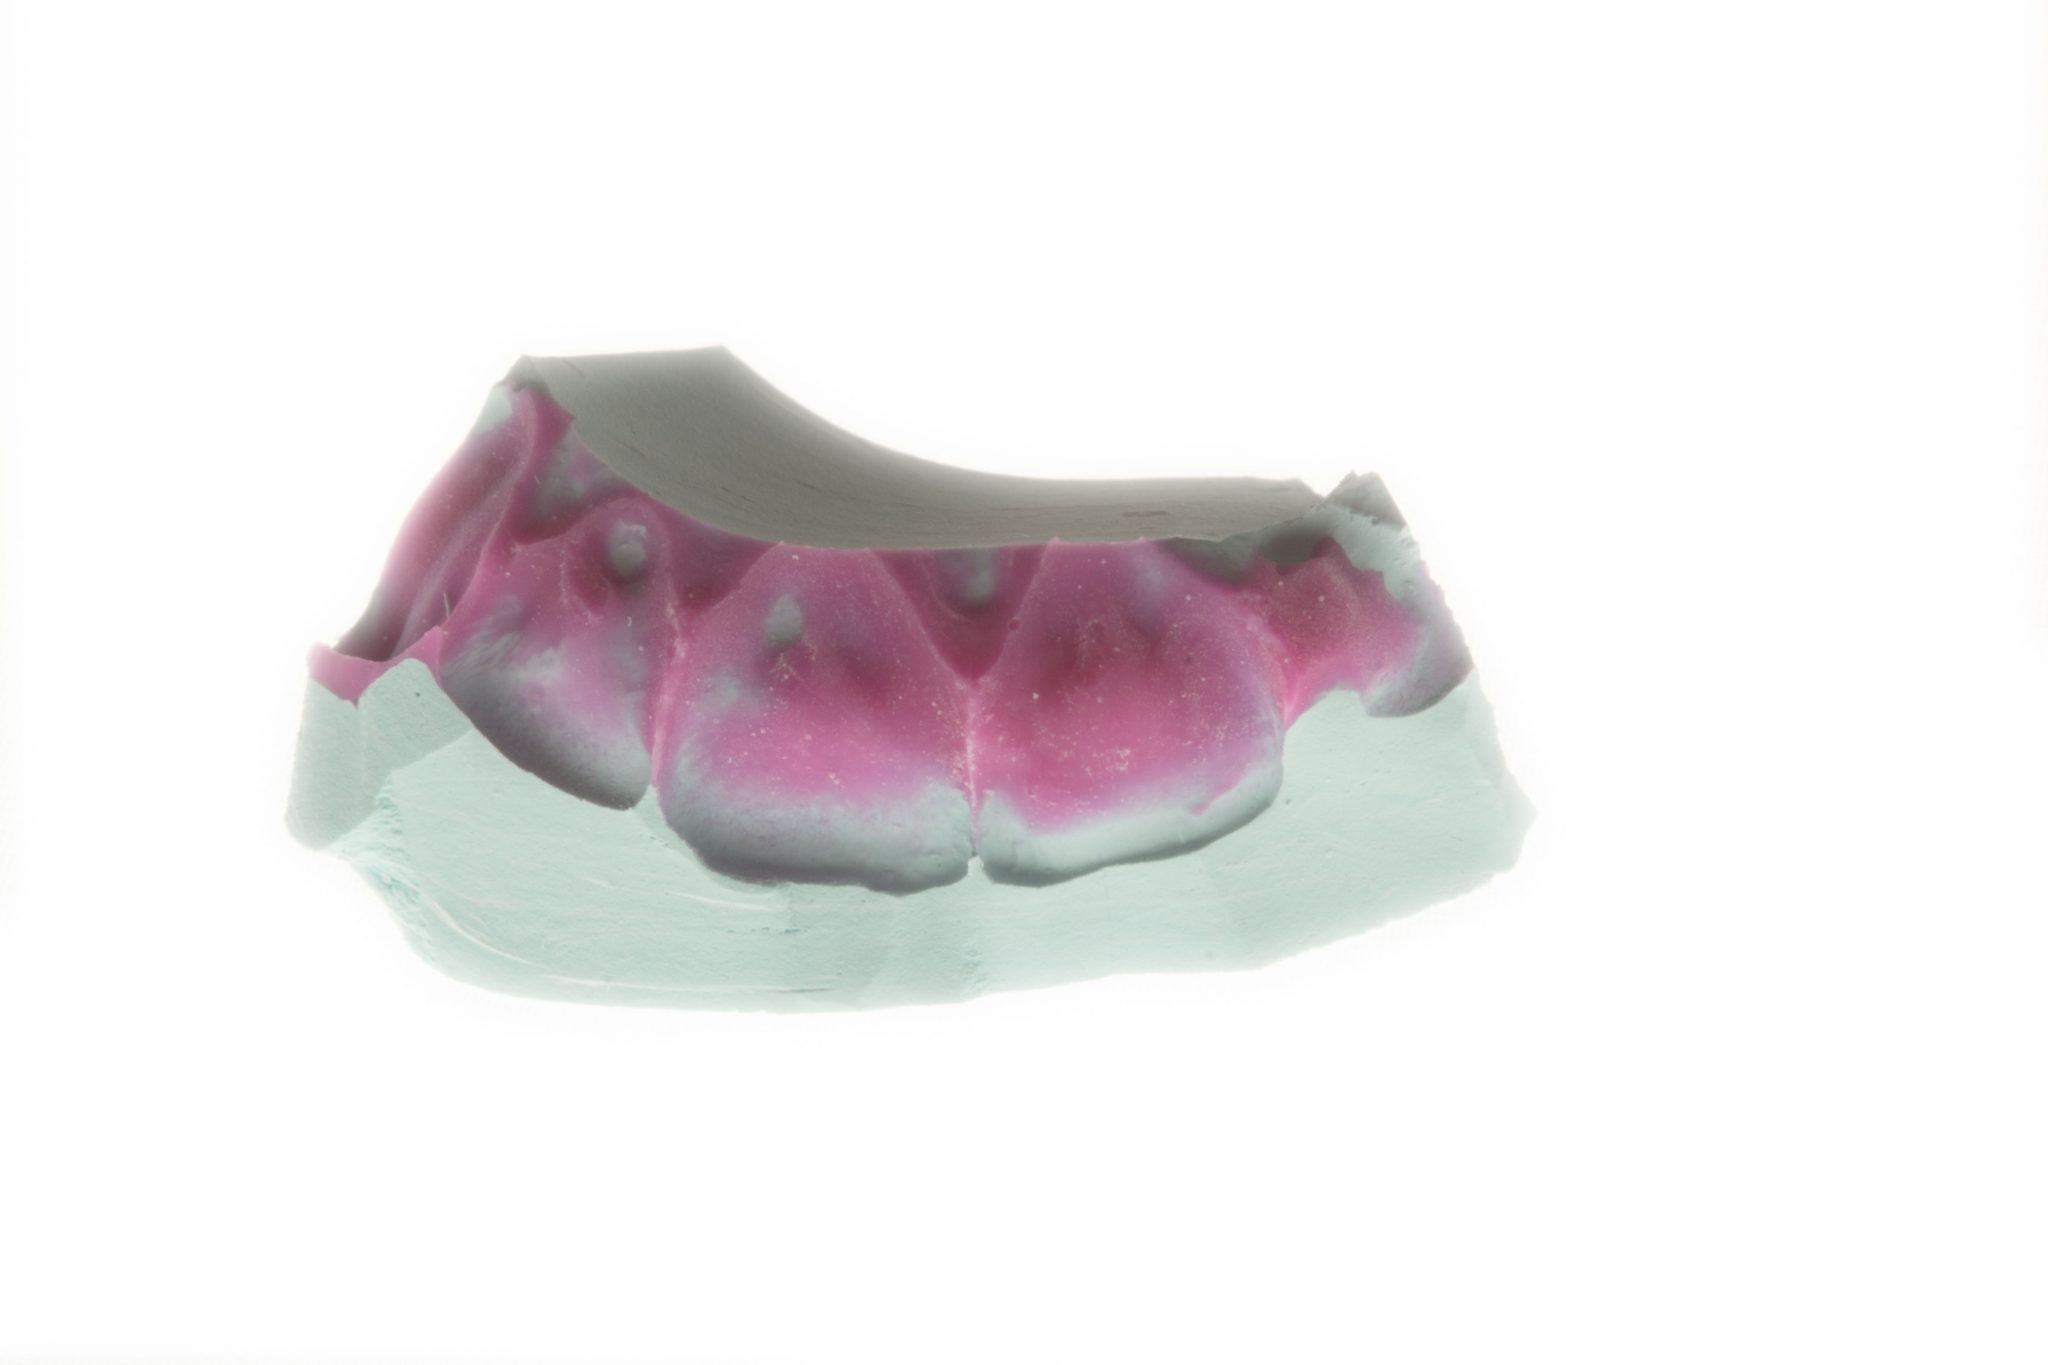
Photo 11. Silicone key.
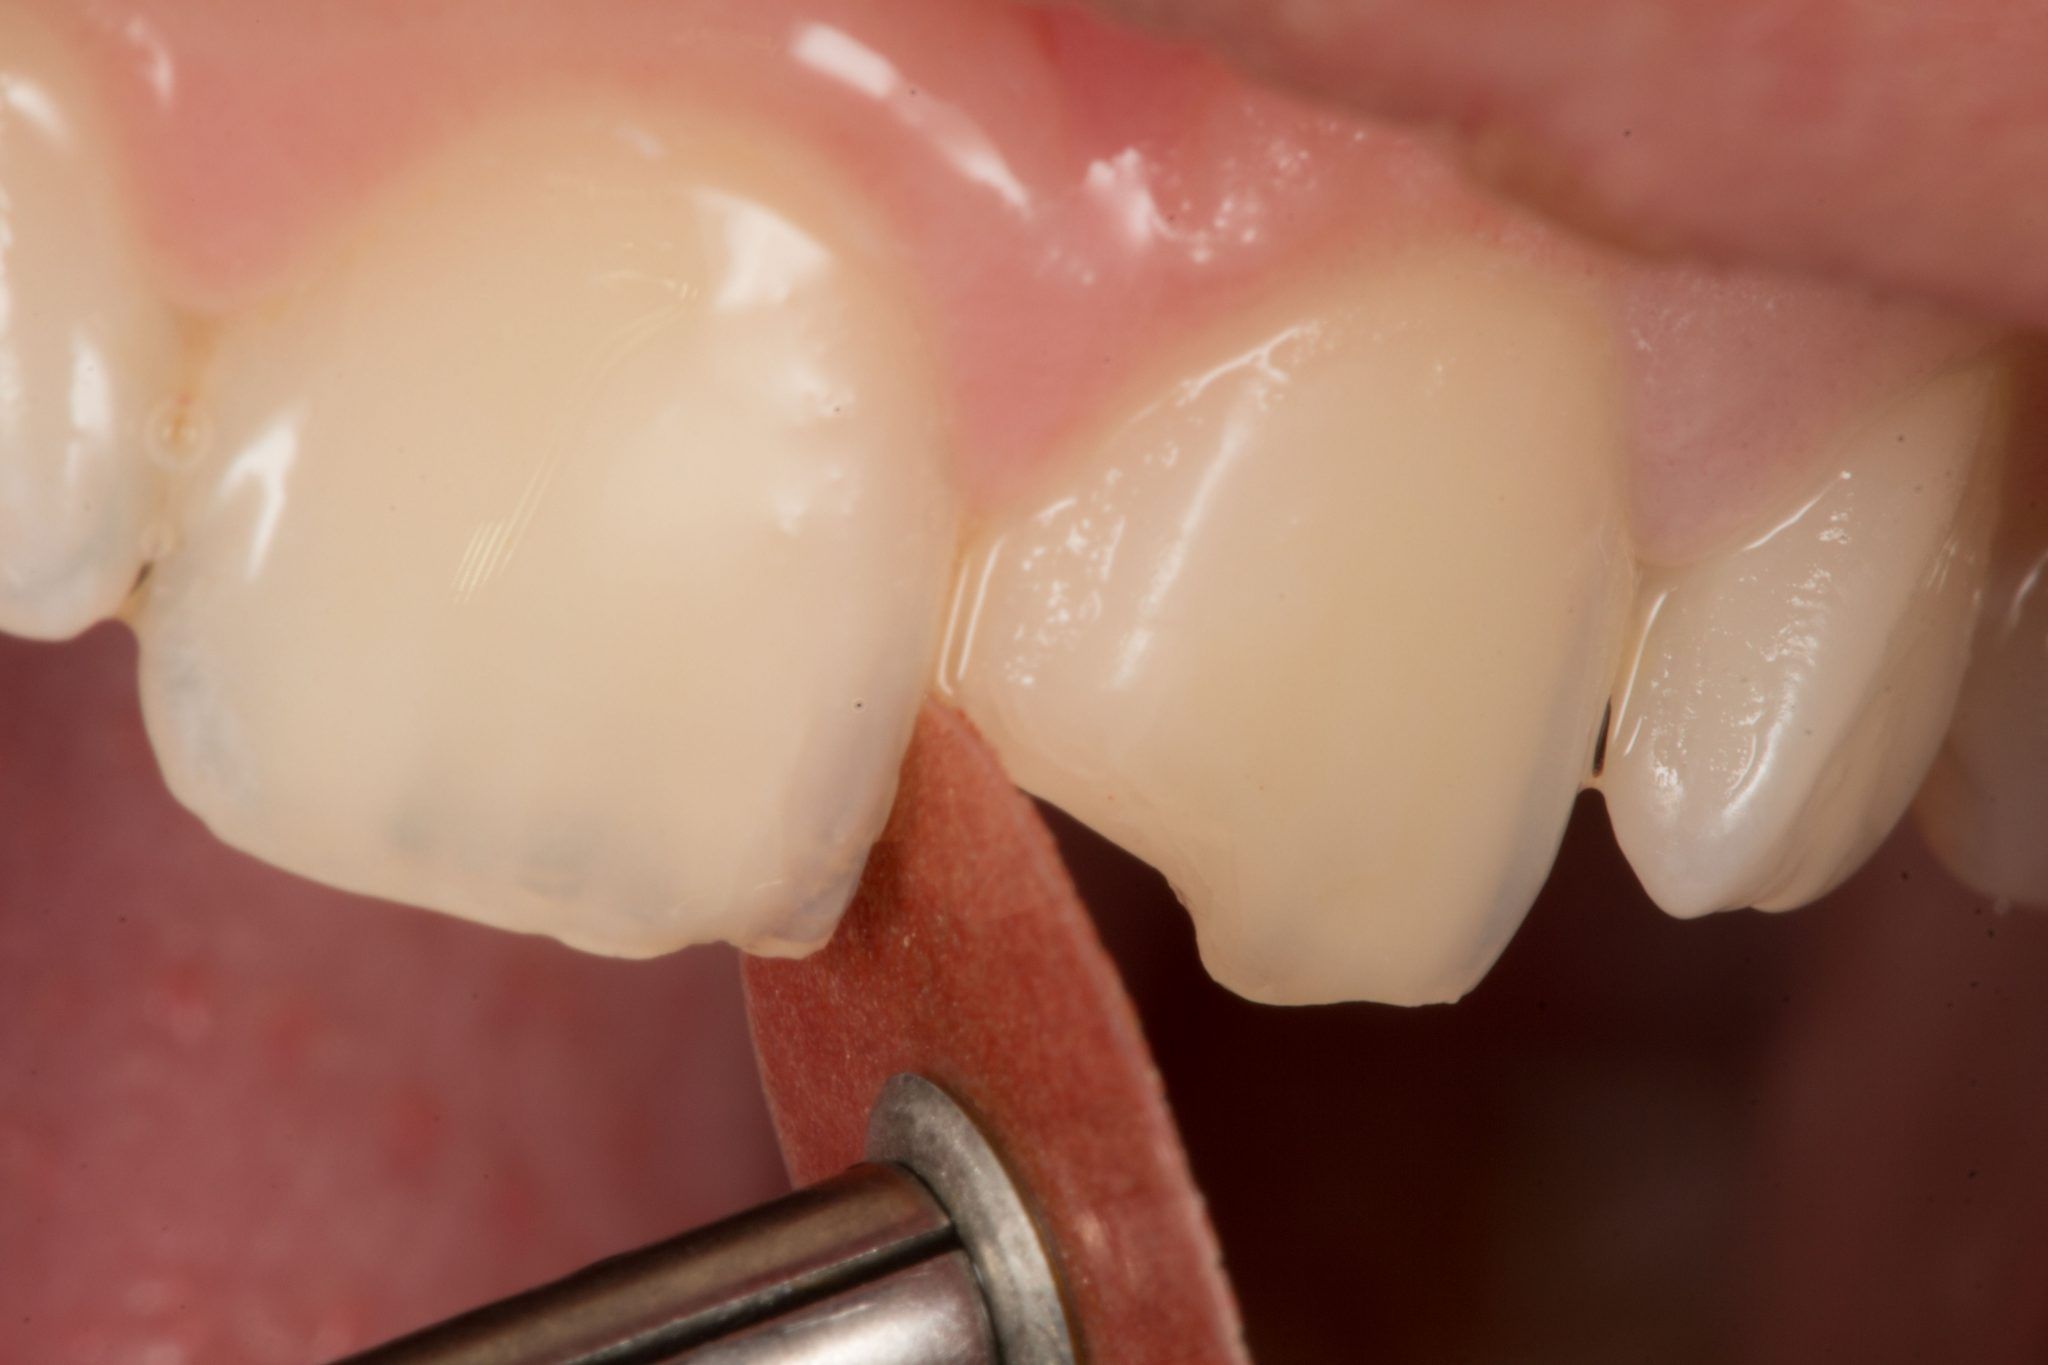
Photo 12. We continued the restoration stage by rounding the corners with an aluminum oxide disc.
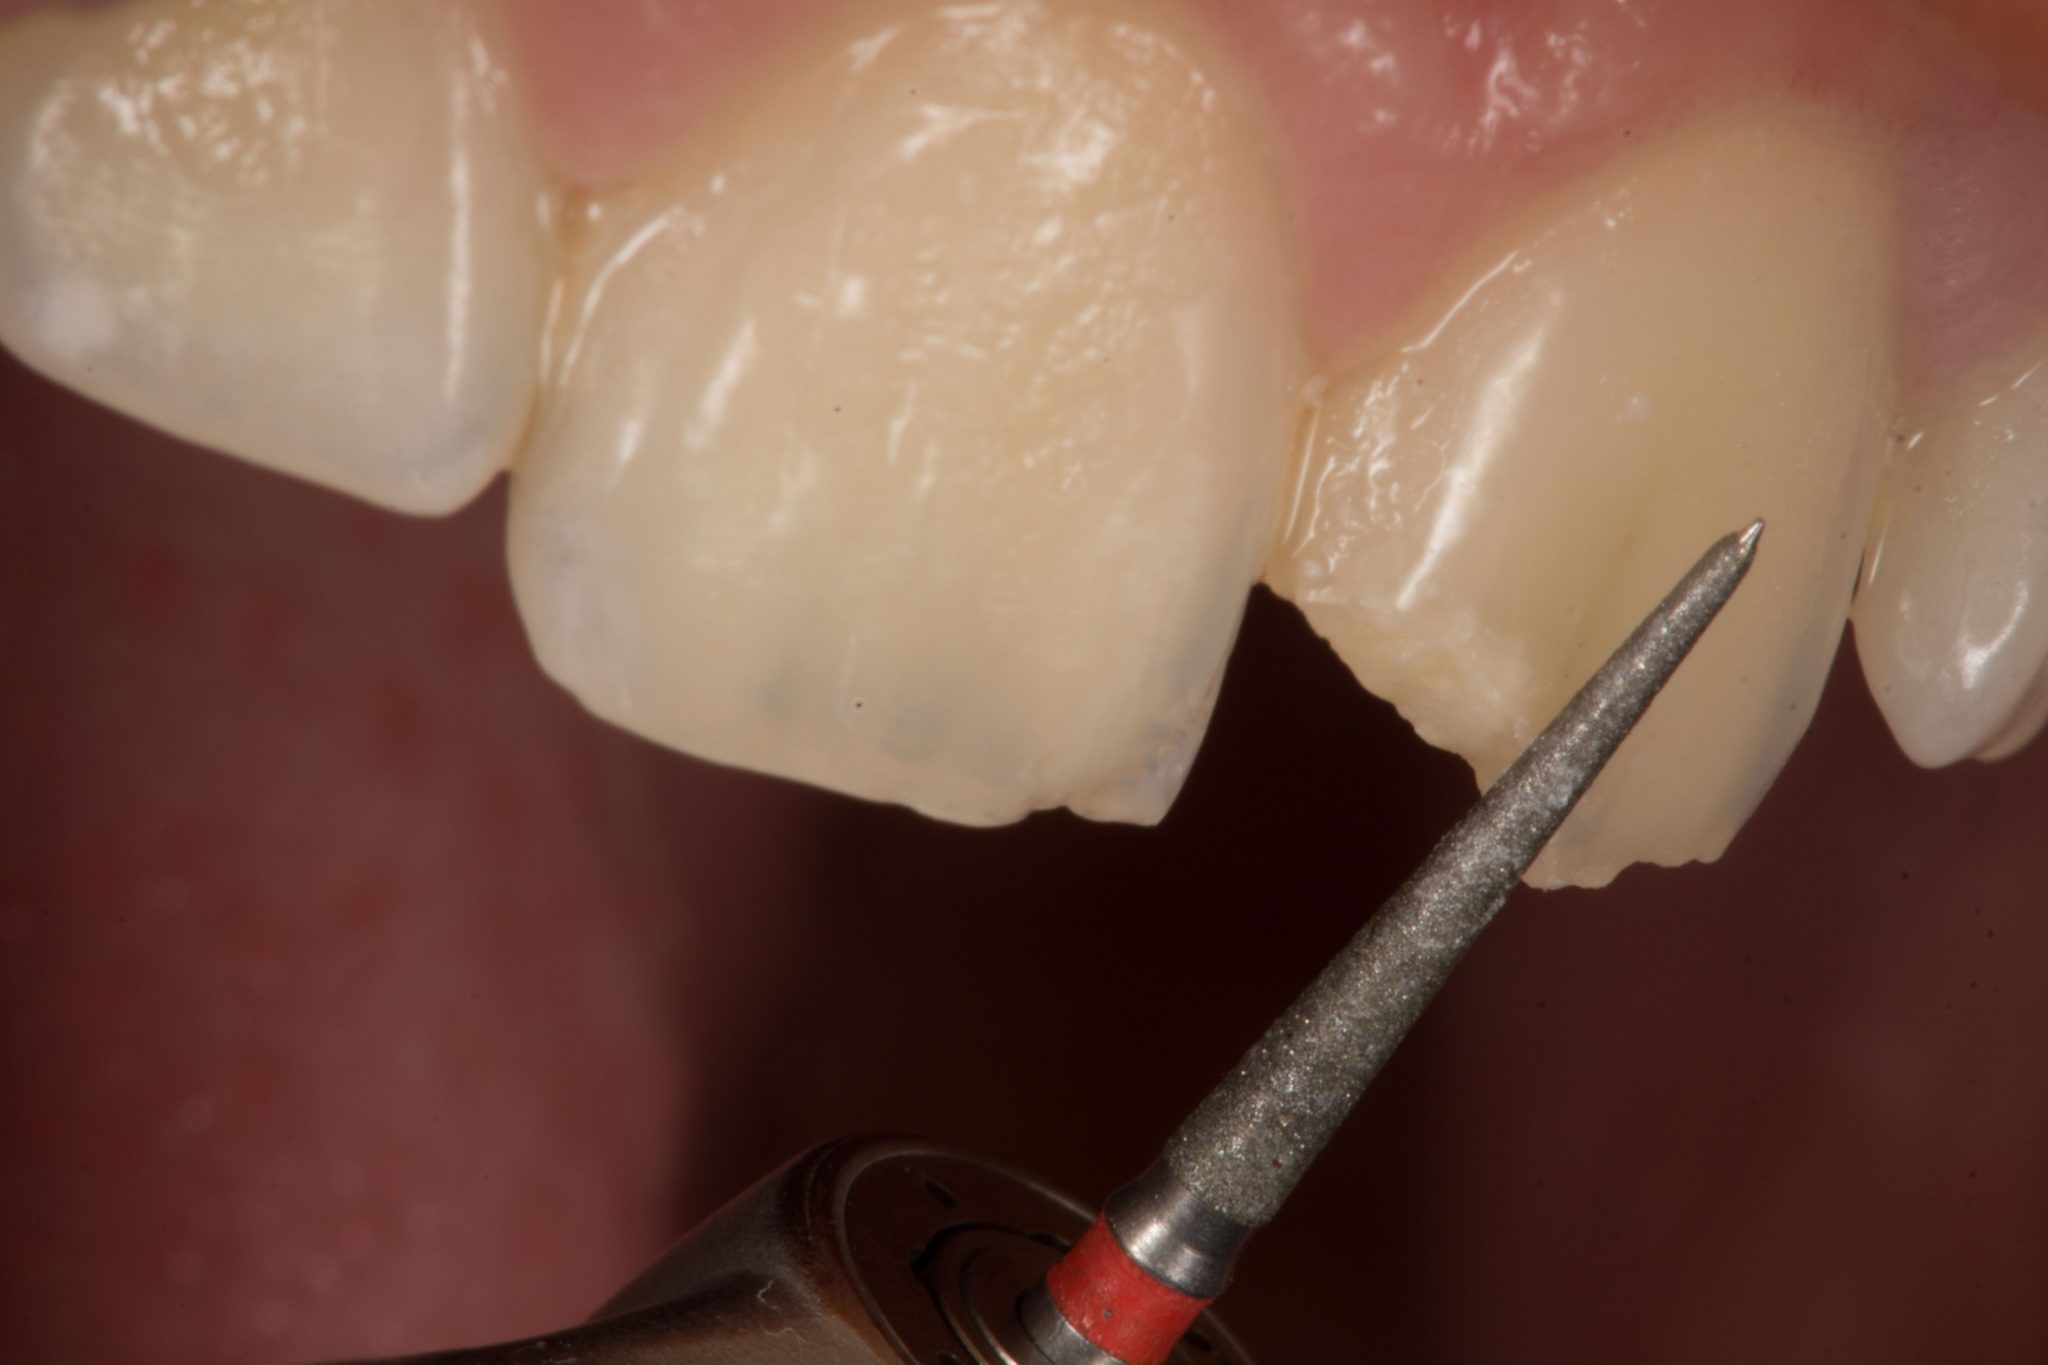
Photo 13. Creating a small bevel and eliminating white cracks on the damaged enamel.
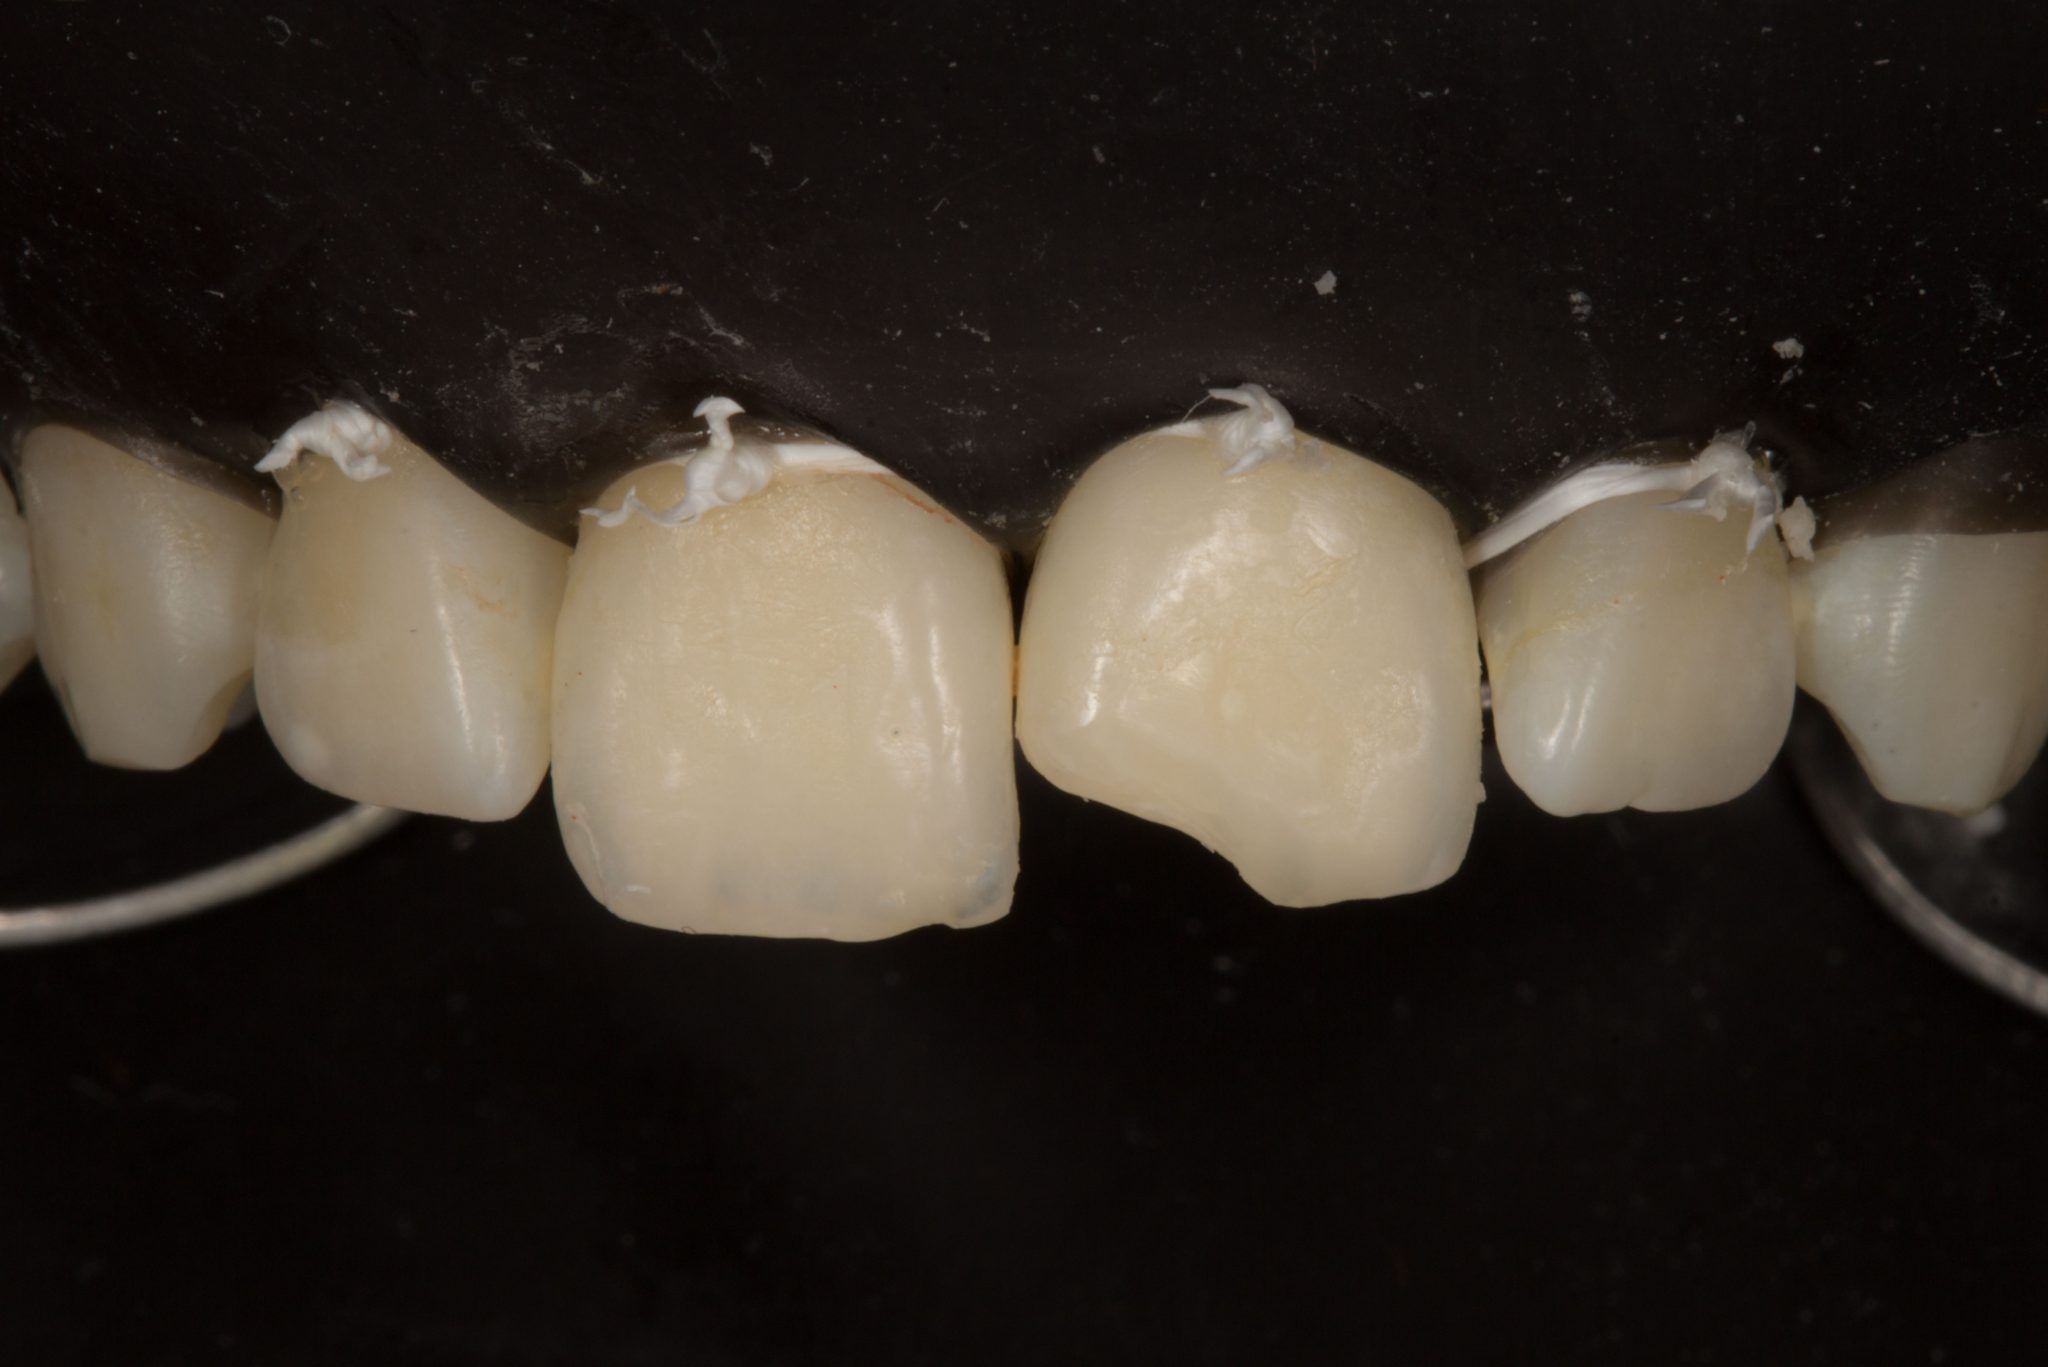
Photo 14. After this, we isolate the work area.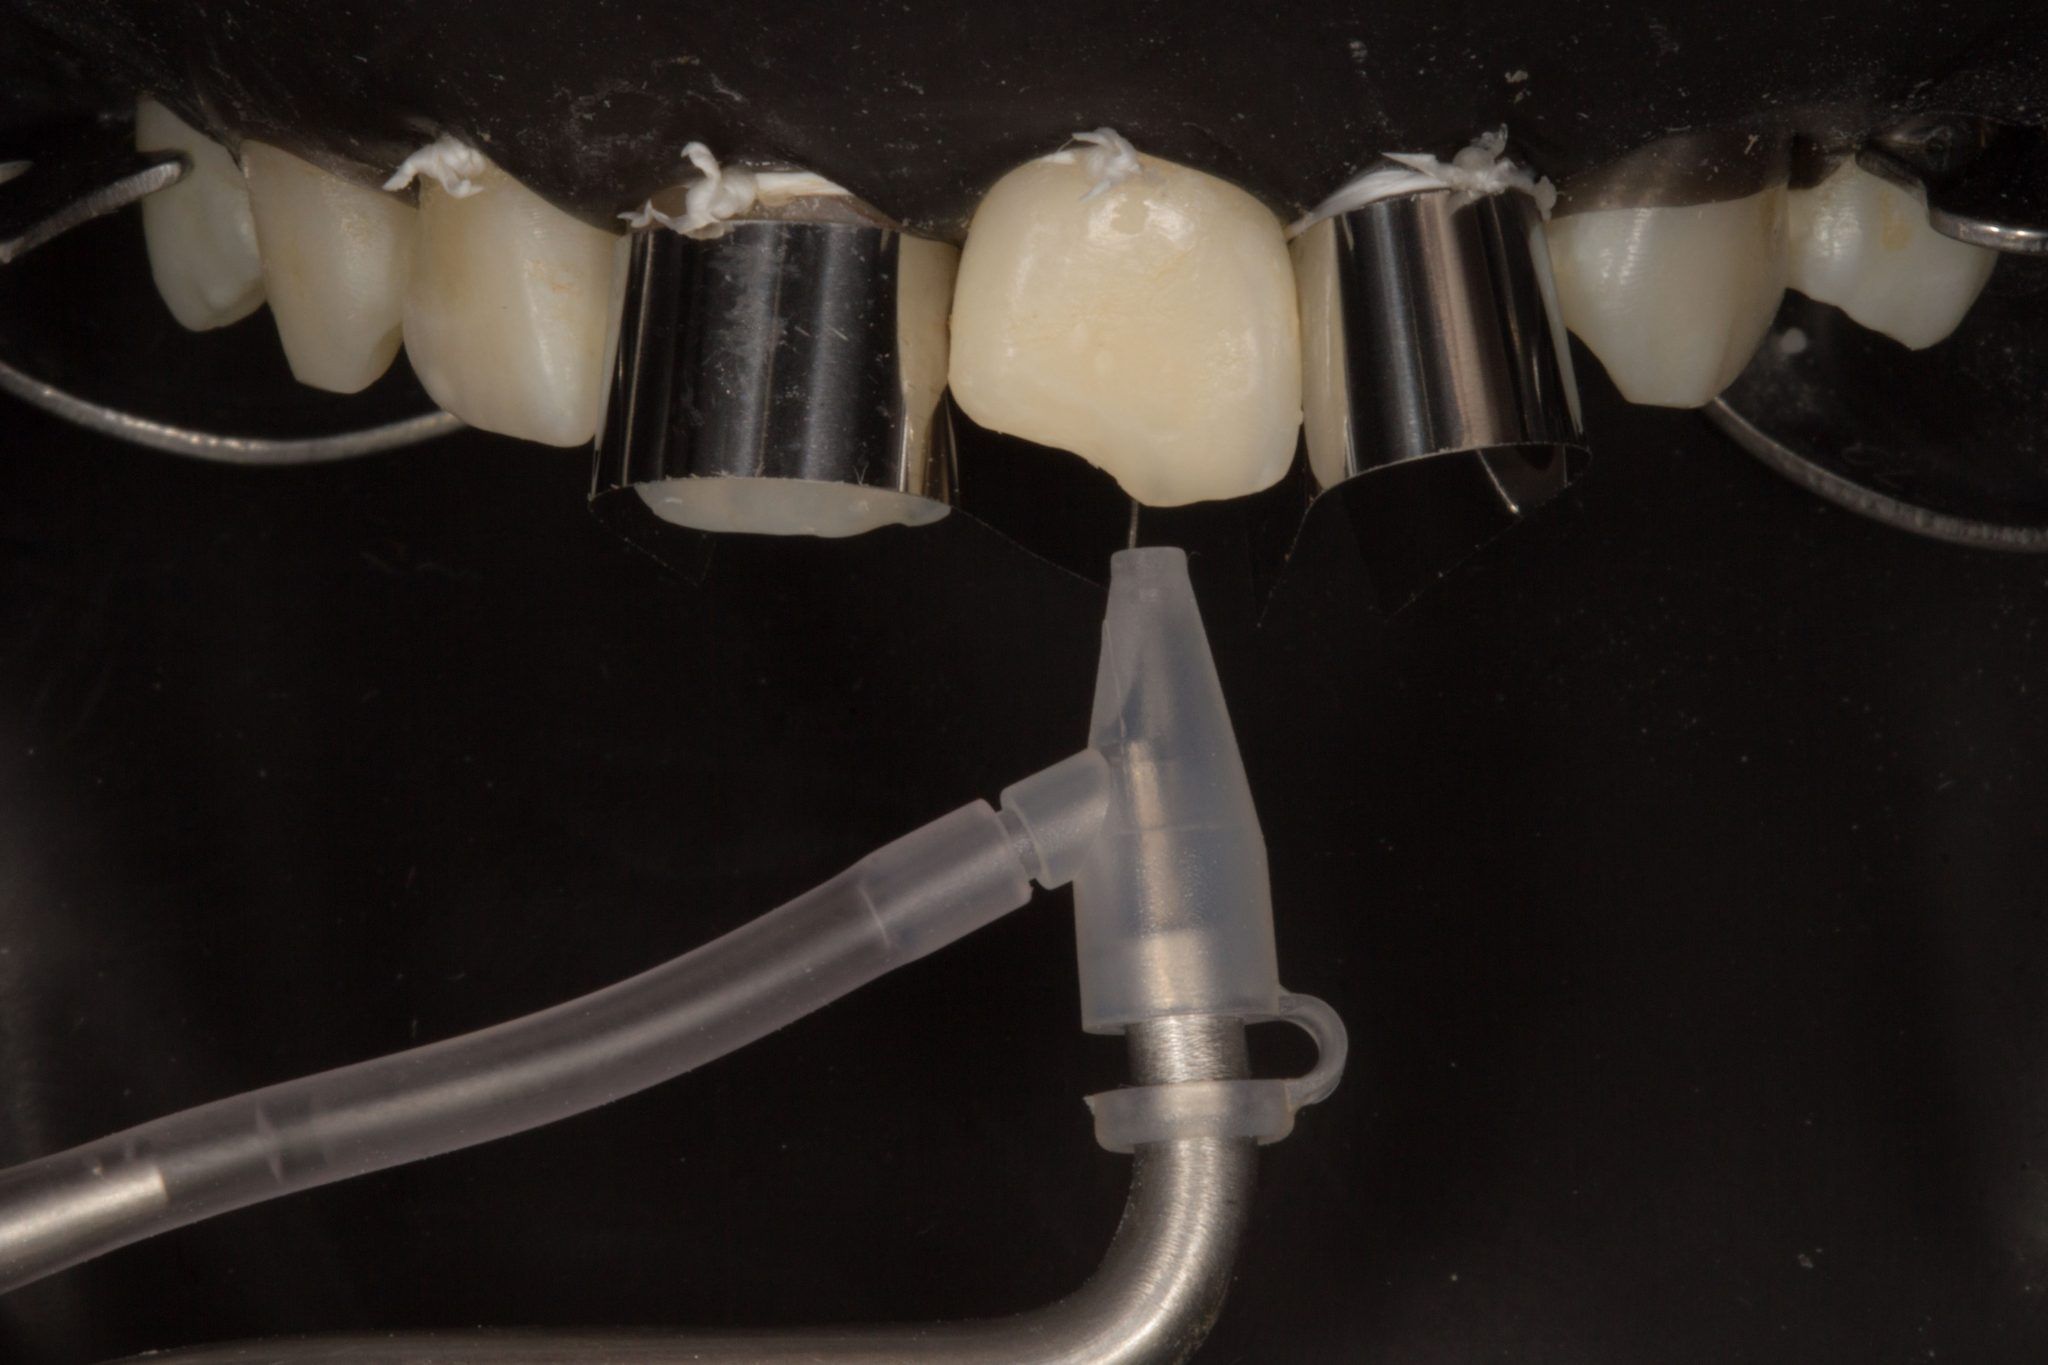
Photo 15. The adjacent neighboring teeth were protected during the sandblasting treatment using 29 micron aluminum oxide particles
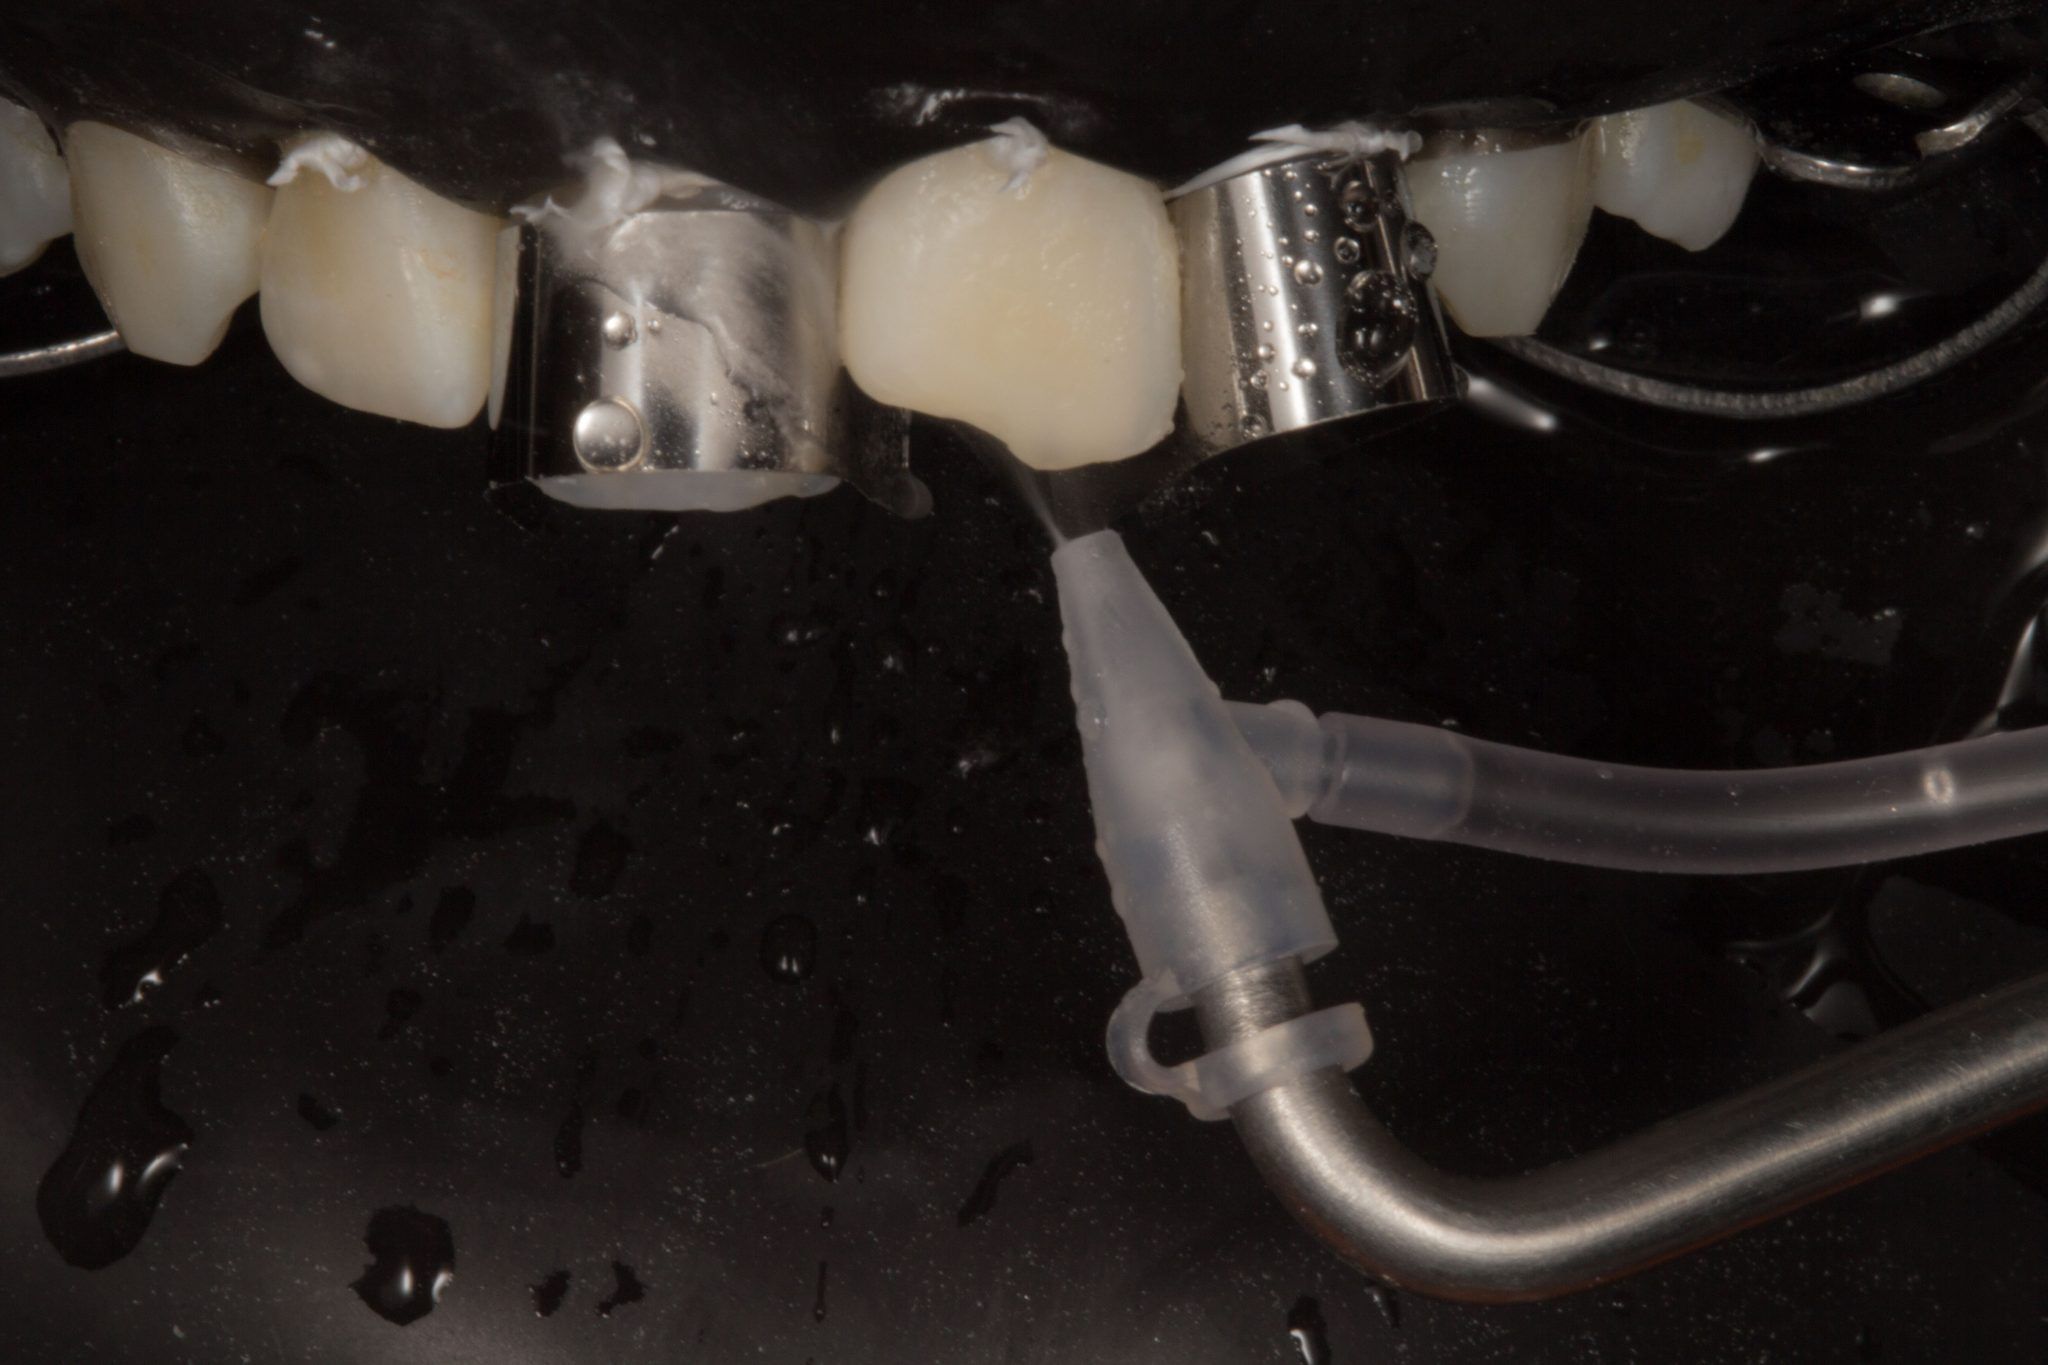
Photo 16. Pressure and water are necessary for sandblasting.
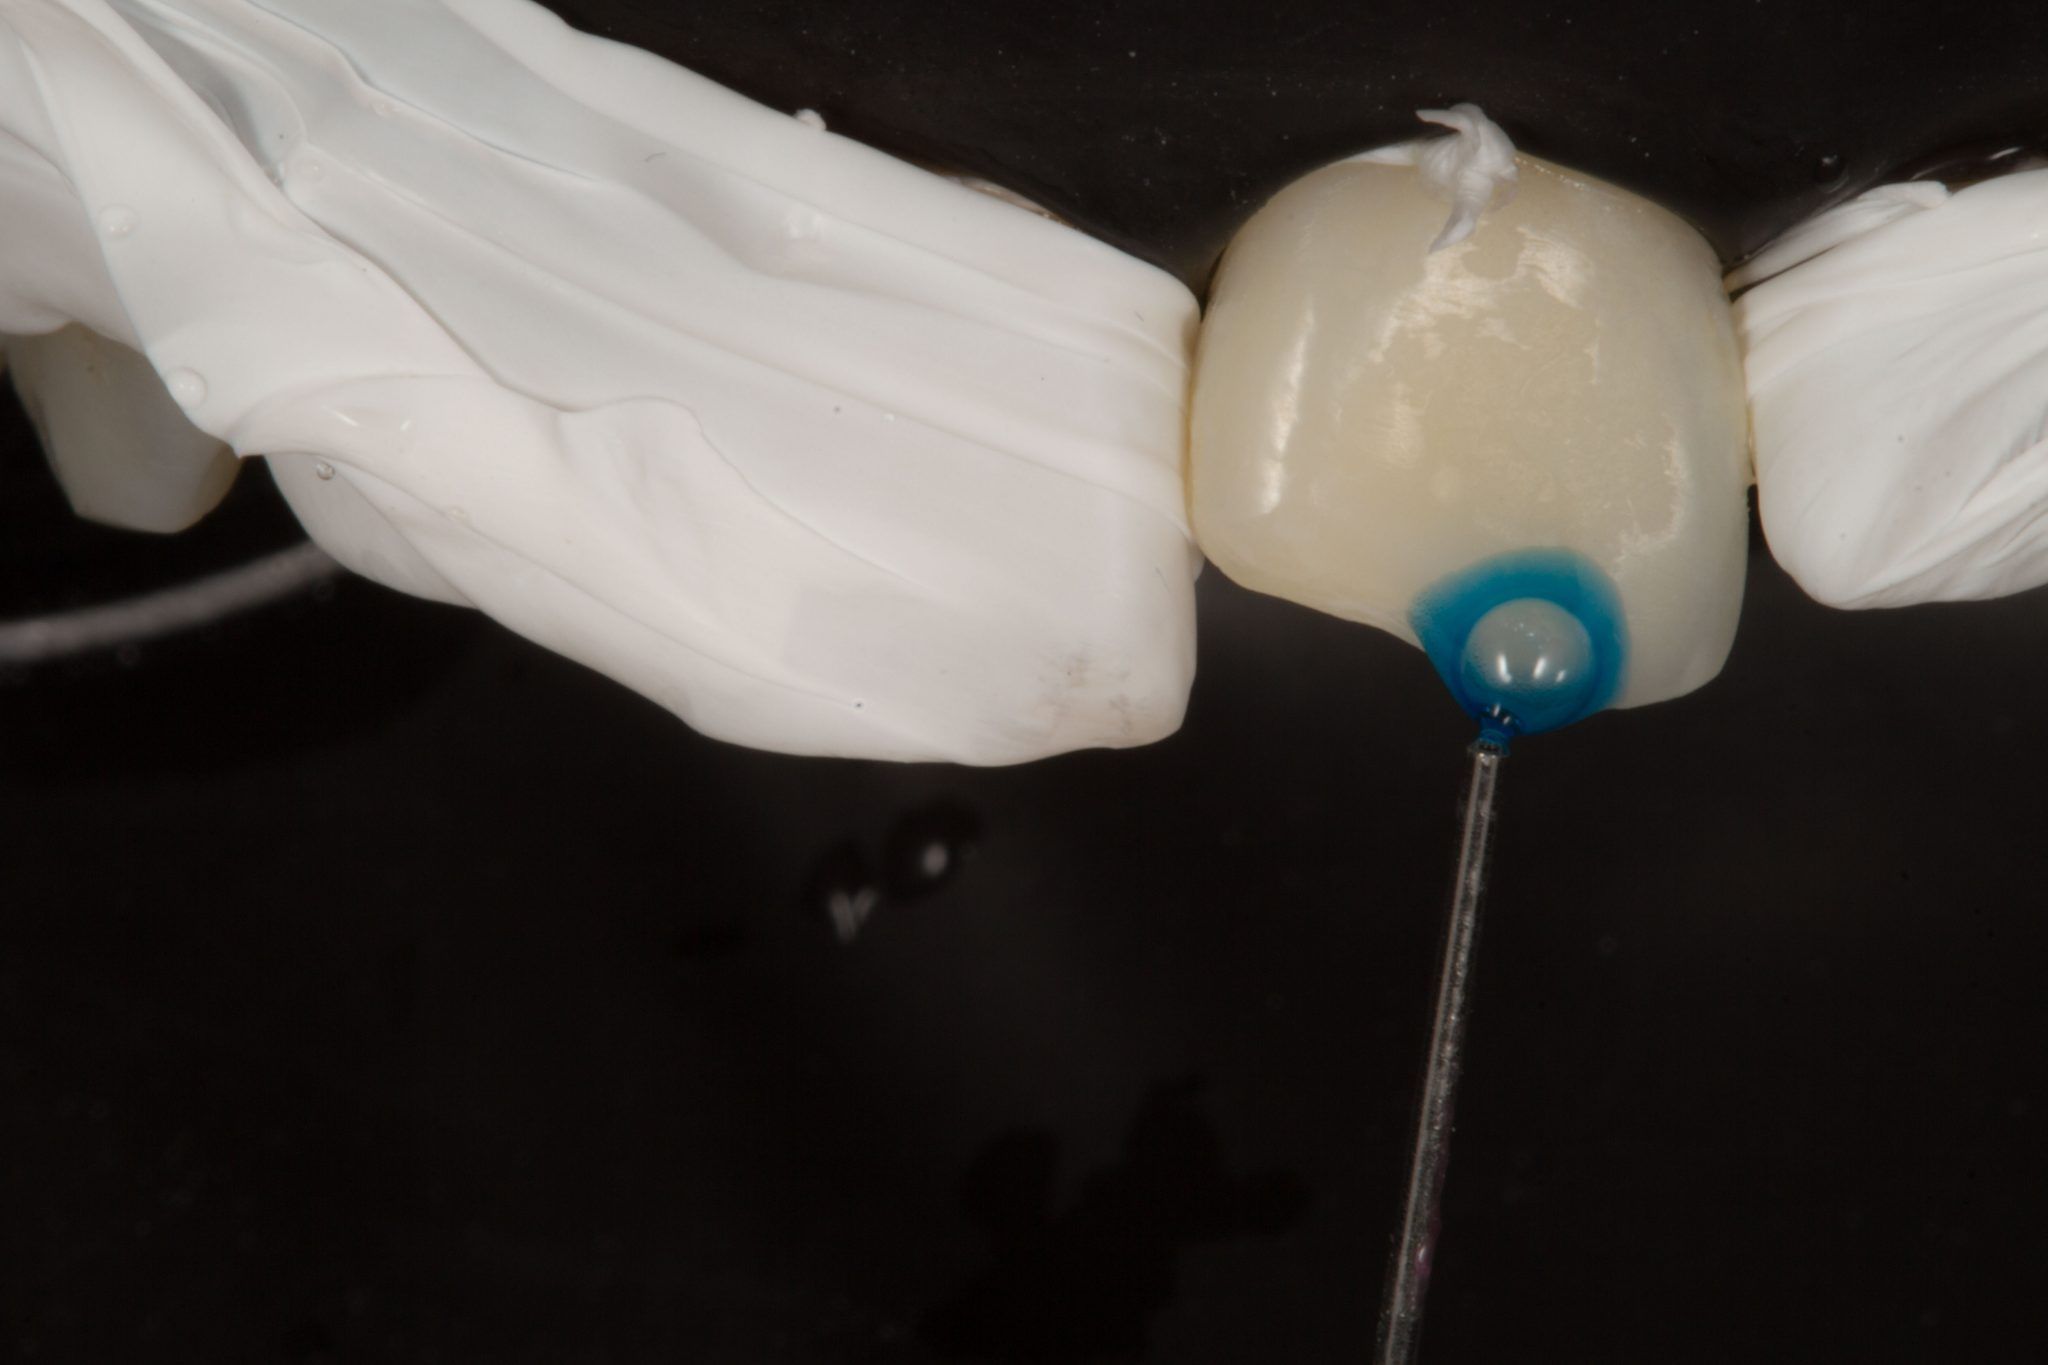
Photo 17. Etching with 37% orthophosphoric acid.
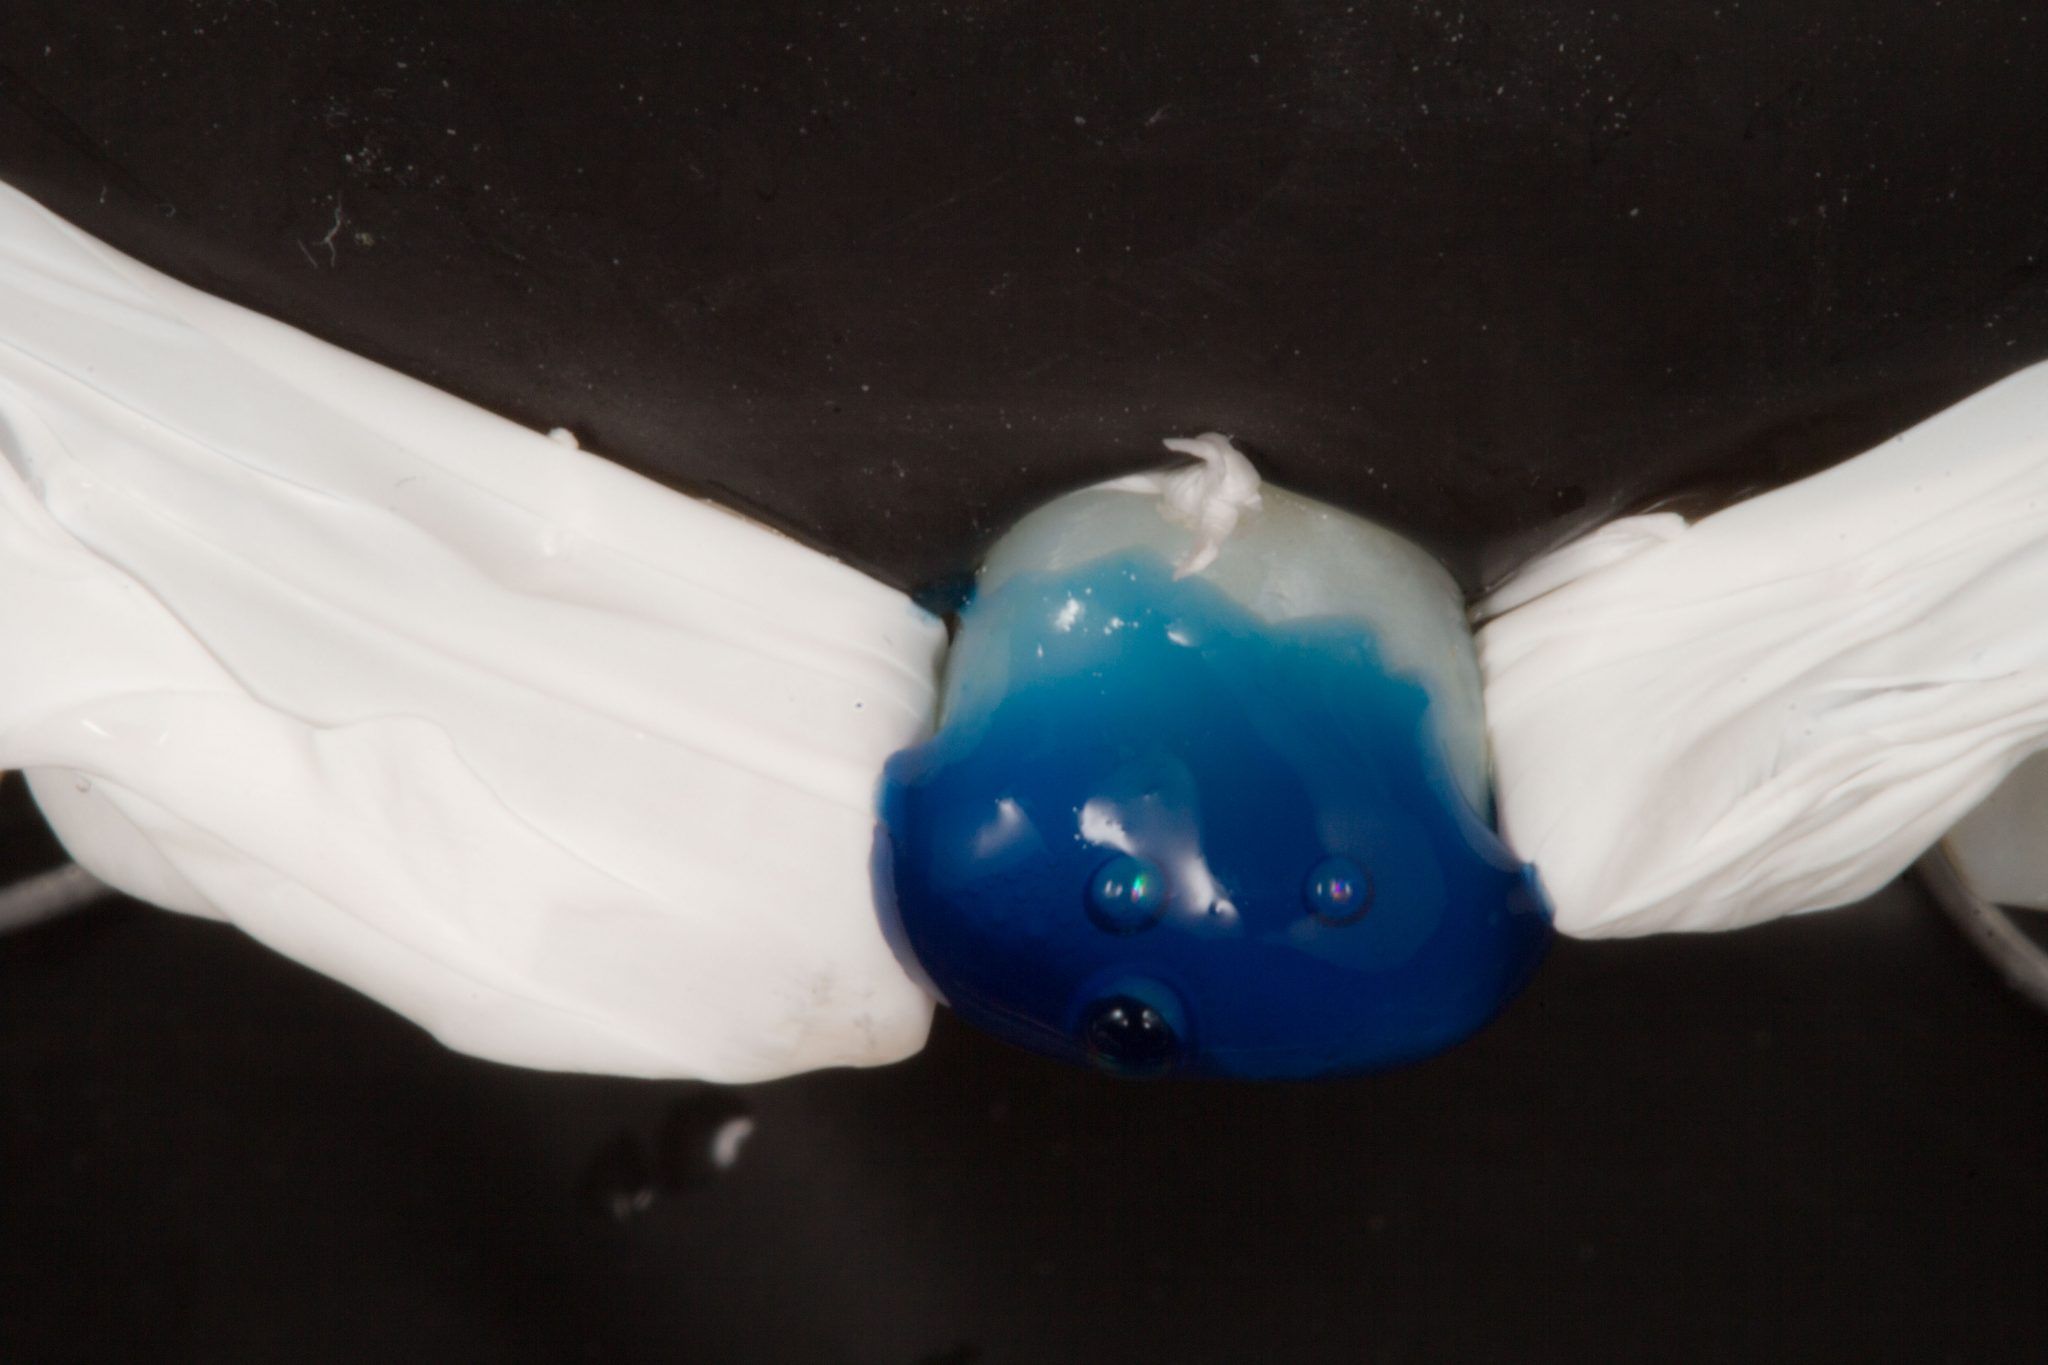
Photo 18. Far from the fault line.
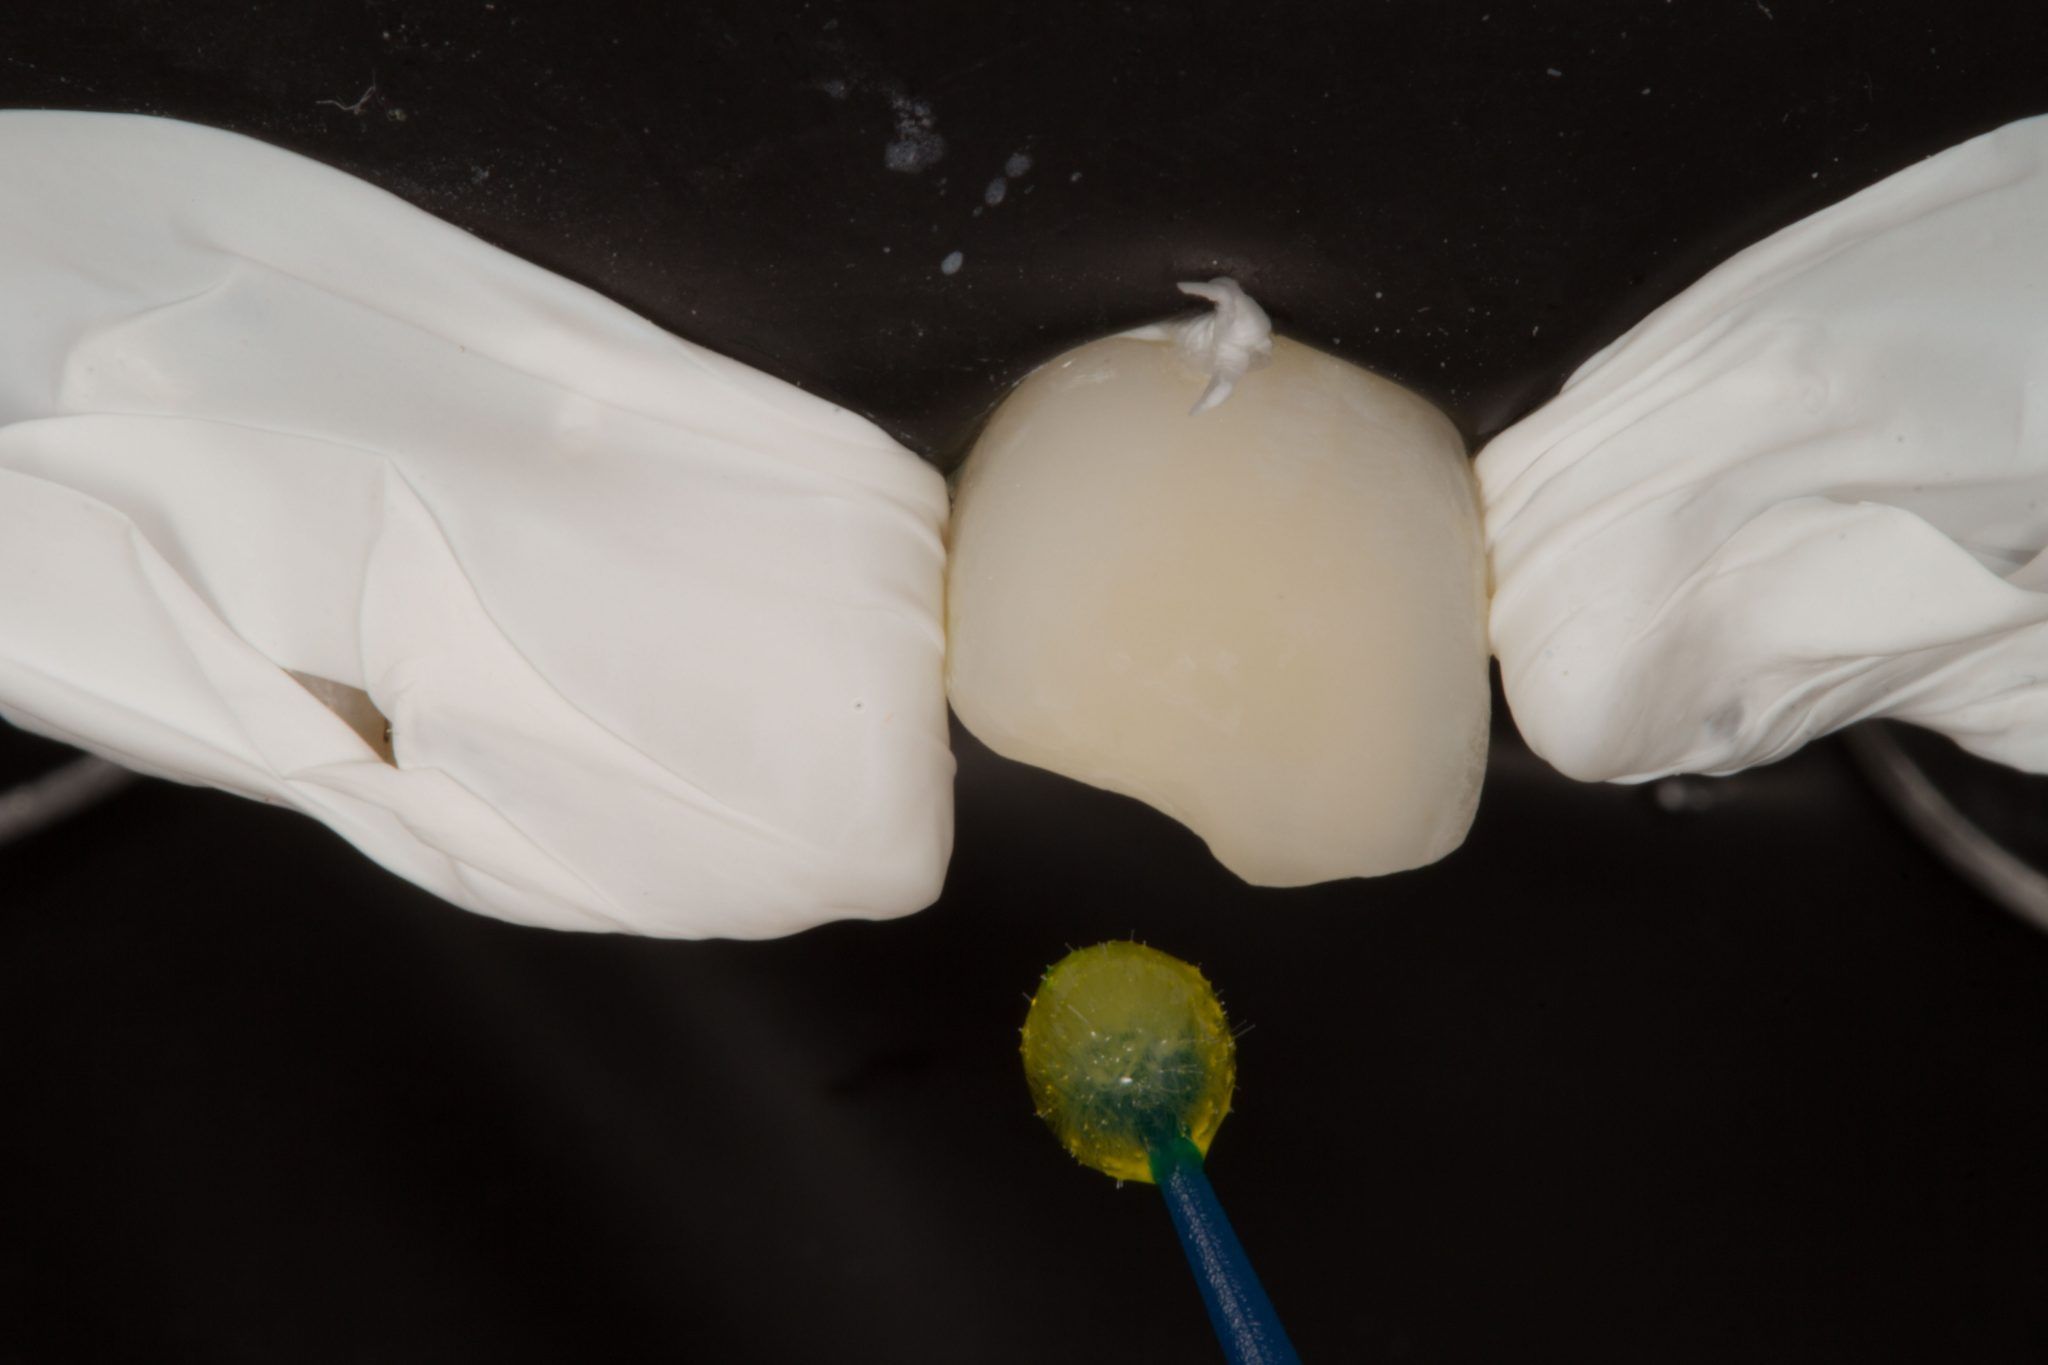
Photo 19. Universal adhesive system, applied in several layers.
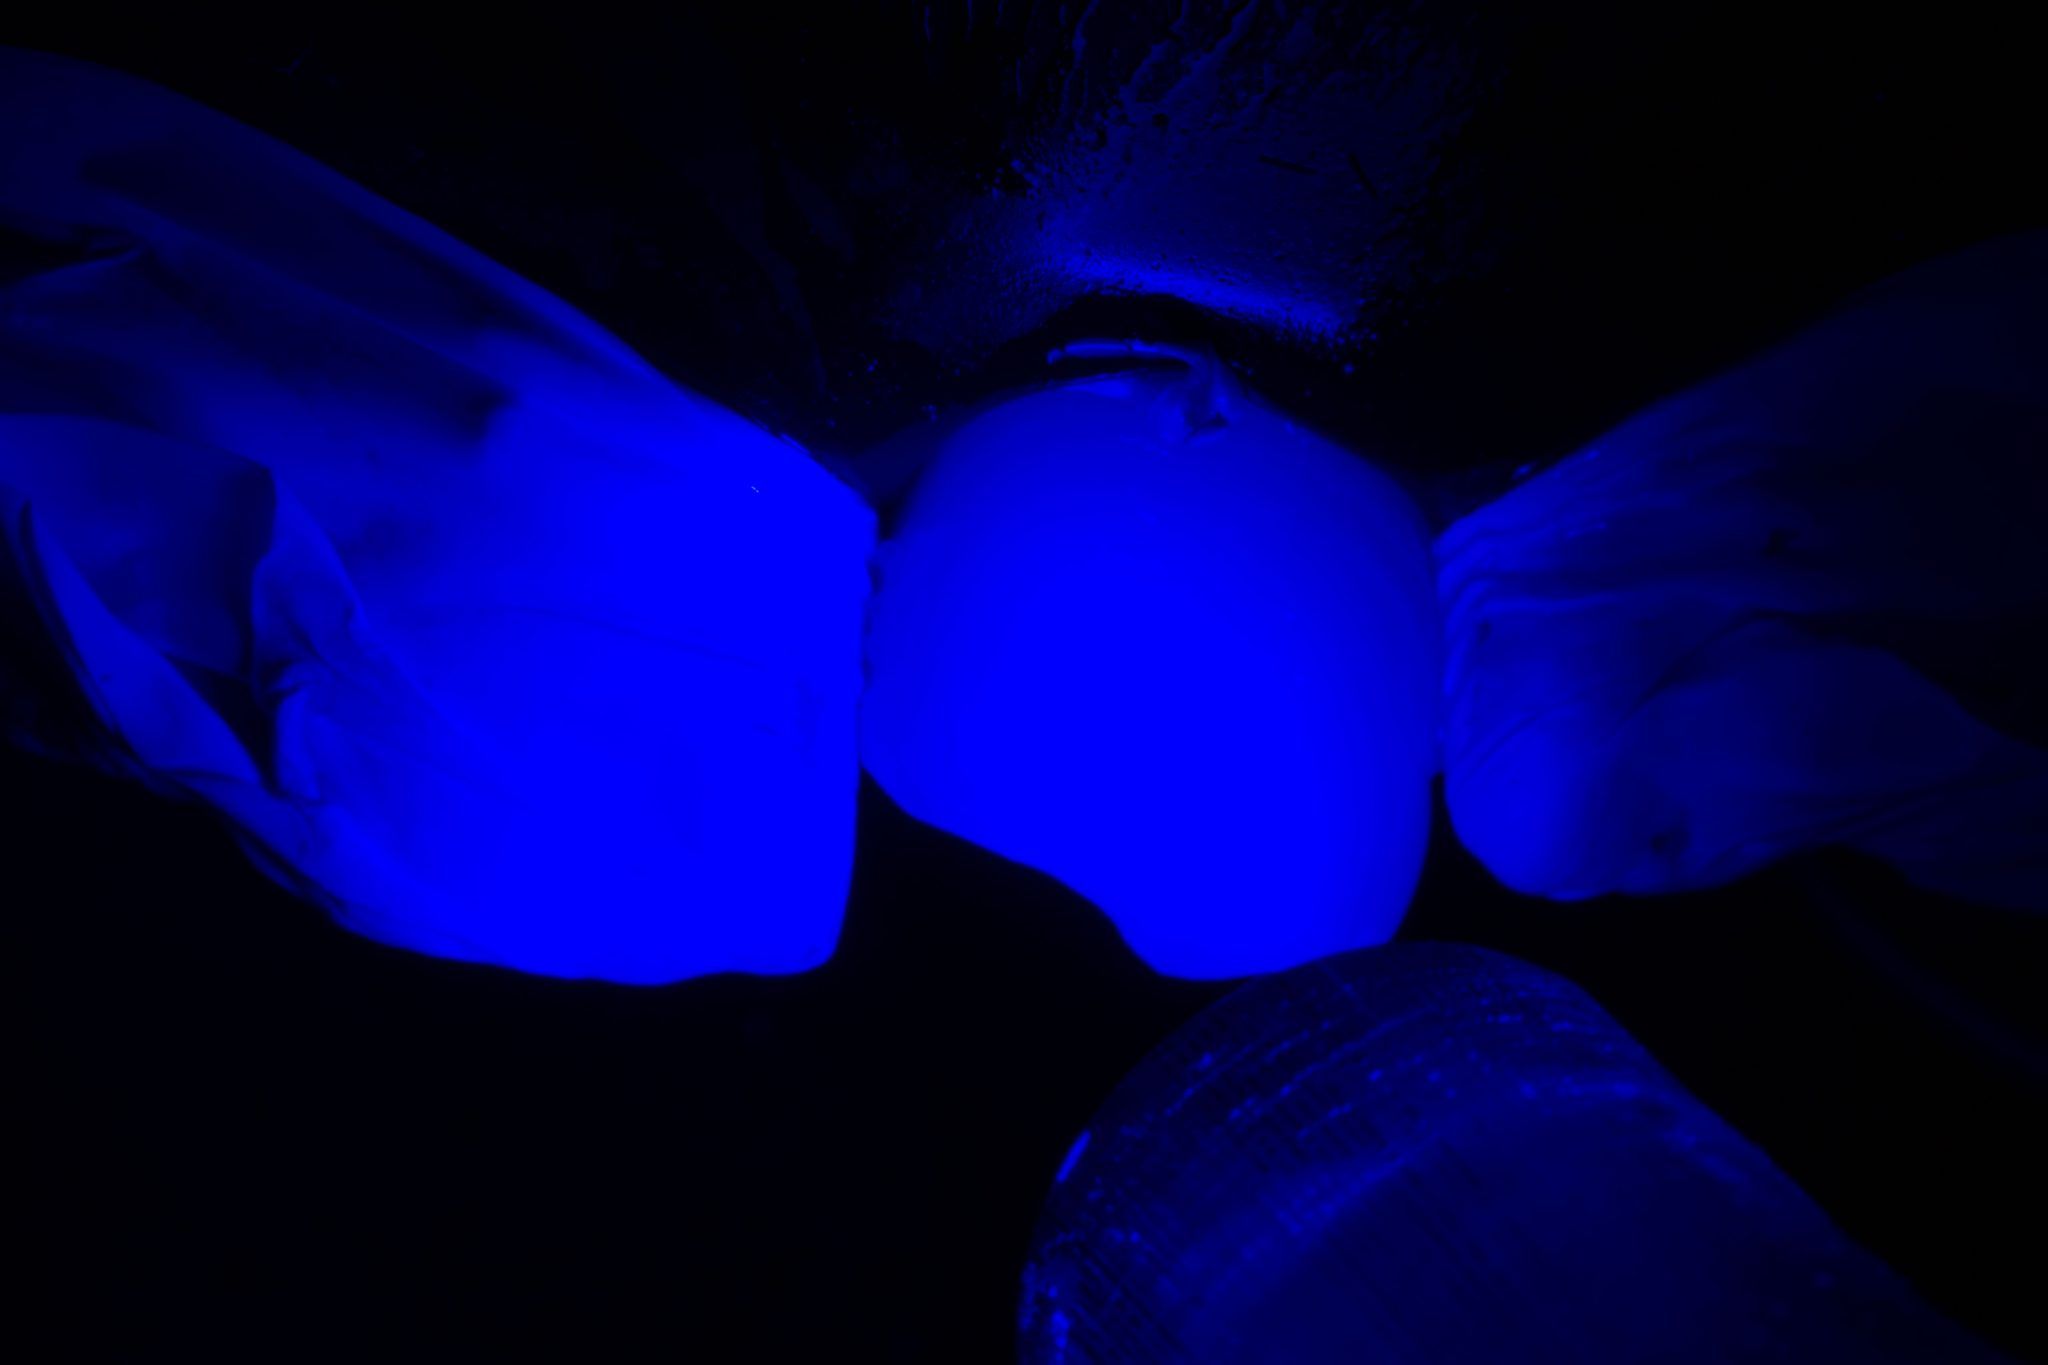
Photo 20. Photopolymerization.
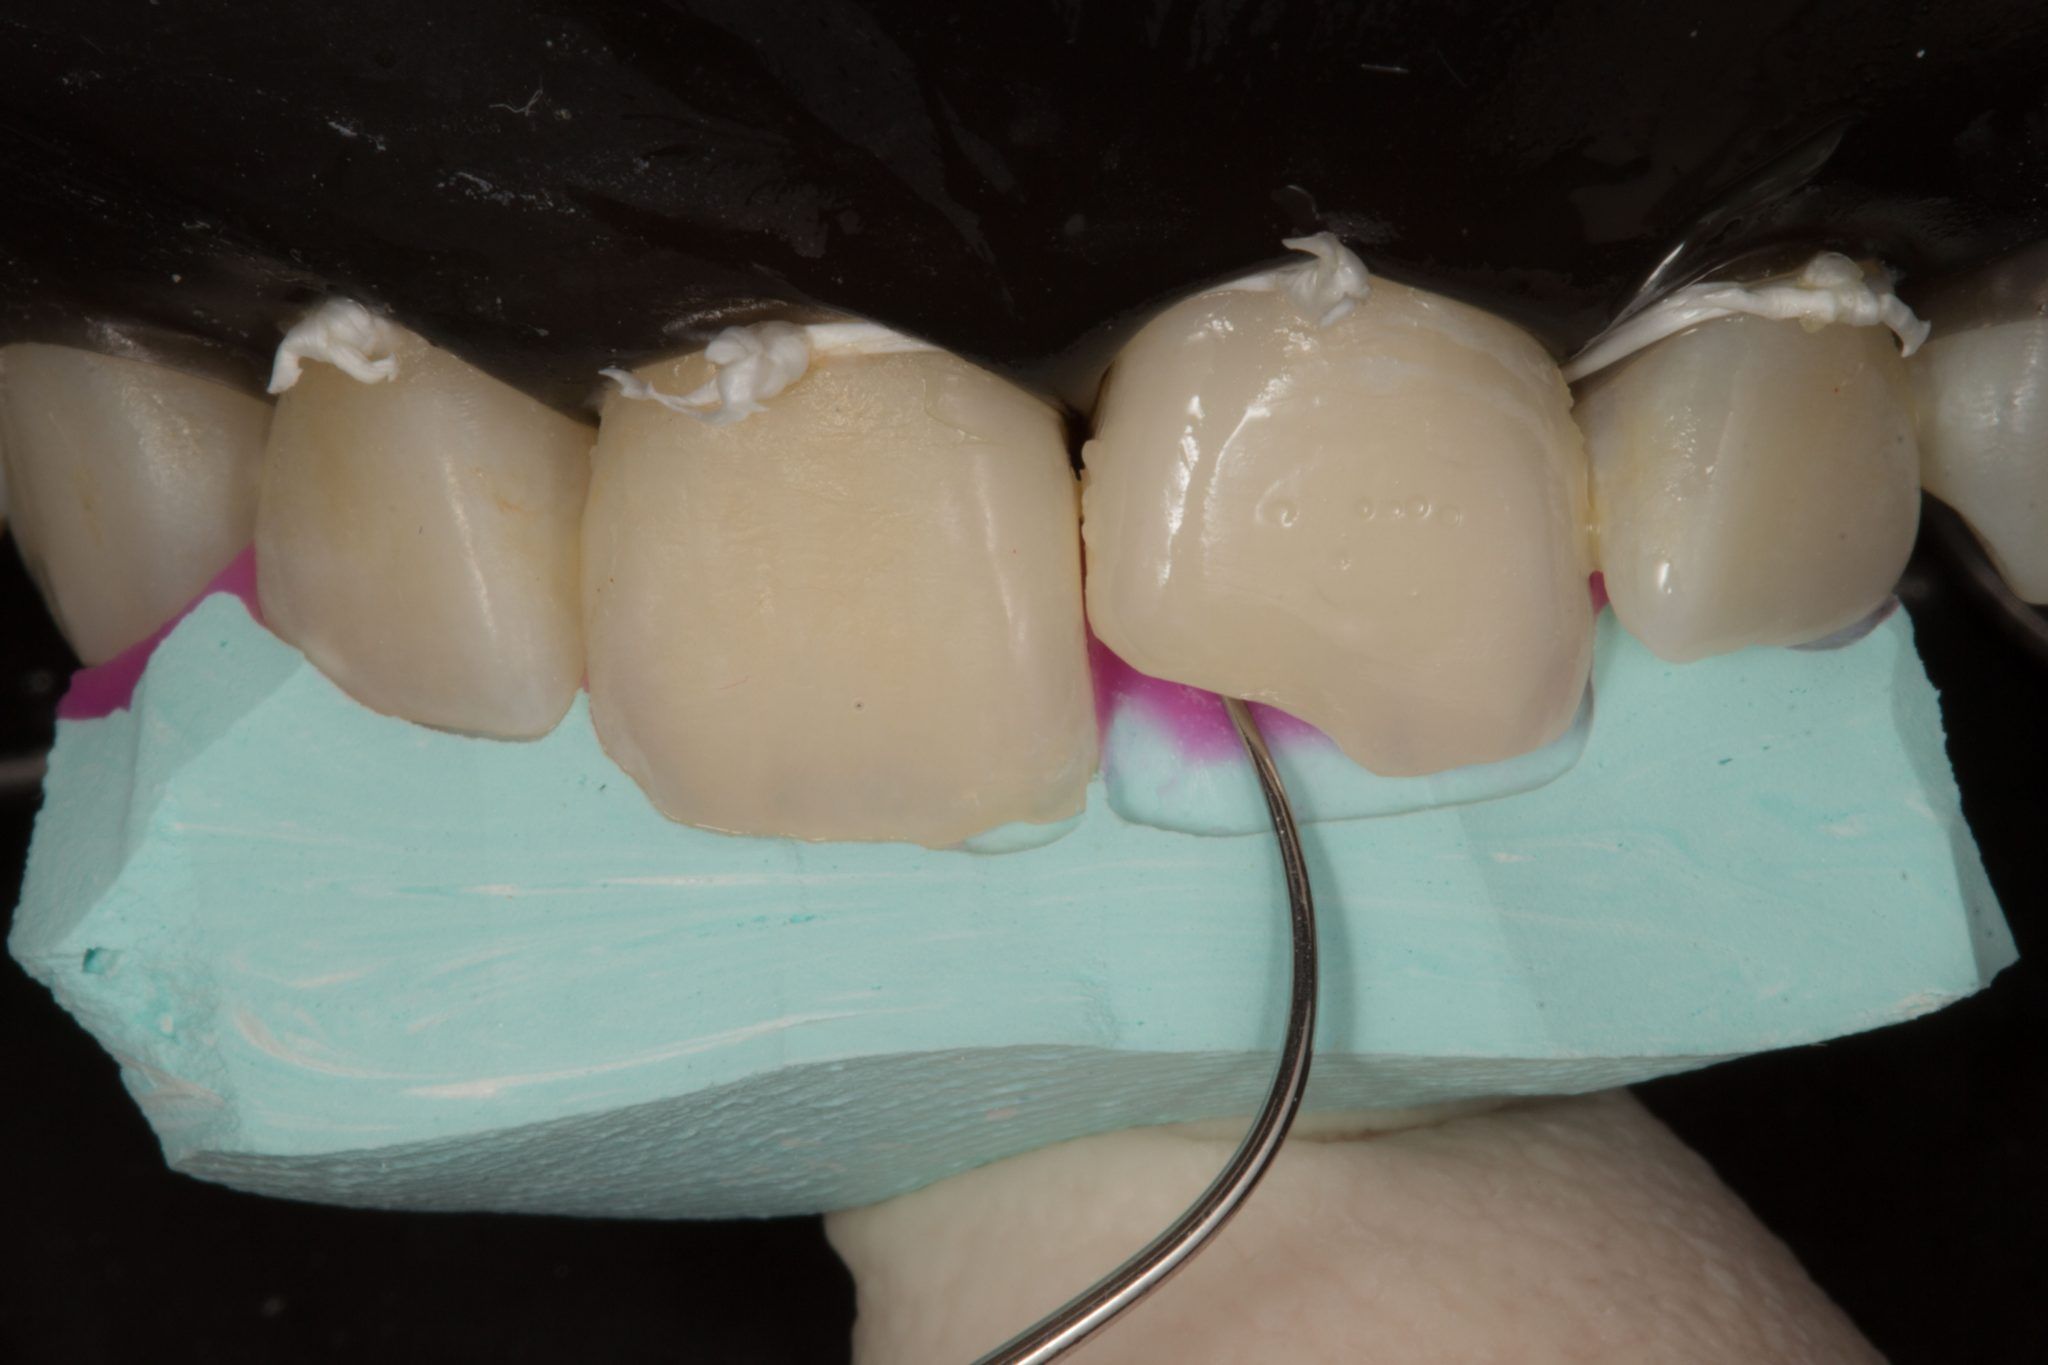
Photo 21. Using the LM Arte Fissura tool, we mark the edge of the fracture line in the silicone matrix (silicone key).
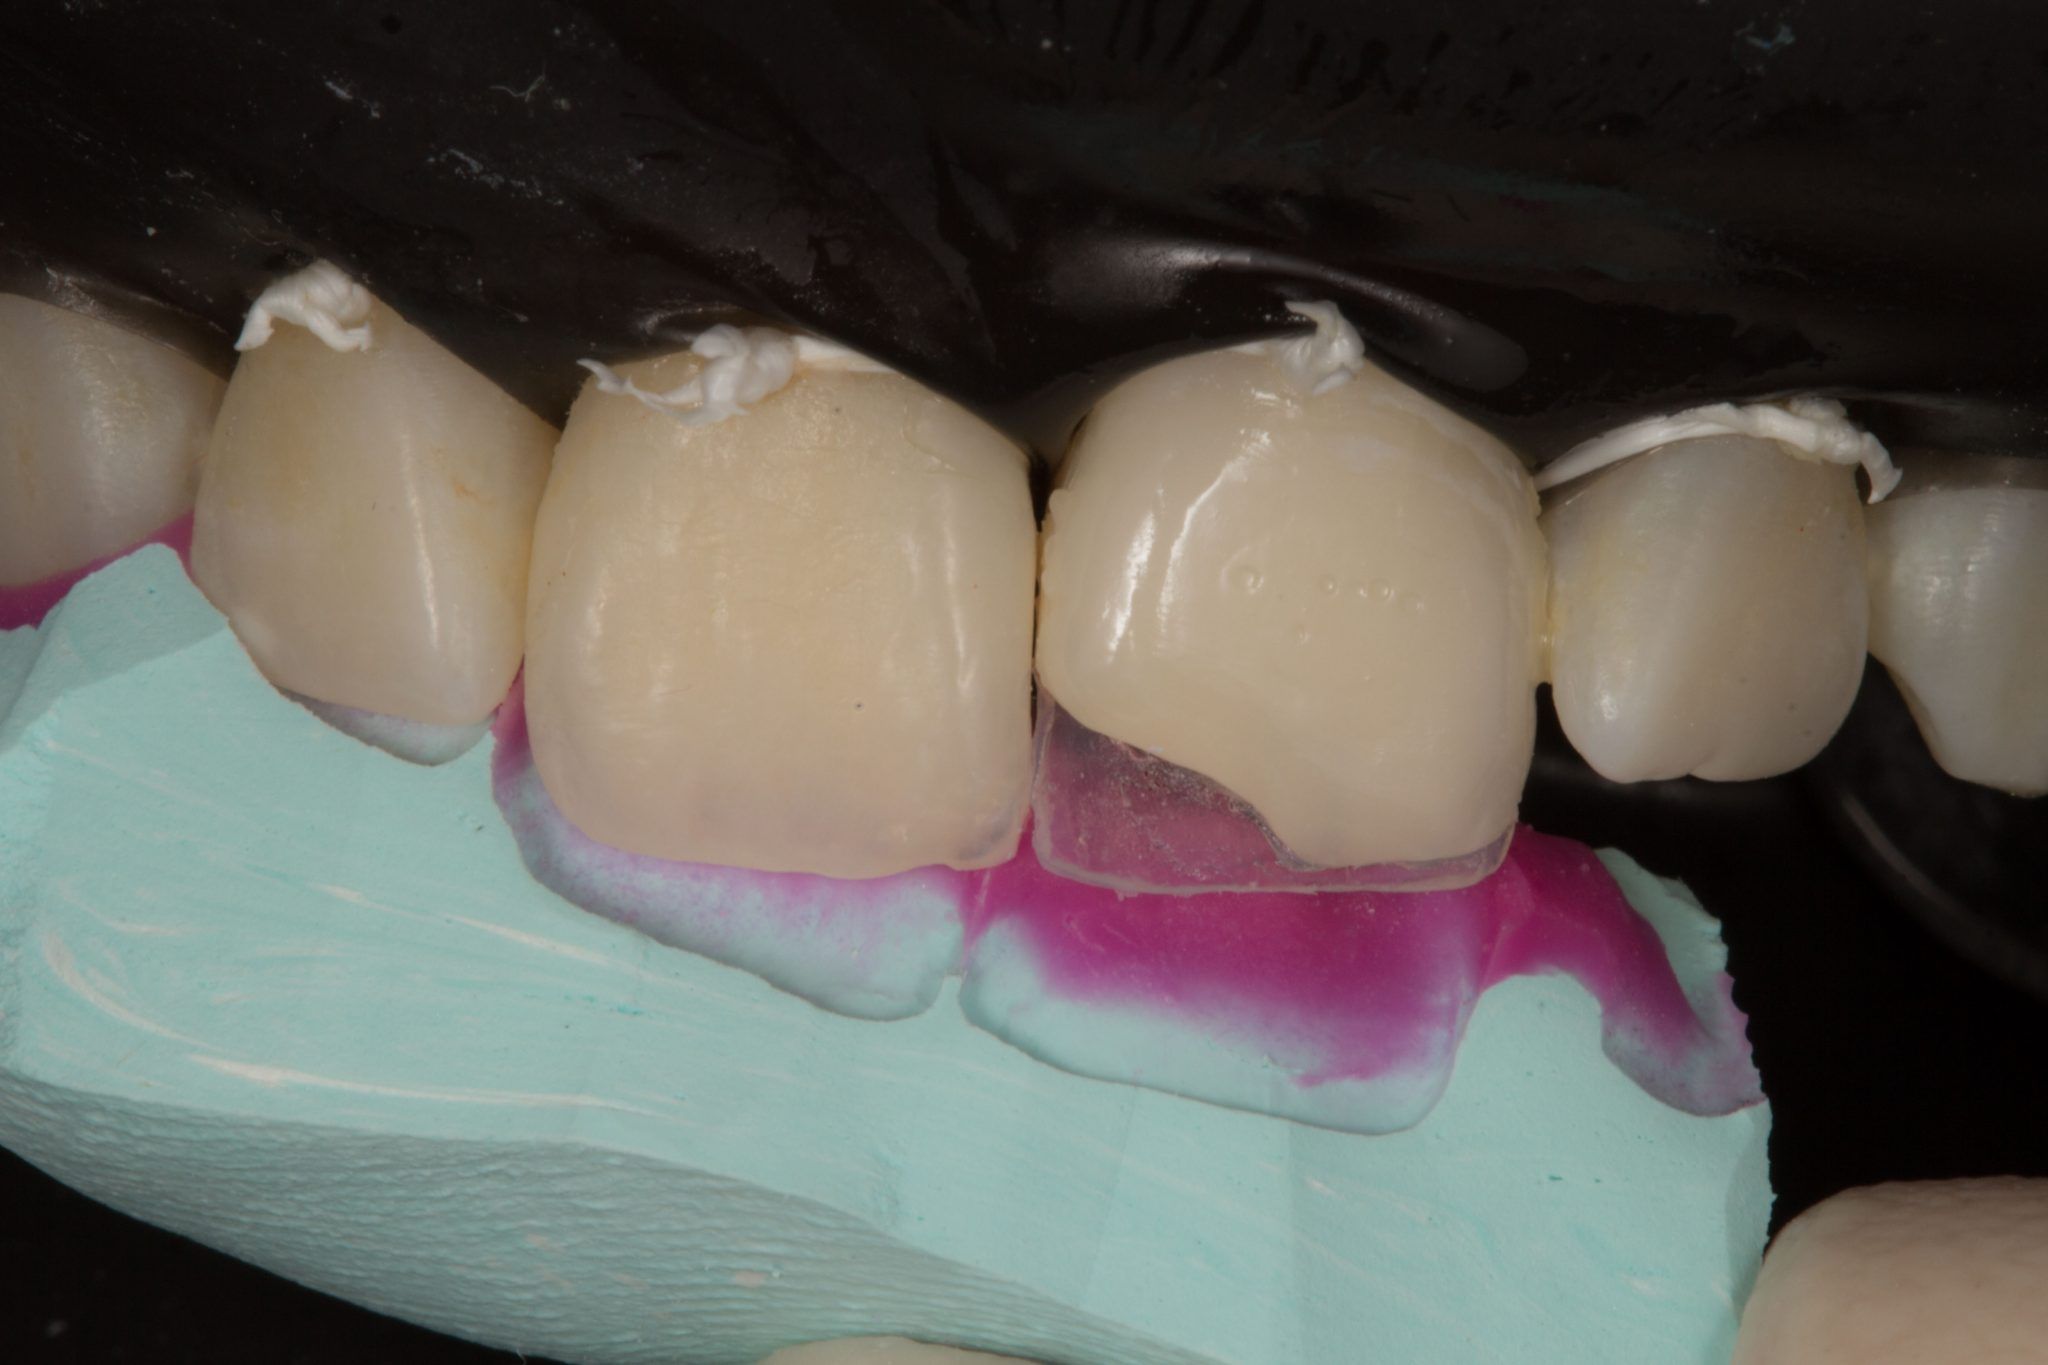
Photo 22. Applying a layer of enamel from the sky surface and polymerizing it.
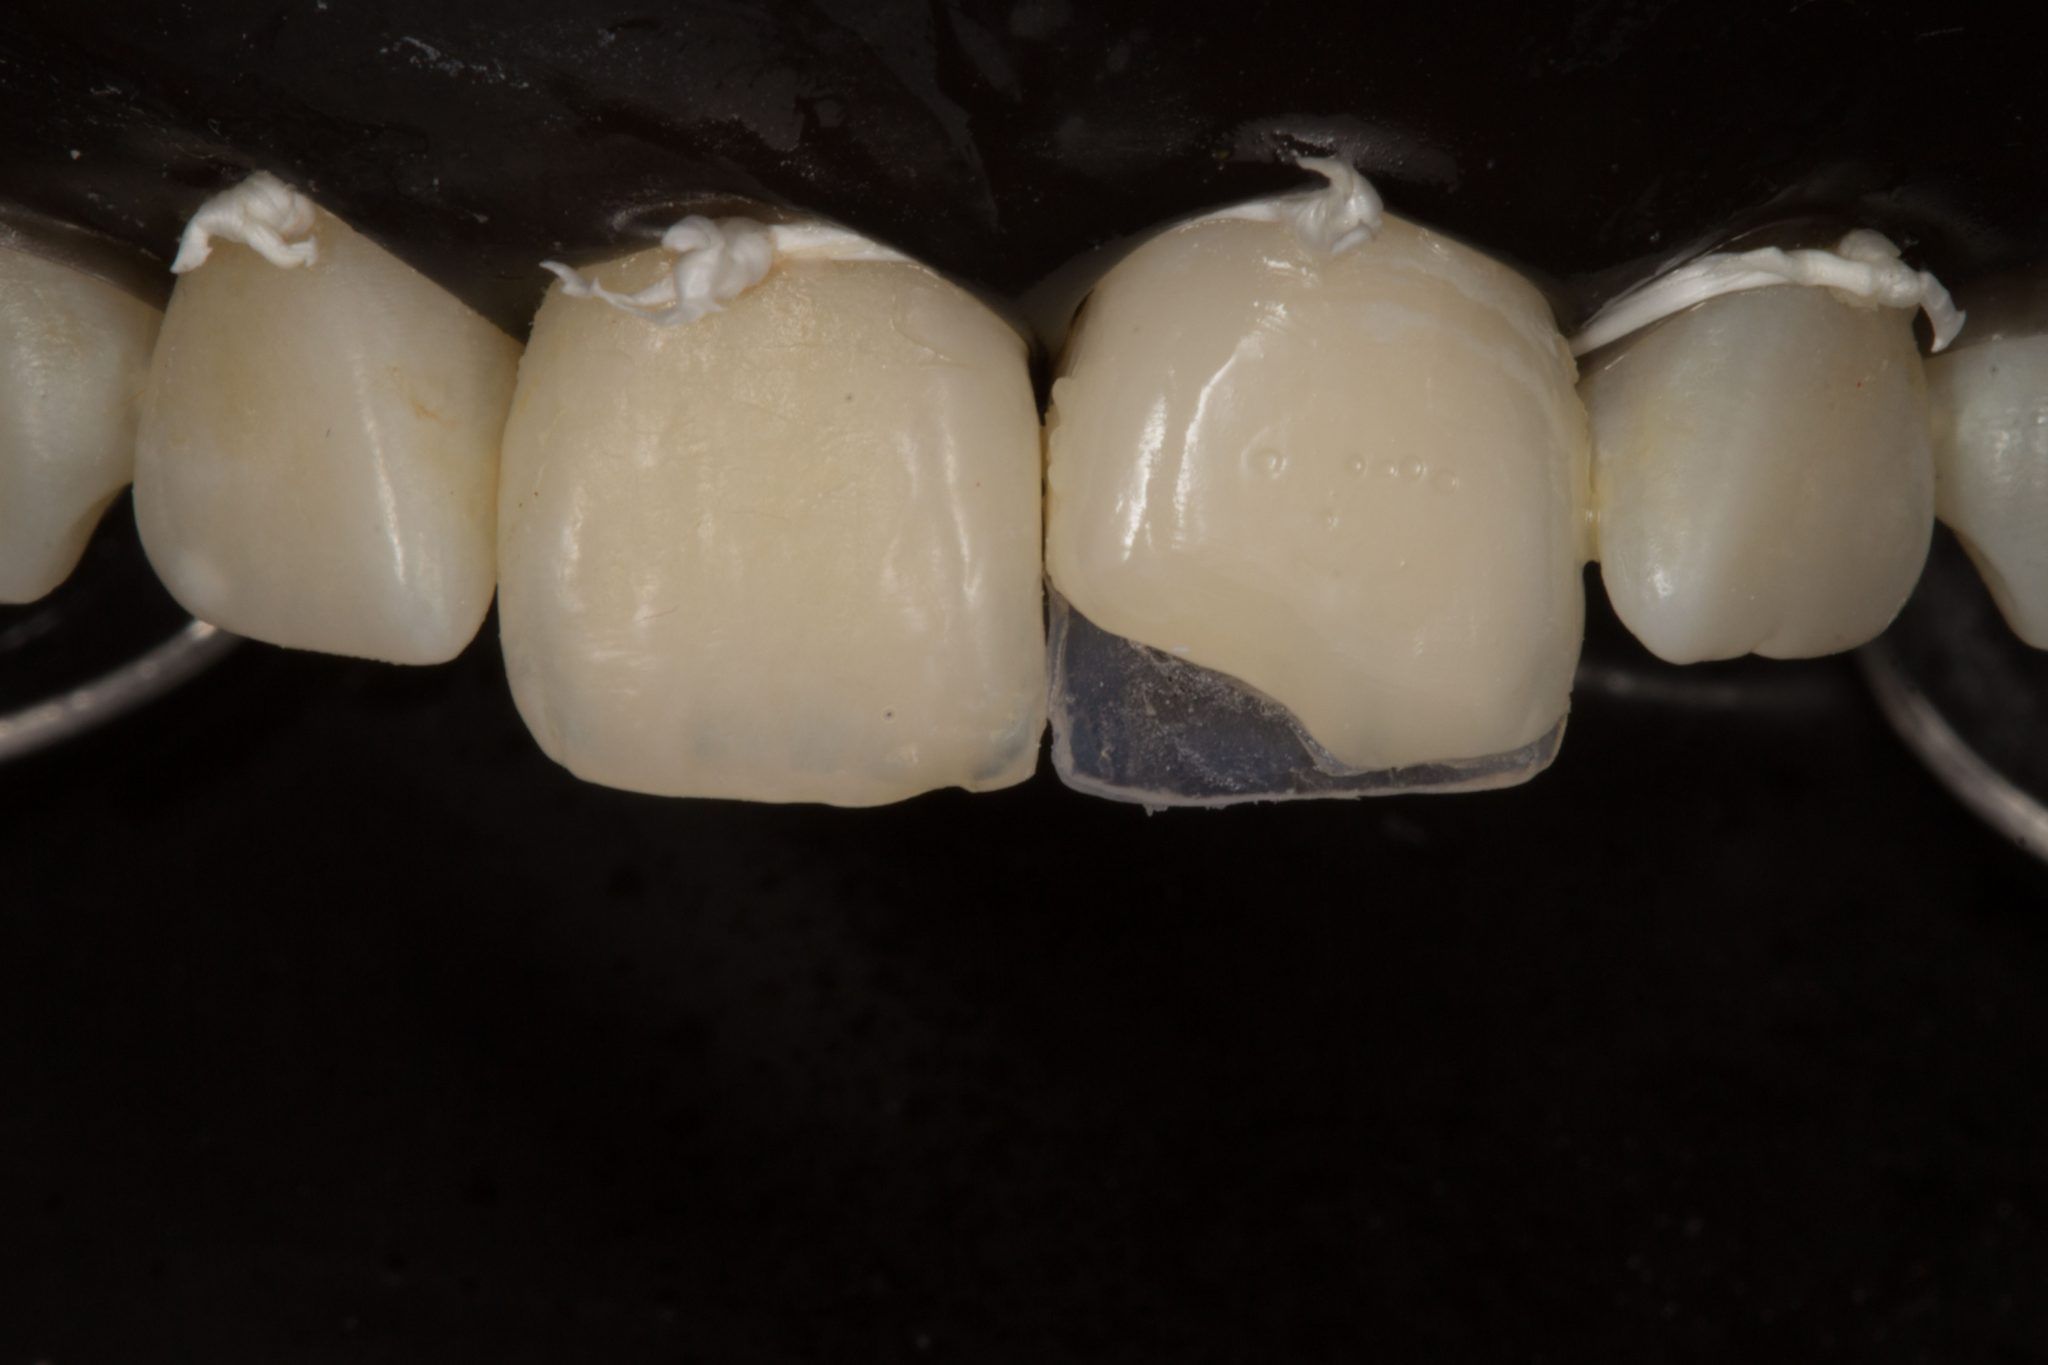
Photo 23. Using the sky layer of enamel, we can continue the layering process.
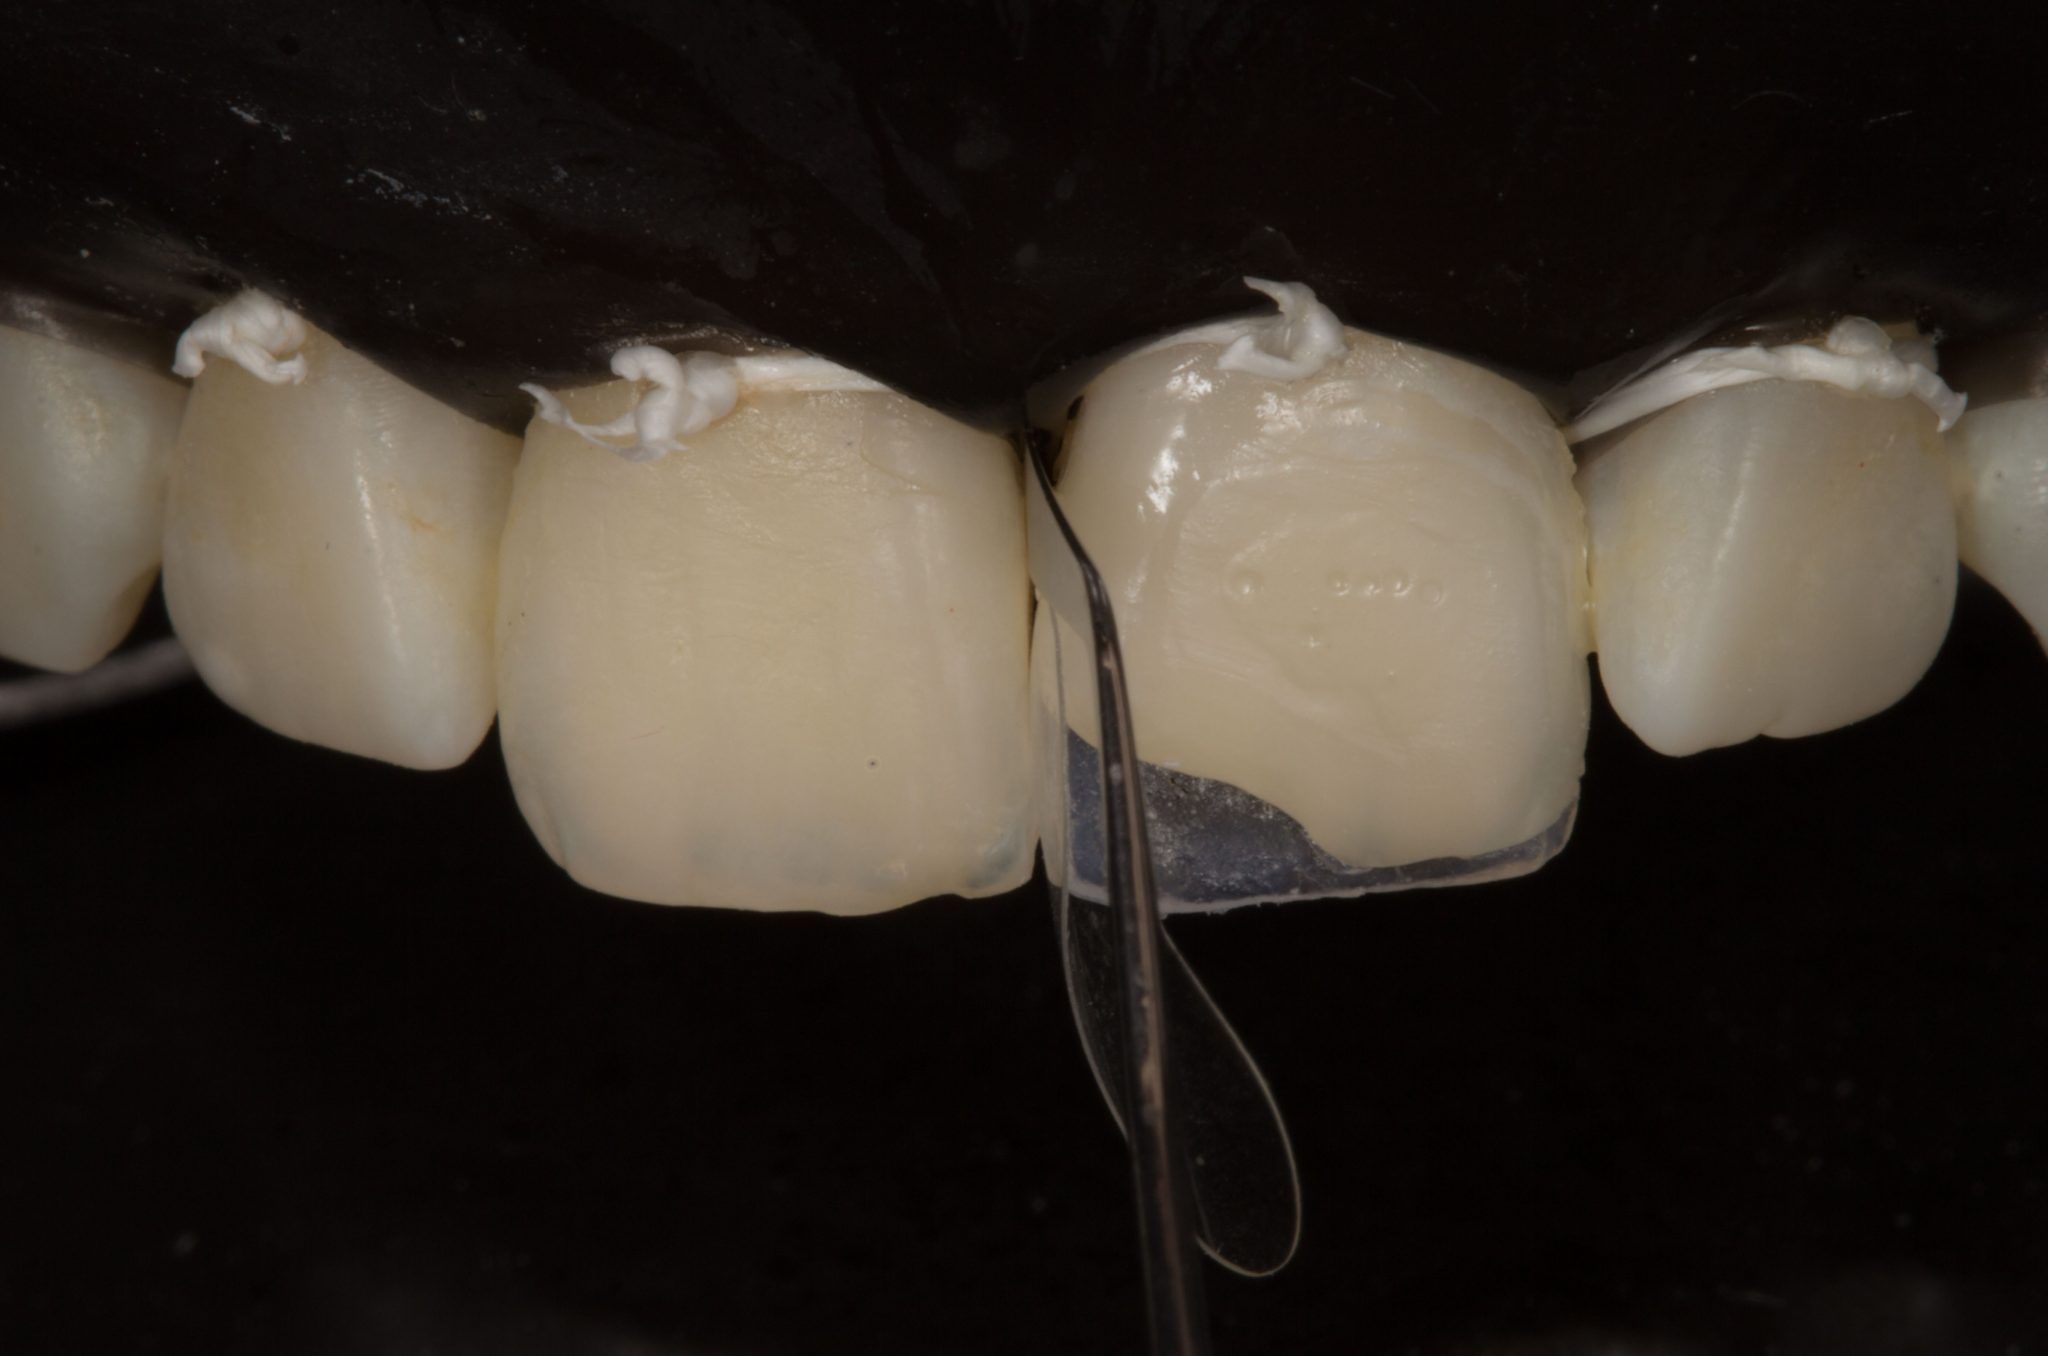
Photo 24. Using a transparent sectional matrix (Polydentia) and the LM Arte Modella tool, we can recreate interproximal walls.
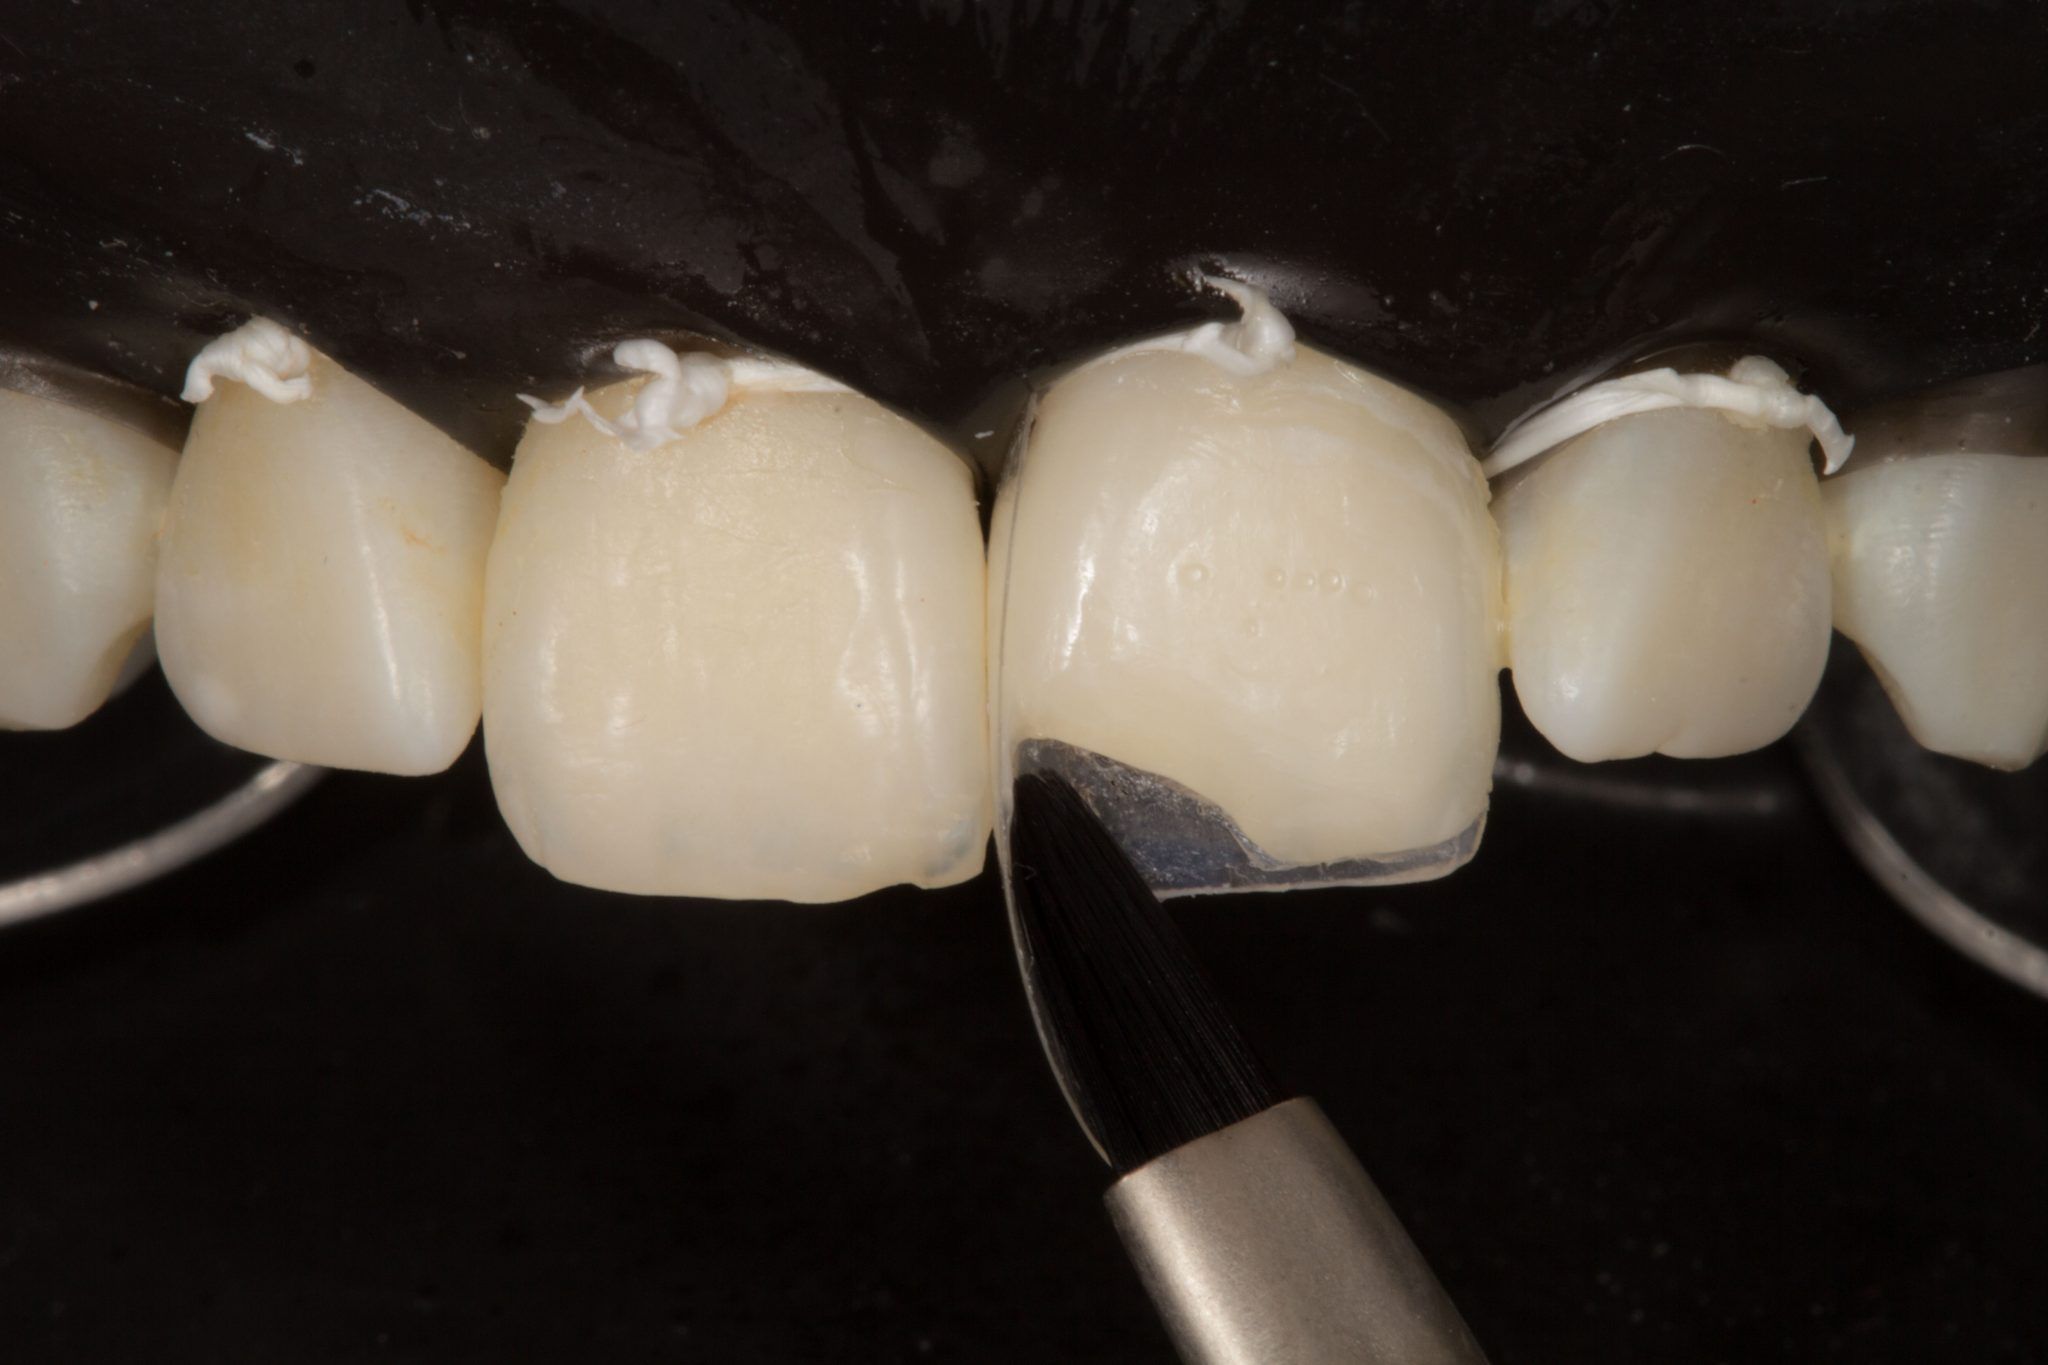
Photo 25. The brush allows smoothing out the composite resin.
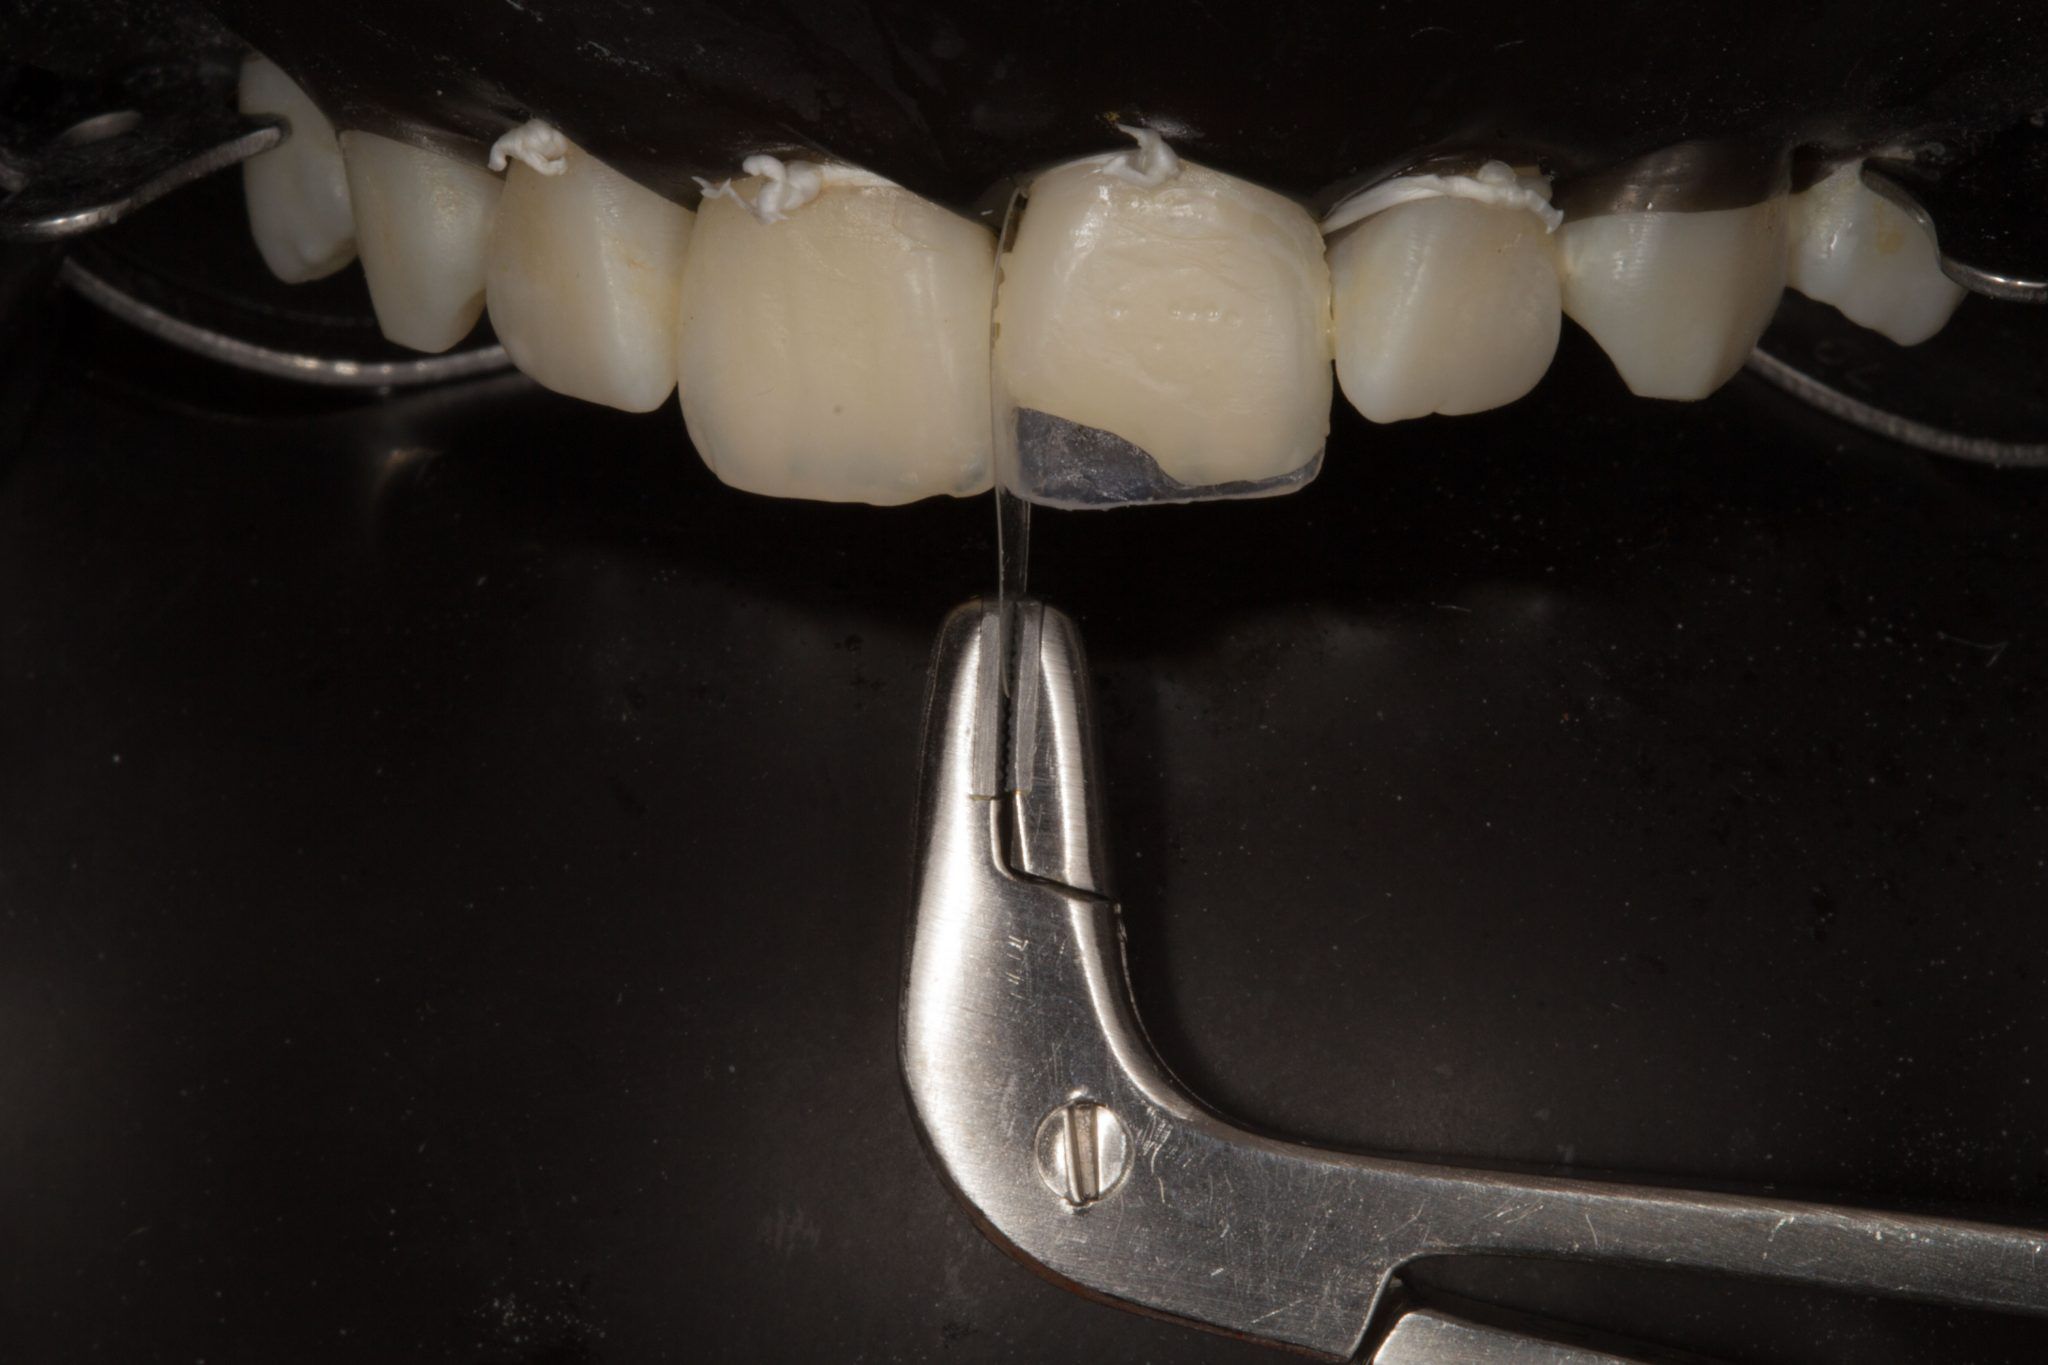
Photo 26. Removing the matrix.
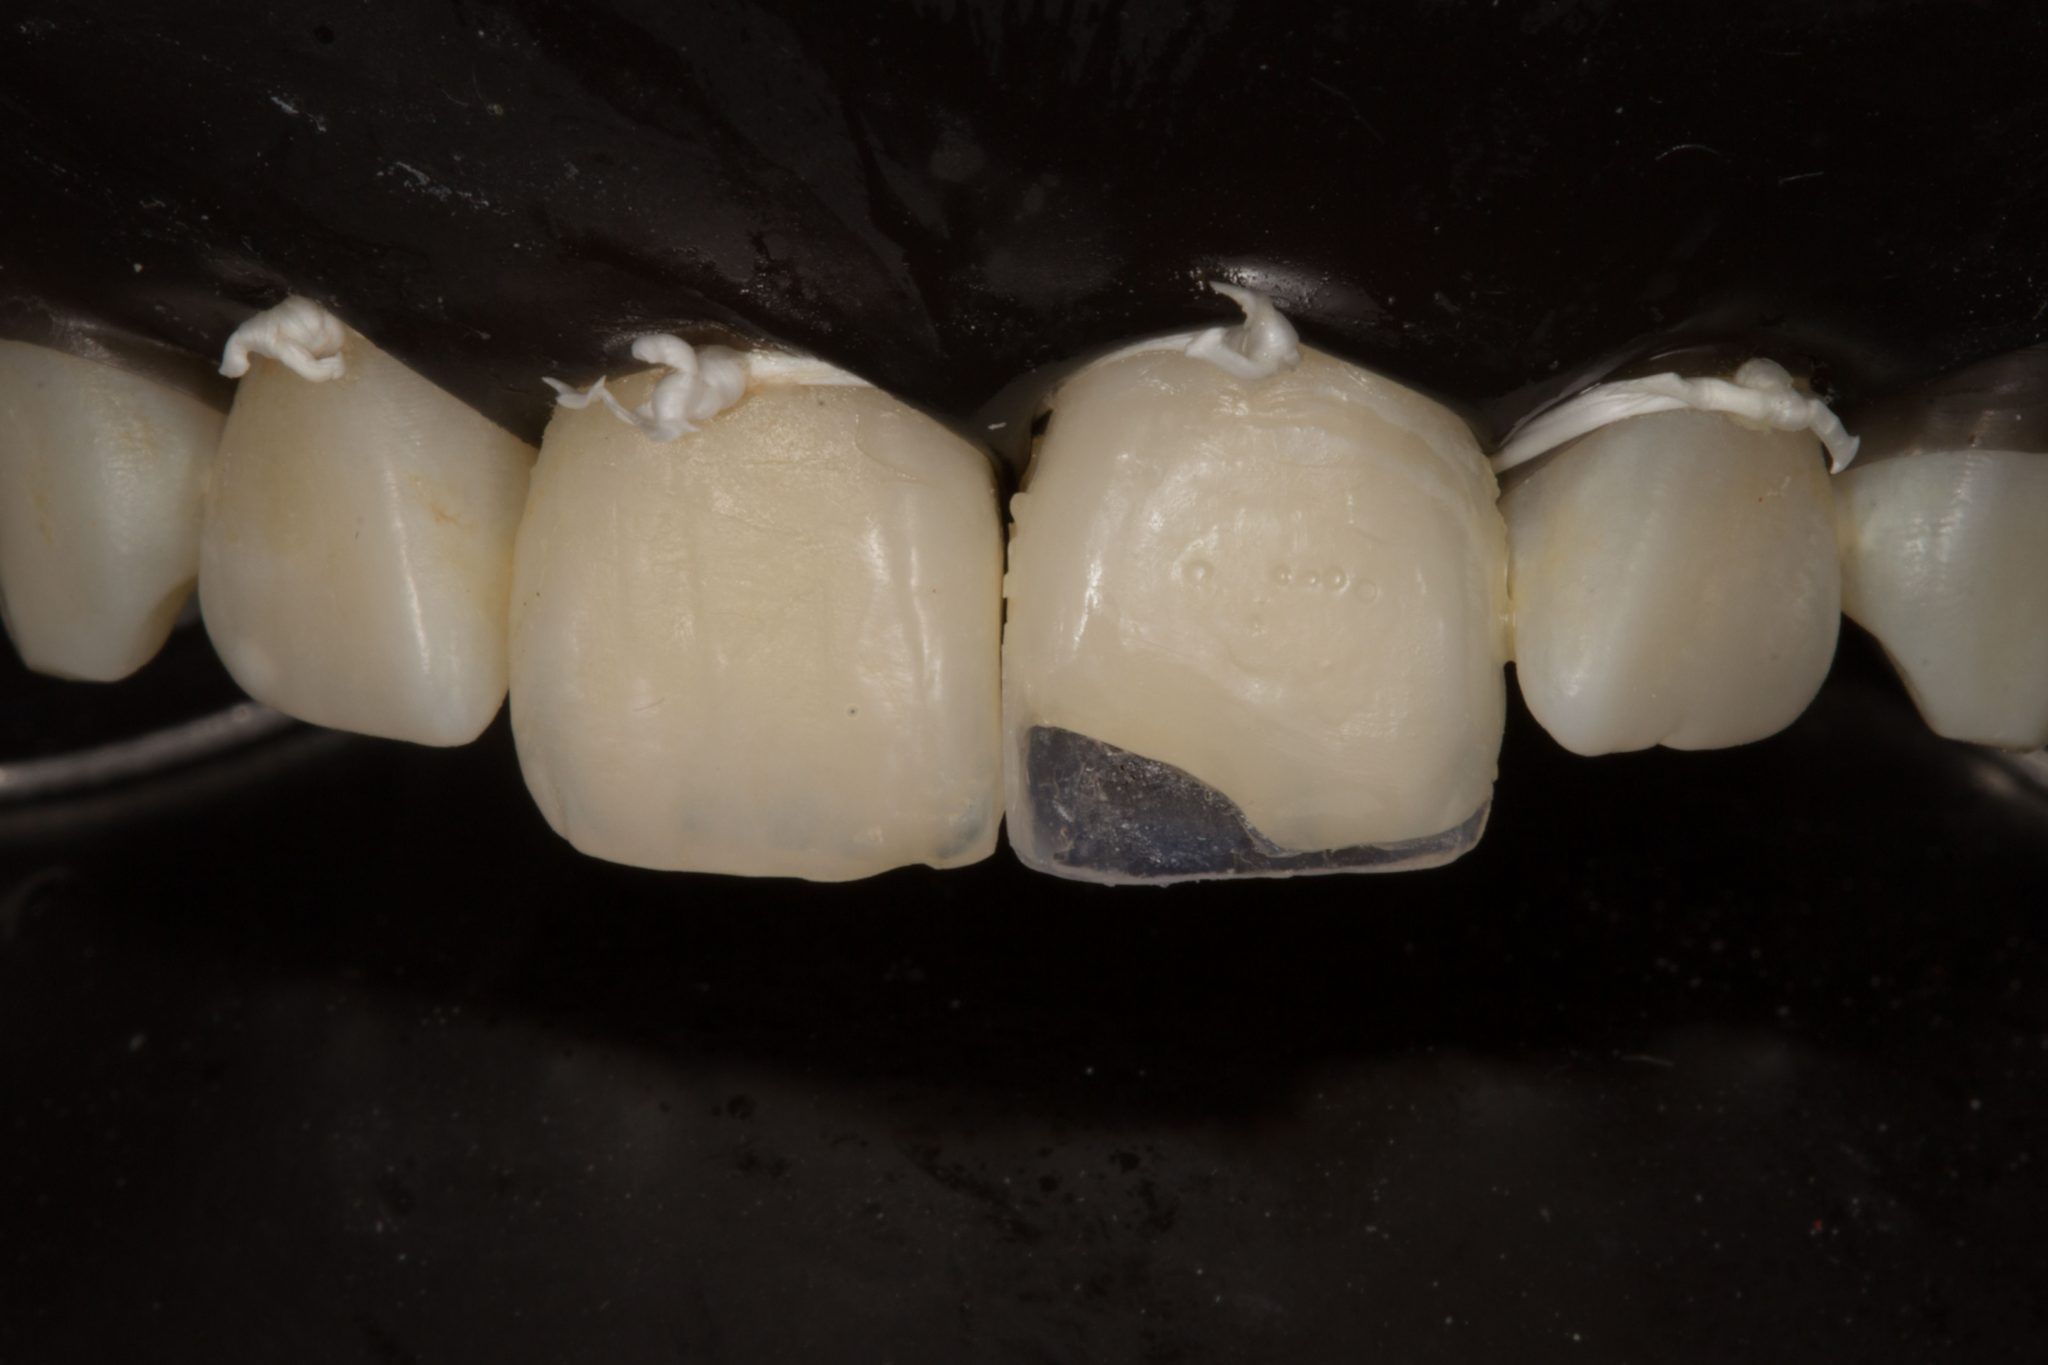
Photo 27. Now that we have recreated the entire enamel contour, both from the palatal surface and the interproximal, we continue layering.
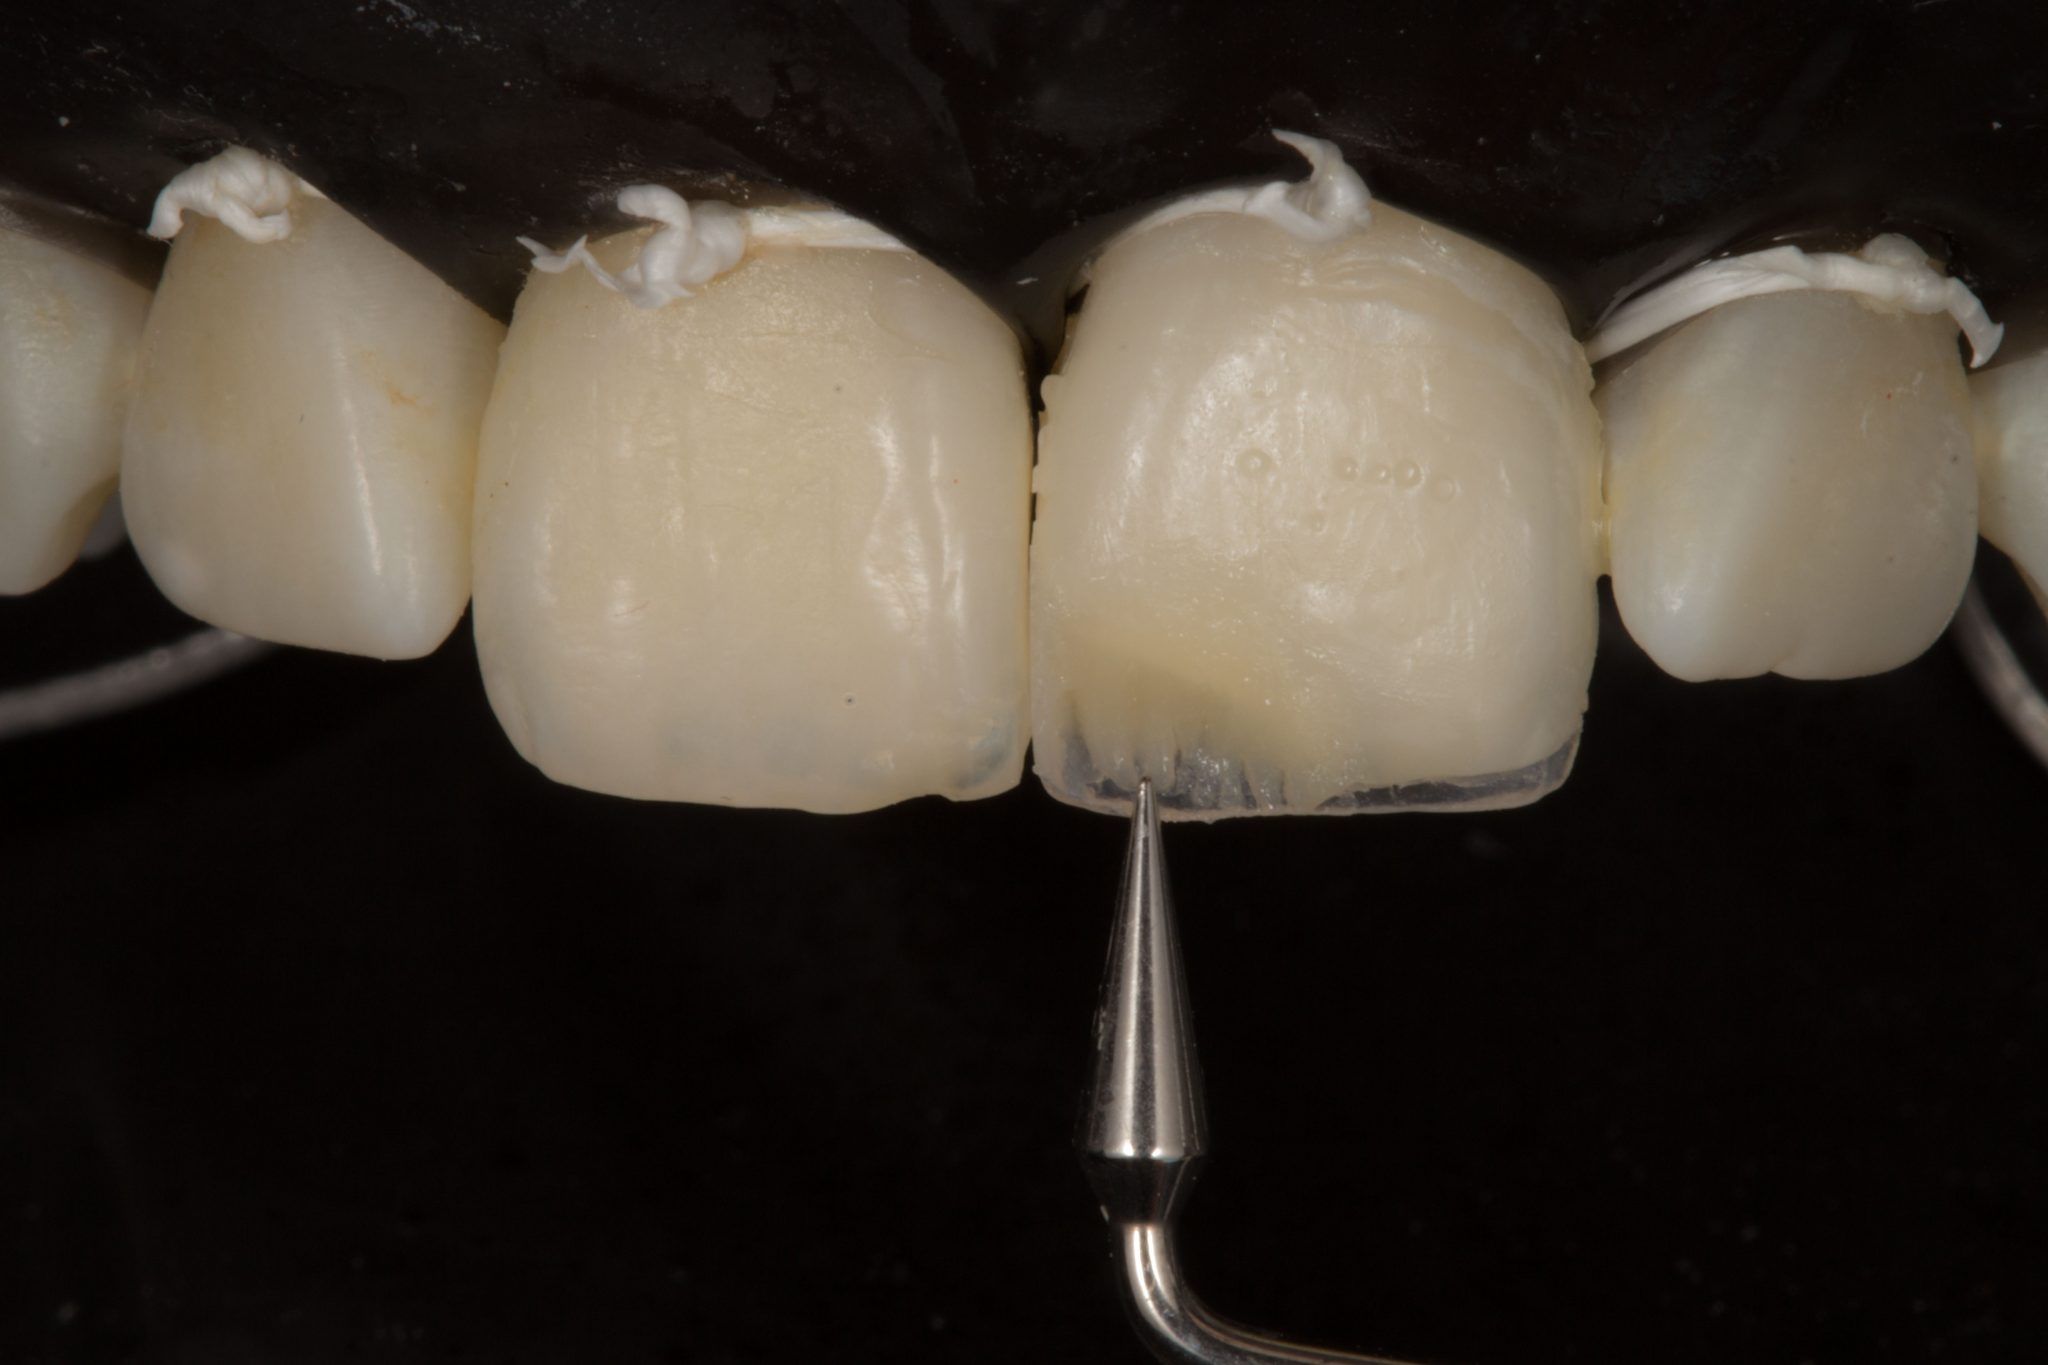
Photo 28. Controlling dentin thickness using the LM Arte Misura device and forming incisal mamelons with Fissura.
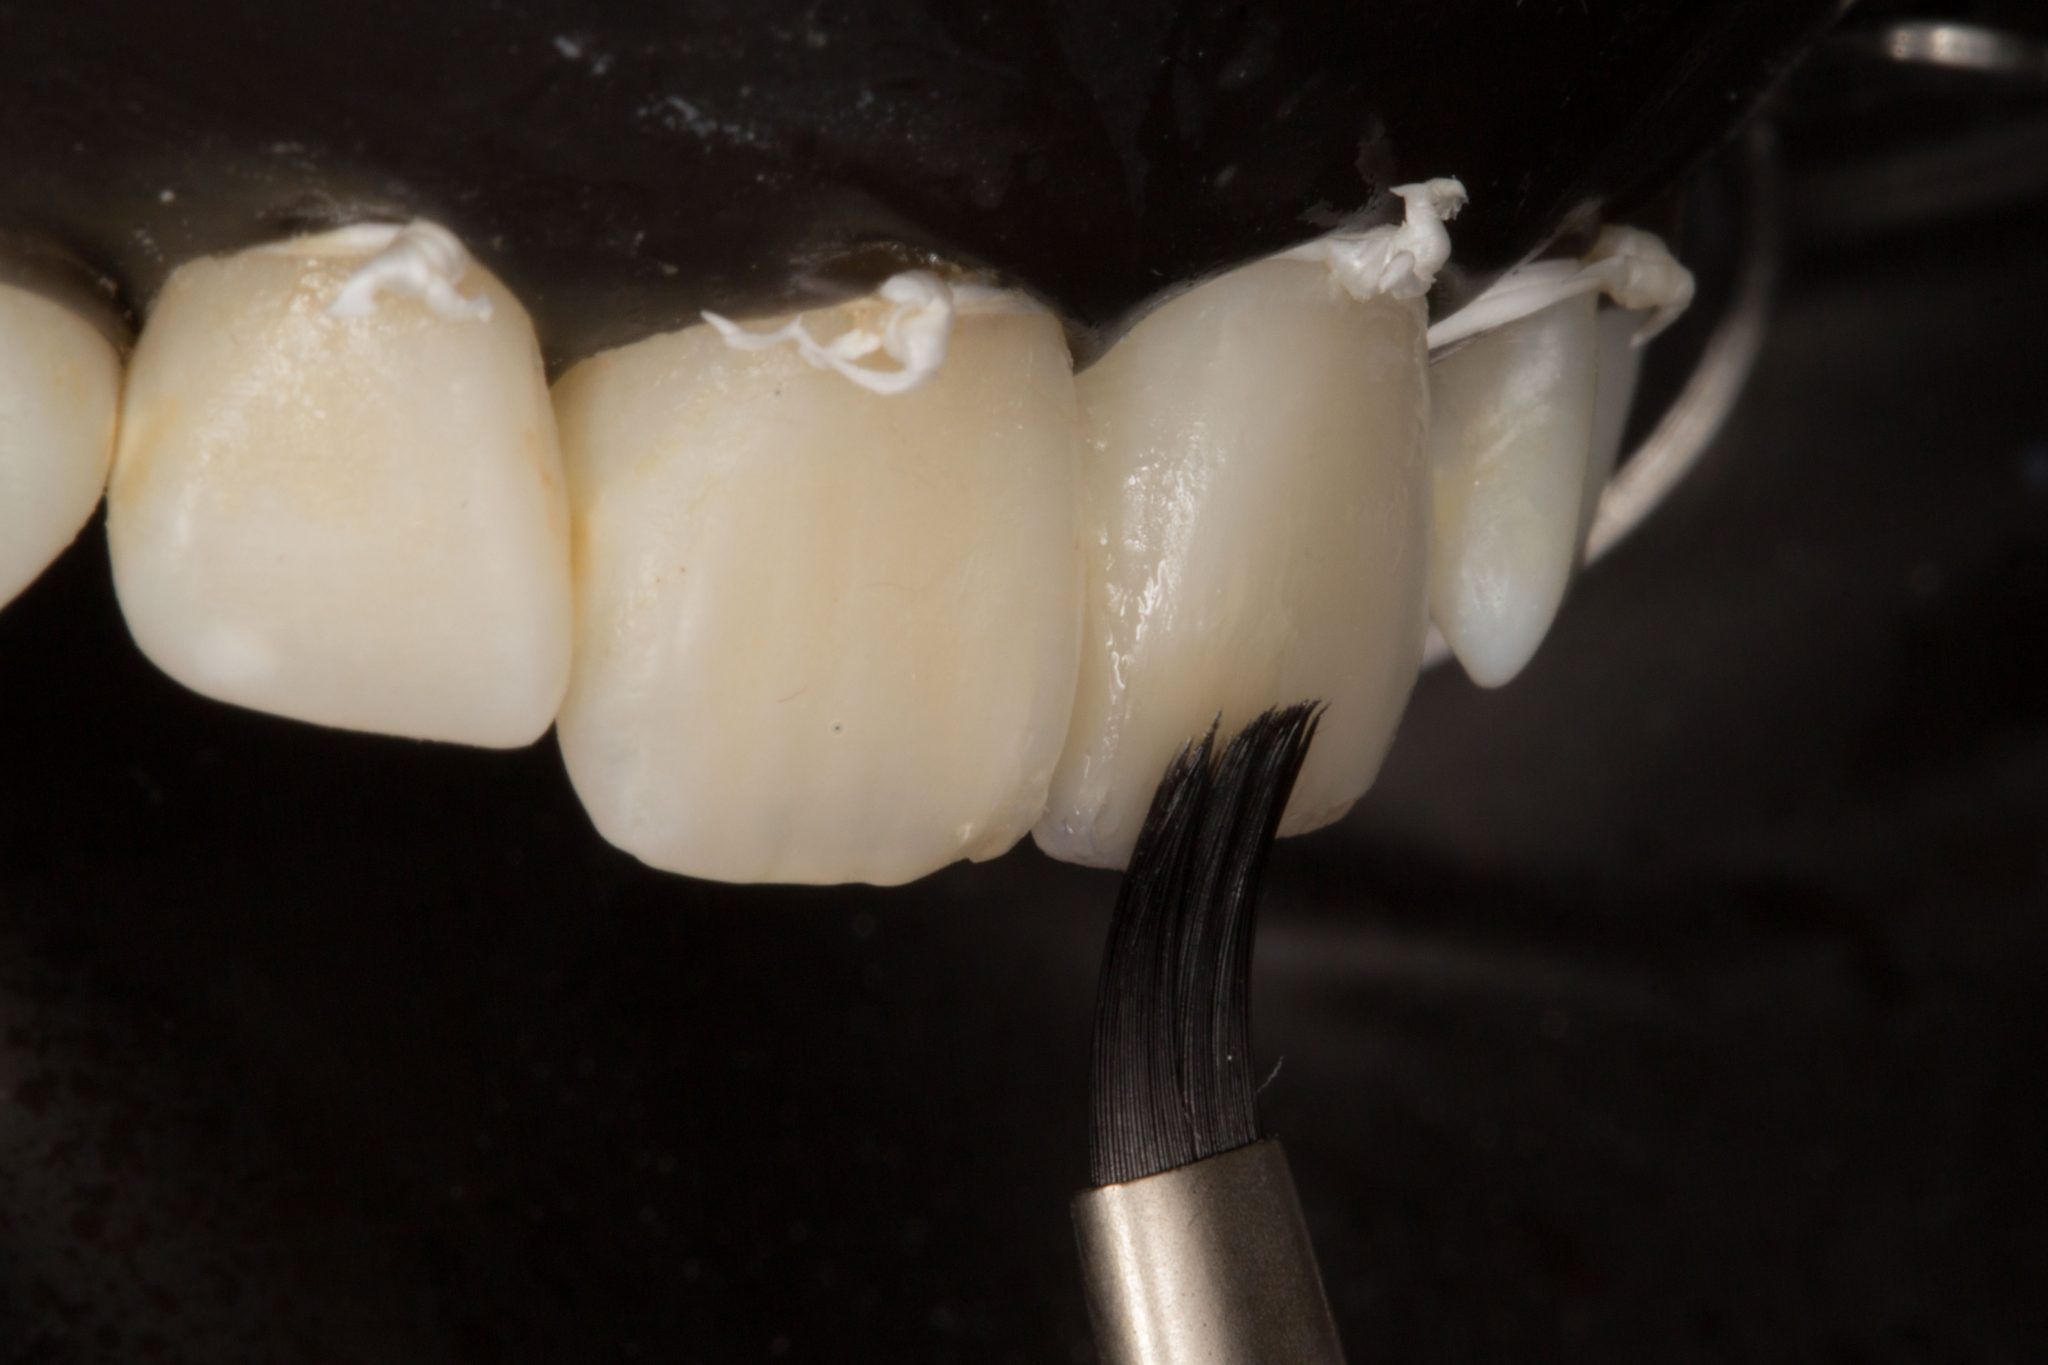
Photo 29. Smoothing the surface using Compobrush.
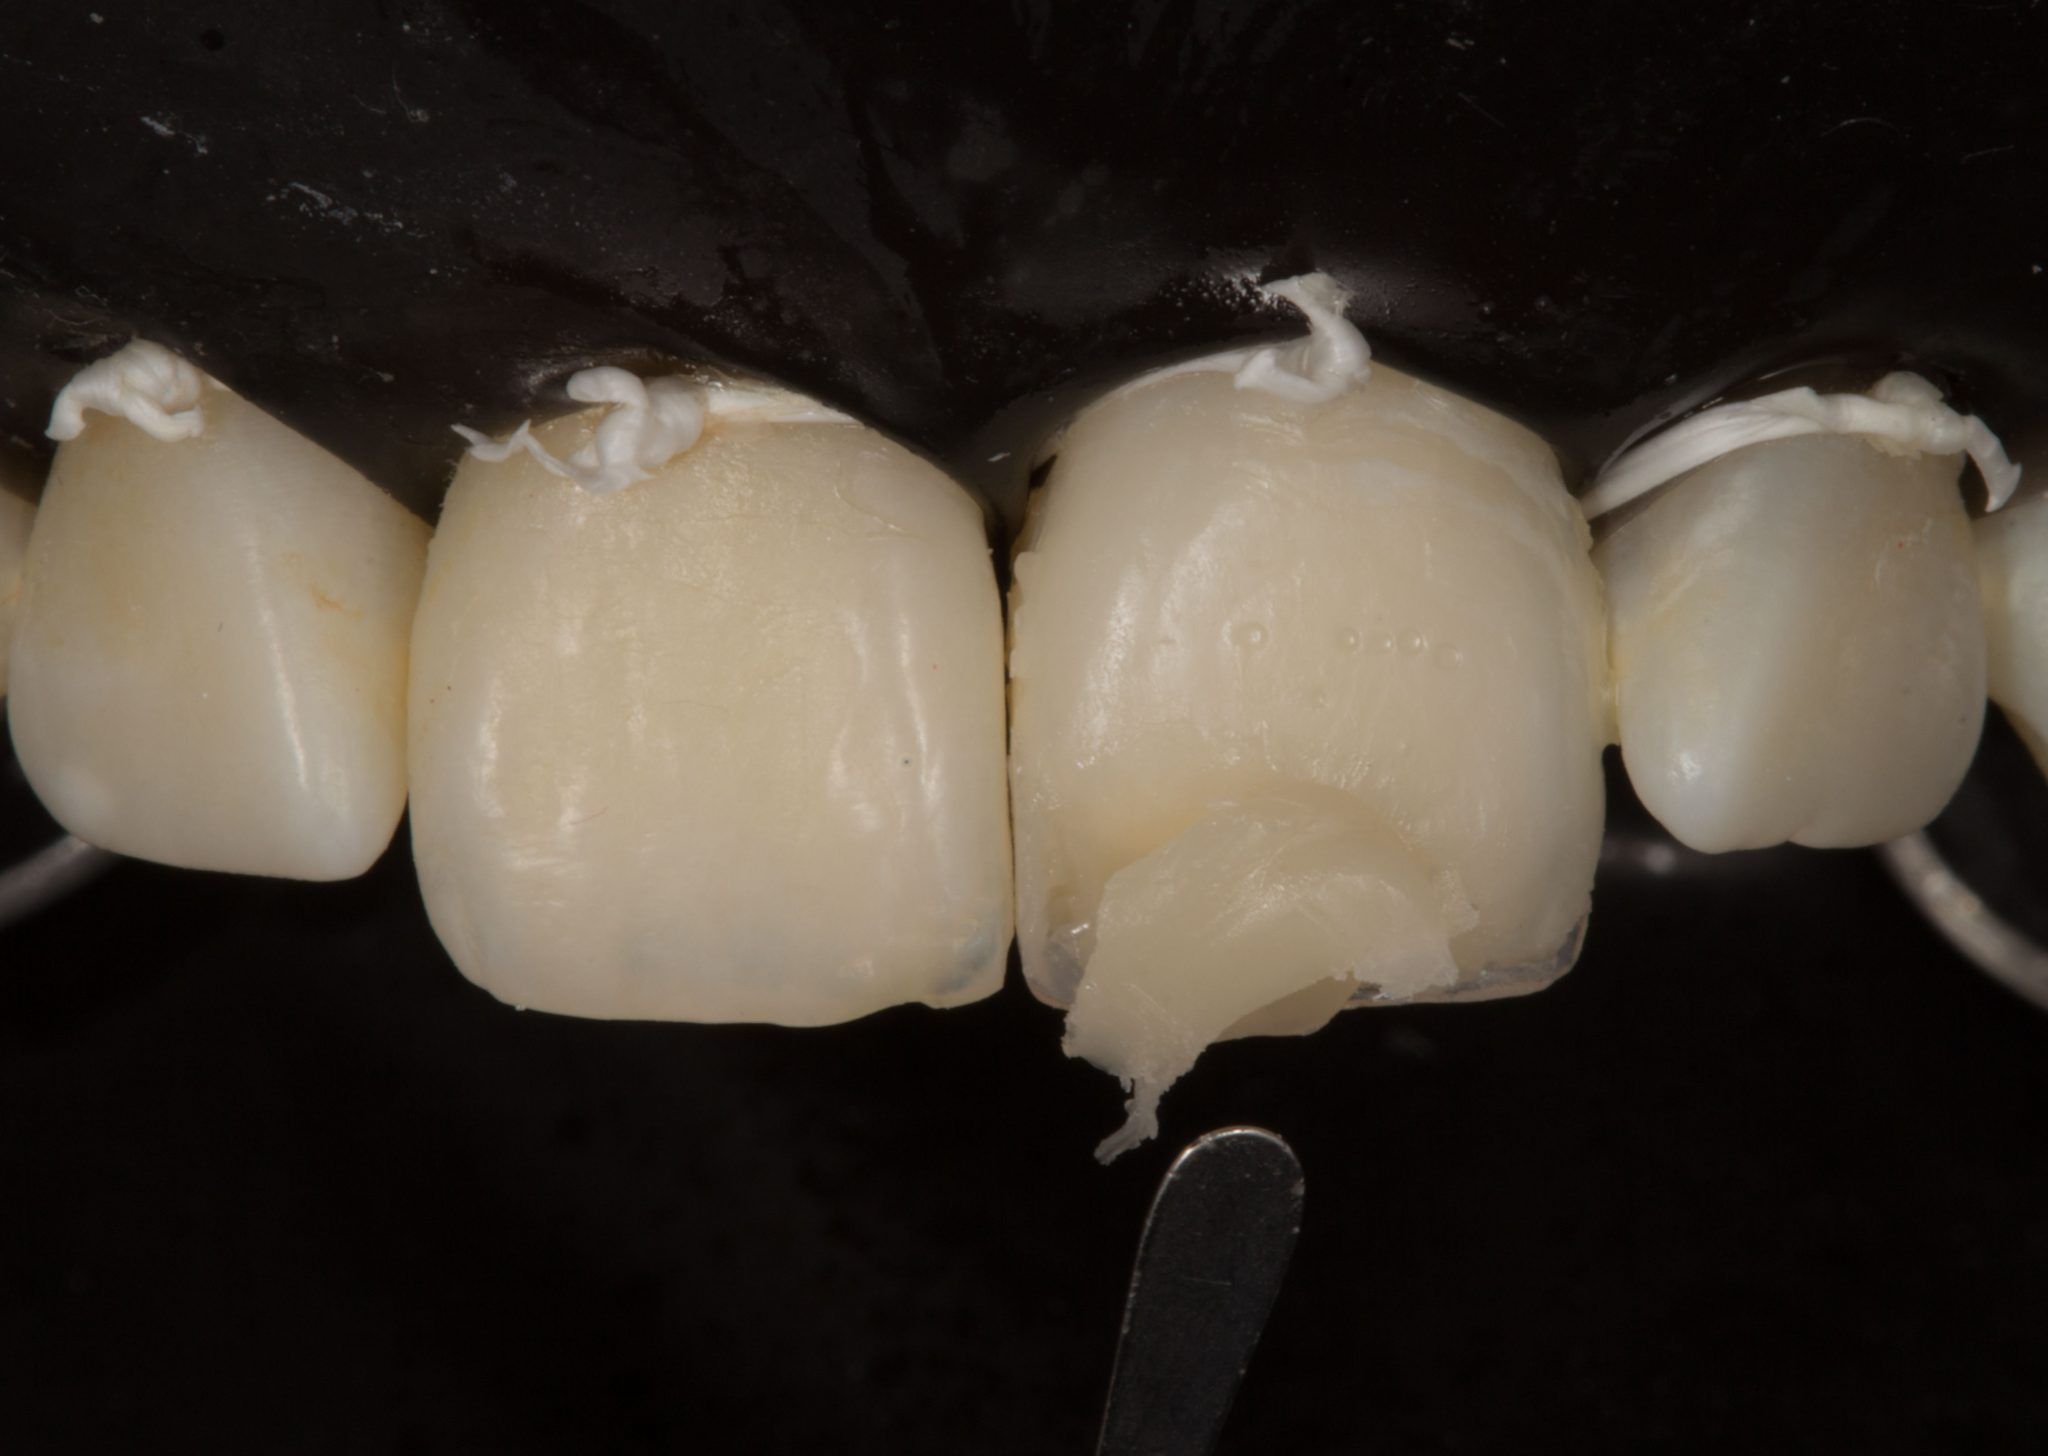
Photo 30. Finally, we apply the enamel layer according to the rule of 0.5 mm thickness.
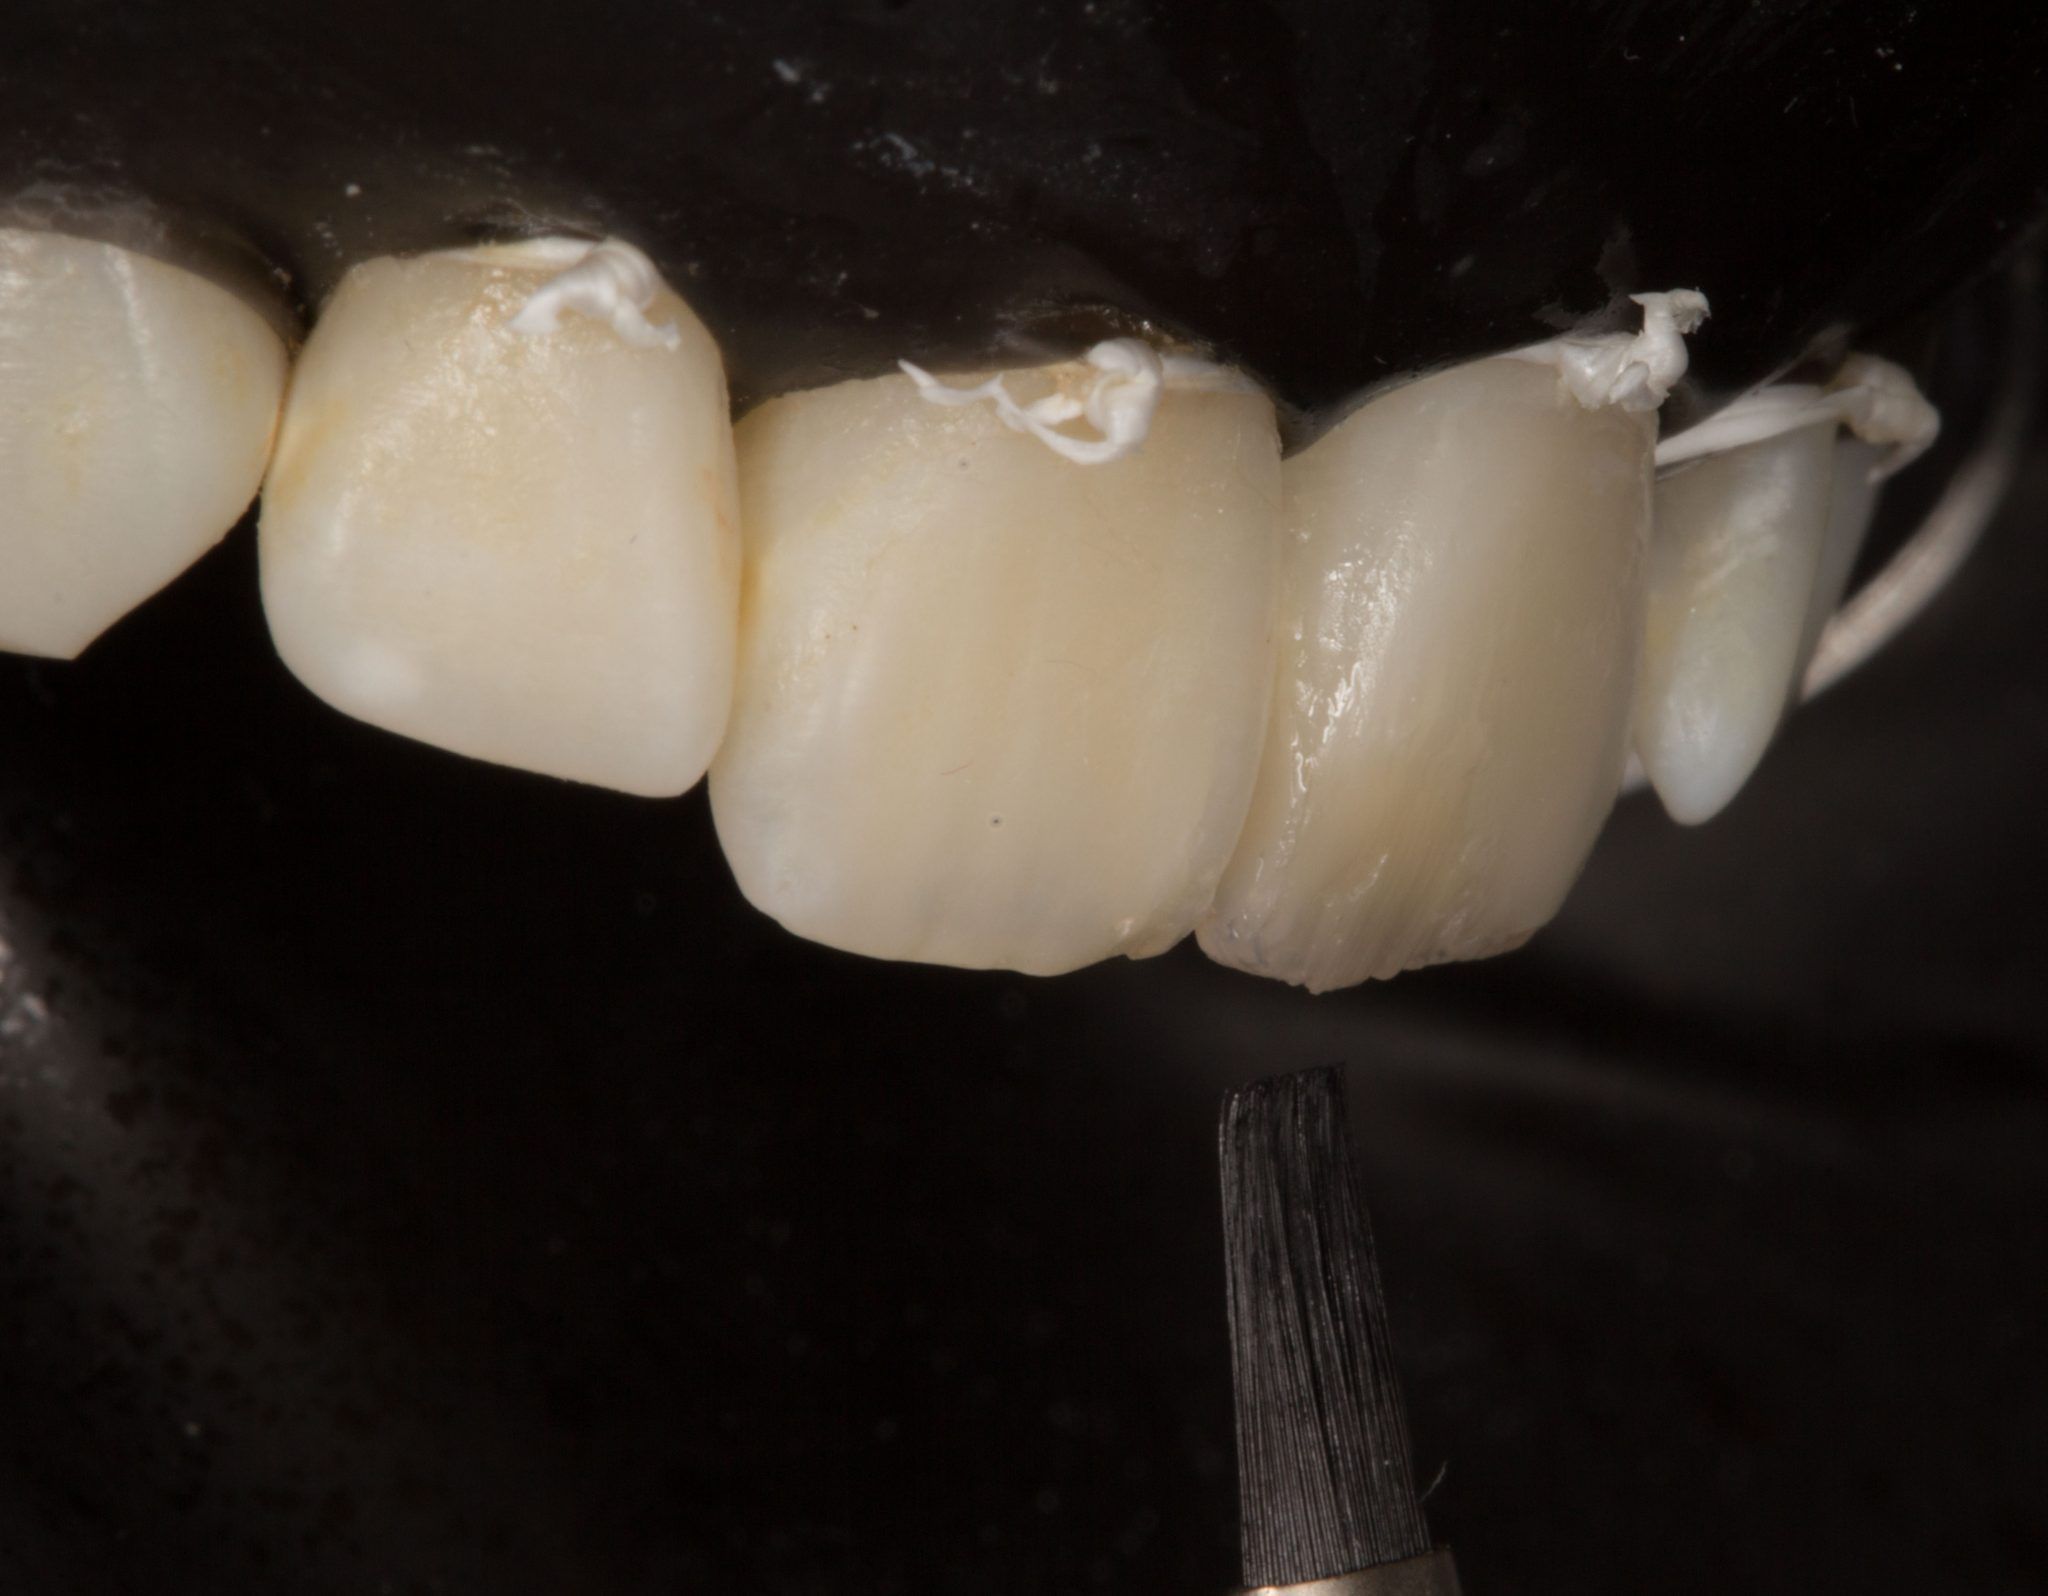
Photo 31.
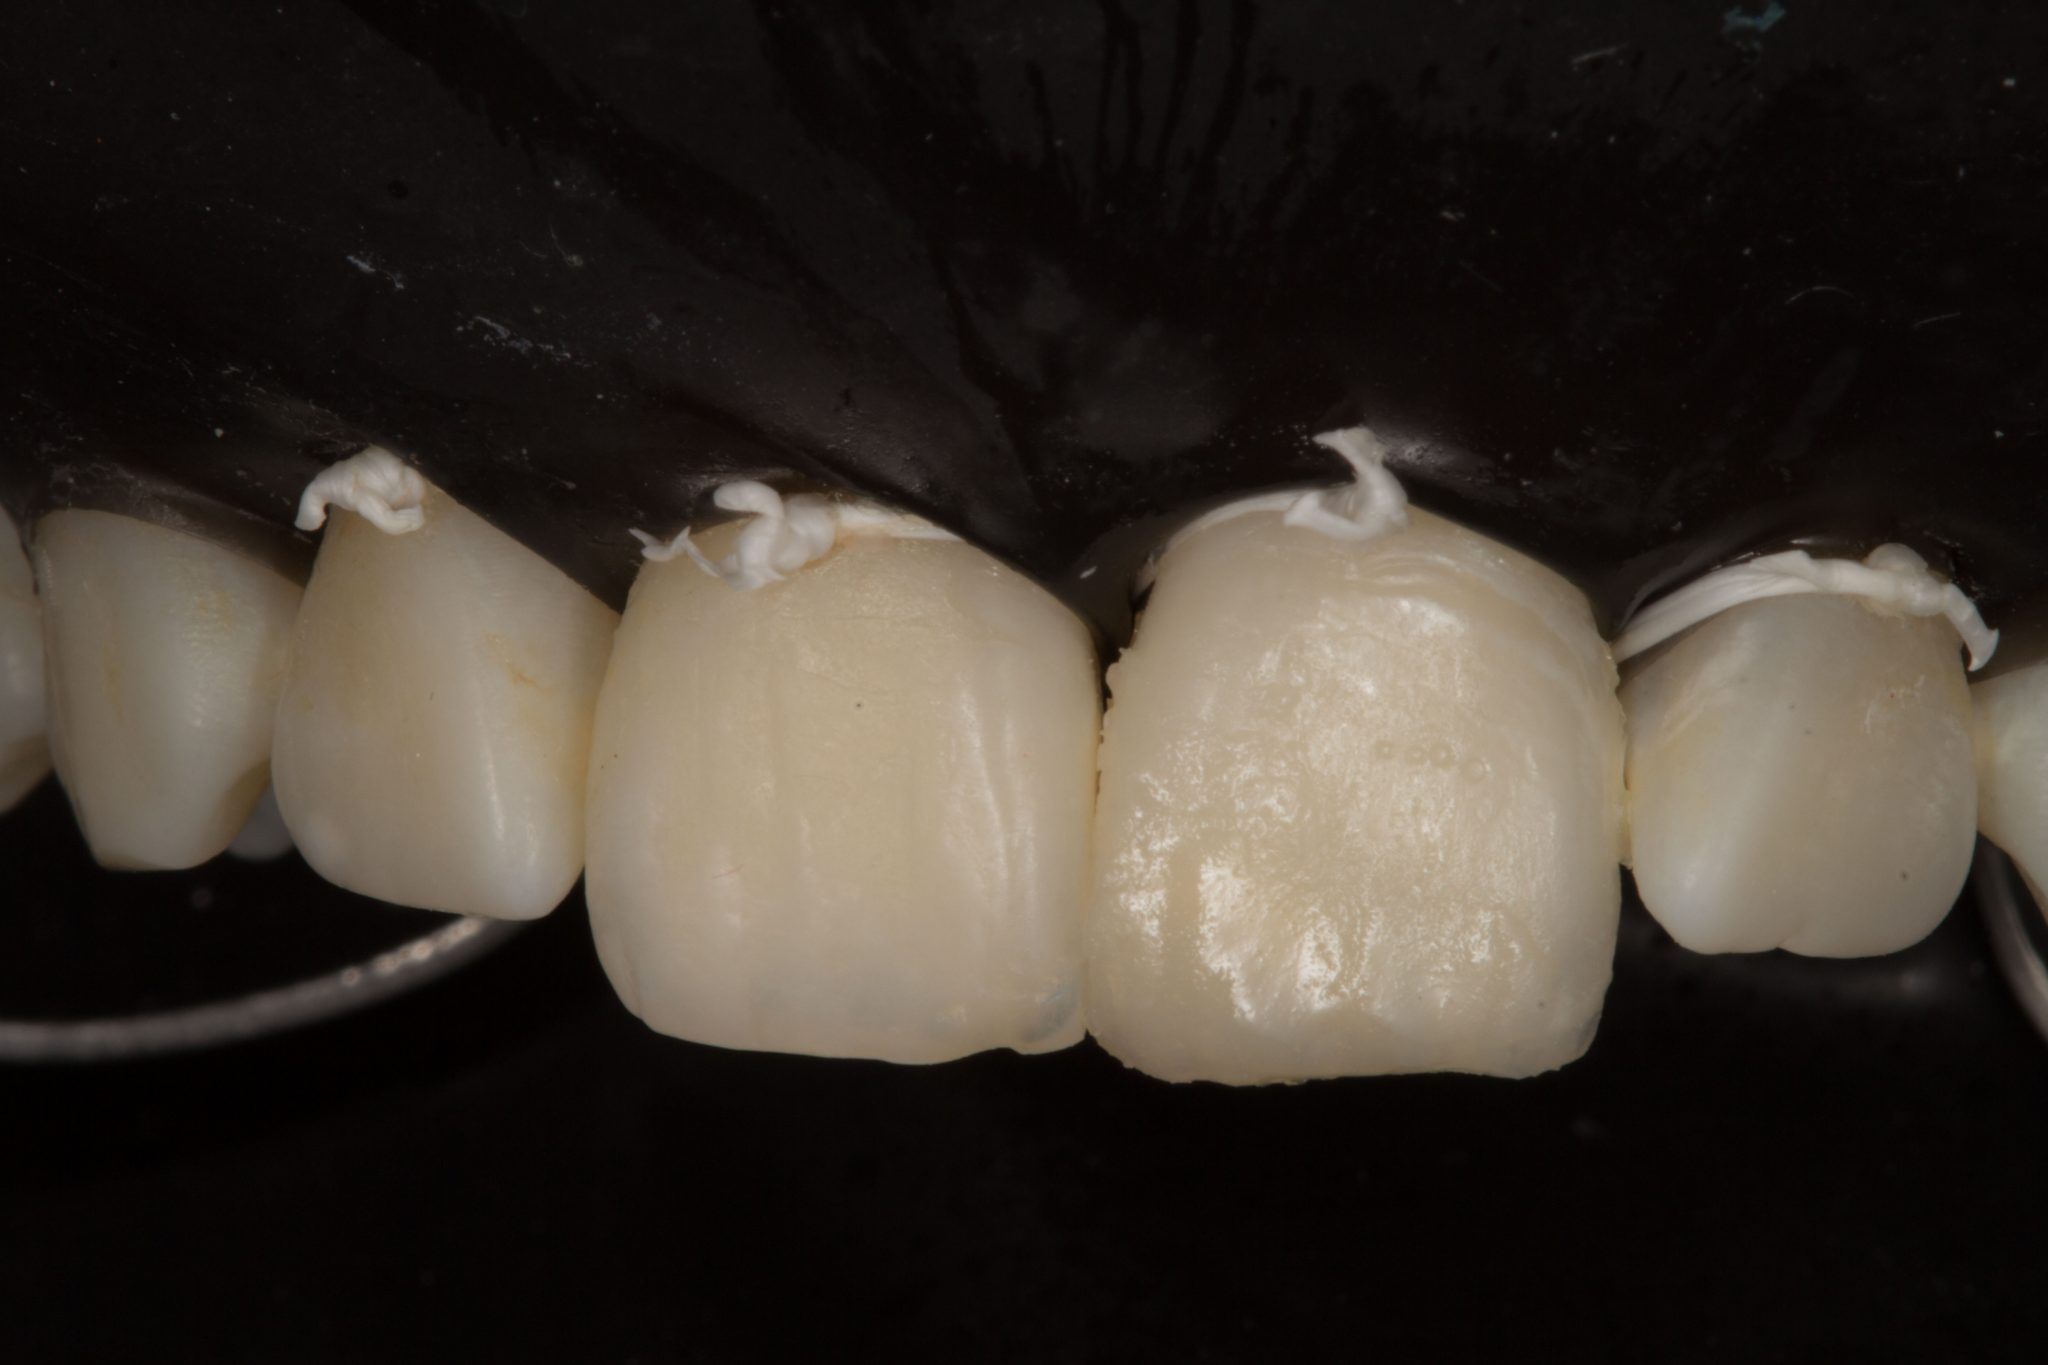
Photo 32. Applying the final layer before polymerization.
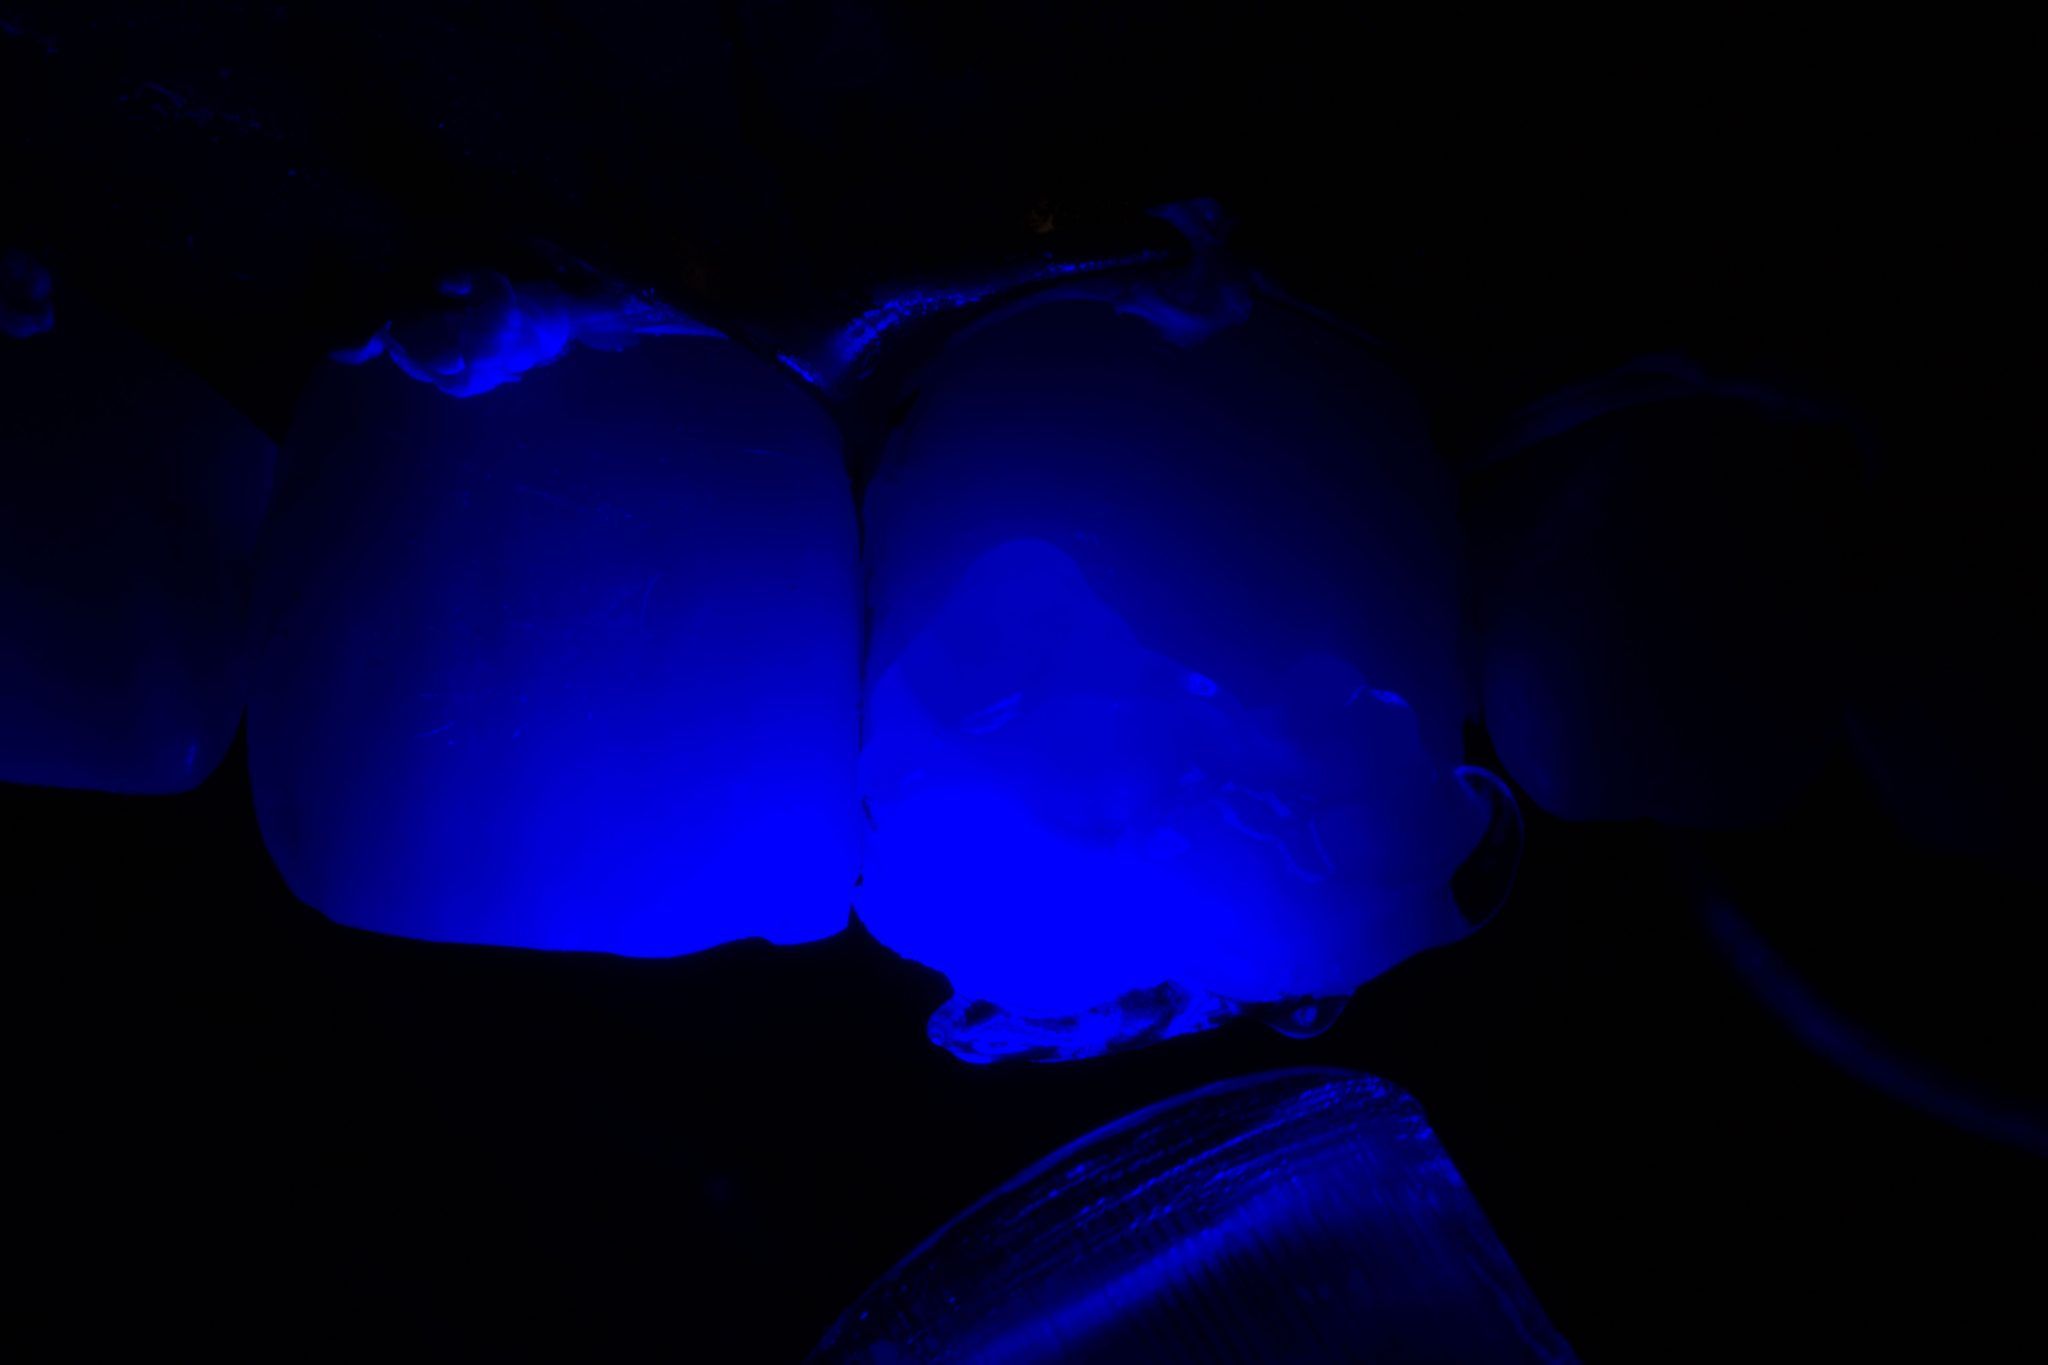
Photo 33. Final photopolymerization.
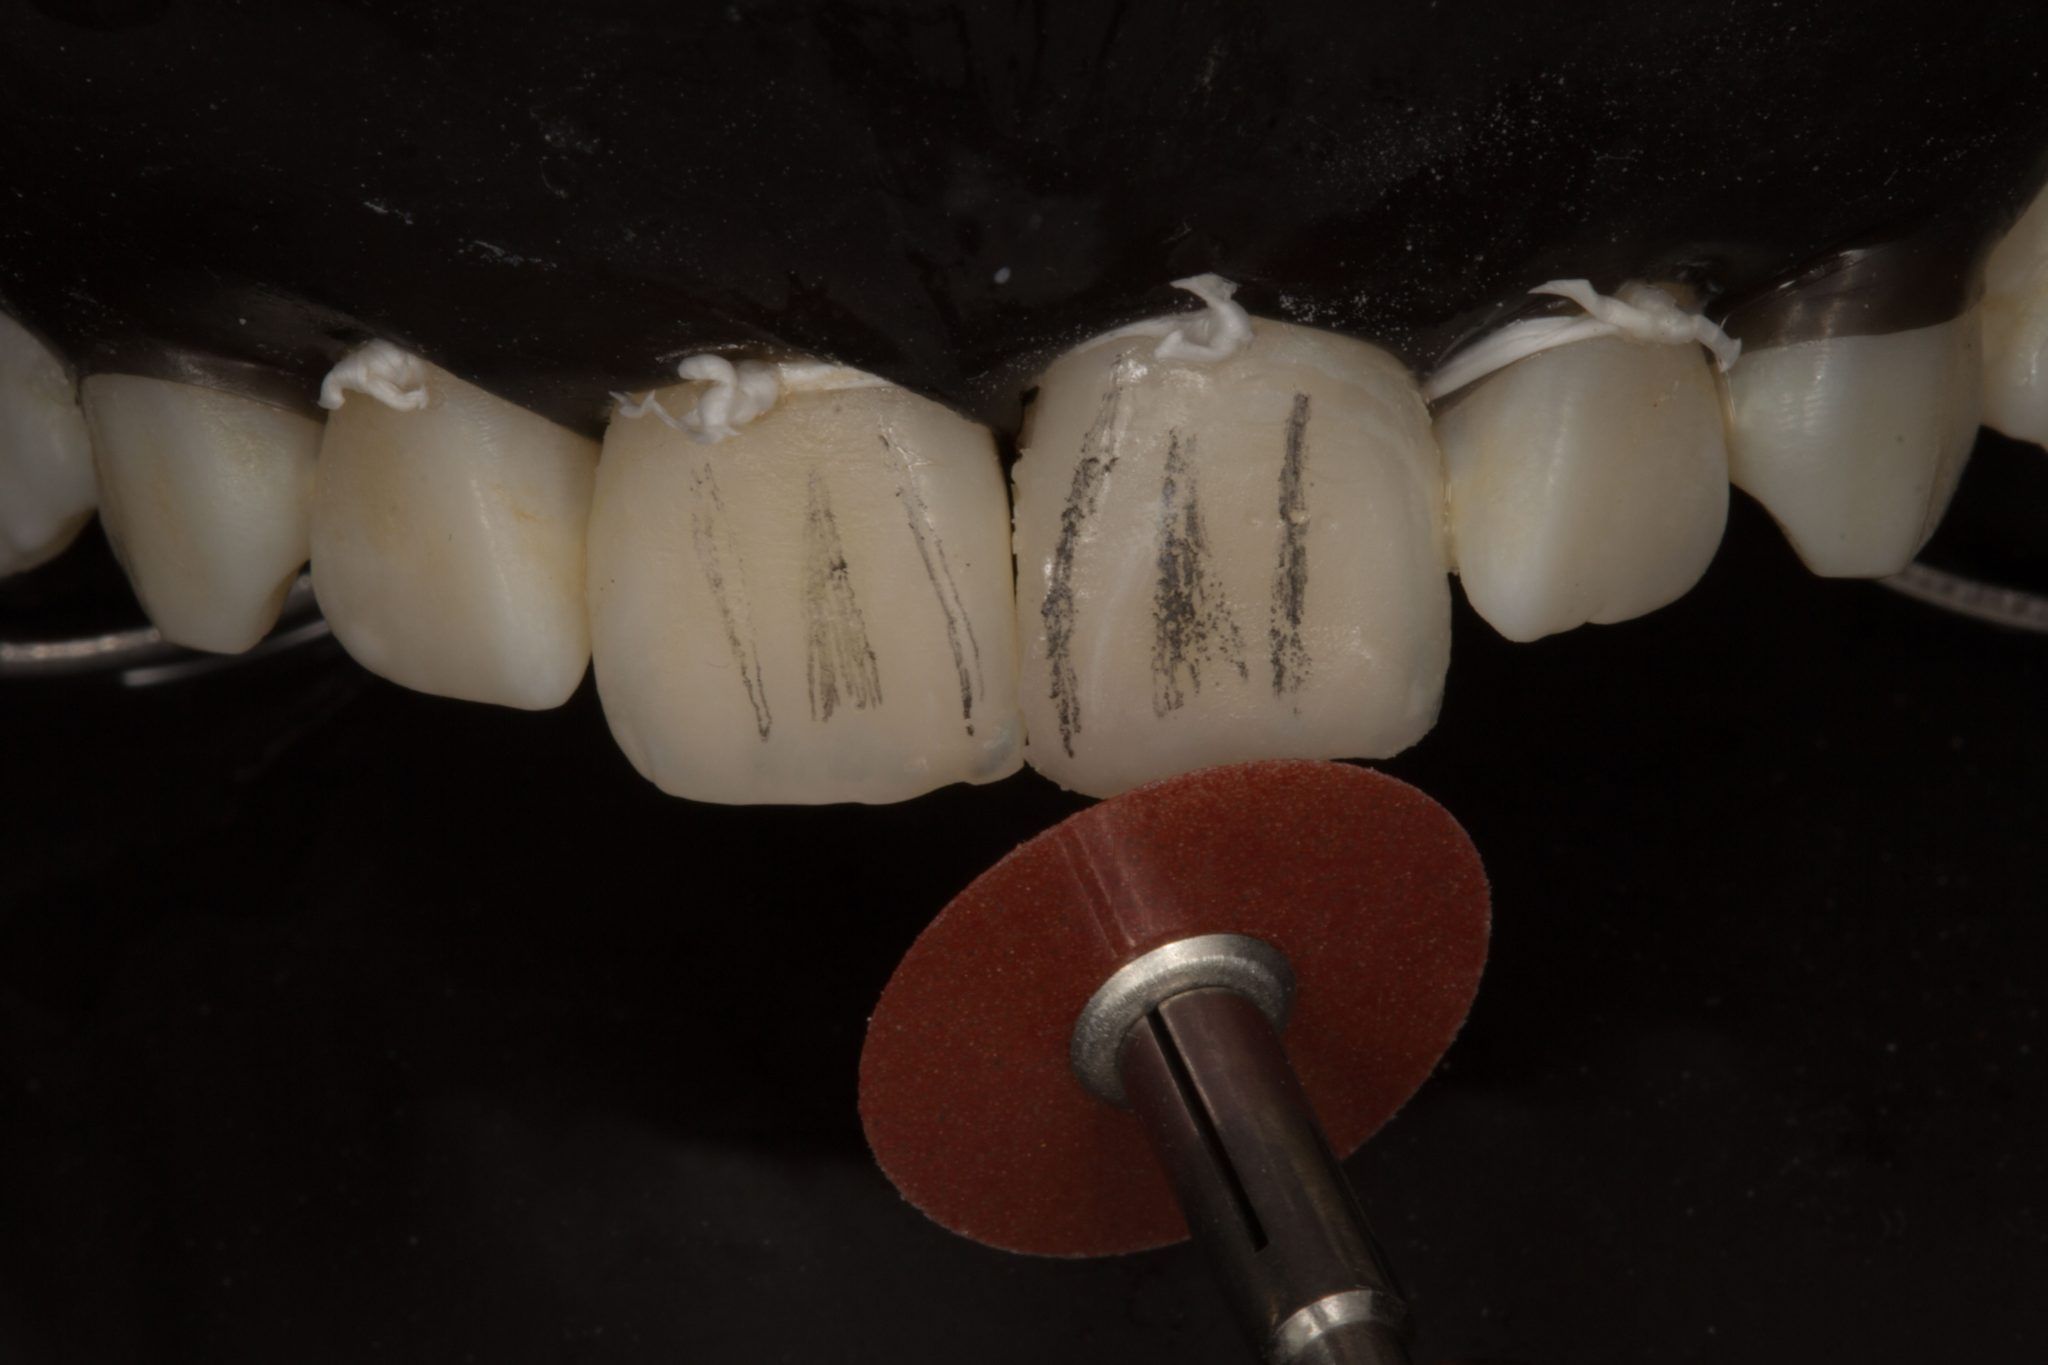
Photo 34. [The Power of the Pencil]
Photo 35. Polishing with SofLex discs.

Photo 36. Improving anatomy
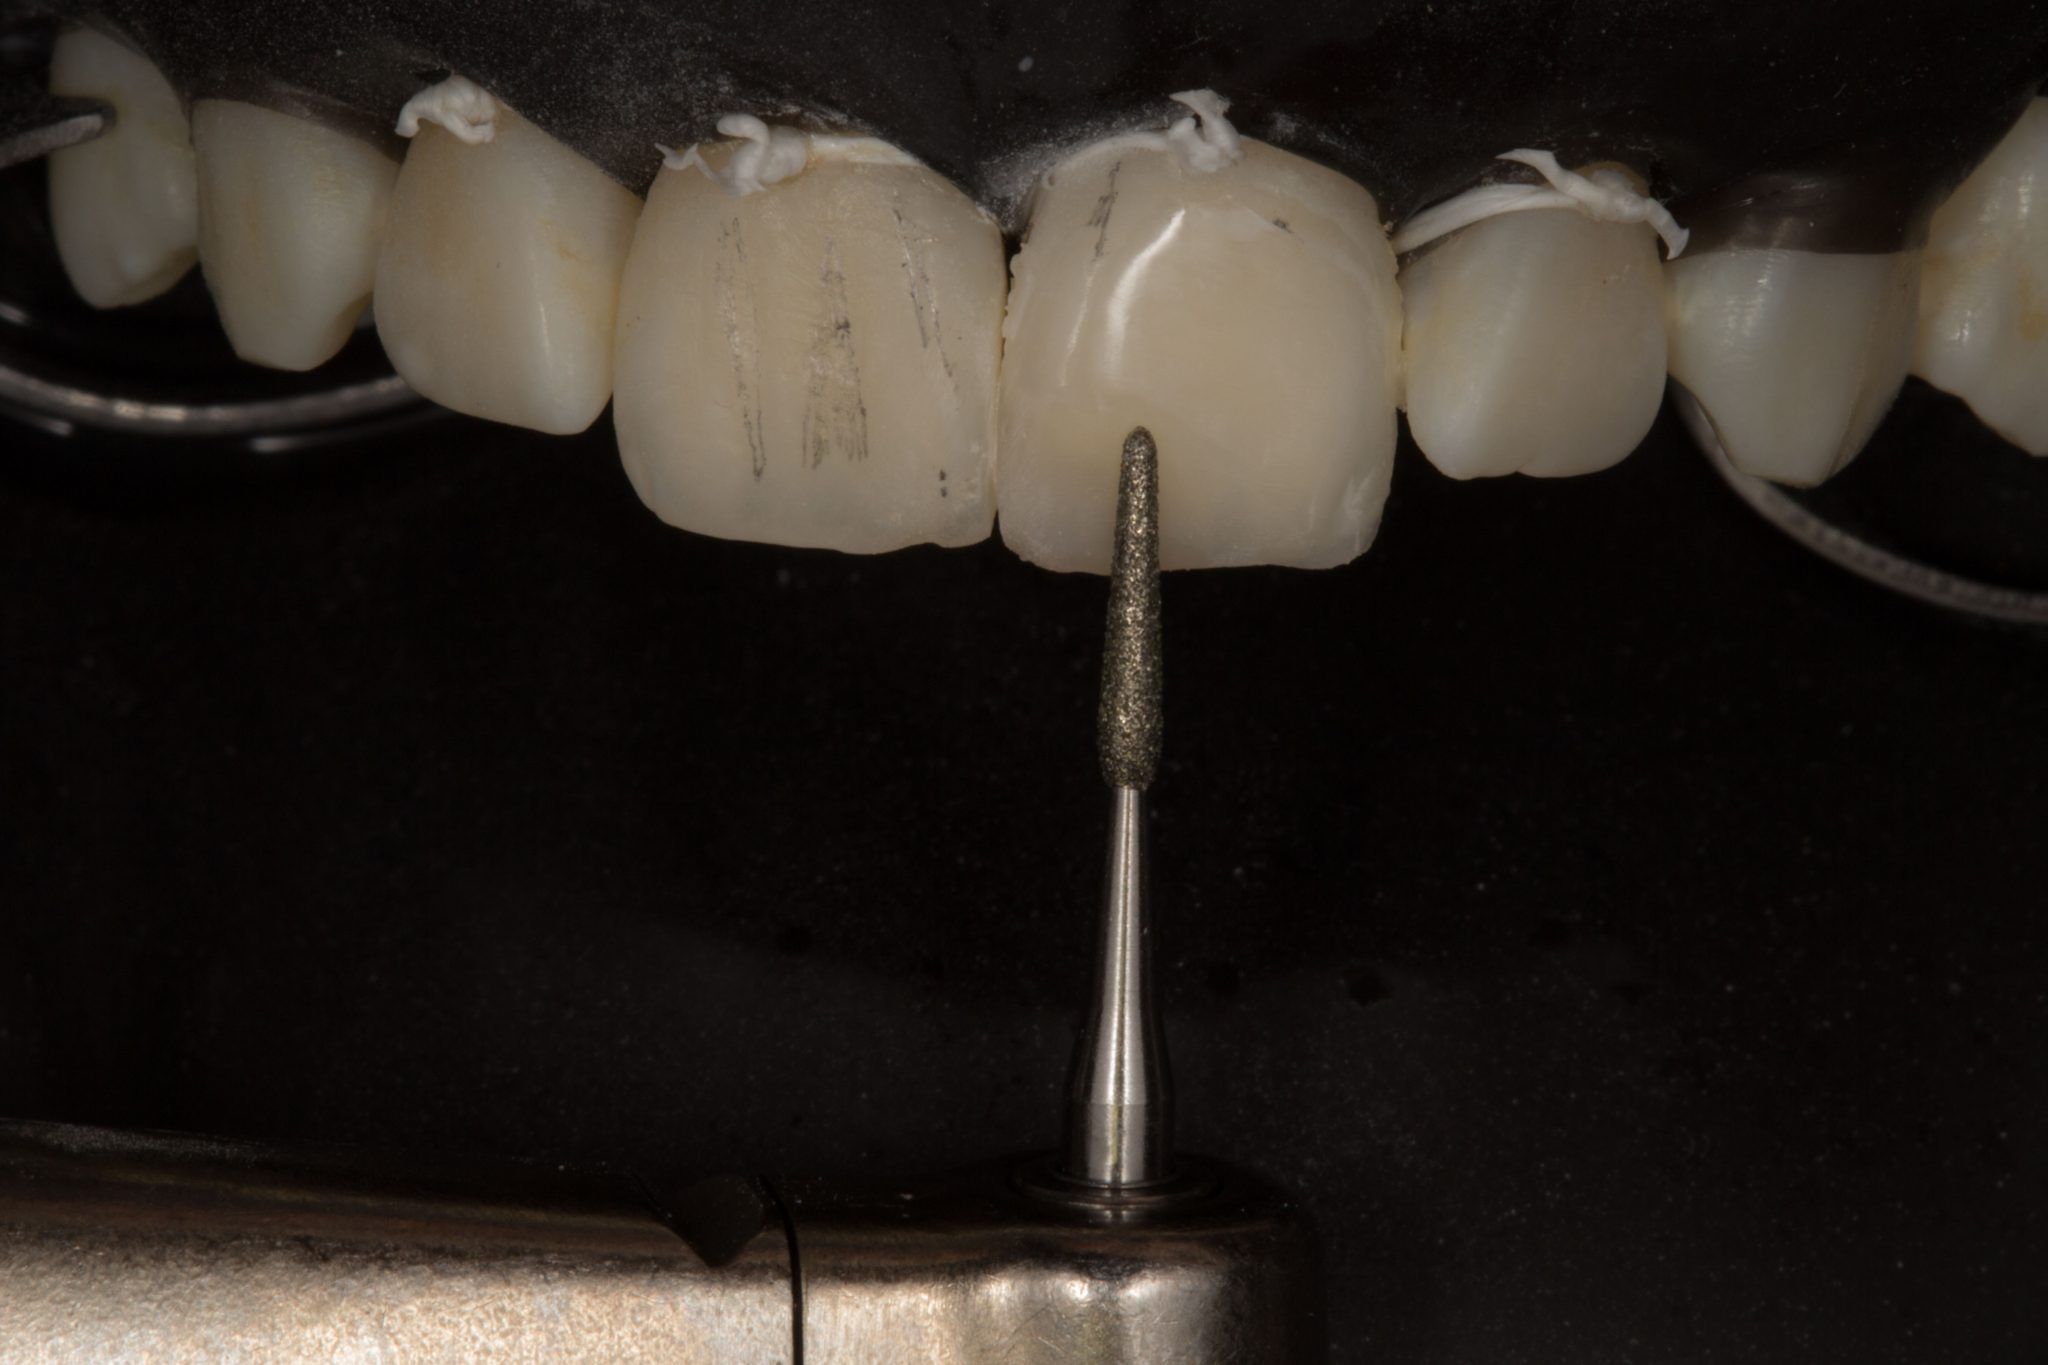
Photo 37. Burr for secondary anatomy.
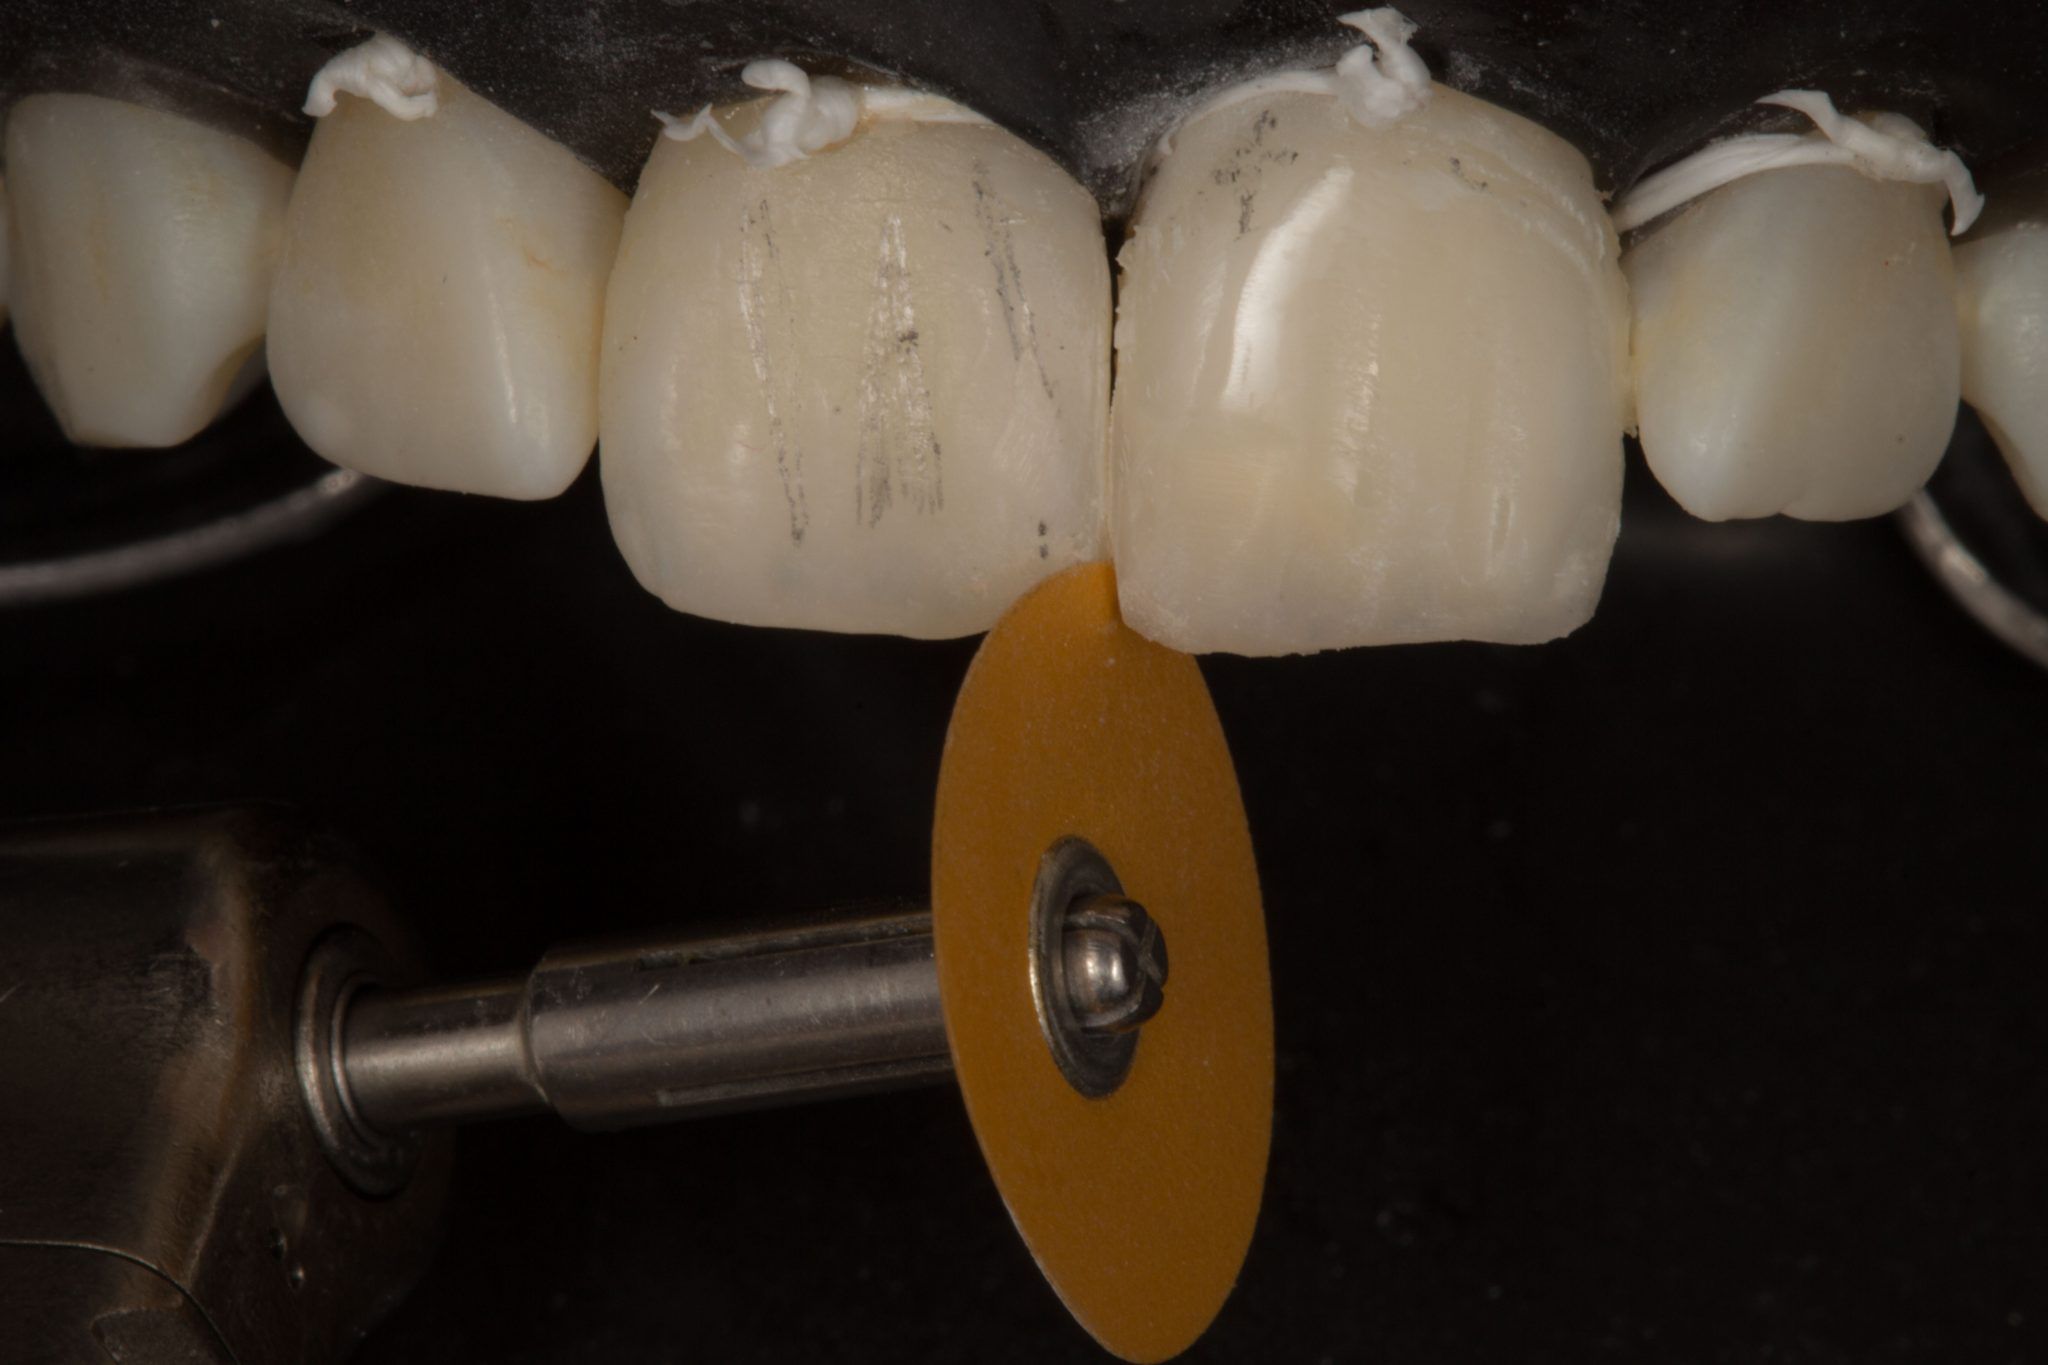
Photo 38. Grinding the gaps.
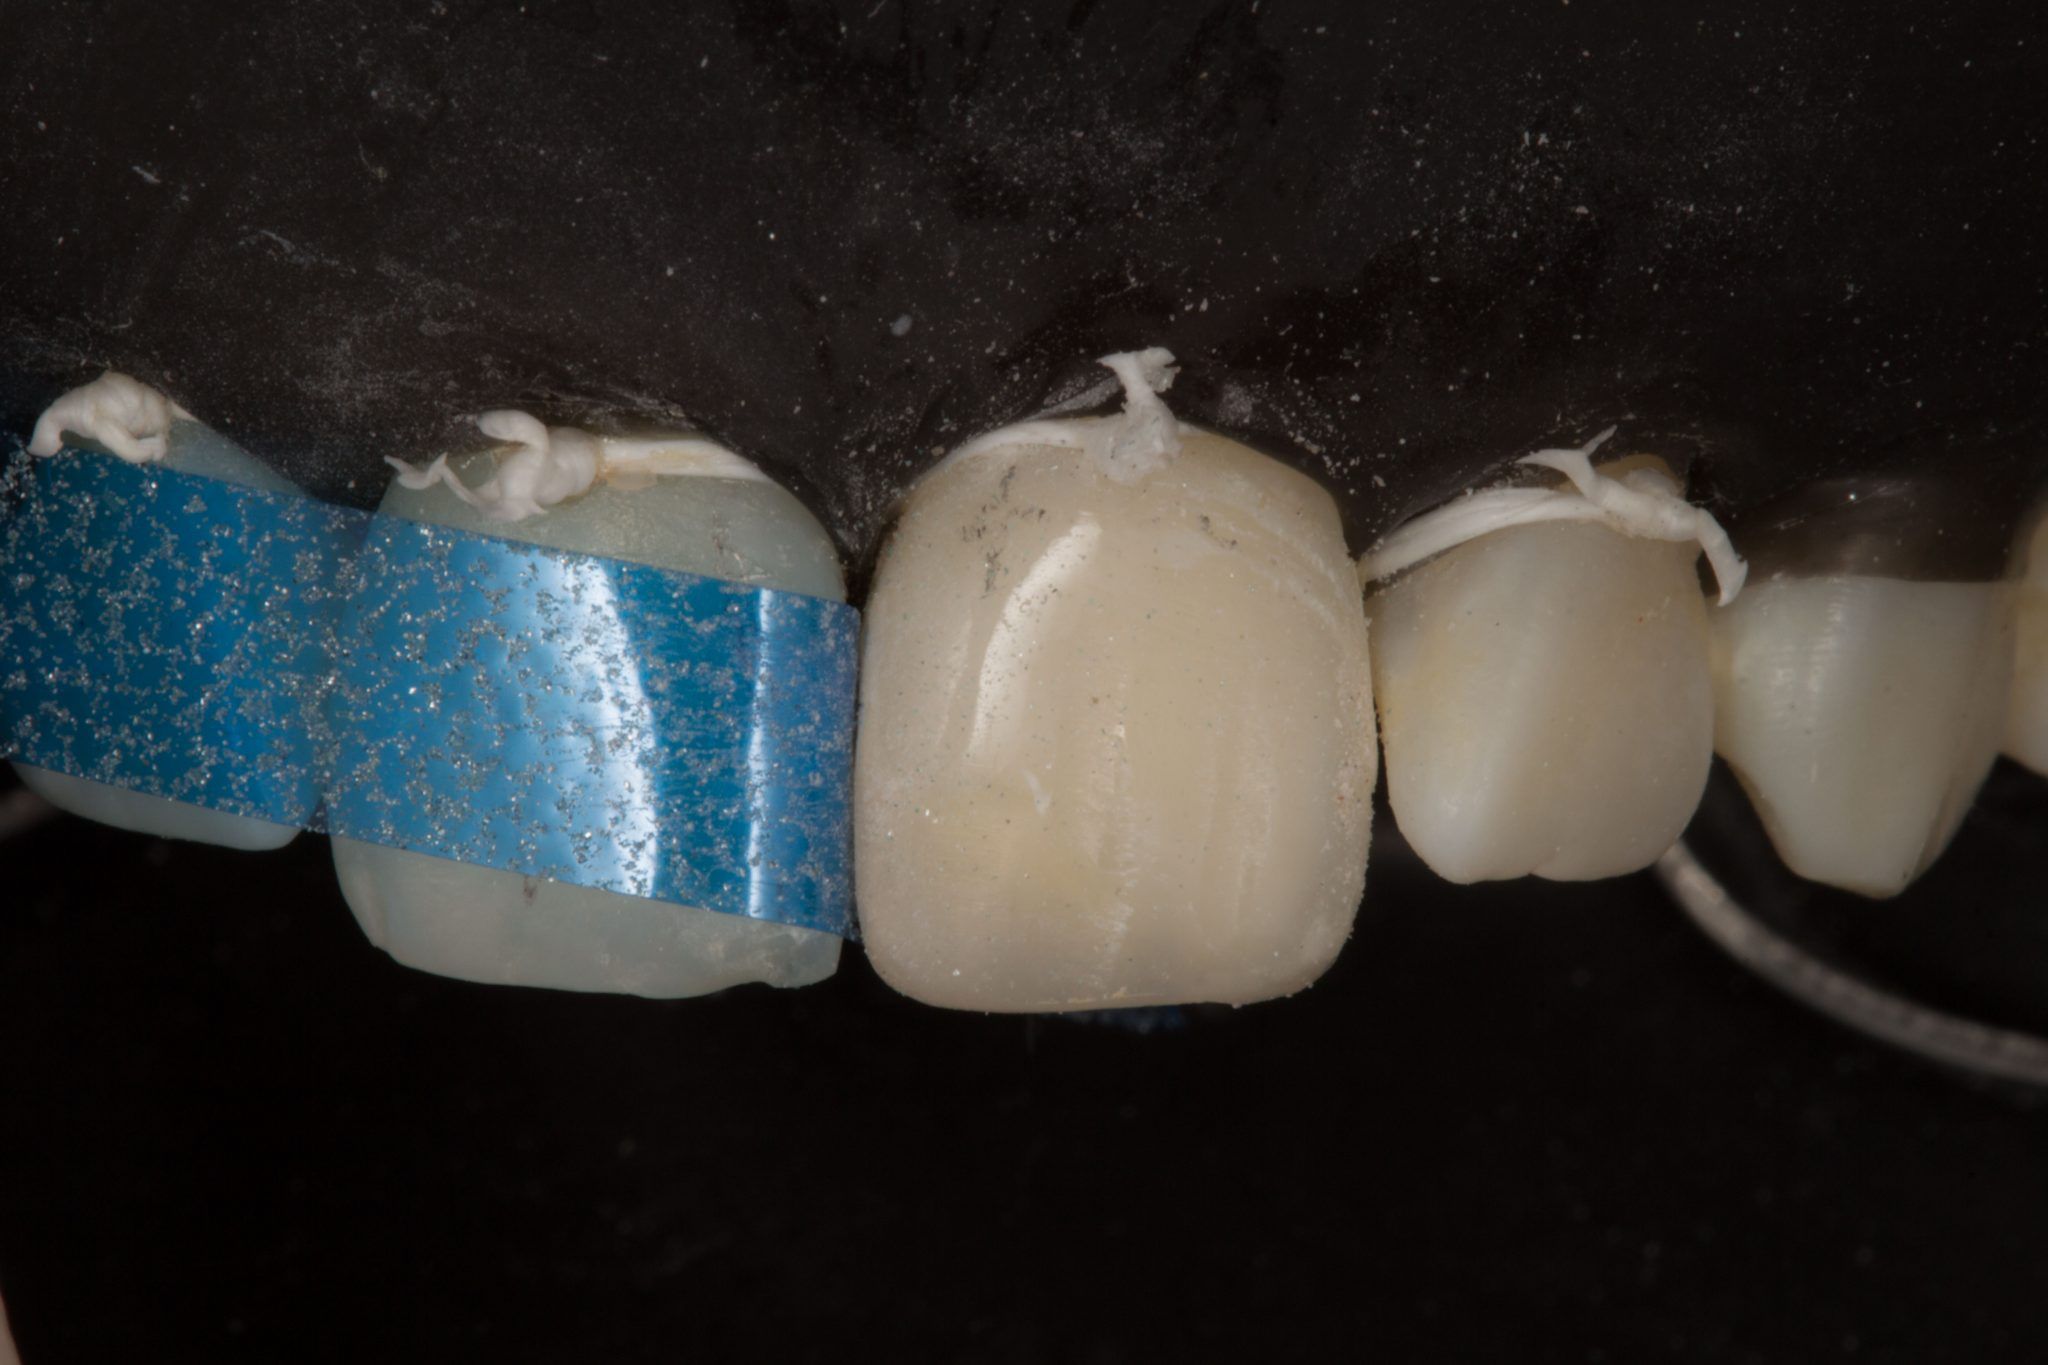
Photo 39. Interproximal polishing.
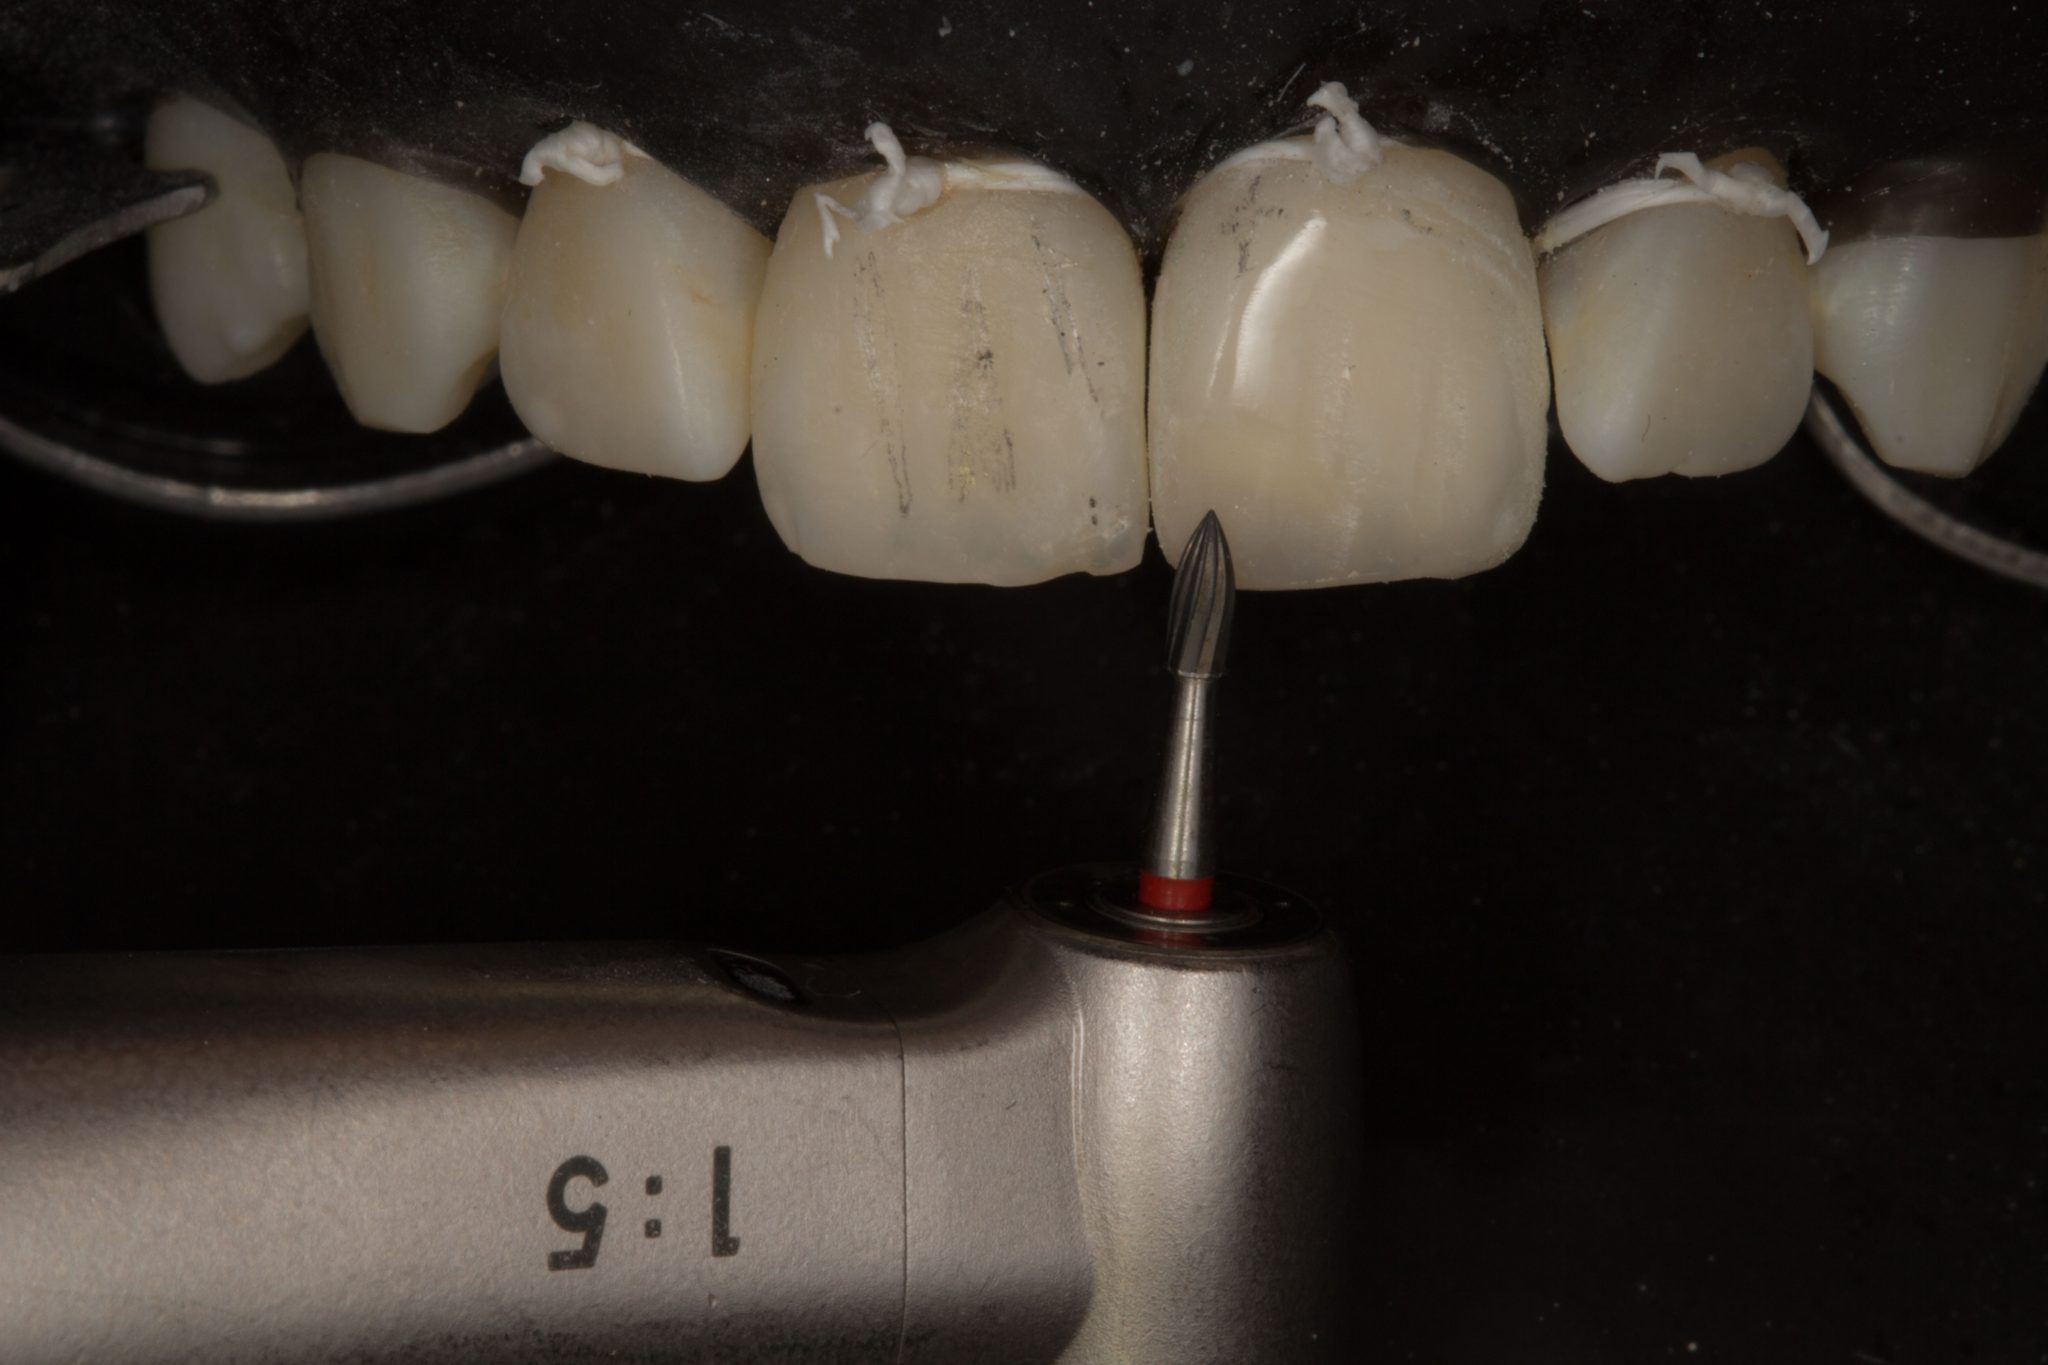
Photo 40. Details (finishing).
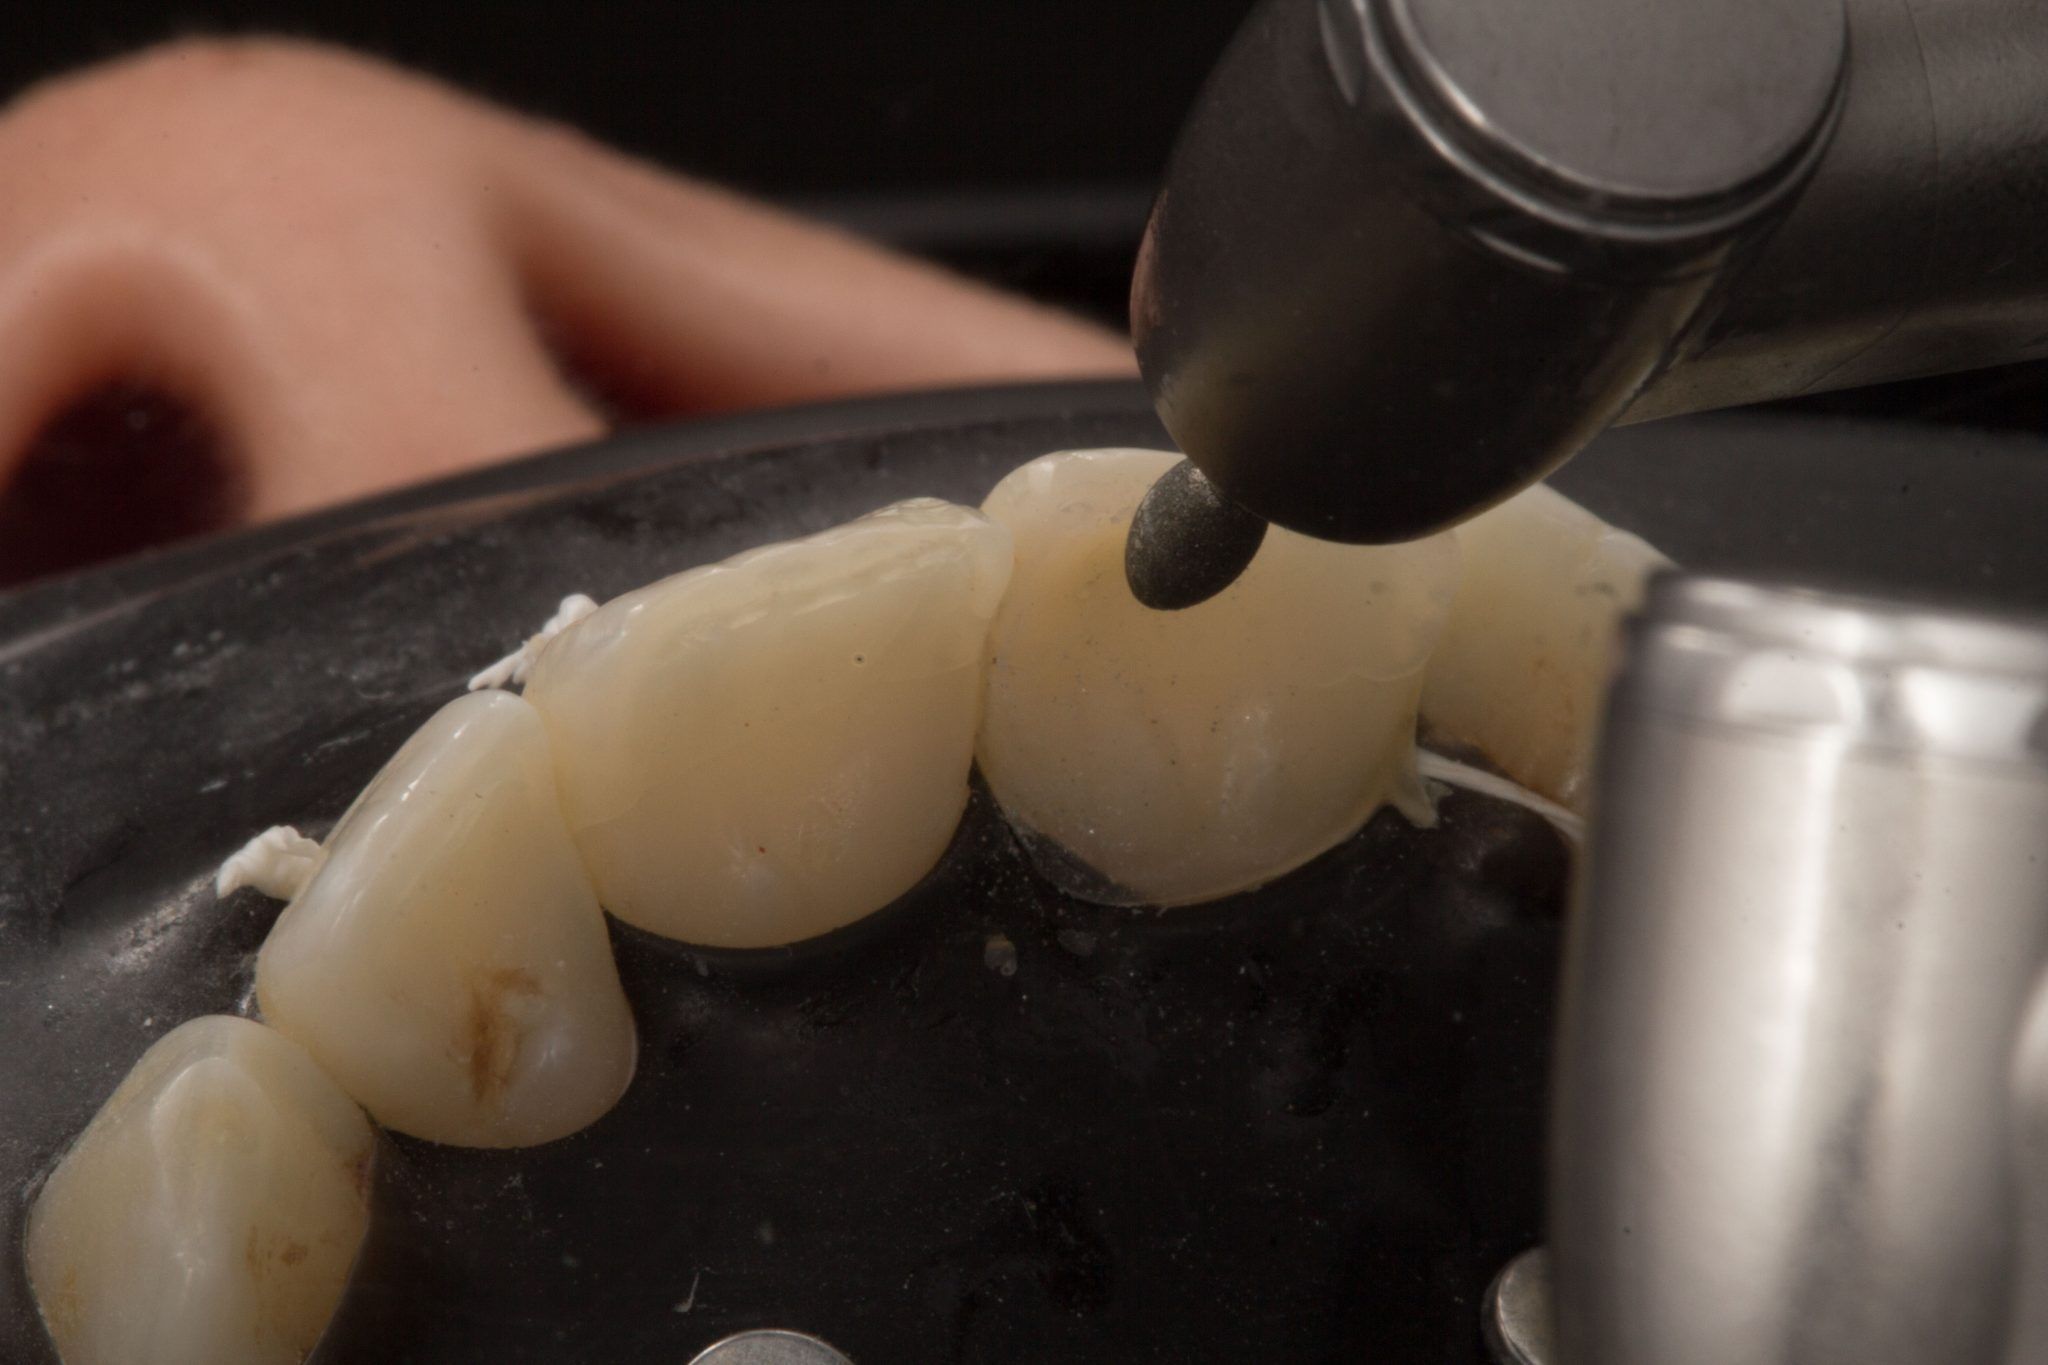
Photo 41. Not forgetting about the sky surface.
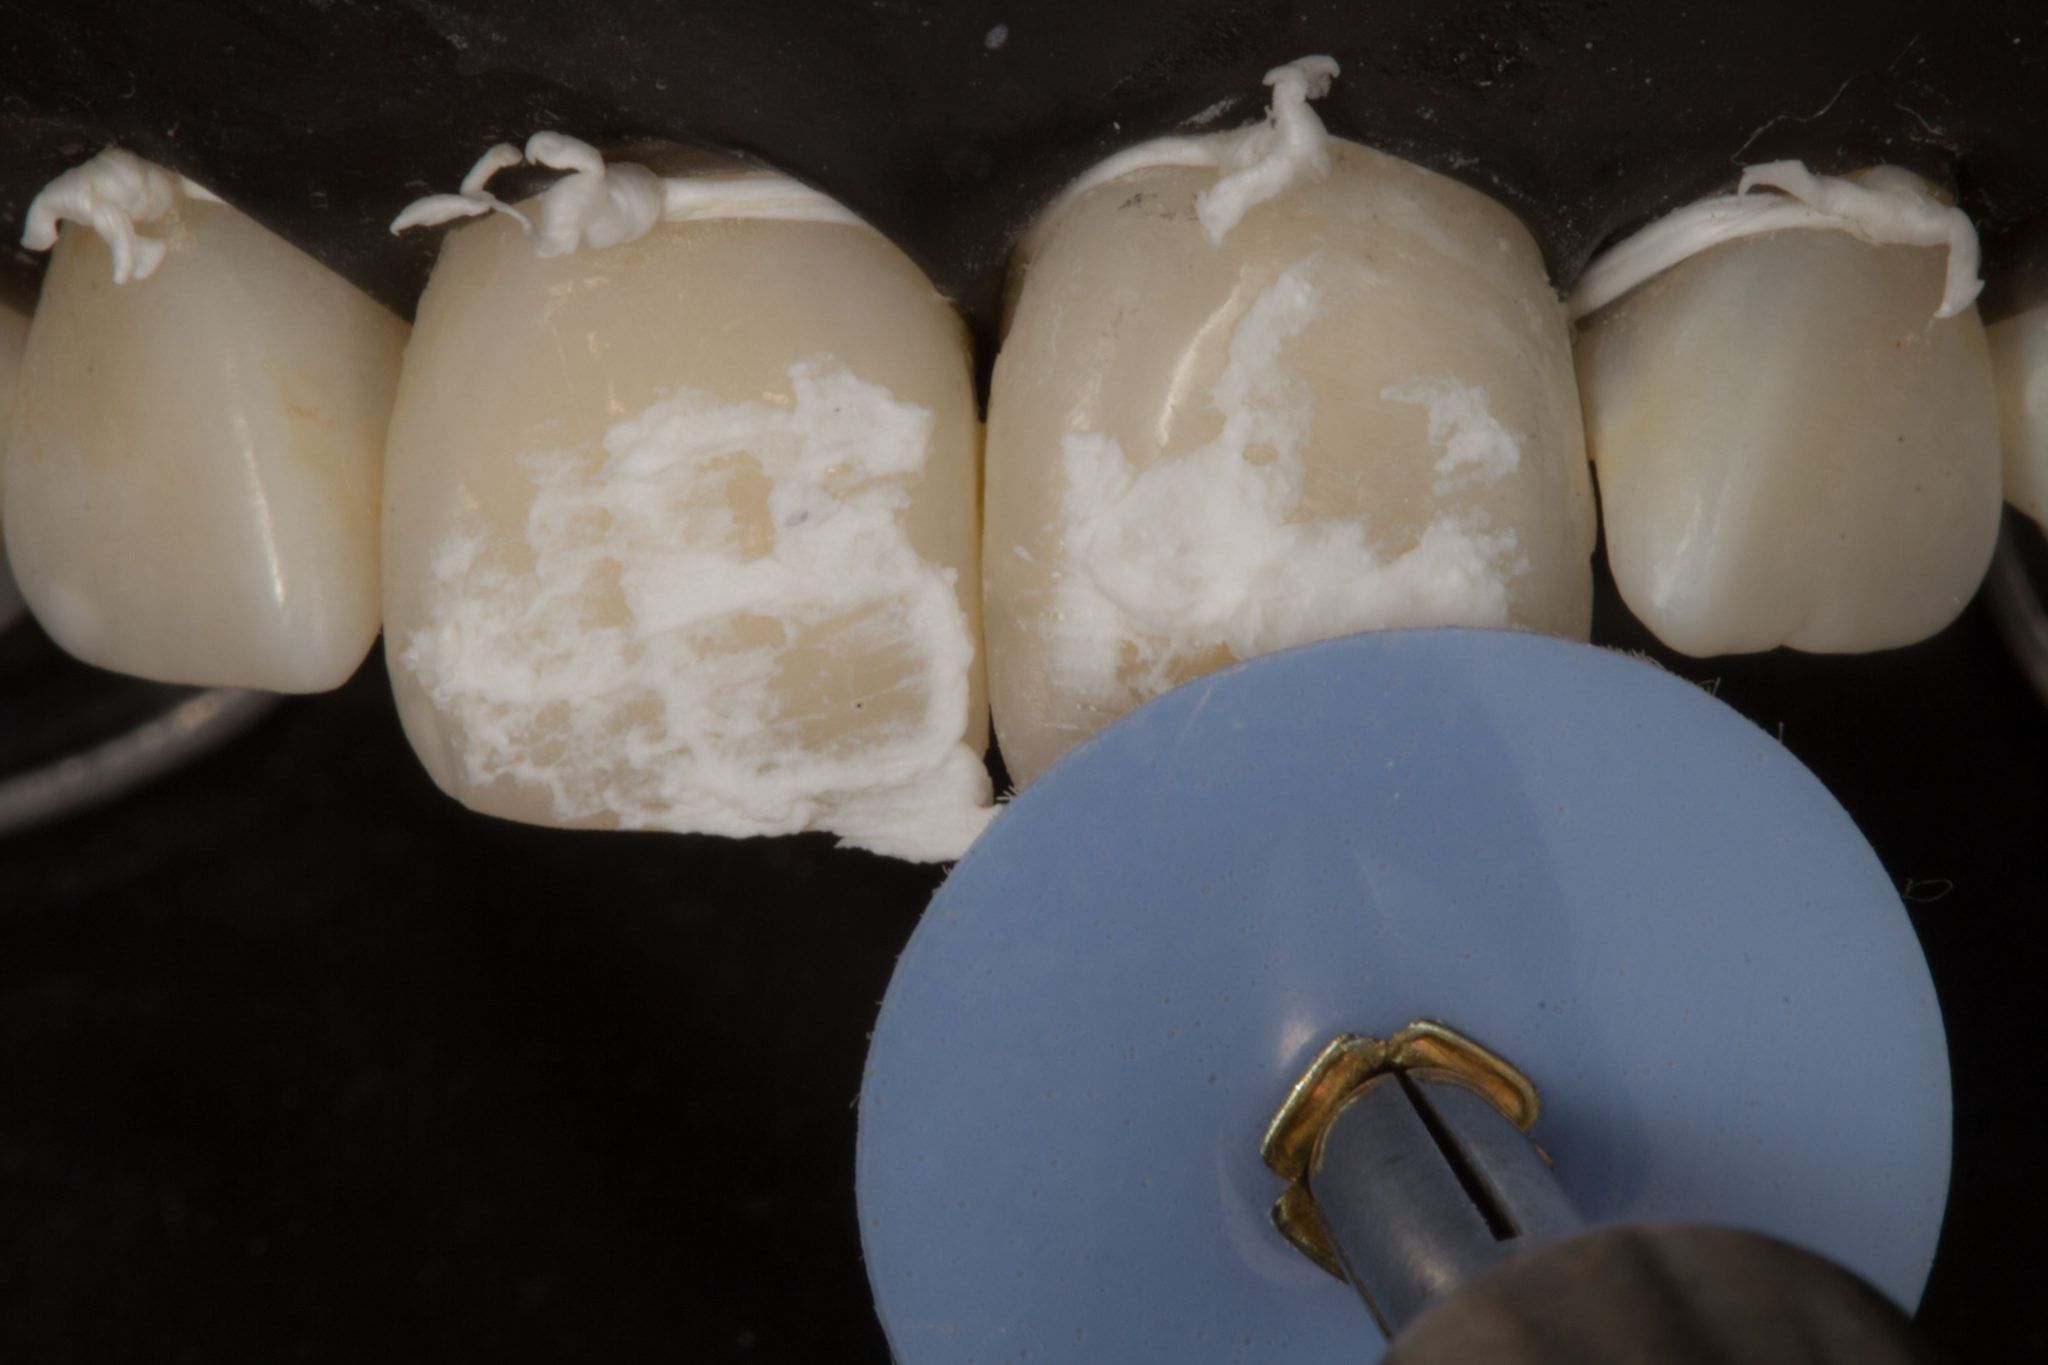
Photo 42. Final polishing.

Photo 43. Final result before removing the rubber dam.
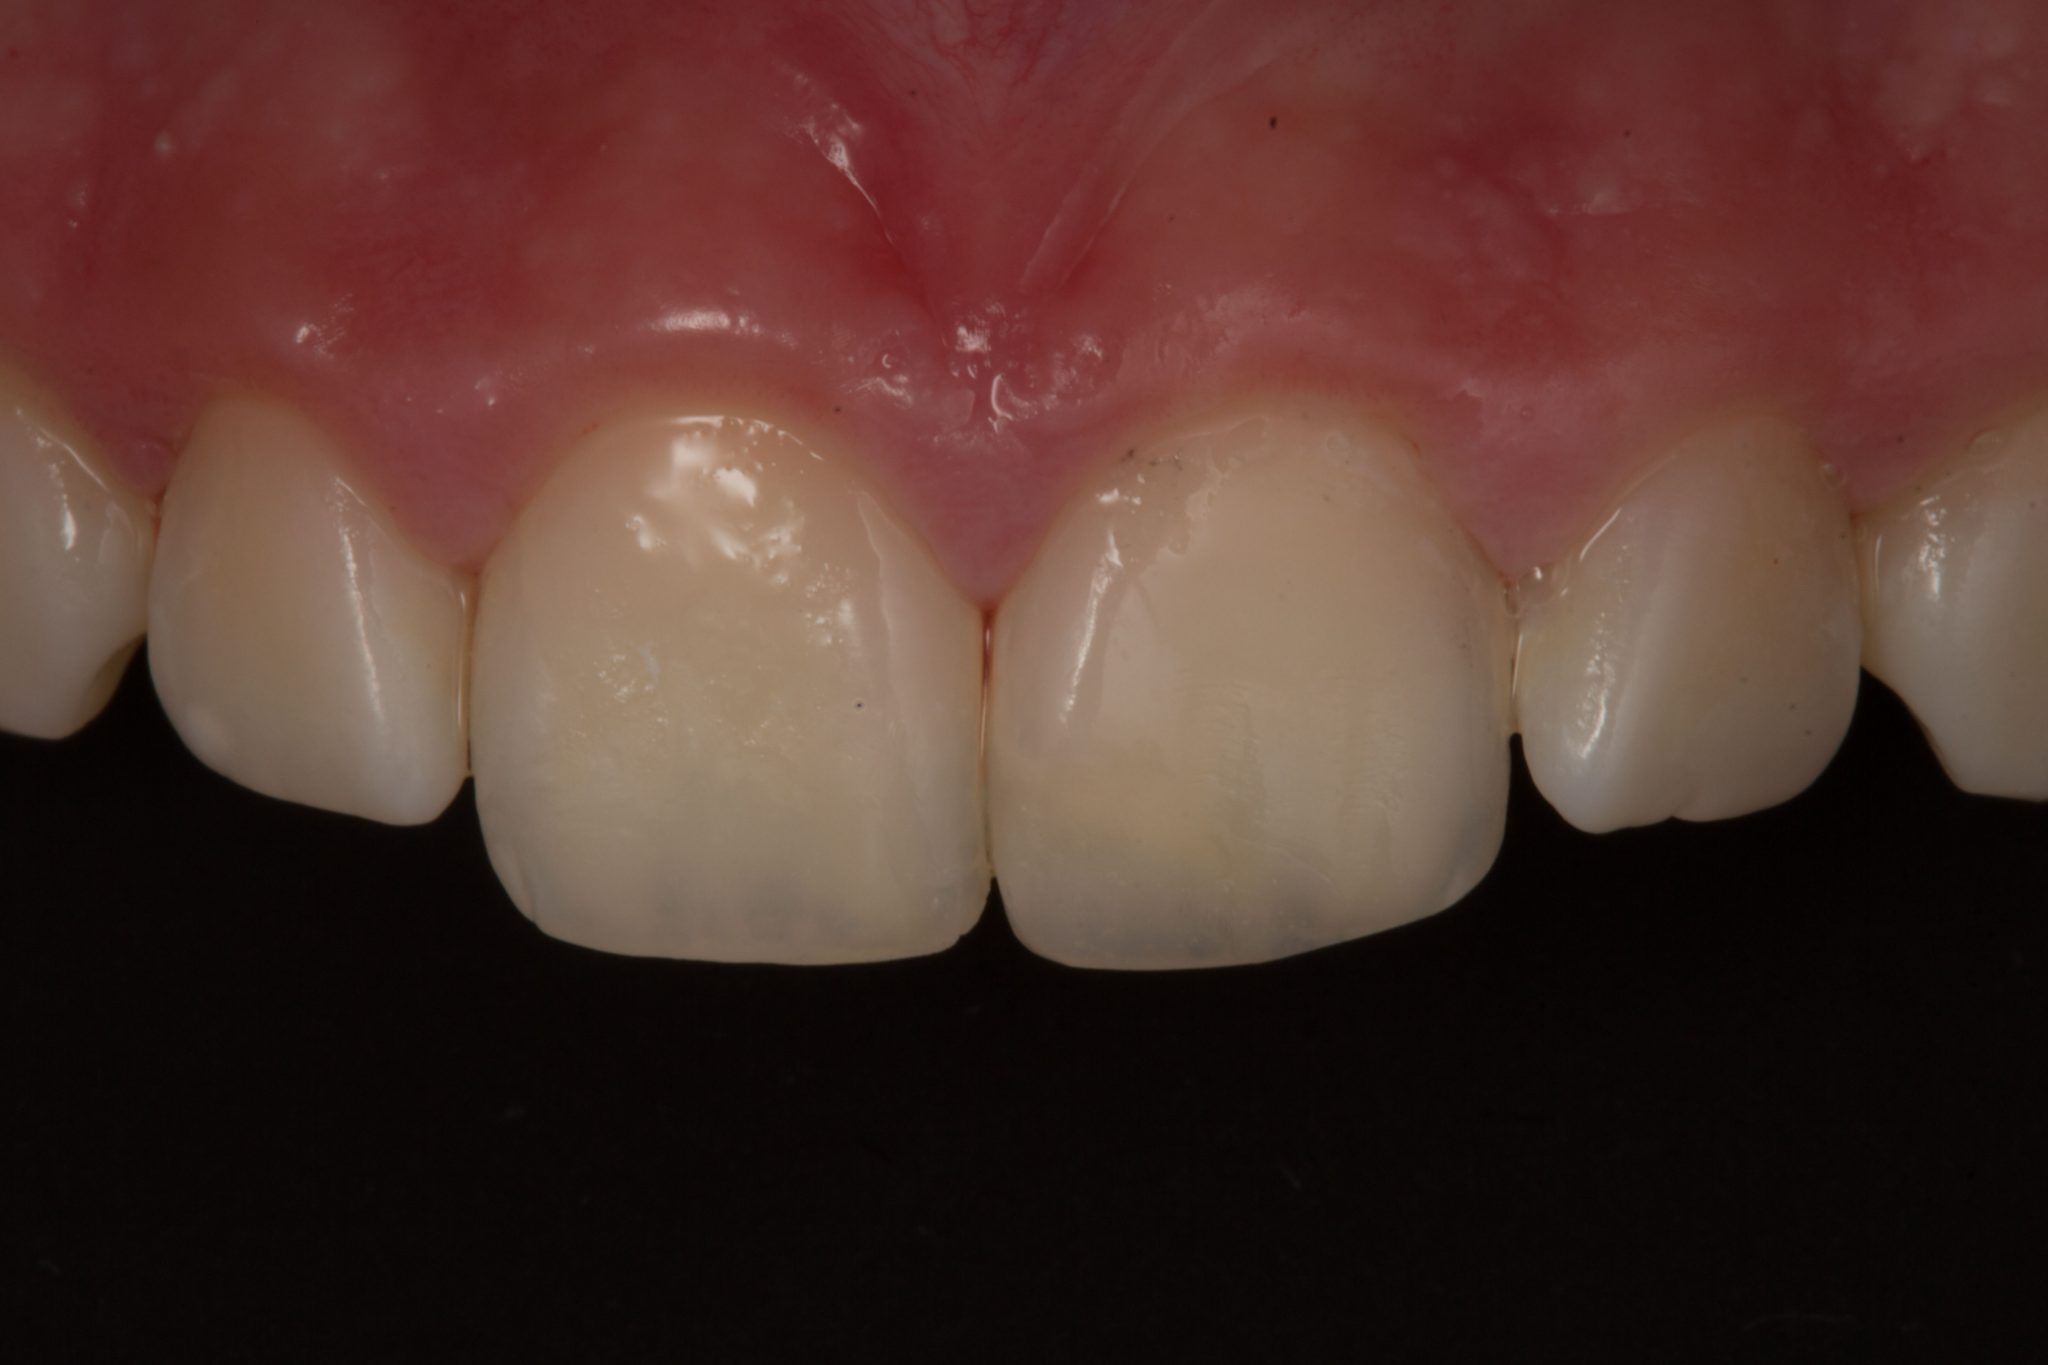
Photo 44. The immediate scene after all manipulations before rehydration.
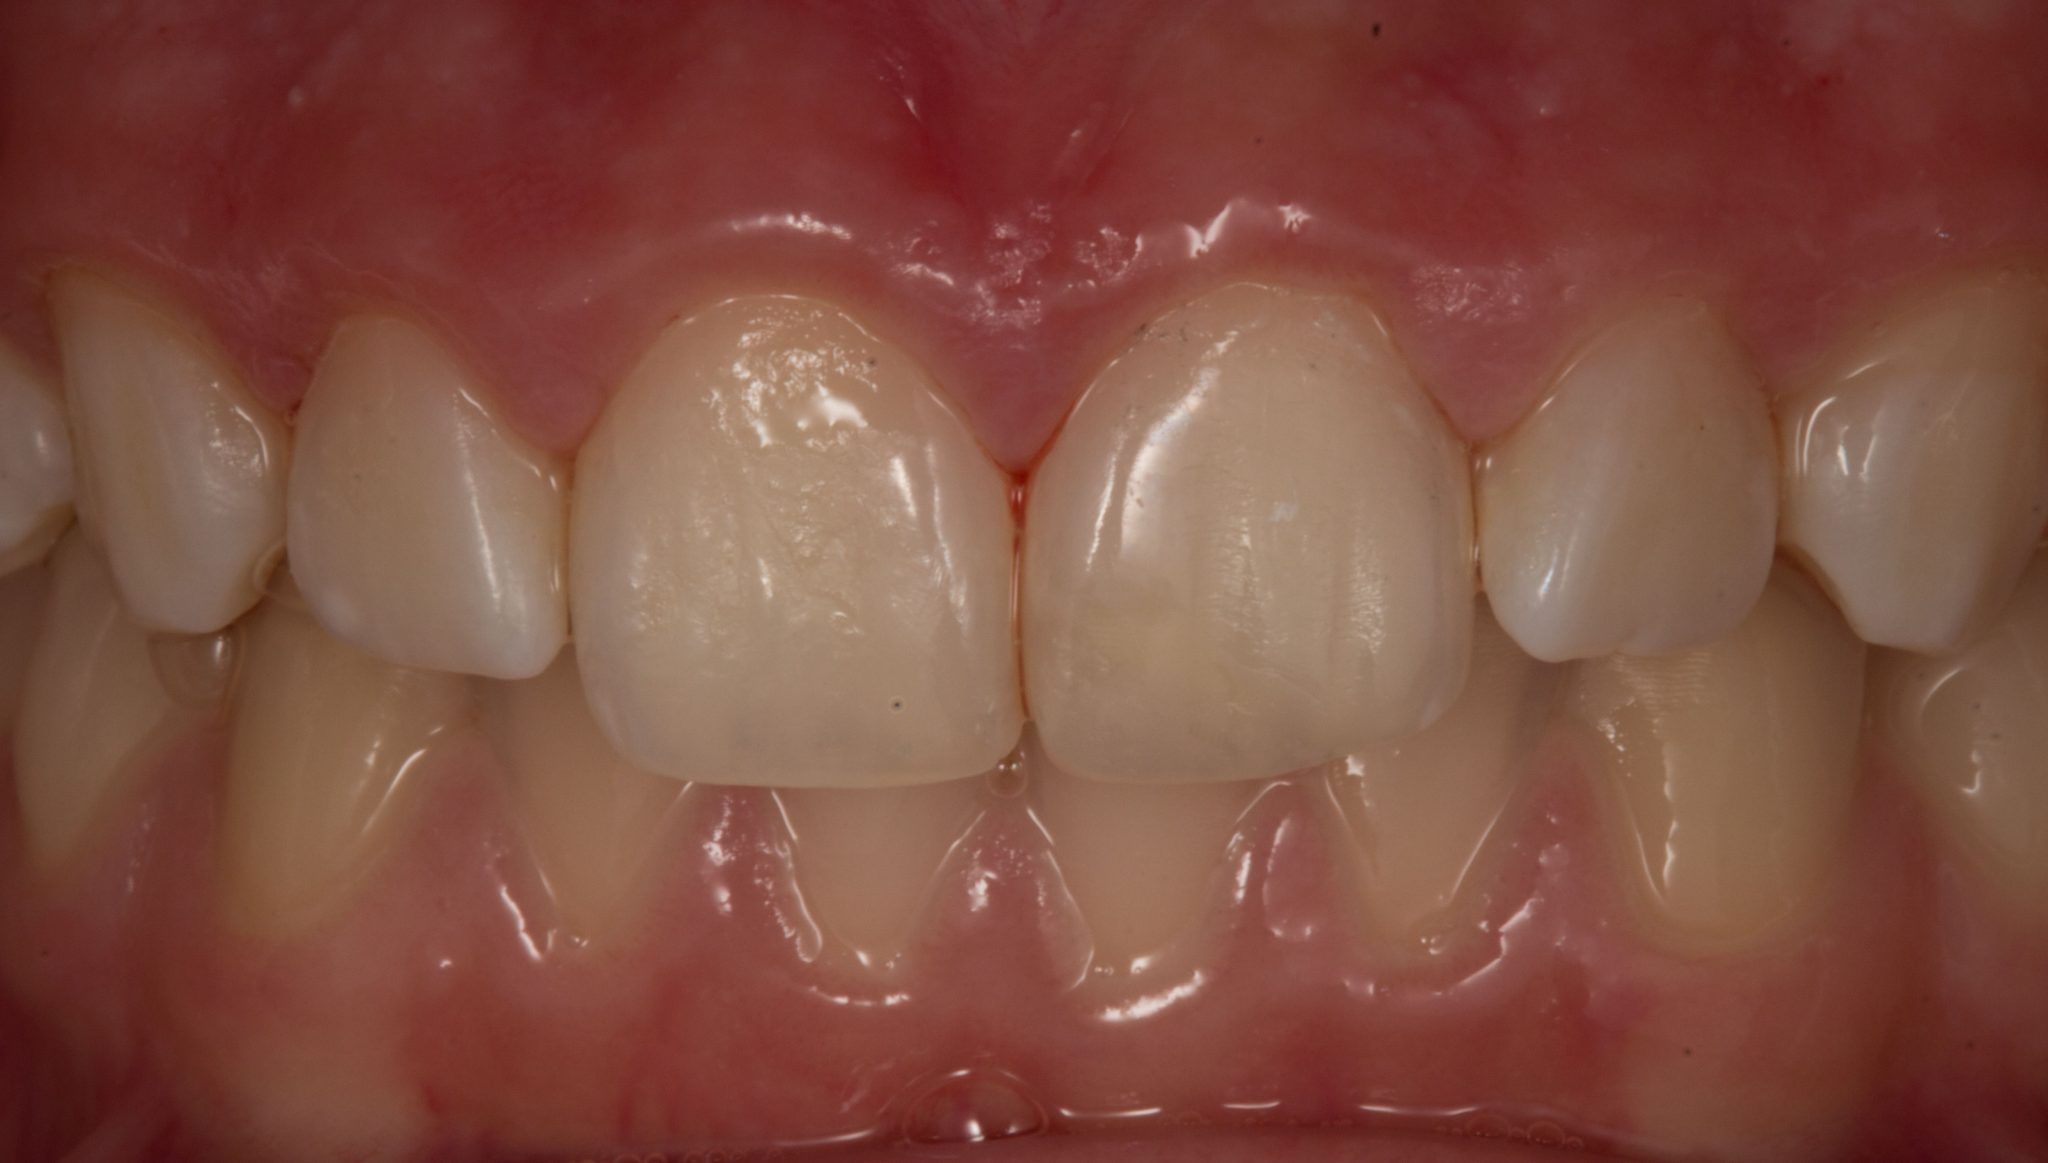
Photo 45. The immediate scene after all manipulations.

Photo 46. Several days later.
Photos 47-48. Final result.
Using Composite Resins to Restore the Color of Natural Teeth
Using actual tooth fragments is always better for treating fractures, as we have seen in previous publications. In this clinical case, it was a practically applicable solution for the past 4 years for our young patient. When this is not possible, we need to look for other approaches, such as using composite resins, which can mimic the color of natural teeth using simple methods. We need to know about all the possibilities that we can offer to patients to solve everyday problems.
Indications for direct and indirect restorations at the webinar Effective Adhesive Protocols for Direct and Indirect Restorations.
http://styleitaliano.org/