
Composite Veneers and Composite Restorations in the Frontal Section
Machine translation
Original article is written in RU language (link to read it) .
In aesthetic restorations, we need to achieve the perfect shape, color, and texture of tooth tissues. For this, we need not only manual skills but also knowledge of the general principles and methods of restoring front teeth. In everyday practice, we often encounter patients who have problems with their front teeth. It is considered that front teeth are more difficult to restore because this area is constantly on display: smiling, talking, etc. With simple methods and protocols, we will learn how to overcome these problems.
Review of all techniques for creating composite veneers in the online course Composite Veneers: All Creation Techniques.
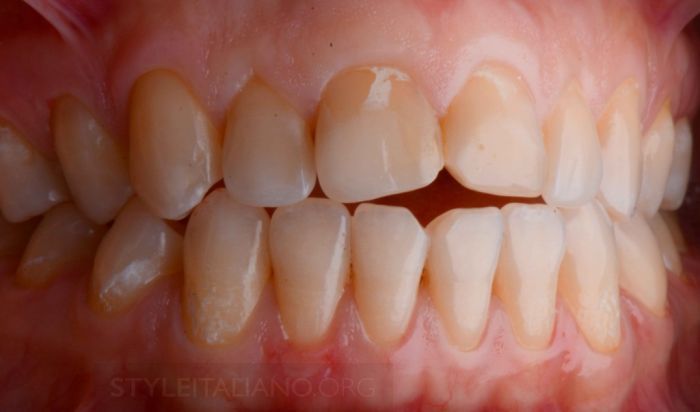
Photo 1.
Tooth hypersensitivity
A 25-year-old female patient came to us complaining of tooth hypersensitivity in the frontal area. She does not feel comfortable when smiling. During the examination, we discovered two old composite restorations on teeth 1.1, 2.1 and an exposed part of the dentin on the cutting edge. Defects of class 4 were found on teeth 3.1 and 4.1. The patient admitted that she likes to chew seeds. This can cause defects on the lower central incisors, and hypersensitivity may be due to defects in the area of the tooth necks. The patient was recommended to undergo orthodontic treatment, but she refused due to its duration. It was decided to install ceramic veneers, with lithium disilicate material, on teeth 1.1 and 2.1; composite restorations of teeth 3.1, 3.3, 4.1, 4.3, 4.4, 4.5.
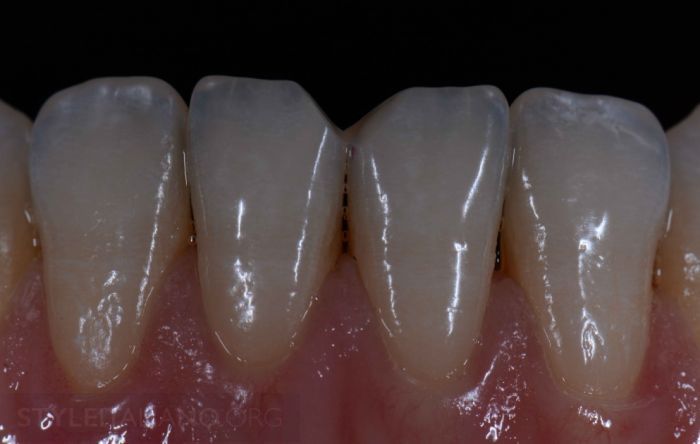
Photo 2.
Restoration of Lower Incisors
We started with the restoration of the lower incisors. To analyze the internal structure of the teeth, we must use intraoral photographs. In this case, two photos were taken using a regular and a polarizing filter.
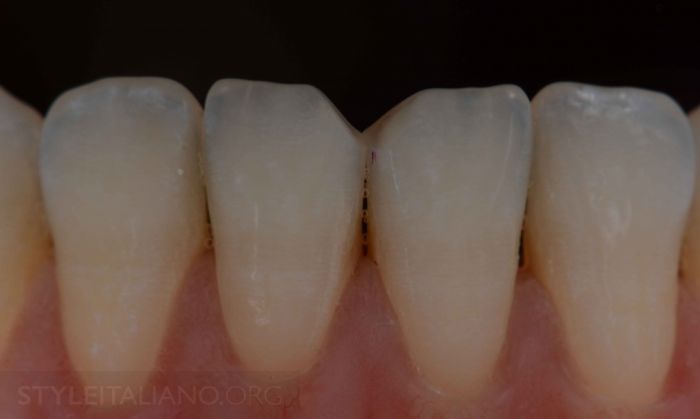
Photo 3. For this, we can use a camera with filters, or a mobile phone using Smile lite.
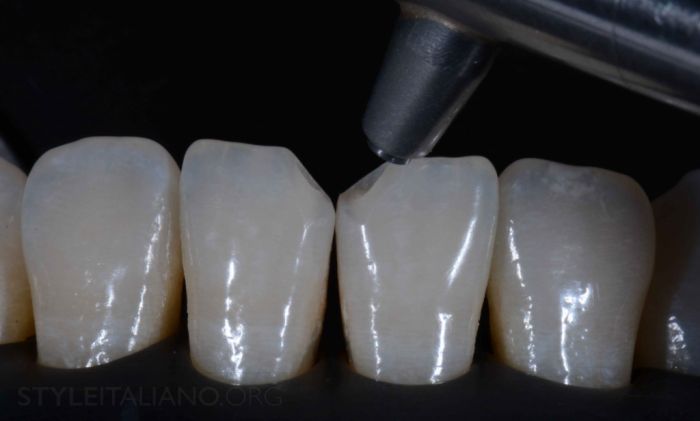
Photo 4.
Removal of Sclerotic Dentin
To remove sclerotic dentin, we can use 27-micron Al2O3 sand with the help of Rondoflex.
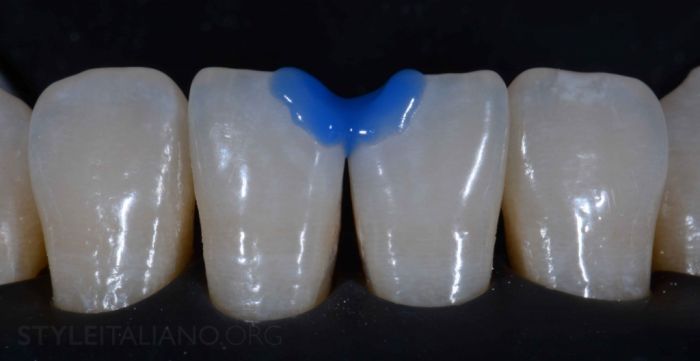
Photo 5. In this case, we used a 37% etching gel with an exposure time of 30 seconds for enamel and 5 seconds for dentin.
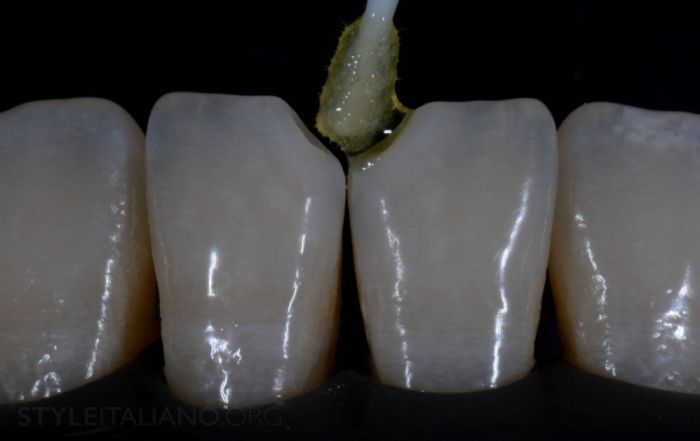
Photo 6. After rinsing off the gel, we applied the adhesive. It is necessary to wait at least 20 seconds for the adhesive exposure, and then air dry for 5-10 seconds. Photopolymerization will take 60 seconds.
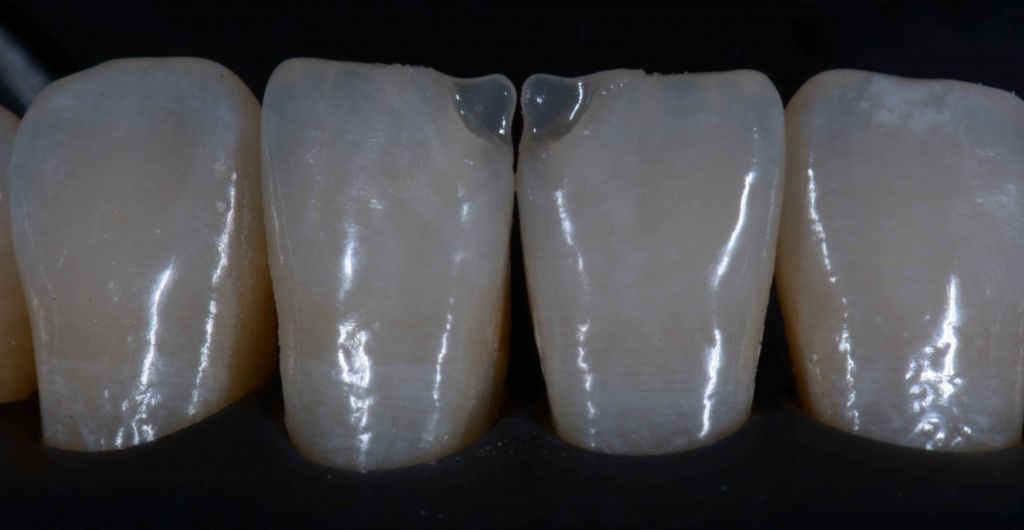
Photo 7. Using a silicone key, we begin to model the palatal surfaces. First, we used the NE enamel layer from Asteria.
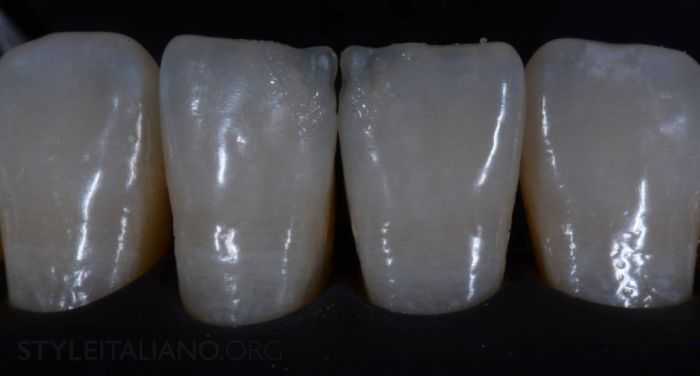
Photo 8. For the dentin, we used the A3 shade from Asteria and added white and blue tints to the dentin layers.
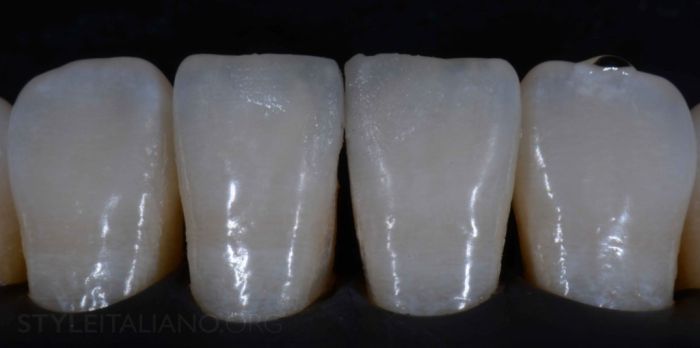
Photo 10. Here we finished with NE enamel. The thickness of the enamel was 0.5. We can measure it using the LM missura from the Style Italiano Kit.
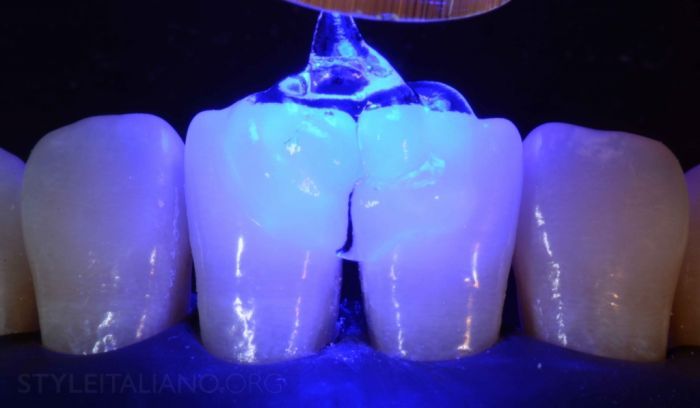
Photo 10. Protect from air exposure with glycerin and photo-cure for 1 minute.
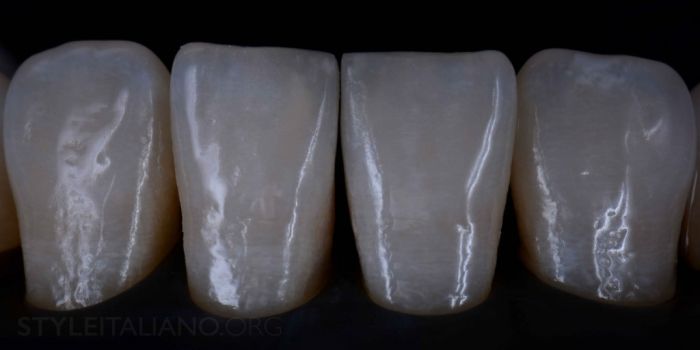
Photo 11. After processing and polishing.
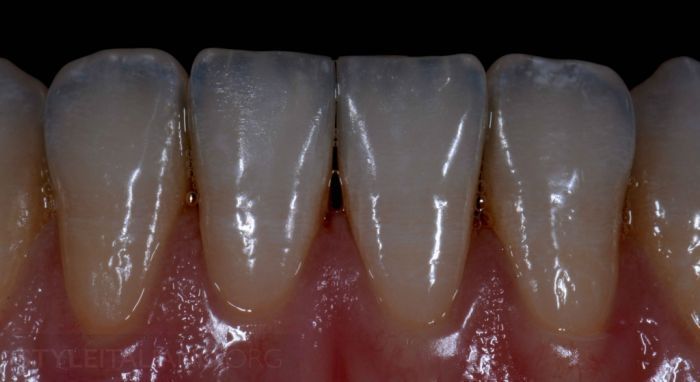
Photo 12. Final restoration photo.
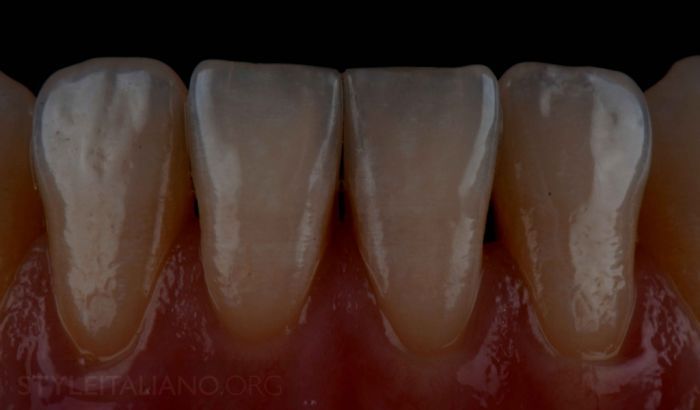
Photo 13. To take such photos, we used a different type of flashes – Softboxes.
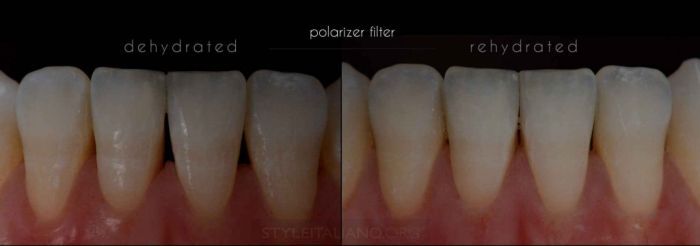
Photo 14. This photo was taken with a Polarizer filter before and after rehydration.
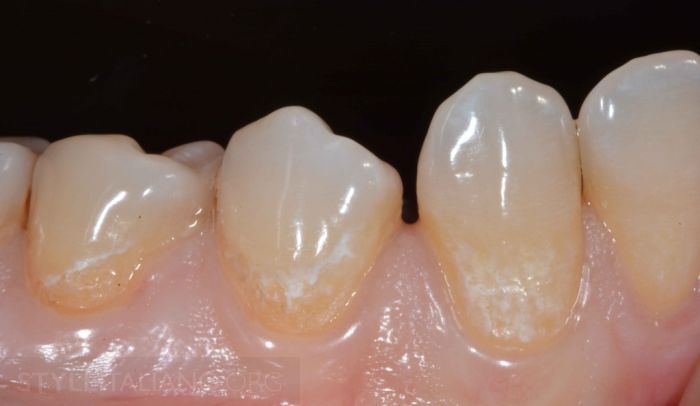
Photo 15. After restoring the lower incisors, we began to repair defects in the cervical area. During the subsequent visit, we made 3 restorations in the cervical area.
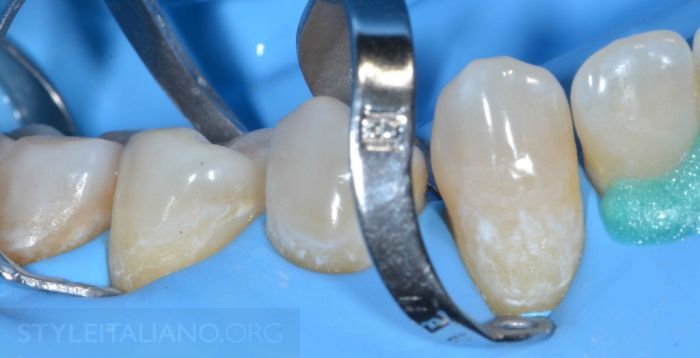
Photo 16. After isolation using dense kerchiefs with a cofferdam system, we used B4 clamps to expose the edge of the tooth.
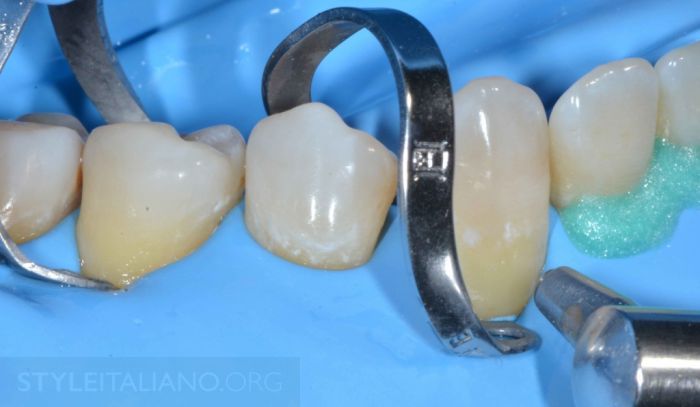
Photo 17. For preparation, we suggest using sandblasting at 27 microns. There is no need for any drill at this stage, just treatment with Rondoflex.
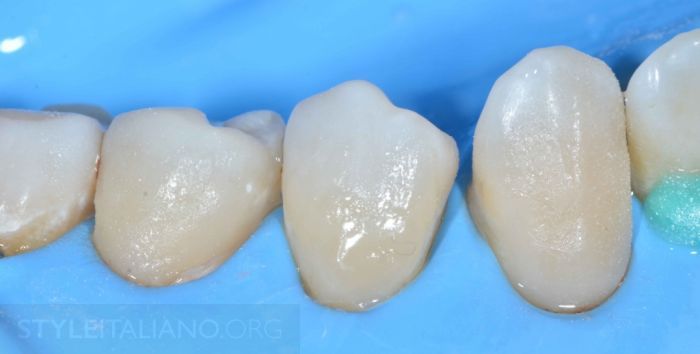
Photo 18. We completed 3 restorations of cervical areas with one A3 shade. There is no need to use many layers for this type of restoration. A minimal number of layers always gives a good result in the cervical area.
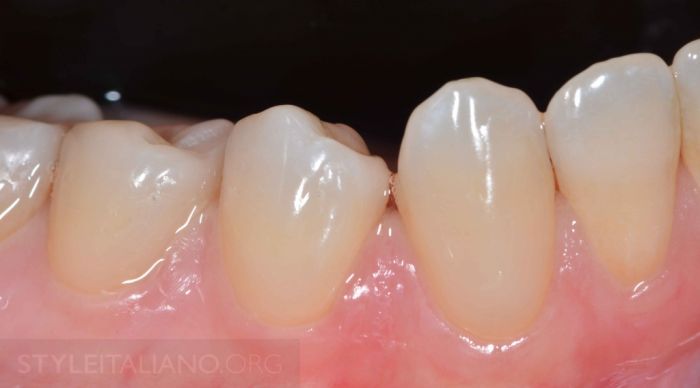
Photo 19. The last photo after rehydration. It is very difficult to find any difference between the natural tooth tissues and composite restorations.
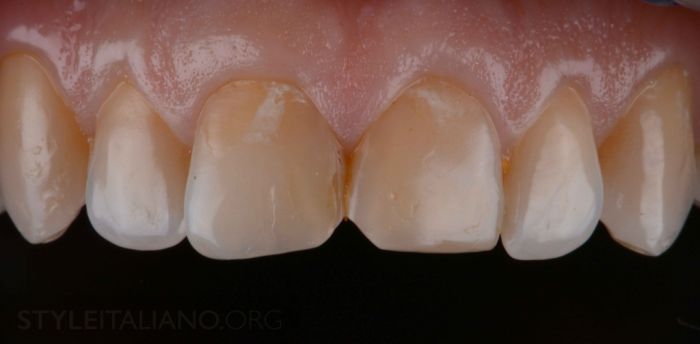
Photo 20. After completing the composite restorations, we begin the second (prosthetic) part of the treatment.
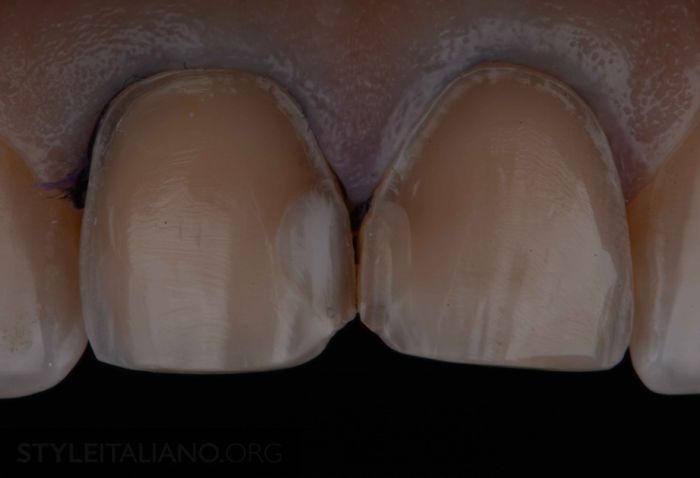
Photo 21. The preparation was done with a slight bevel along the entire enamel surface.
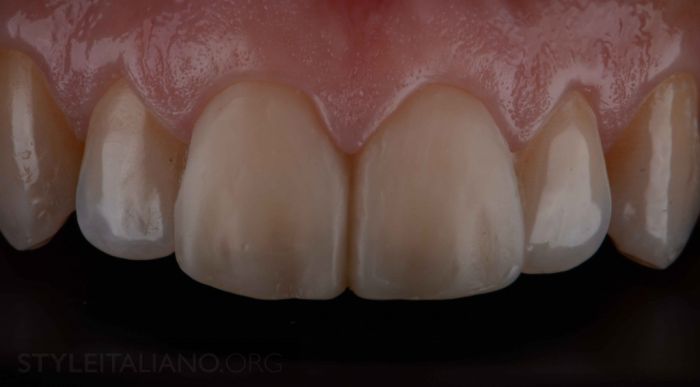
Photo 22. Preliminary crowns made of bis-acrylic composite.
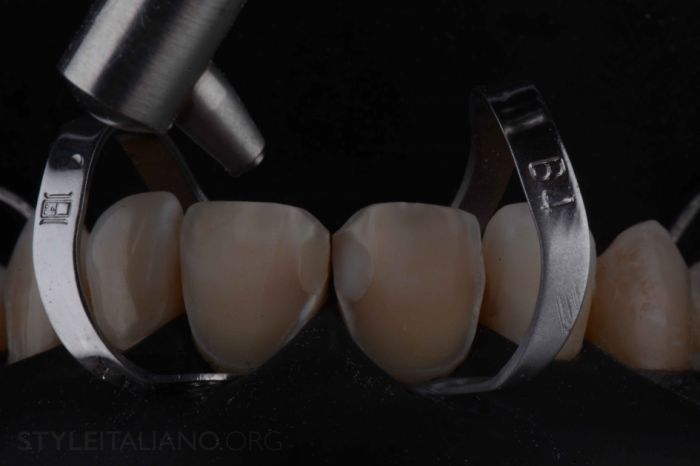
Photo 23. After isolation using Photodam (we recommend isolating 8 teeth), we secure it with B4 clamps. Next, we perform sandblasting of the enamel with 27 µm Al2O3.
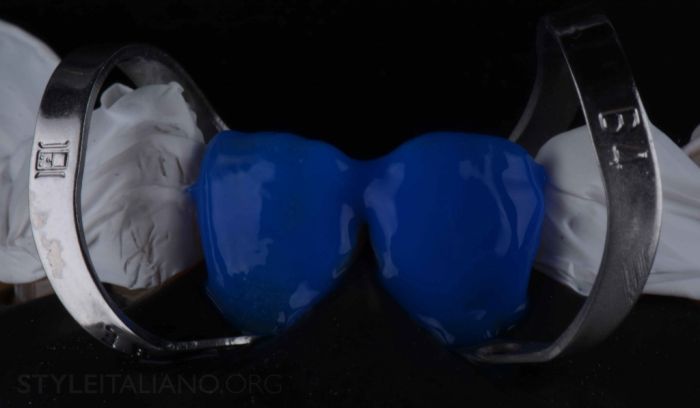
Photo 24. After placing Teflon tape on adjacent teeth, the enamel is etched for 30 seconds with orthophosphoric acid. We recommend thoroughly rinsing the enamel for approximately 20 seconds to remove any residues that the acid might have left.
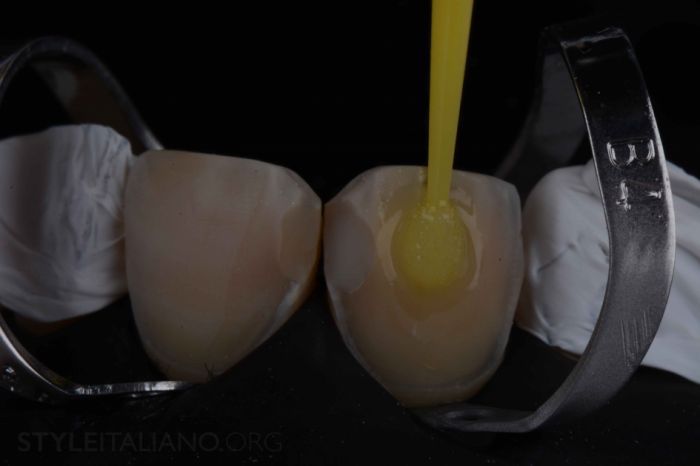
Photo 25. We apply the bond, in this case, the universal ScotchBond, which can act as either a self-etch or a total-etch. The bond is cleaned for 20 seconds. We secure the veneers.
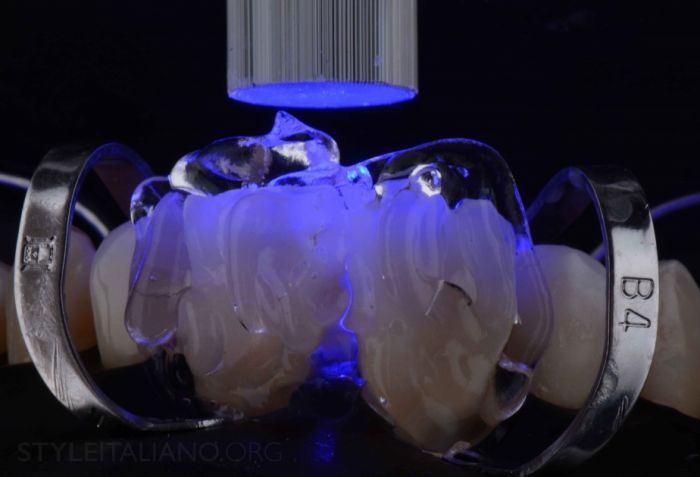
Photo 26. Polymerization must be performed properly. Manufacturers generally recommend 20-30 seconds. We suggest a "complete polymerization," which will give us a strong hybrid layer even in areas where light cannot penetrate due to the close contact of the lamp, although slightly further away. This is the final polymerization stage after applying glycerin. We need 1 minute of polymerization to block the inhibition layer.
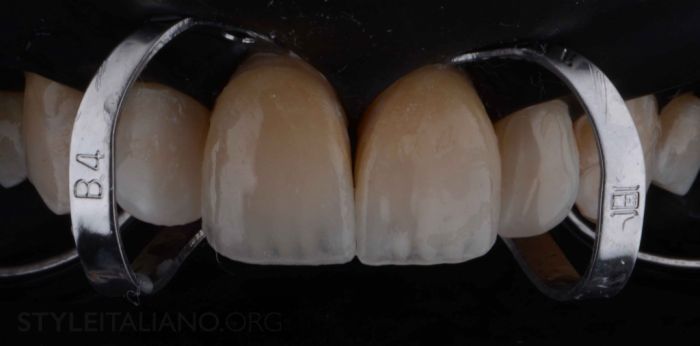
Photo 27. The final appearance of the installed veneers.
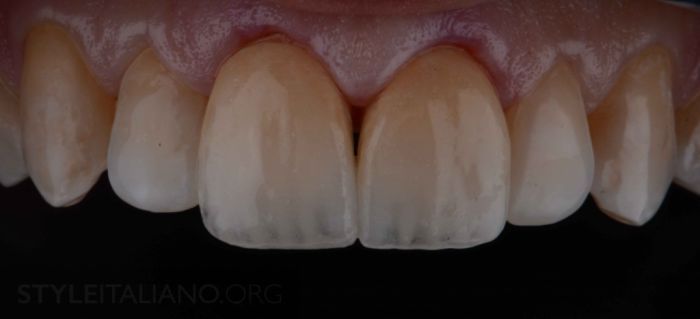
Photo 28. This is the view immediately after cementing the veneers, cleaning, and removing the isolation. We need some time for the soft tissues to heal.
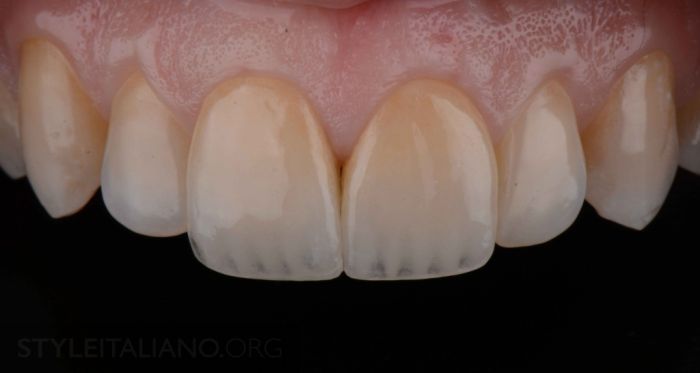
Photo 29. Now we see how the soft tissues have fully recovered after 1 week.
If you are interested in this topic, please check out the webinar SHAPE - composite veneers in the frontal section.
http://www.styleitaliano.org/